
I made my white dress about 10 years ago, using the pattern for the drop front dress in Patterns of Fashion as a base. I used the same pattern for this spencer.
My spencer has a pointed trim along the bottom edge. Bottom trim is of course optional, but if you decide not to use it, be sure to cut the back of the spencer a little longer (or make a mock up) since spencers often sit slightly differently than dresses do, and even with the same pattern, the waistline may not match.
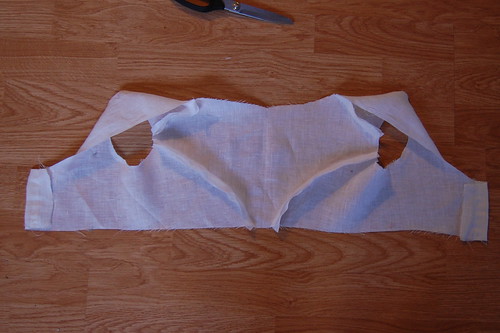
To start, sew your lining. This was the same lining as the dress. The only difference was I shortened the flaps that cross over in front, and adjusted the neckline shape a little bit.
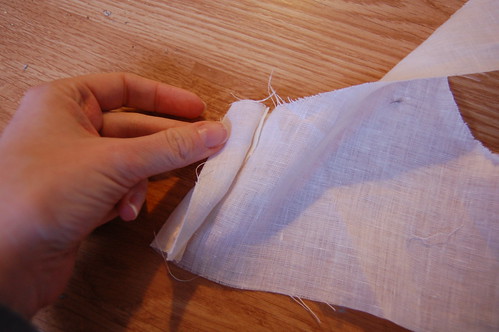
Next, fold the center front flaps in and interline them. Unlike in my picture, the interlining should be a little shorter than your lining so you can hem the neckline. I used linen buckram from William Booth, Draper.
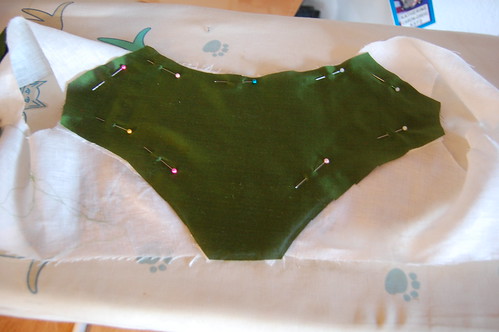
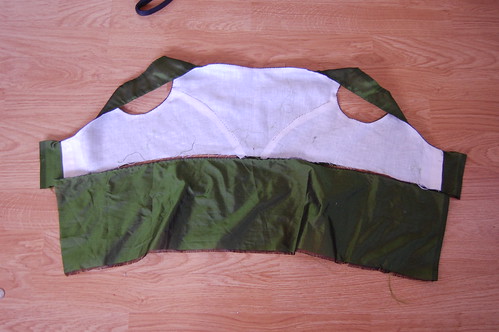
Then pin the center back fabric to the lining.
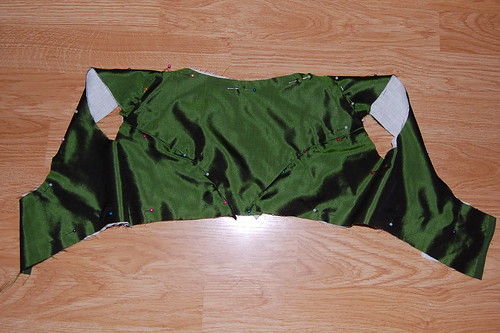
And pin the front pieces to the lining. Fold the seam allowances for both the straps and the back seams under.
Decide how you want to finish your edges. I turned the lining and fabric towards each other and sewed them together. You can also finish the edges with bias tape, as seen in this example I found after I made my bodice.
Topstitch the fabric to the lining.
If you're turning the edges in, don't sew the fabric to the lining for the first and last inch or so of each seam.
If you're using bias, topstitch the whole shoulder strap seam to the lining, and just leave the bottom inch or so of the center back seam free of the lining (if you're adding decoration of some sort, that is, otherwise, just topstitch the whole seam to the lining.)
For both methods, don't sew the center front yet. You'll turn this under later, so you don't get a white (or whatever color your lining is) at the edge of your bodice. You can see this in the next picture.
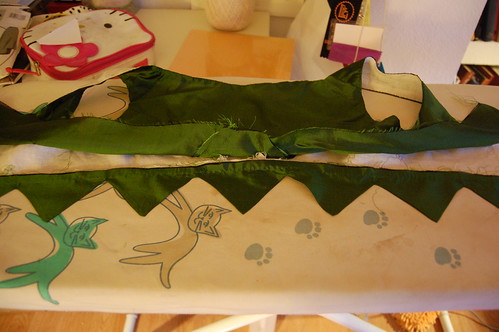
Once the edges are finished, add any waistline decoration--points, ruffles, and pleats are all options. They can be at the back or all around the bodice.
To measure my points, I took a piece of fabric and laid it against the bottom of my bodice. It extended slightly past the lining to account for a seam allowance.
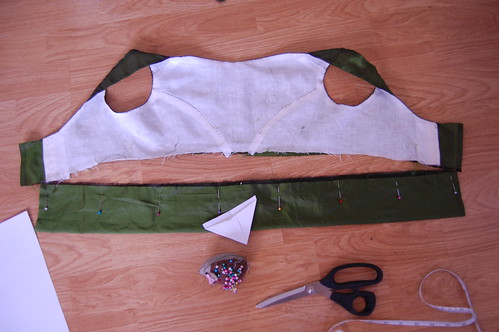
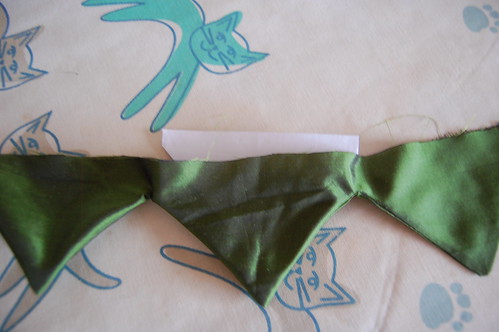
I then divided the strip of fabric into seven points--I just futzed it until I found a size that worked and I liked. I folded a piece of paper to use as a template for the points.
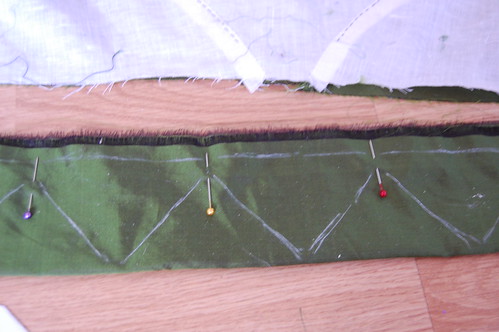
I then drew the points on the strip of fabric.
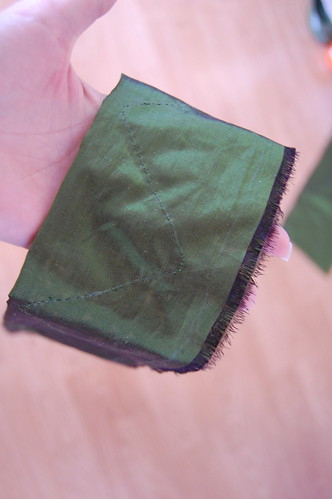
I sewed along those lines using a running stitch.
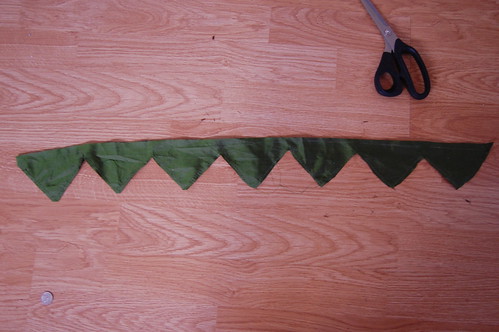
I then very carefully (nervously!) cut the points out. It's much easier to sew and then cut!
I cut as close to the sewing as possible since I was turning it right side out.
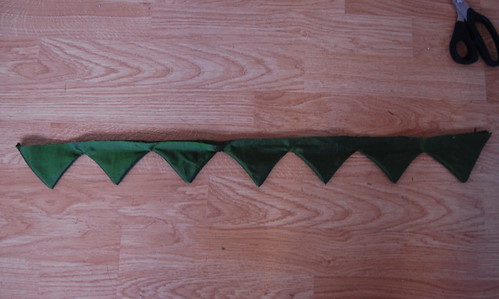
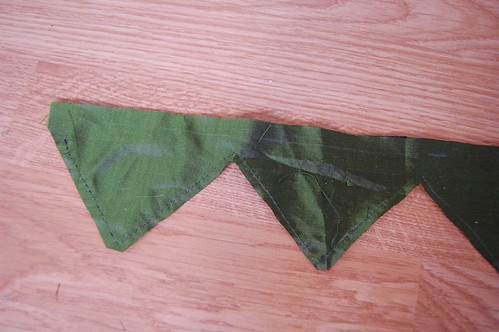
Then I turned the strip right side out.
To iron the points, I inserted the paper template into each one so the seams would press flat.
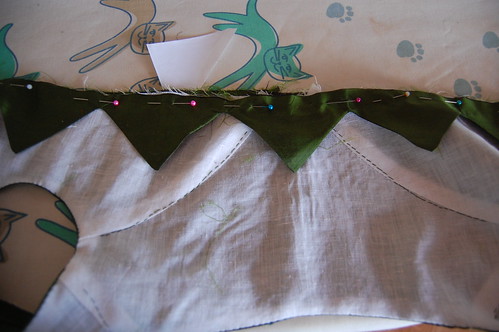
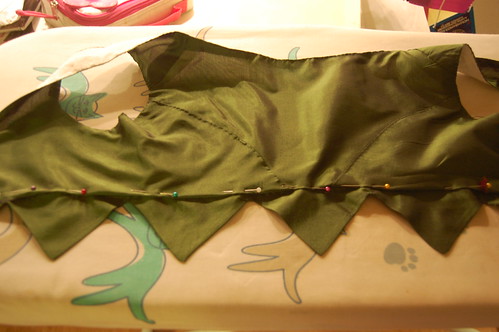
I then pinned the points to the lining...
...and sewed them with a running stitch and pressed them down.
I then pinned the fabric seam allowance over the points and topstiched them into place. While you could sew the points to the fabric and whipstitch the lining, I find doing it this way leaves a cleaner line.
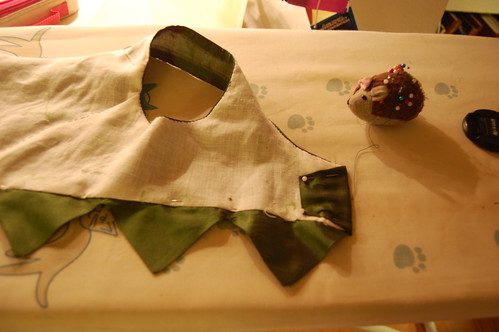
I then folded back the center fronts, whipstitched them into place, and added eyelets. And that's it!
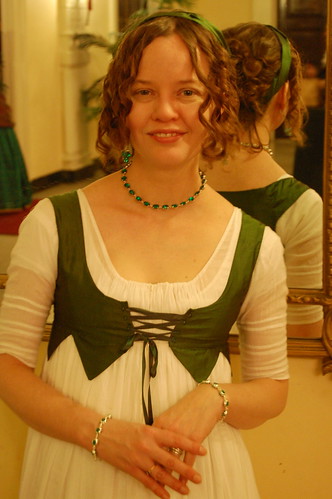
The completed spencer!