Sunday, March 30, 2014

An 1880s Cotton Print Bustle Dress

This dress is a copy of an original that I own, and is made out of reproduction fabric from Spoonflower. For more information, I have posts on the bodice, the overskirt, and the skirt.

Cotton Bustle 1Cotton Bustle 2

I'm wearing it over my Laughing Moon spoon busk corset that I made probably 9 years ago, sleeveless chemise, Laughing Moon bustle, and Truly Victorian petticoat. I'm wearing my 1860s Robert Land walking shoes because they're so comfortable, and perfect for an outdoor nature type outing :)

I'd also like to note that my center front overlap is slightly off. Not as bad as in my On Perfectionism post, but I didn't leave quite enough straight at the bottom of the curved front. I'm quite fine with it though :)

Cotton Bustle 3 Cotton Bustle 5

I'm wearing the Miller's Millinery Bebe bonnet, which is the same one I wore with my blue bustle dress and bustle coat.

Cotton Bustle 4 Cotton Bustle 6

It was a very windy day, at times! Fortunately, the wind came and went. It does prove that you can move in Victorian clothing though--the key is to have a tight armscye. And climbing off the rocks in the previous picture, I apparently tore one of the tapes holding the overskirt up. You can see how it trails a little. Oops :)

An 1880s Bustle Dress Construction Tutorial--The Bodice!

This article originally appeared on Your Wardrobe Unlock'd.

The original dress that this is based on can be seen on my antiques blog, here.

finshed_dress09 finshed_dress07
finshed_dress08


I'm breaking this tutorial up into three parts, the skirt, overskirt, and bodice. The scaled pattern for each part will be at the bottom of the post. There's also another post with the dress actually being worn.

An 1880s Bustle Dress Construction Tutorial--The Overskirt!

This article originally appeared on Your Wardrobe Unlock'd.

The original dress that this is based on can be seen on my antiques blog, here.

finshed_dress04 finshed_dress05 finshed_dress06

I'm breaking this tutorial up into three parts, the skirt, overskirt, and bodice. The scaled pattern for each part will be at the bottom of the post. There's also another post with the dress actually being worn.

An 1880s Bustle Dress Construction Tutorial--The Skirt!


This article originally appeared on Your Wardrobe Unlock'd.

The original dress that this is based on can be seen on my antiques blog, here.

Through recreating a dress, you can learn more about it than you can through observation. I’ve tried to be as faithful as possible to the original in this recreation. The most notable difference is I made it to fit me--I didn’t want to put all this work into a dress and not be able to wear it! The techniques though, follow those of the original.

finshed_dress01 finshed_dress02 finshed_dress03

I'm breaking this tutorial up into three parts, the skirt, overskirt, and bodice. The scaled pattern for each part will be at the bottom of the post. There's also another post with the dress actually being worn.

In addition to the skirt, this post has a little about how I reproduced the fabric.

My reproduction is made from custom printed cotton voile from Spoonflower and based on the original fabric. It's lined with plain weave white cotton, and closes with antique buttons.

I copied the skirt as closely as I could, piecing and all. This of course isn't necessary for an accurate skirt.

Saturday, March 22, 2014

On Perfectionism

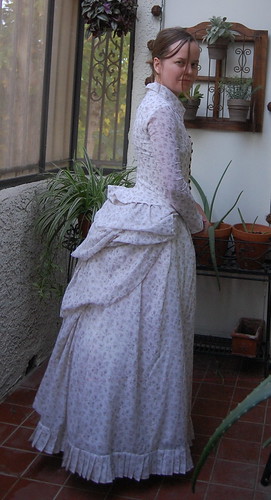
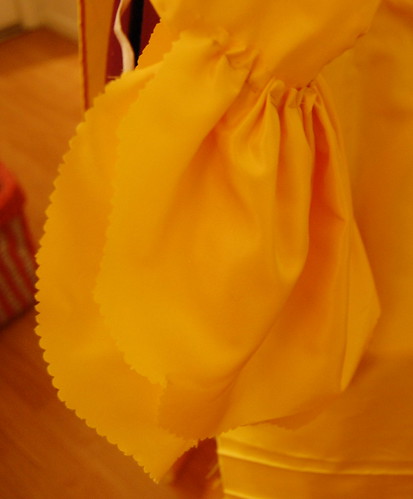
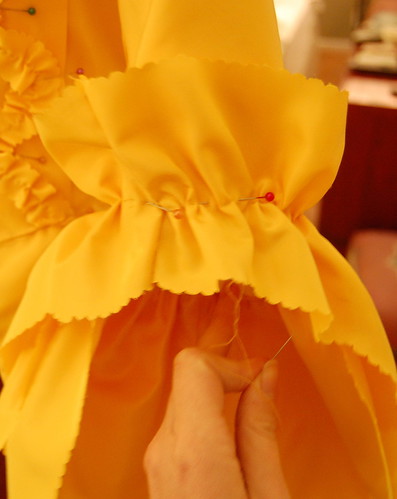
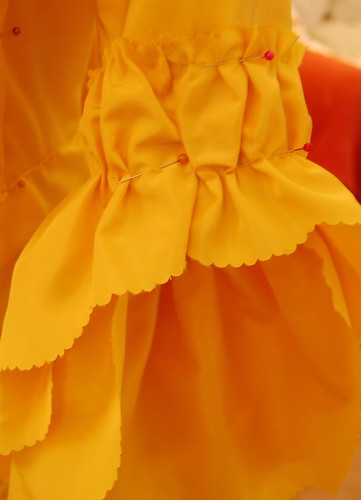
I am not a perfectionist. I'm so far from being a perfectionist that I actually proudly show my friends my non perfectionist work and we laugh. And I absolutely love 
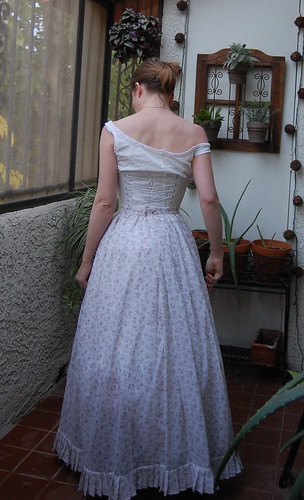
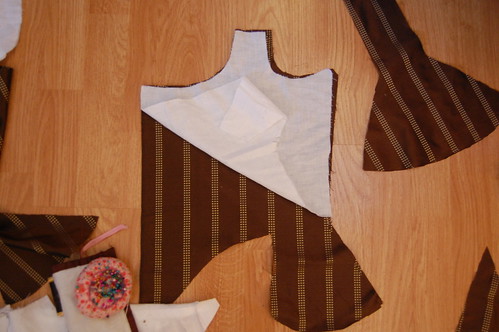
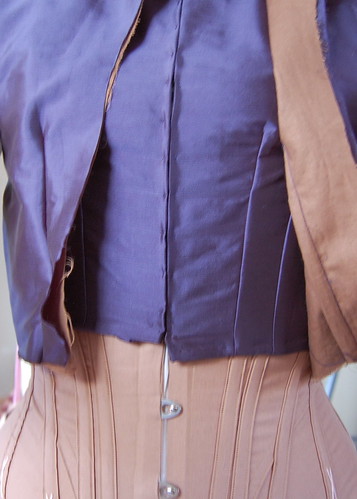
this orignal natural form bodice on my website because it's made the way I make clothes. The outside--it's lovely! The inside? Well, it's done, isn't it? A few loose threads, sewing that seam by machine twice and overlapping the seams, whipping the seams at not perfect angles to finish them--that doesn't hurt, right? Can I do things like that and other details perfectly? Well, except for decent backstitching in heavy fabric and buttonholes, I pretty much can, but I have no desire to, and I blame that on starting a costume collection early on in my costuming career. Everything I own has a mismatched seam, or piecing, something to make you unhappy. When you think of our costumes as clothes that people would make and actually needed to wear (no two months until the event luxury!) and quite likely would want to remodel, it makes sense to think that they would spend time on the areas that counted--those that showed.

Oops DSCN4505

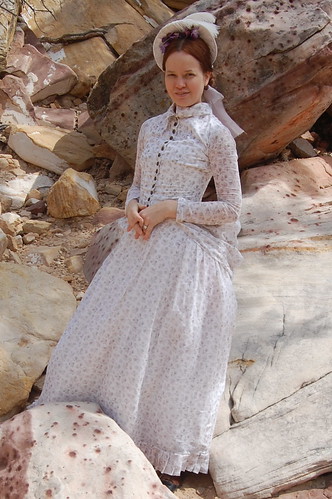
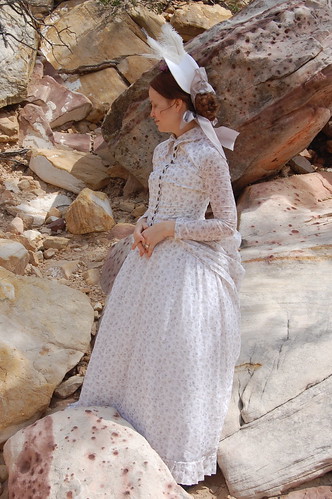
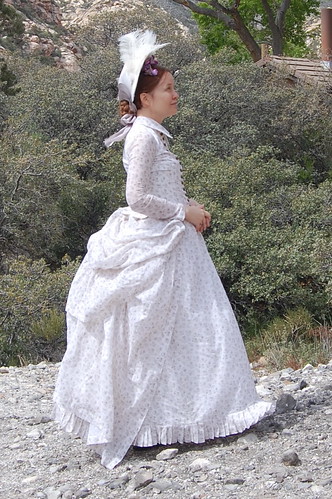
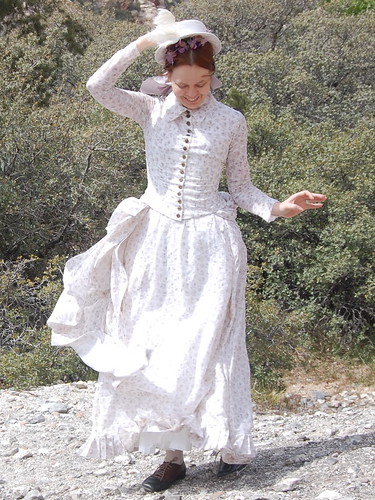
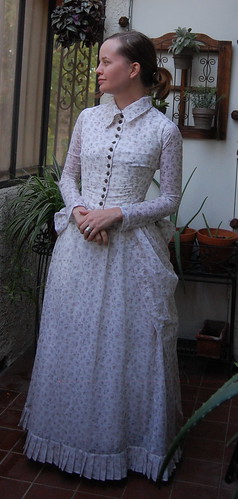
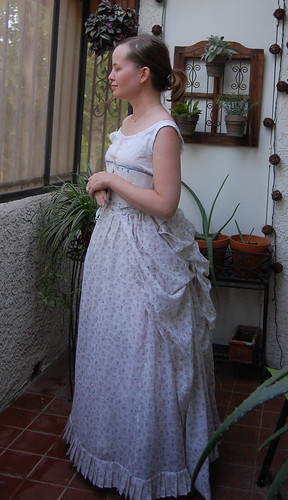
And here we have a dress of mine--
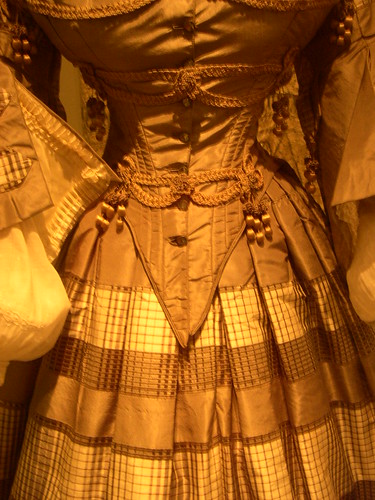
the Spotty Dress--and a dress in the Museum of London that's patterned in The Cut of Women's Clothes. And what do these dresses have in common? The fronts don't match.

I measured carefully, and lined things up, and when I sewed the hooks and eyes in, things looked a little off. Not too badly off though, I thought, thinking of having to rebind the hem, or reset the hooks and eyes in case small differences in their placement were causing the issue. And then I tried it on, and well? It was awful. A good, very obvious half inch. Only, it wasn't obvious. This was the underbodice, the overbodice can be seen open in the picture. It wasn't going to show, so, what would they have done? Well, maybe if this dress had been made for the Princess of Wales, they would have fixed it. But I think most Victorian seamstresses would've left it--it does nothing to the structural integrity of the dress, it would take absolute ages to fix, and it doesn't show. And I had already sewn the hooks and eyes in with big, visible stitches knowing they'd be covered. So that's what I decided, and I finished the dress, wonky underbodice left alone. And, I had seen something to back up this idea.

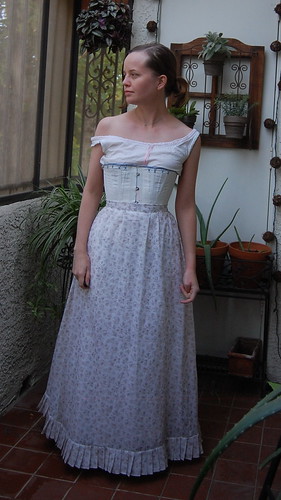
When I saw the dress on the right in the Museum of London, not only was I happy to recognize a dress from a book (It's like meeting a celebrity! Each familiar dress I totally fangirled over), but it had one of the prettiest sights I've seen on an original dress. The point on this gorgeous, silk, highly detailed dress, was clearly not matched. I can only imagine the seamstress' dismay when that happened. But she decided to go with it, and the dress remains lovely.

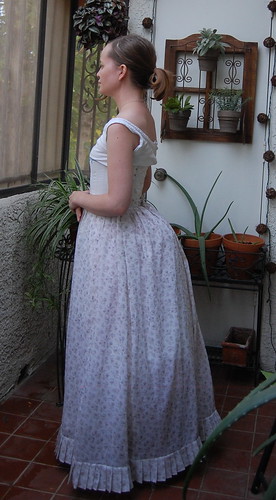
And back to my dress, if someone would leave a visible mismatch, wouldn't someone also leave an invisible one? Quite often, I think it's the tiny imperfections--mismatched points, stress wrinkles, picked out seams--that make these dresses seem real and remind us that actual people made these. Why not leave those little imperfections in our own dresses too?


Sleeve Flounces--A Tiny Tutorial!

Sleeve Flounce 6

Sleeve flounces became popular in the mid 18th century and remained popular as long as elbow length sleeves were worn. These, of course, are a style suited to your fancier gowns, as they can get in the way. They're also best suited to lightweight fabrics that can hold a cut edge, though at least one gown in the Victoria and Albert (I believe--I think I saw it in person, but I can't find a picture, either in my own or the V&A site) has hemmed sleeve flounces. The technique I used for my flounces is illustrated in Costume Close-Up. I used the sleeve flounces in Patterns of Fashion for the shape, but as my silk was extremely thick and stiff (I think it may have been overstock rain coat fabric), I altered it so the lower two flounces were half flounces.

Sleeve Ruffle 1 Sleeve Ruffle 2

First, gather your first sleeve flounce and sew it to the back 2/3 or so of the sleeve. This is your longest sleeve flounce. Next, gather your second flounce and attach right over it. The second flounce should be shorter than the first.

Sleeve Flounce 3 Sleeve Flounce 4

Then gather the bottom of your third ruffle and fit it to the bottom of the sleeve. This one goes around the entire sleeve, forming a cuff. It's the shortest of the three ruffles so the others show. Then, gather near the top, and pull to fit. I would recommend finer gathers than I made here, but I was doing the best I could with the fabric I had. This yellow, while gorgeous, was extremely stiff and difficult to work with. See raincoat comment above!

Sleeve Ruffle 5

Sew the flounce down, and add any trim! Baste your sleeve ruffles inside. My dress could've used slightly larger ones, and I probably will make larger ones if I get another opportunity to wear this dress.

Wednesday, March 19, 2014

1780s Pierrot Jacket Construction

DSC_5256

During the 1780s, jackets with cutaway fronts, known modernly as zone fronts (not a period term!), were popular. Cutaway fronts could be contrasting or matching and are seen on both dresses and jackets. They were a fashionable option--you wouldn't want this on your work dress--and an easy to do variation on a standard bodice.

I'll be showing construction for my brown and gold jacket, though the basic construction would be the same for a dress.

Pierrot Construction

First, cut out your pattern. This is my standard separate back gown pattern, with tails added. To figure out the shape of your front overlay, lay your pattern piece over your front piece, and fold it up. (Please note that I cut the tail off the front piece.)