Thursday, June 30, 2011

The Marie Antoinette Dress

Last November, when visiting the Fashioning Fashion exhibit at LACMA, this portrait:

Paintings!

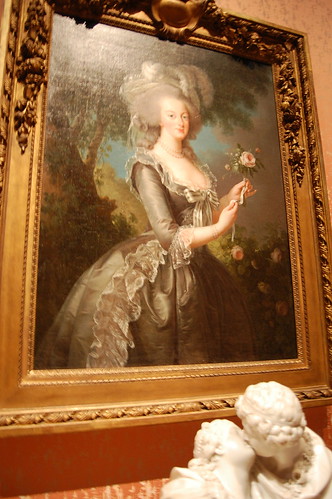
was on display. I mentioned to Twila that I wanted to make a copy. I thought of it as some long off, future thing, but instead ended up making it for Costume Con and Under the Redcoat this year. I only wish I had studied it more closely in person

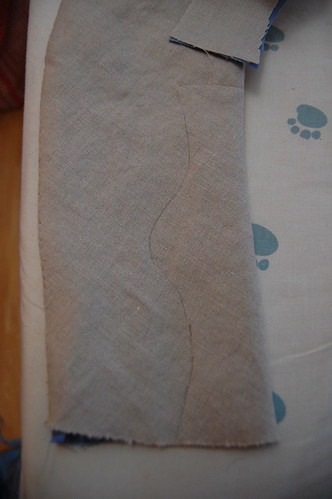
I don't have a lot of construction pictures, but I will share what I have. Like the riding habit, however, I'm just going to share pictures here, along with a brief explanation of what I did.

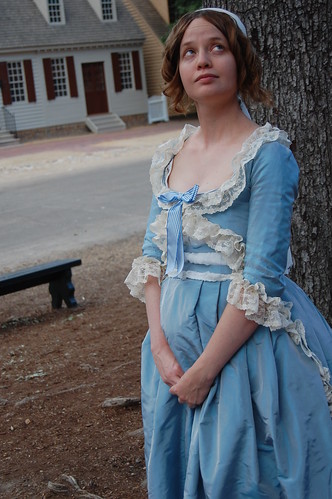
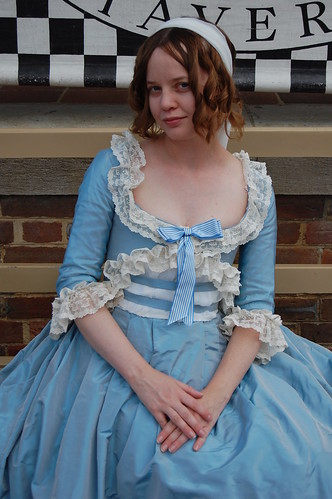
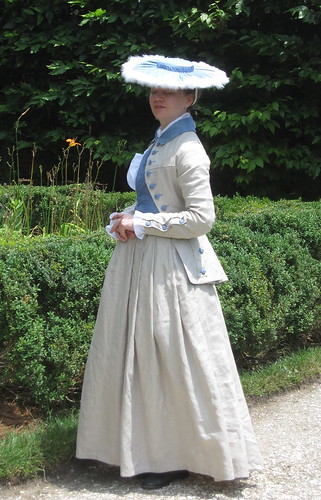
At first, I thought the zone was over a blue section, but if you look closely, you can see white puffings below her bow. I used this portrait of Marie Antoinette and her children as a guide of what to do. The color was an issue as well. The version we saw was very grey, but most reproductions of the portrait are more blue (is there more than one copy?). I decided to go with the more familiar color.

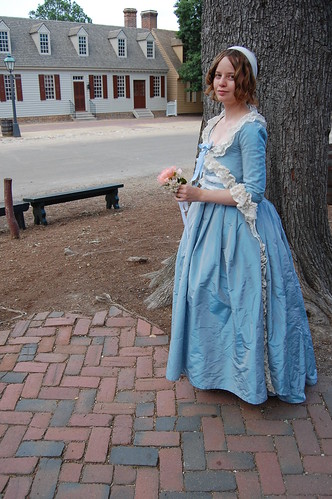
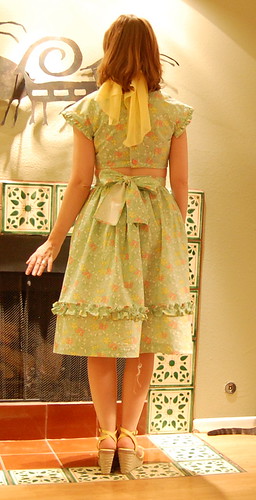
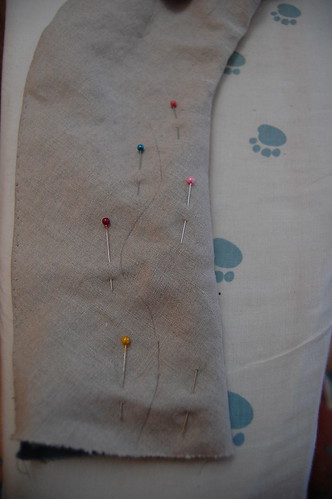
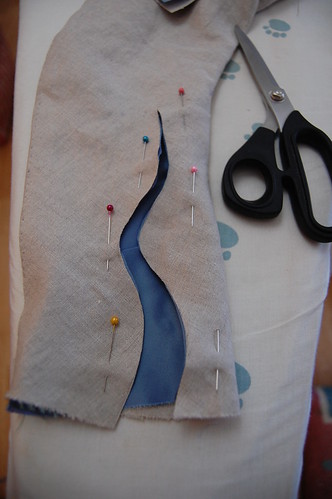
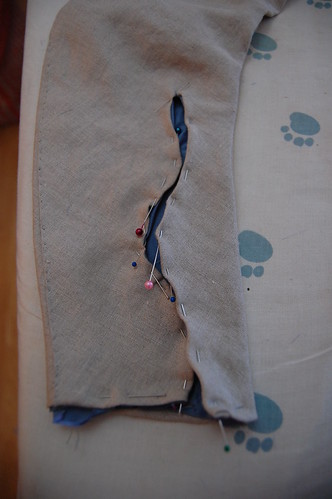
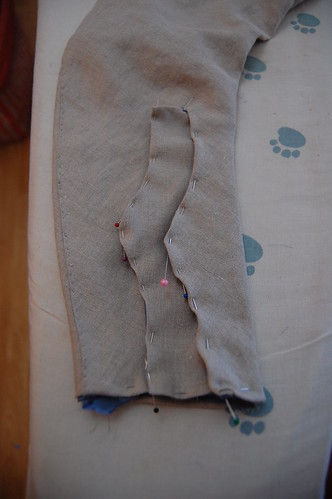
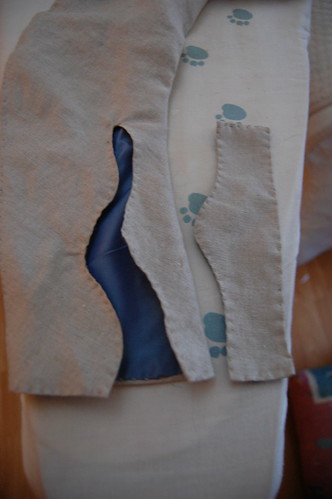
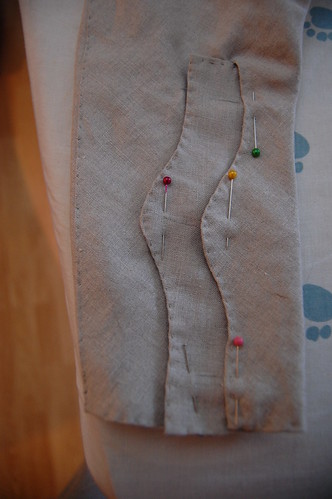
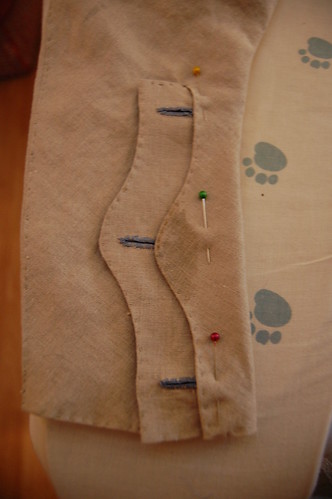
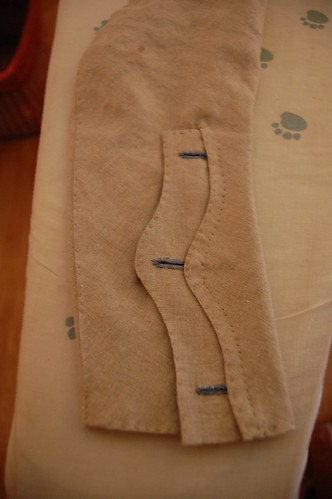
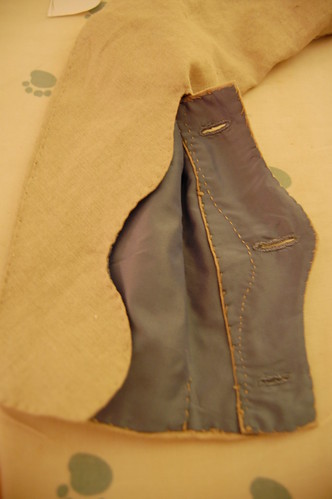
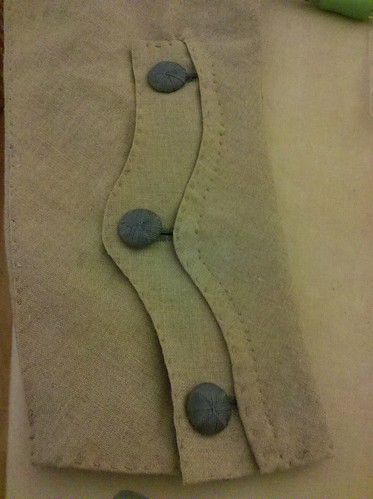
The dress is constructed as a zone front, with puffings of silk gauze sewn directly to the linen lining. These are gathered and basted to the lining. I then sewed the blue straps in on the sides and pin them on the opposite sides after pinning the lining. The blue shuts over that. Last, the ribbon pins on.

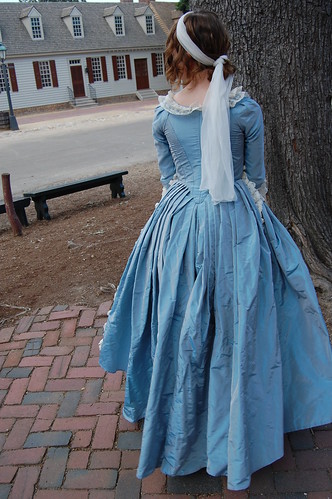
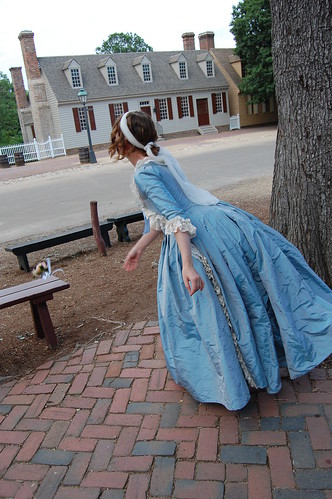
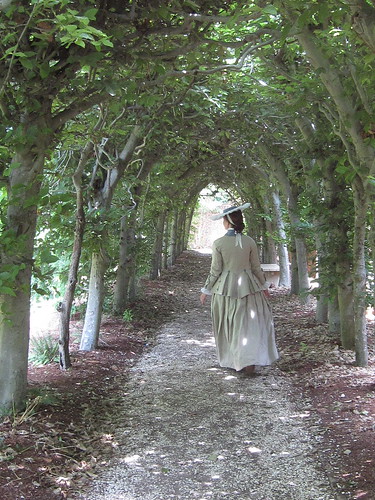
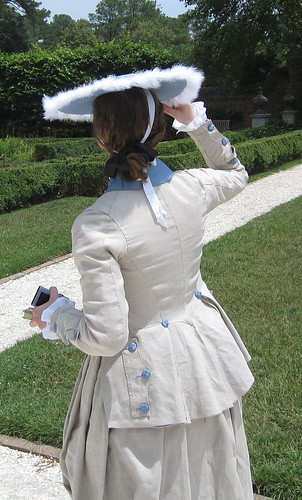
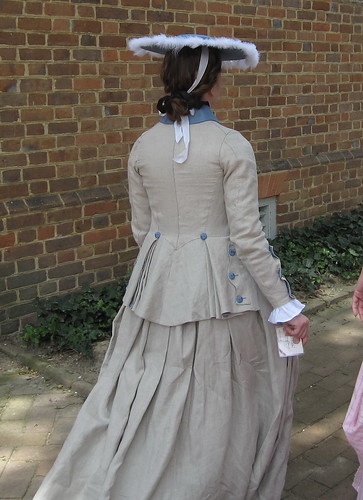
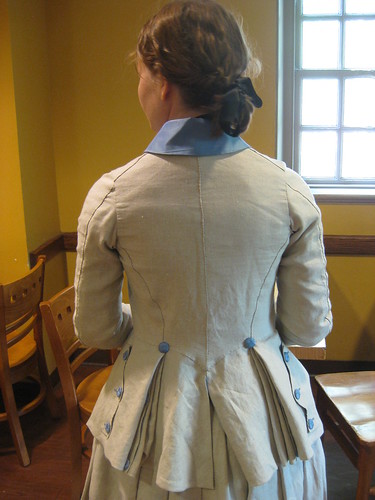
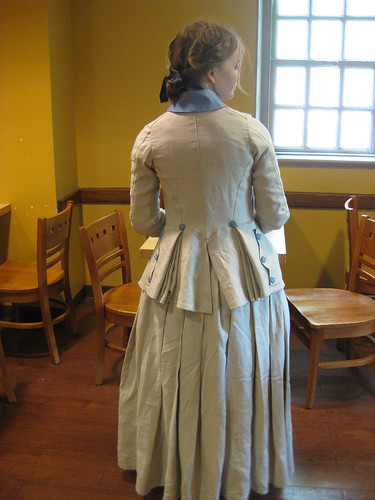
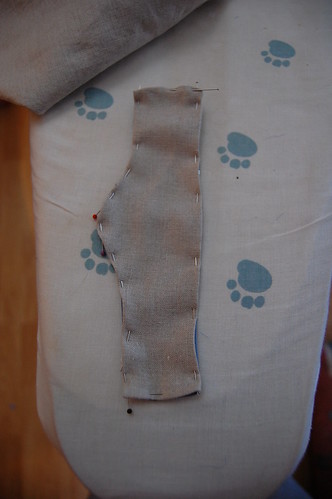
The back was going to be en forreau, but a cutting mistake and five failed hours of pleating had me change to a quartered back, which was increasingly common at the time. In the end, I rather like the quartered back. I'm not sure why my fourth en forreau was so difficult!

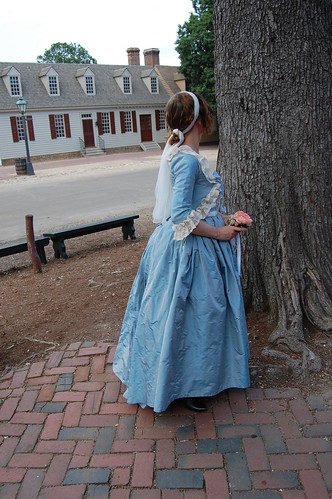
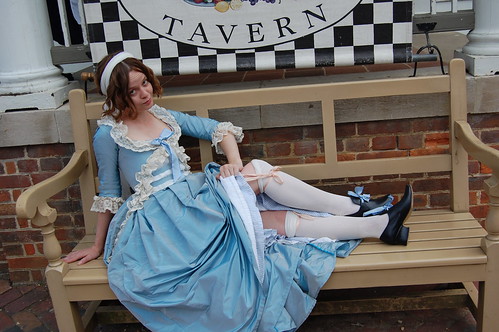
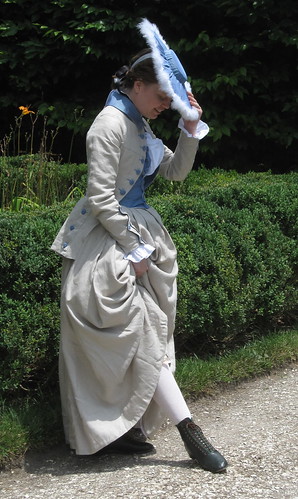
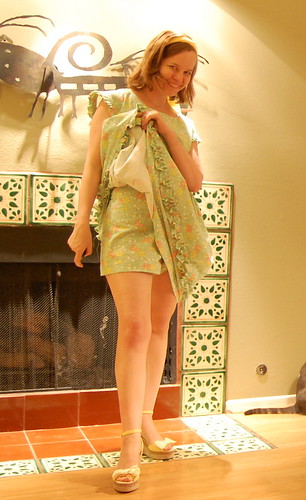
I don't know if this style dress was constructed like this, or if it was worn over another dress such as a chemise dress. Since it has a blue petticoat though, this does seem at least plausible!

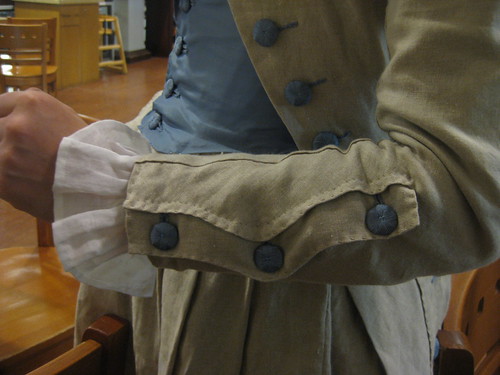
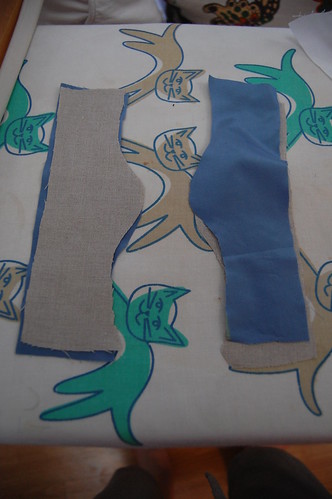
The silk is from Pure Silks, the silk gauze is from Dharma Trading, and the linen lining is from Burnley and Trowbridge. The lace and ribbon are vintage.

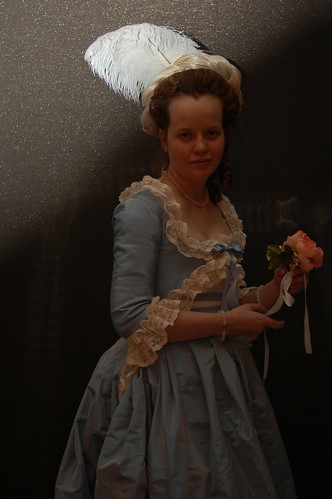
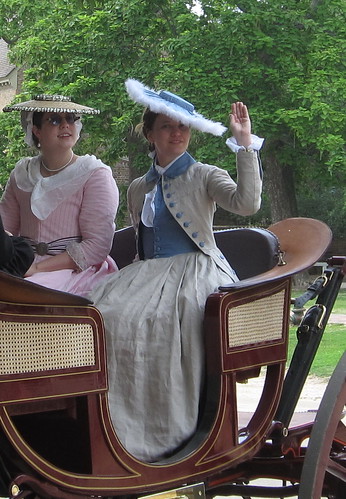
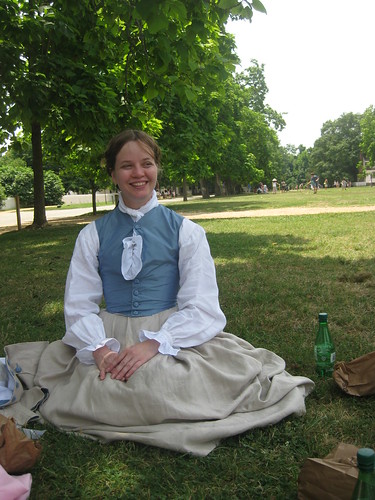
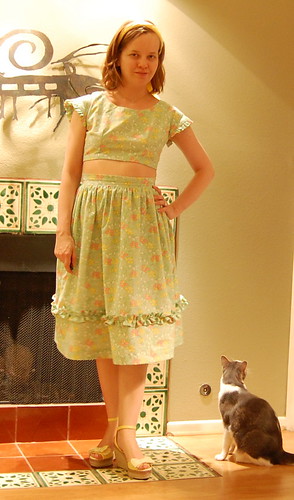
When I wore this in Williamsburg, I decided I was too 'artistic' to worry about elaborate hair. At Costume Con, I did a closer to the portrait version of hair. I foresee quite a bit of artistic 1780s in my future! It felt much more me than my attempts at other styles.

Outside the King's Arms Outside the King's Arms

Outside the King's Arms Outside the King's Arms

Outside the King's Arms Outside the King's Arms

Outside the King's Arms

Outside the King's Arms

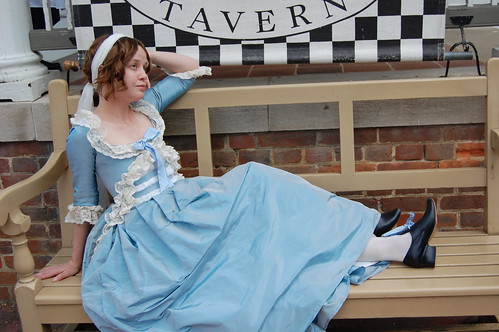
And here it is at Costume Con. I wish I had more pictures from there, but a combination of a cold, bad lighting and a too long travel day (4 1/2 hour delay!) before that made it a less than perfect time for pictures!

Costume Con

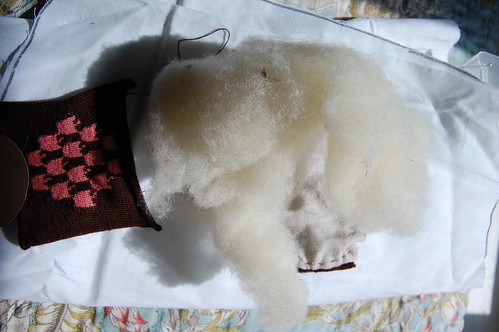
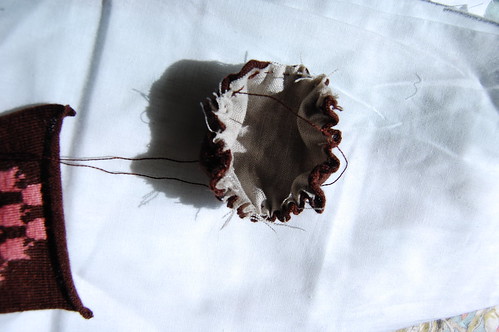
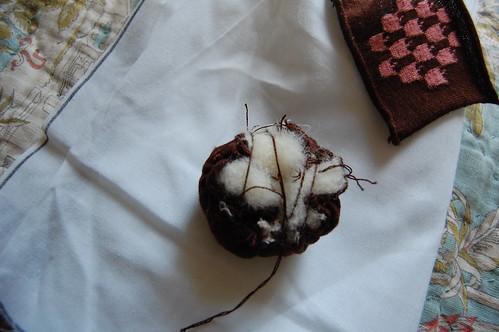
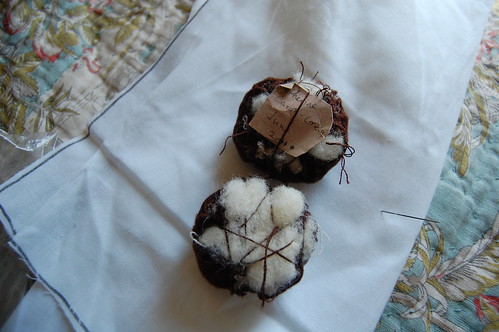
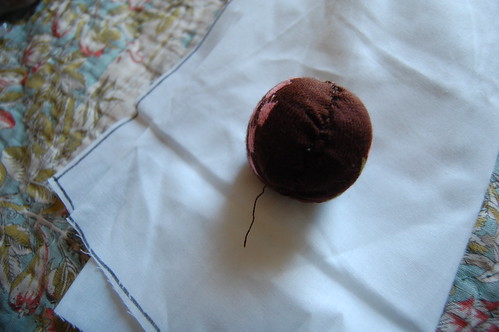
And I'm wearing it over my 1780s stays at Costume Con and 1770s stays at Williamsburg. Not something most people can do, but I'm really not too moldable when it comes to stays and corsets! I'm also wearing it over the below conjectured shape bumroll. I wanted to have that backwards movement that you start to see in the 1780s, and this did what I wanted. It's linen stuffed with wool.

Day 157 on 365 Project

The dress isn't an exact copy, but I do think--or at least hope--it captures the spirit of the original. I feel like a pretty, pretty princess in it though, and I think that has to count for something :)

This will be crossposted to my blog. Once Blogger is back up, I'll post the link! Not that it's not all here anyway :)

Tuesday, June 28, 2011

18th Century Linen Riding Habit

Last year I decided I wanted a riding habit for UTR. However, even though I had worn wool dresses to UTR in 2009, the idea of a wool habit in Virginia in June was rather unappealing, so I thought of linen. I had thought that the one pictured in Fashion in Detail from the 17th and 18th Centuries was linen, but my memory was wrong. This led me to look online, where I found this description of a linen habit on the 18th Century Woman Yahoogroup. I also found this fustian habit in the V&A (sadly, with no pictures!). These two habits made me feel confident making one in linen. Fashion did have to be altered for warm climates!

I took many construction pictures along the way, but for now, I'm just sharing pictures of the finished project!

Linen Riding Habit Linen Riding Habit

Linen Riding Habit Linen Riding Habit

Linen Riding Habit Linen Riding Habit

Linen Riding Habit Linen Riding Habit

Linen Riding Habit Linen Riding Habit

Linen Riding Habit

Linen Riding Habit The riding habit, sans jacket, at lunch

A few details--The natural linen for the habit, white linen lining, white for the shirt, and button molds are from Burnley and Trowbridge. The linen buckram interfacing is from William Booth Draper, as are the cuff buttons that you can't see. The blue silk is from Pure Silks. I'm wearing my Robert Land Regency boots that I bought from Spencer's Mercantile.

Saturday, June 18, 2011

Strawberry Pinball!

Strawberry Pinball

The completed pinball! With plenty of time to spare before UTR!

Strawberry Pinball

The other side.

Strawberry Pinball

From the side with my gorgeous ring from Williamsburg. I want more of these. Sadly, I haven't won the lottery :)

Compared with my first!

Strawberry Pinball

Strawberry Pinball

Here it is, ready for stuffing. I ended up not using the circles of stiff paper. These are used in the pinballs in Tokens of Love by Erica Uten and I used them in my first pinballs, but I found that they weren't needed with the ring. They do somewhat limit how big the pinball can be made, though I imagine it'd be easier with stiffer paper than what I used.

Strawberry Pinball

This is the first pinball I lined.

These are made essentially like covered buttons. I ran a running stitch around, stuffed, and sewed back and forth until everything was nice and tight.

Strawberry Pinball

Wool batting! All of this, plus a little more, went in one half of the pinball.

Strawberry Pinball

Strawberry Pinball

The gathered pinball.

Strawberry Pinball

With stuffing!

Strawberry Pinball

Though it will never be seen, I still put in the little card with my name and date :)

Strawberry Pinball

The two halves, ready to be sewn together.

Strawberry Pinball

Pinned and ready for sewing.

Strawberry Pinball

Sewn together.

Strawberry Pinball

And stuffed into the ring! It's nice and secure. I had planned to sew a stitch or two around the top of the pinball and the stem of the ring, but it's amazingly secure. Wool batting is amazing!

And I'm ready to start my next pinball! I have seven planned as gifts at the moment. I just need to print out the pattern--my thread is ready to go :)

There are more pictures in the Flickr set as well. Just click on any picture.

Thursday, June 16, 2011

1940s Playsuit!

A lot of people have been making playsuits and bathing suits for an unofficial pool party at Costume College this year. Of course this made me want one too! So I bought this pattern on Etsy, and this fabric from Reproduction Fabrics.

Now, these aren't great pictures, the color is off, it was a long, hot day and I took them after 10 at night--minutes after finishing, actually. Normally that's not late for me in the summer, but I ended up going to bed before 1 that night. So not like summer vacation me! Anyway, the point of all that is, as mentioned before, I very much do not want to get behind here, so I'm sharing them. As with all posed in front of the fireplace pictures, I hope to have pictures of me really wearing it too!

40s Playsuit

40s Playsuit

40s Playsuit

40s Playsuit

Ha! Matching shorts!

To make this, I followed the pattern almost exactly. The only changes I made were machine hemming (so not me!), machine finishing the skirt placket and leaving the snaps off (it fell well enough to do that, plus, big bow), and hand gathering the ruffle on the skirt. The fabric was so stiff and the loop so big that I couldn't face machine gathering it!

I'm very impressed with the sizing on the pattern. It said 30 inch bust and it was! My waist is bigger than the pattern so I thought I needed to add to the shorts, but ended up cutting back down to pattern size (I guess there was a little ease there, but it was about an inch, not the four inches or whatever ridiculous amount modern patterns use that makes them virtually unusable), so I ended up making the pattern with no alterations--way too fun! I never make anything straight from a pattern, or even use patterns as anything but bases, so it was an amusing change.

The scarf is just a half yard of silk chiffon (unhemmed, why bother?) and the shoes were an extremely lucky, on sale find at Payless ($14.99!). The bows are striped. Too cute :)

I'm really looking forward to wearing this at Costume College. I believe that Sunday afternoon is the planned day for the pool party, so expect much better pictures then!

Friday, June 10, 2011

Riding Habit--Mariner's Cuffs

I've decided it's in my best interest not to let things go too long before posting about them; therefore, a cuff tutorial! I know myself--if I let things pile up too badly, I just won't do it. See my website for an example of this :)

Anyway, to the cuffs! They're based on the cuffs on this riding habit at the V&A. Mine are a little shorter, but as I am a shrimp, I tend to downscale things a bit so they look a little more in proportion on me.

It took me a while to decide what style cuff I wanted, but kept coming back to this one. It is, after all, the picture that made me start thinking of a linen riding habit. Although it's wool, the close up nature of the picture gives it that linen-y look--at least to me!

As as side note, in my copy of Fashion in Detail from the 17th and 18th Centuries, the buttons and lining are a bright yellow that contrasts rather prettily with the brown wool. This made me quite happy as I was looking for documentation for the blue buttons I very much wanted. I have since found a man's jacket in black with a yellow waistcoat and yellow buttonholes in Modes en miroir. This one also made me happy because the buttonholes look just like mine. See below for what I mean!

And, now really on to the cuffs!

I made these cuffs just from pictures, but fortunately from very good pictures. I think that if I don't have them done completely right, they're at least very close to right. All the techniques I used--edge stitching, top stitching--are known period techniques!

Mariner's Cuff

Start with a finished sleeve. With a piece of paper sketch the shape of the cuff.

Mariner's Cuff

Trace that onto your sleeve. You don't need to trace the top edge like I did!

Mariner's Cuff

Use the same pattern to cut the inserts. I made them just a little longer so I could be sure they'd fit into the finished cuff. It's much easier to hem a little more than to start over!

Mariner's Cuff

Pin around your cutting line. This is to keep the fabrics from shifting. Erase your top line if necessary :)

Mariner's Cuff

Take a deep breath and cut!

Mariner's Cuff

This part is rather annoying and fiddly. Turn the seam allowances under to prepare for edge stitching.

Mariner's Cuff

Repeat for the insert.

Mariner's Cuff

Test your insert! It's at the not very annoying to fix stage now :)

Mariner's Cuff

Edge stitch the pieces together. I chose to use point a rabbatre sous la main because it appears to have been used on the part of the cuff you can see. The outside is topstitched and the inside is whipstitched.

Here's a video I made about this:

18th Century Edging Stitch from Katherine on Vimeo.


Mariner's Cuff

Pin the insert in and mark the buttonholes.

Mariner's Cuff

Make the buttonholes. Press everything neatly. Get the cuff so wet you can't iron it dry. Oops :)

Yes, my buttonholes are far from perfect. I can't seem to get any stitch that actually touches to look perfect. Hence my great love of the spaced backstitch and tambour embroidery. But buttonholes, embroidery, backstitches, they're all off for me. I blame the same thing that makes it near impossible for me to write neatly. After all the hand sewing practice I've had, you'd think this wouldn't be an issue! Needless to say, I'm *very* nervous about the false buttonholes down the front of the jacket, but I think those will be much better since they're not cut.

Mariner's Cuff

Sew the cuff in. I used a spaced backstitch as it's my best looking stitch.

Mariner's Cuff

And from the inside--I actually love the way this looks :)

Mariner's Cuff

And the nearly finished cuff! The buttons are just placed there for effect.