Wednesday, March 30, 2011

Draping--Sort Of--A Sacque, Part Four

Draping a robe a la francaise, or sacque. An eight part series! Click the tag or go to the tutorial page for links to all parts.

Next up, the side seams and skirt pleats!

Francaise Draping 26 Francaise Draping 27

First, pin the skirt pieces to the back piece. The skirt should start about an inch above the waist--this makes it easy to hide the pleats in the side seam. The pictures show this from both the right and wrong sides.

Francaise Draping 28

Sew the seams for a few inches--just enough so you can pleat the sides. These are easy to finish later, but pleating pinned seams could get frustrating :)

Francaise Draping 29 Francaise Draping 30

Now it's time for the front piece. Pin it to the armscye to anchor it.

Francaise Draping 34

Sew the front of the side skirt piece to the front piece in the same way the back piece was sewn.

Francaise Draping 35

Mark the center of the side skirt piece.

Francaise Draping 36

Make a stacked box pleat. The center of this is the spot marked with a pin above.

Francaise Draping 37

Slip that pleat over the lining.

Francaise Draping 38

Fold the seam allowance of the front piece over to create a lapped seam, and pin into place. The side seam and pleats are done!

Monday, March 28, 2011

Draping--Sort Of--A Sacque, Part Three

Draping a robe a la francaise, or sacque. An eight part series! Click the tag or go to the tutorial page for links to all parts.

Now the fun part--taking five rectangles of fabric (back, two sides of the skirt and two fronts) and folding them to make one of the most gorgeous dress styles ever.

Please remember, this is just one way to do it. These were all custom draped--there's no one exact way to do this. If you end up with something pretty, you've probably done it right :)

And now the back draping!

Francaise Draping 1

Start out by dressing your dress form. This is to give the general silhouette of the finished dress. The petticoat does sit lower than my waist does, but that doesn't really affect the final dress.

Francaise Draping 2 Francaise Draping 3

Francaise Draping 4

Secure your fabric to the dressform. The top edge should be even with the seam allowance of the shoulder pieces.

Francaise Draping 6 Francaise Draping 8

Next, make a pleat facing the center back. How deep you make it depends on your fabric and how wide you want your back pleats to be. It doesn't have to be very deep.

The goal is to have two stacked box pleats falling from the shoulders. Look at pattern drafts to get an understanding of how measurements and the number of pleats that go into the stacked box pleats vary.


Francaise Draping 10 Francaise Draping 11

Repeat that pleat on the other side.

Francaise Draping 12 Francaise Draping 13

Make another pleat on top of your first pleat. A little of the first pleat should still show.

Francaise Draping 16 Francaise Draping 17

Repeat that pleat.

Francaise Draping 15

The dress is already starting to take form!

The pleats are still a little too wide at the shoulders--the same pleating technique will be used on the outside edges next.

Francaise Draping 18

Before making the outer pleats, smooth and pin the sides of the dress.

Francaise Draping 19

Pleat the extra fabric at the shoulders. Decide how wide you want the back pleats and form the first pleat there. Then make a second pleat on top of that. Like before, let a little of the first pleat show. This part just takes a little fiddling--it's really quite easy though!

Francaise Draping 21

Pin the finished pleats into place.

Francaise Draping 22

To keep the back pleats neat and the back of the bodice smooth, pin underneath the bottom of the pleats. This should run vertically. Without stitching here, the entire back, not just the pleats, will flow away from the lining and it won't look very attractive. Be careful to not pin too deep, or it will pull the second pleat under the first. Just smooth it and adjust until you're happy with it. Again, refer to pattern drafts to see how this was done on originals.

Francaise Draping 23

Francaise Draping 24

And the back is done!

Next up, the side seams :)

And if you're wondering where the fireplace that seems to be in so many of my pictures is, no, I haven't moved--I was at a friend's house. This also explains the lack of cats!

Sunday, March 27, 2011

Draping--Sort Of--A Sacque, Part Two

Draping a robe a la francaise, or sacque. An eight part series! Click the tag or go to the tutorial page for links to all parts.

Tonight I prepared the fabrics for tomorrow. I decided to narrow the silk to period widths. This will actually make things easier, as I can add the shorter skirt pieces after I'm sure I know where the waist is. On the pet-en-l'airs, I cut the skirt piece according to the lining. It worked, but I think this will be easier.

The finished back piece is one width of 54 inch fabric.  The seam that you see is just the result of making it period width!


The back piece. You don't have to cut the shoulders out like I did, but I find it easier to anchor them than leave them square. This is especially true on the front piece!

I left the bottom few inches of the center back seam unsewn in case I wanted a shorter train. Much easier to sew a few inches than pick out and re-secure the thread!

The center back seam is sewn with a running stitch, and it's selvage to selvage. I love this fabric--it's properly designed to put two motifs next to each other at the selvages. That's so rare these days!


And the fronts. I find this part much less awkward with the armscyes cut.

Tomorrow, actual draping!

Thursday, March 24, 2011

Draping--Sort Of--A Sacque, Part One

Draping a robe a la francaise, or sacque. An eight part series! Click the tag or go to the tutorial page for links to all parts.

A sacque backed dress is one of those dresses that just has to be draped. But, if you're like me and determined to do things by yourself (let's just say my first six years as the only historic costumer for probably five hundred miles shaped me a lot) or have to do things by yourself, it is possible to make one--even without a you shaped dressform.

These instructions will assume you're starting with a fitted lining. A well-fitted lining is possibly the best things ever when it comes to self costuming, as it can be adjusted to anything. The lining here is based on my stripey polonaise, which is an extremely different dress. To adjust it for this, I cut the back pieces as one and reshaped the front pieces so there'd be a gap for a stomacher.

One benefit of a fitted lining is you can have your dressform set to a somewhat you size, which is all I've ever been able to manage with it. Since my dressform has been wearing my 1850s aqua wool jacket for some time, I'm going to assume it is a somewhat me size at the moment! You could put your stays on it for a better fit. I haven't found that necessary myself, but I have very little figure to deal with, which does change things!

And here I present some very unimpressive pictures of the lining. I keep reminding myself that my striped pet-en-l'air looked almost exactly like this at one point! All except for the laced back.


Since I have fitted back on my pet-en-l'air, I wanted to try something new on this sacque. The gap at the top is so it'll fit in the shoulders and have a lacing gap. I didn't want to make lacing just to have it shut, which is what would've happened had I not adjusted my pattern.

It's based on the 1742-1752 dress in Costume in Detail. This dress also uses cross lacing.


The side view showing the darts. While I could get away without the darts with my figure, many dresses had them, and they do amuse me, so I made sure to include them.


And the front. I want this dress to have a fairly wide front opening, so made the front gap wide. One nice thing about this style--the robings don't have to match the front exactly. I expect to drape them a little past this edge. If necessary, a little linen can be added to back them.

Draping of the sacque to take place on Sunday! I have a sewing day planned with a friend. The front of the dress will be a shoulder to hem length of fabric. My main guide at the moment is Diagram XV for the 1740-1750 sacque in The Cut of Women's Clothes. I like the rather Victorian dart in the side that I think will make a waist dart unnecessary. Though if I need that--like I did with the pet-en-l'air--I'm fine with that too.

And what's a start-a-project post without a picture of the fabric?

Wednesday, March 23, 2011

My Dress for the Eugenie Project

A note: I want to eventually integrate my blog and website. I think--just think--I want to move dresses from there to here as part of that. And then I'll use some sort of index on my site or here. I'm not sure! I am going to backdate any that I do until the day after I started this blog. We'll see how it goes!

>

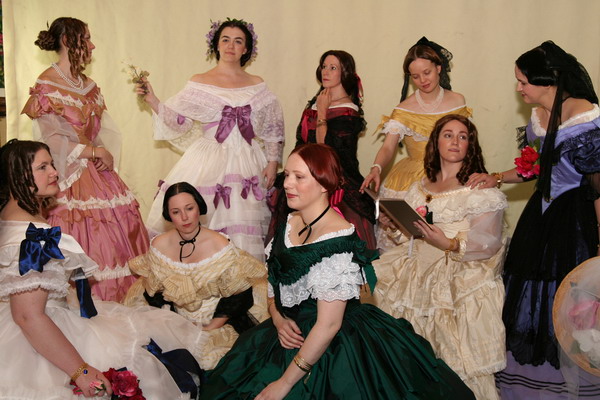
For Costume Con 26 in San Jose, a group of us decided to recreate Wintehalter's portrait of the Empress Eugenie of France and her maids of honor. I portrayed the Baronne de
Malaret. Our group won best in show at the historic masquerade. More can be read about the project at Demode.


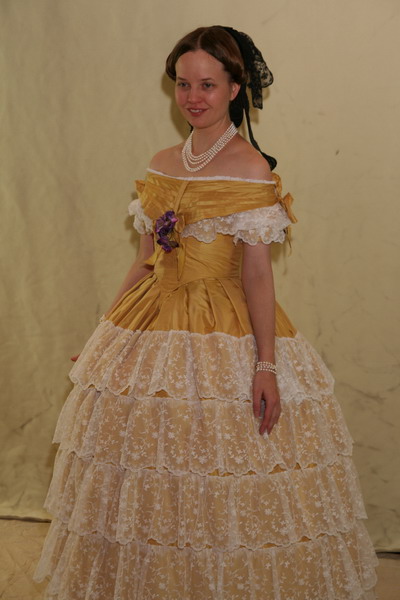
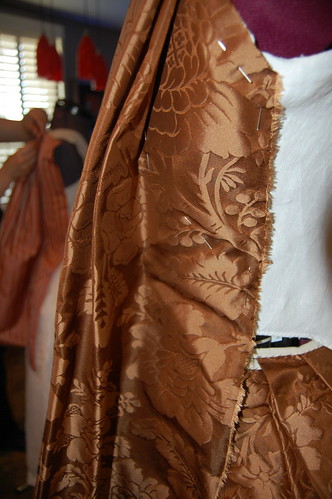
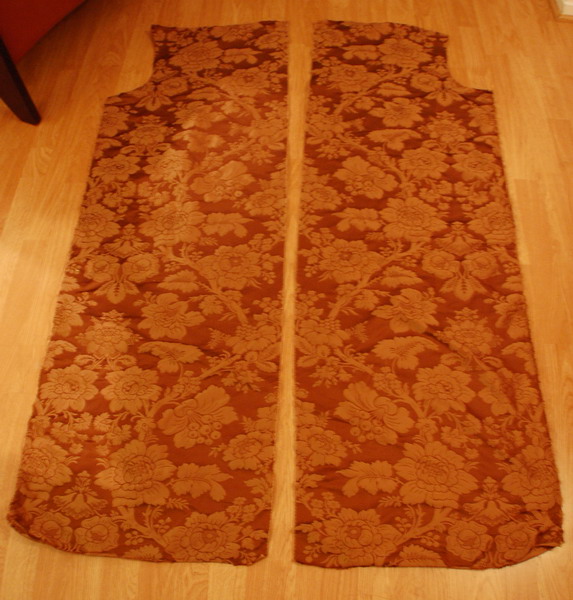
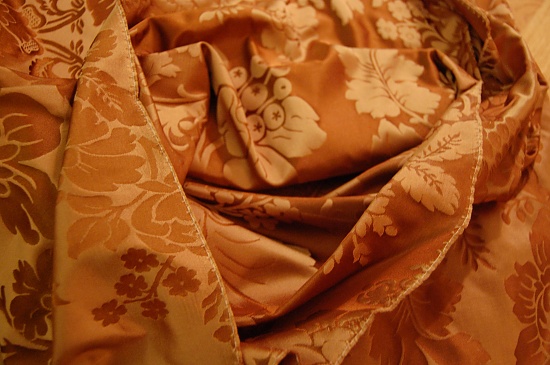
My dress is made of yellow silk taffeta from LA Fred's Fabric in the Garment District and lined with white polished cotton from Payless Fabric. It's trimmed with miles of lace which I bought from an eBay seller who sadly has closed her shop.
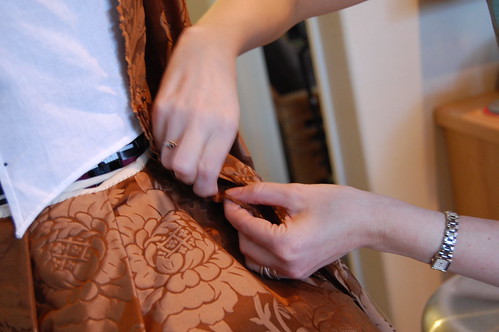
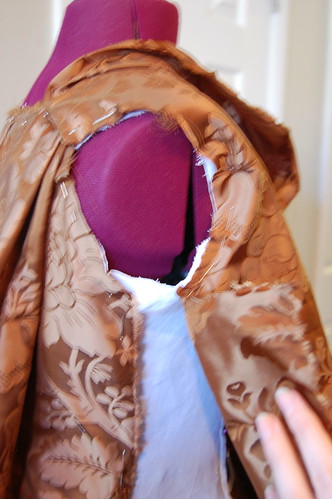
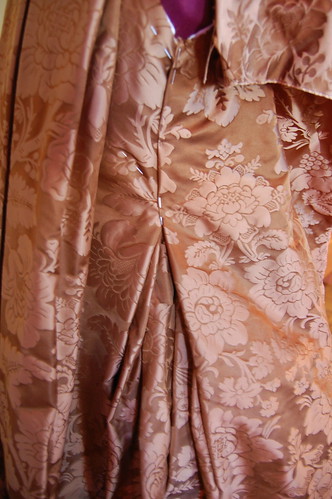
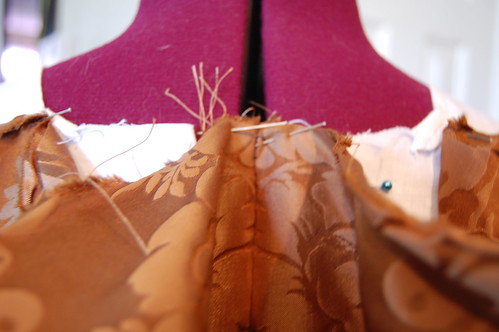
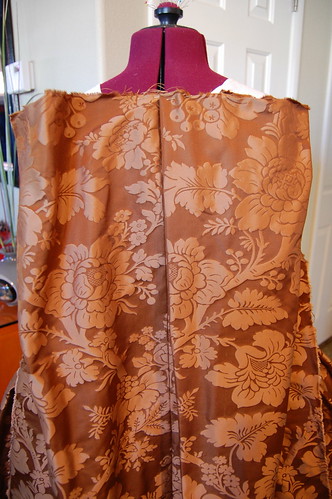
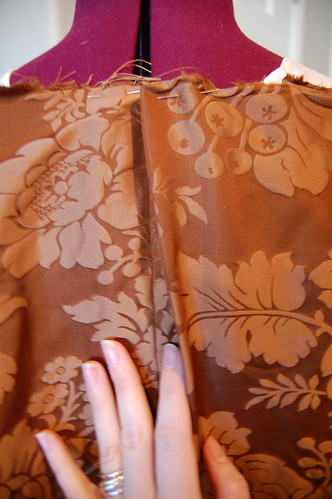
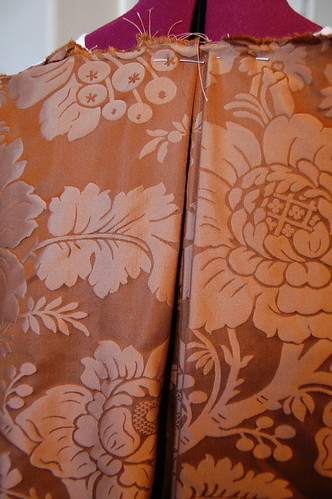
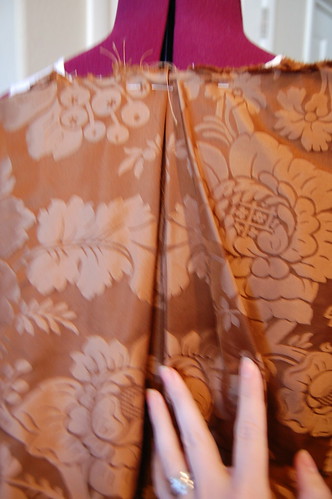
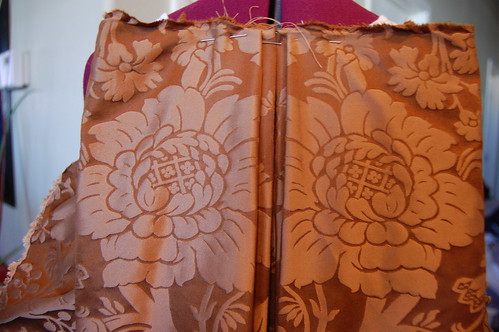
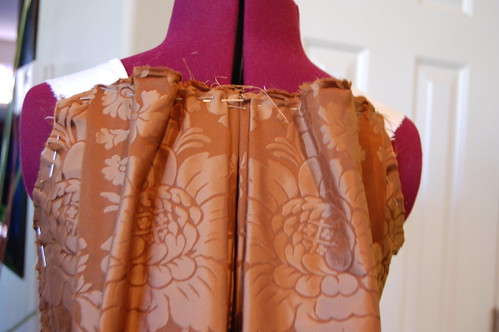
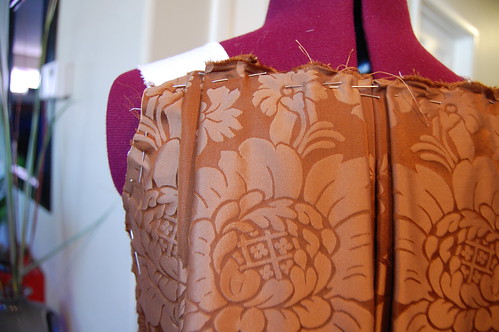
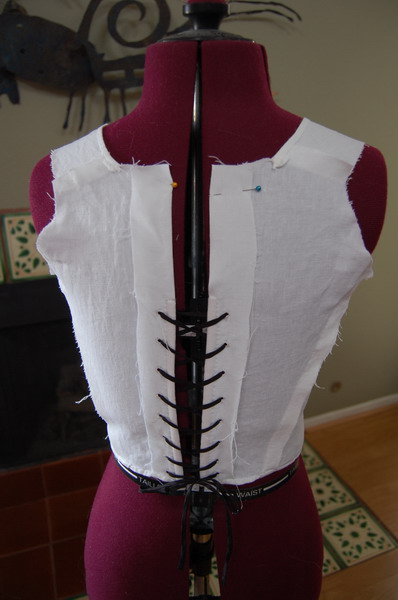
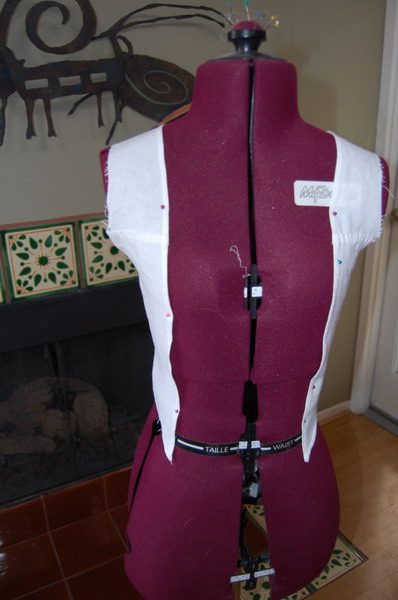
It's boned at the center back, which laces shut, and the center front. I used the same pattern I use for all of my mid century bodices, which started out as the 1870s day bodice
in Period Costume for Stage and Screen. I love having a bodice base!


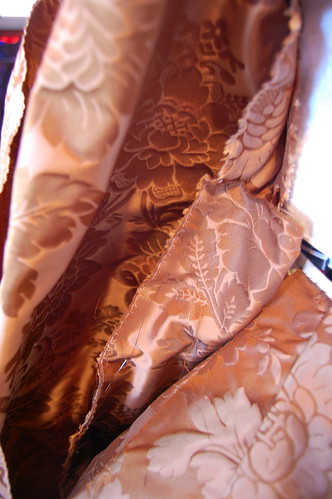
My dress is completely hand sewn, as are all of the underthings except the corset. I'm wearing it over a chemise, corset, drawers, underpetticoat, hoop, and petticoat. Though
some of these are already online, they can all be found on the underthings page for this dress.


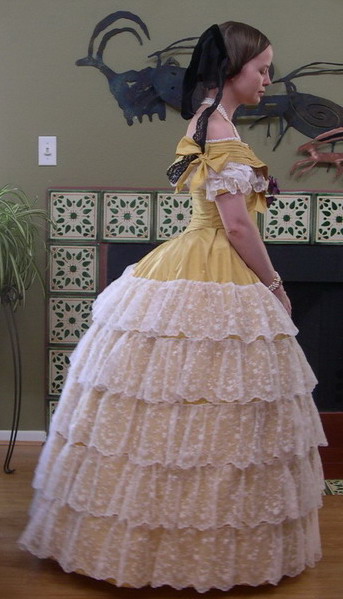
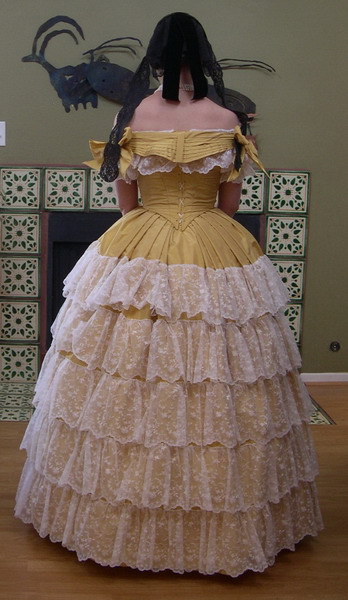
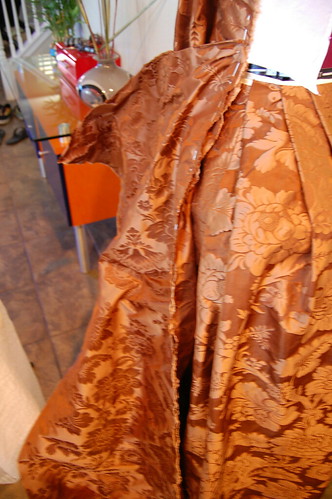
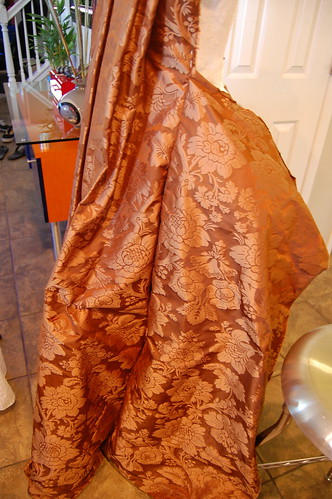
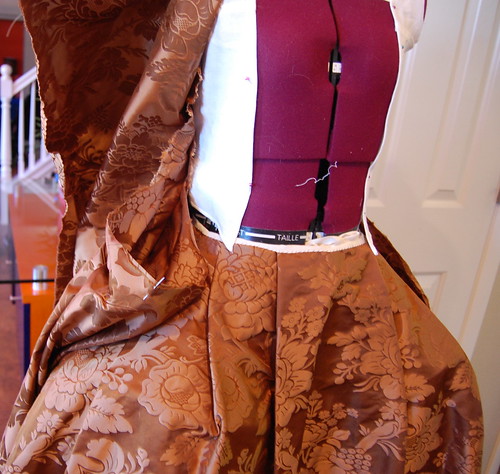
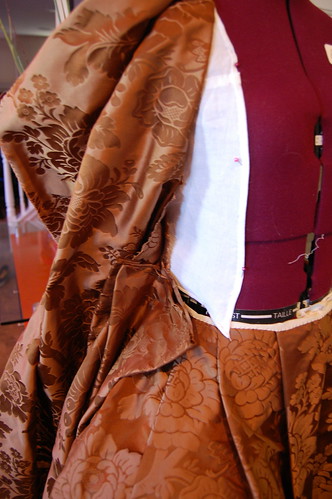
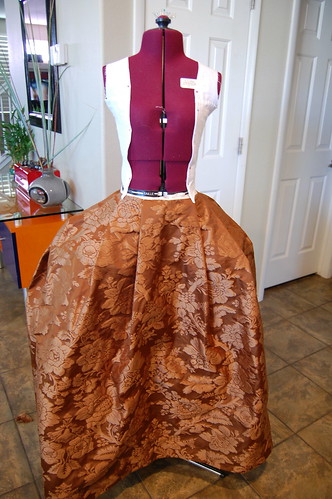
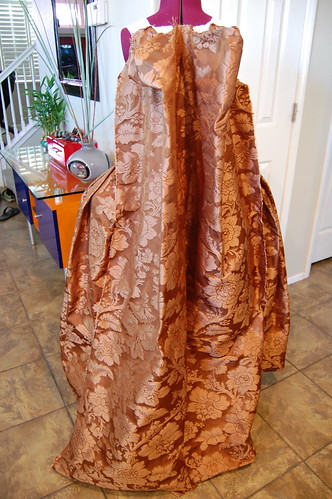
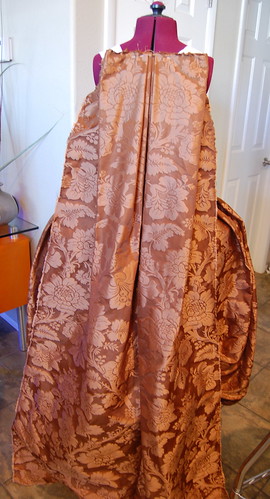
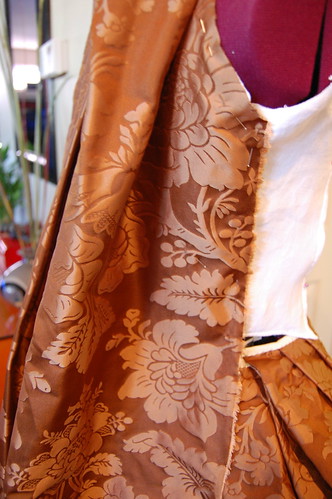
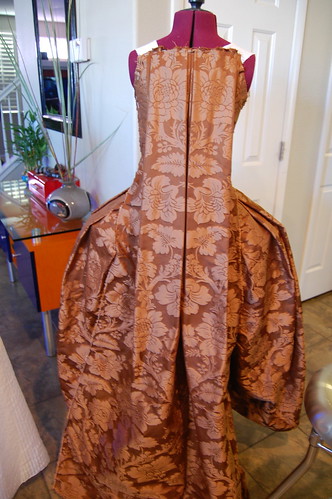
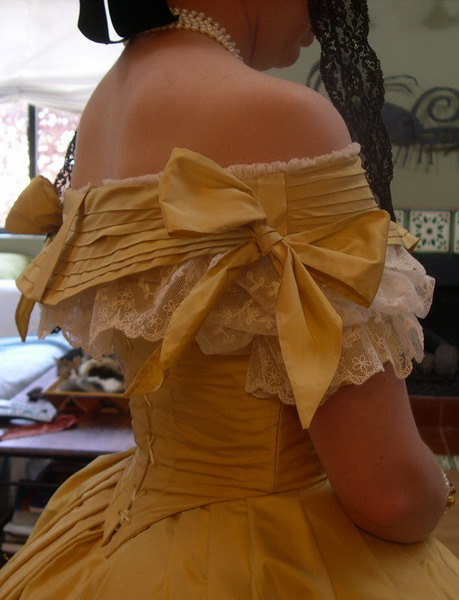
The side and back views. Though the portrait does not show what's happening with the skirt on this dress, I decided to go with just lace flounces. The top flounce is quite short, and it seemed like flounces of a similar length would be pretty. Each flounce is gathered over a cord. I left a little space between each flounce, as I had seen that in several originals and liked it.


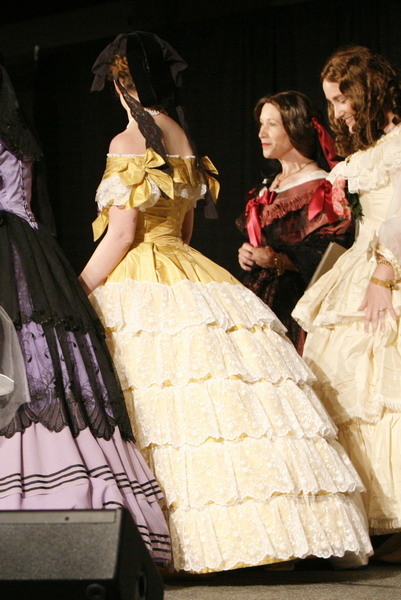
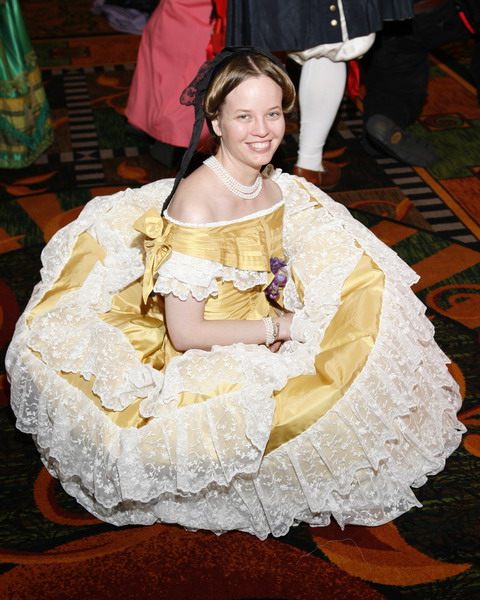
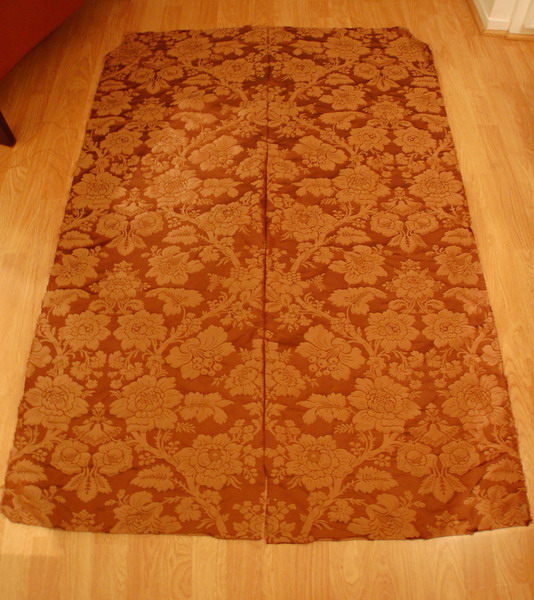
Two pictures of the dress in action. On stage, you can see how easily the hoop can be pushed back. The lightness of the layers is obvious in the picture on the floor. The silk
and lace are very light and really make a dress that has a lot of movement.


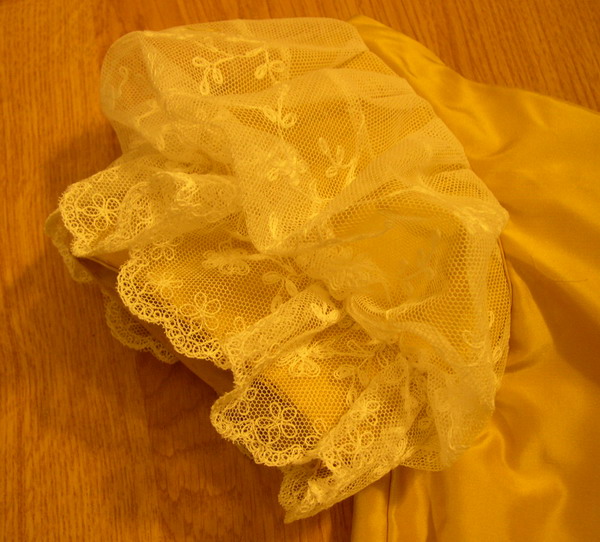
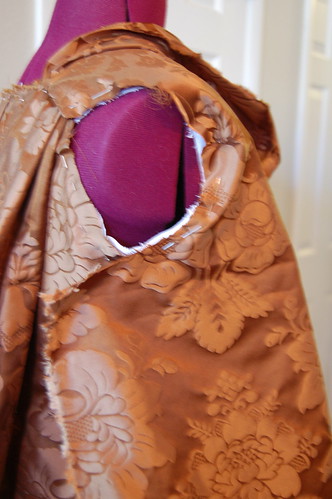
The sleeve is made of a short yellow sleeve with a puff of lace over it. The lace wasn't long enough as is, so I lengthened it with a little cotton net. The bertha then covers the top of the sleeve so this doesn't show.


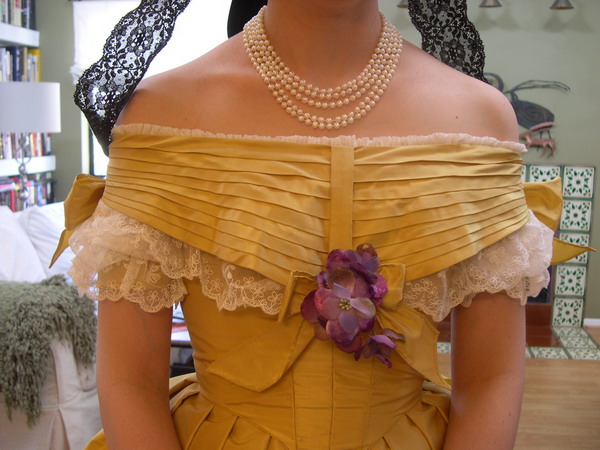
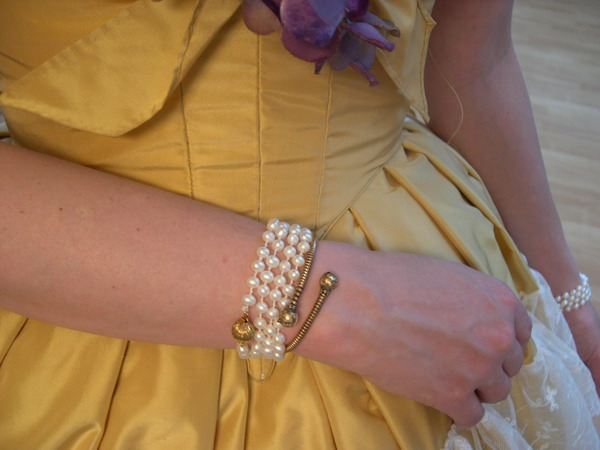
I made the pearl necklace and pearl bracelets for the dress. I bought the gold bracelet on eBay. I have since found a matching one, though it does need to be repaired!


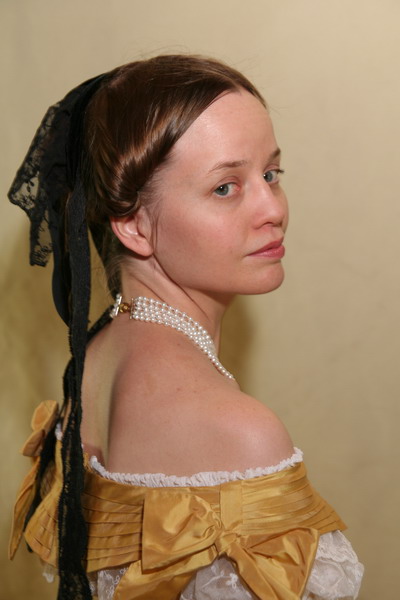
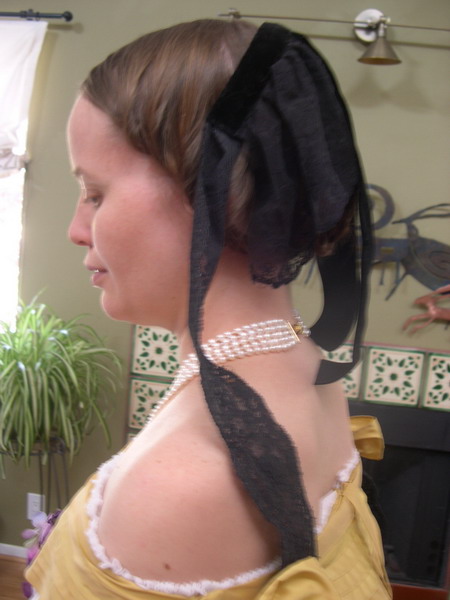
Two views of my lace cap. It's based off a cap in the MFA and made of velvet ribbon and lace mounted on a wire frame. The lace in back is the same as the lace on the skirt.
I dyed that along with the lace for the lappets. While the picture on the right shows a little more of it, the picture on the left shows it with a slightly higher hairstyle,
which I think makes it look better.

Tuesday, March 22, 2011

A Very Cute Sort of Bow

I couldn't go too long without costume content, could I? So I looked through my pictures to see what I could post about, and thought bows would be a good enough start!

I used this style bow both on my 1869 day dress, and the green plaid 1850s ball gown. They're really quite simple.

Start by cutting two strips of fabric that will make the size bow you want. It's a little trial and error.


Fold the fabric in half down the center. Much like double fold bias tape, only there's no need to fold the raw edges under--these will be covered with the center of the bow.

Fold the edges down and run a gathering stitch along the bottom edge.


Pull the gathering until it's nice and tight.


Repeat for the second side and baste the two sides together.


Wrap a piece of fabric or ribbon around the center and sew it closed in back. And voila! A bow!