Monday, May 28, 2012

The Story of a Parasol

Pink Parasol

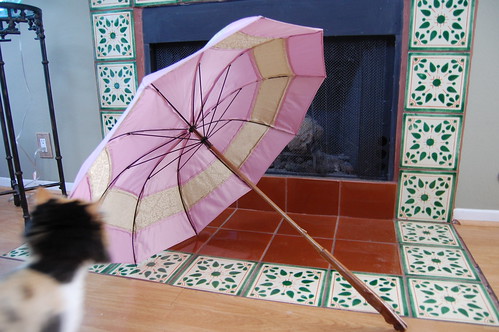
Yesterday, I had full intentions of writing a tutorial for making a parasol cover. I was armed with my camera, silk, and an empty frame.

Pink Parasol

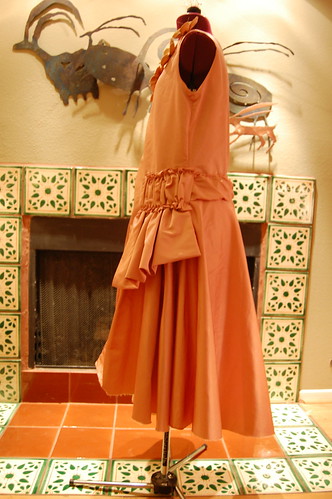
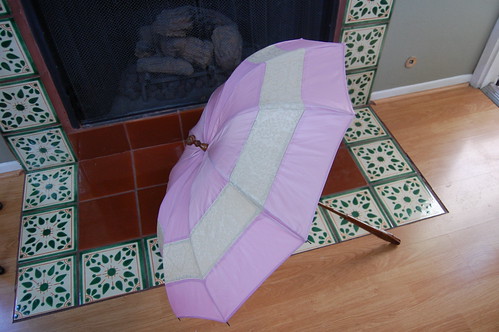
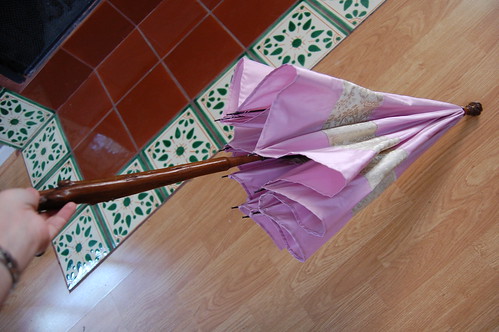
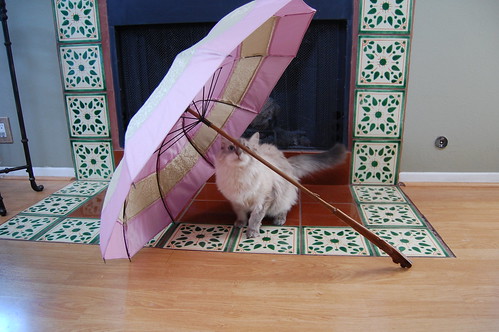
Alas, the tutorial was not to be. Somehow, a parasol I'm very happy with (despite the cover being a tiny bit loose, I'll admit!) after quite possibly the oddest sewing experience ever.

Let me start by saying that the first parasol I made (seen here) went together easily I thought that this one would too. Not so much!

Pink Parasol

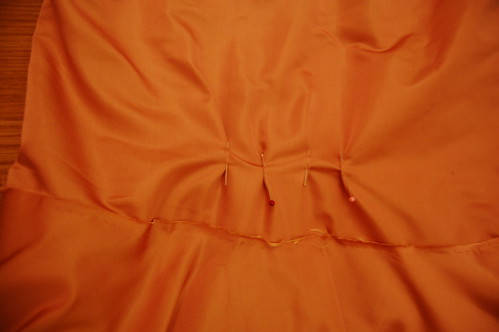
To figure out the pattern for my first parasol, I cut a circle, put a hole in the center, pinned it to the ribs, pinned the center of the fabric between the ribs to get the shape, traced that as a pattern, and voila, parasol cover pattern. This time, that resulted in first a cover that would only let the parasol open half way up, and then a parasol that tilted up like a bowl when I decided to try a circle plus seam allowances. Fortunately, pinning in a tiny bit on the edges from that worked. Somehow!

The frame does have an odd shape. It dips in at the middle and then comes out. I think this makes it very difficult for a very amateur parasol coverer to deal with!

Pink Parasol

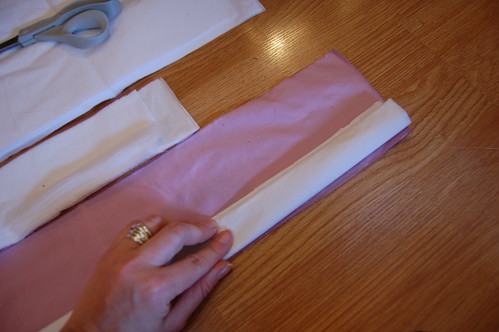
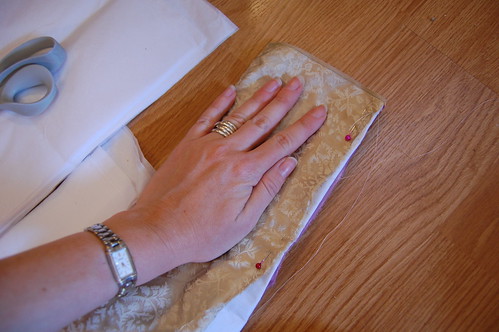
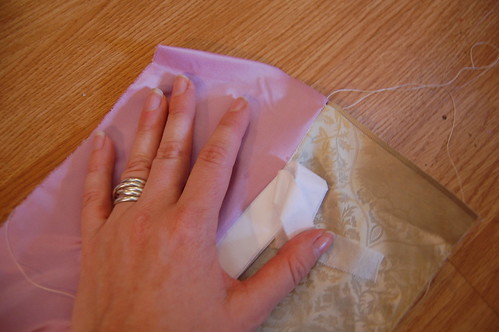
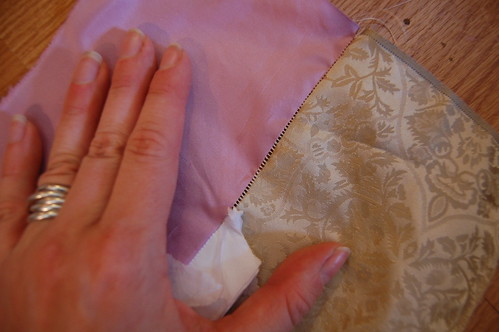
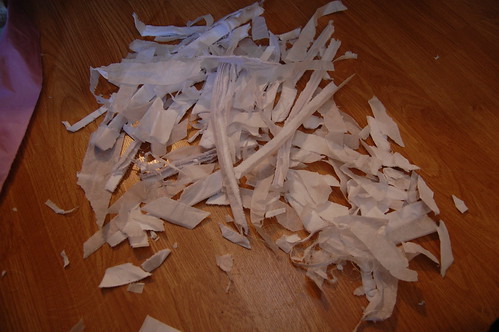
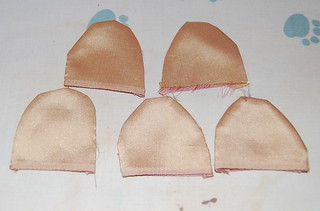
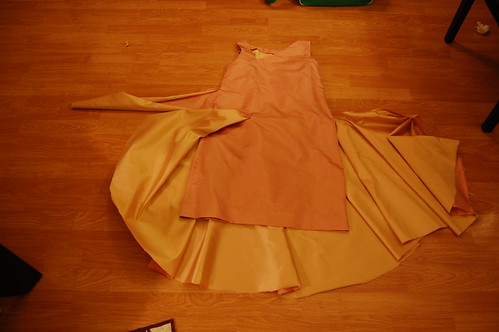
After that, I had a pattern but not enough of my hemstitched fabric. I could only cut four panels from each side, for a total of eight. I needed ten. But easy--I could piece two halves I'd have leftover, and it would work, right? Um, no, only after cutting did I realize that two halves make one whole, not two. Oops. Fortunately, I had all my fabric with me and with leftover pink was able to do two more panels with hemstiching. With paper towels this time, which I preferred to the tissue!

Pink Parasol

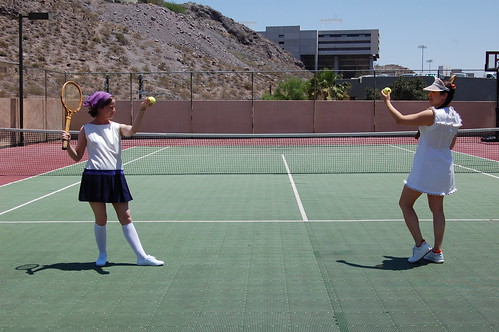
Meanwhile, Twila's parasol was being even more argumentative than mine. It will be beautiful when done though! We decided grain issues were mainly at fault.

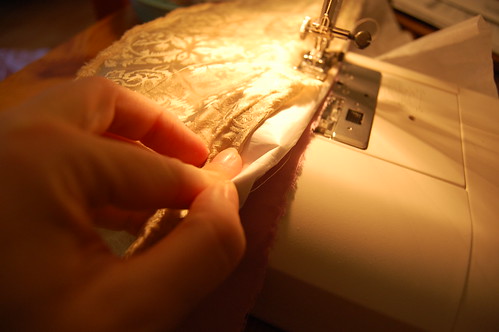
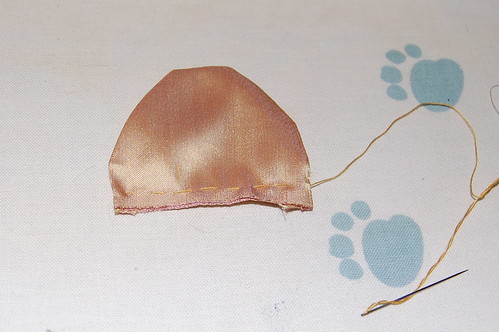
I sewed the cover though, and safety pinned it on, and after a very tense would it work moment, it worked. Huge relief!

Pink Parasol

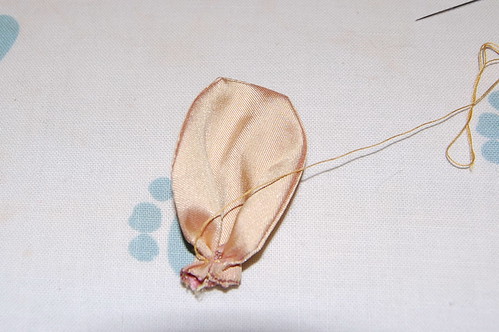
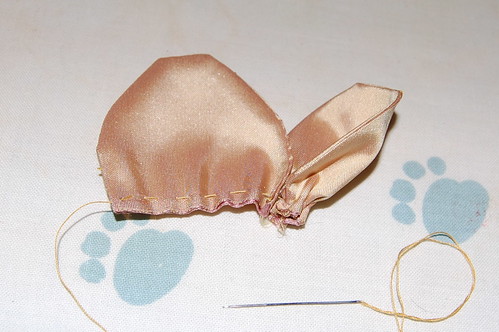
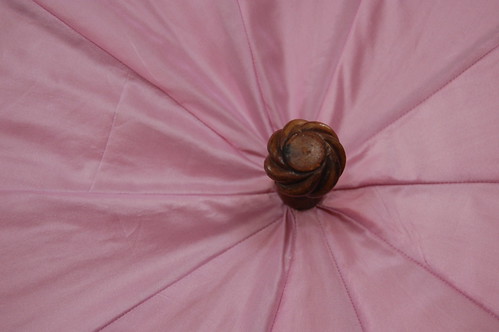
I ended up sewing the cover on twice, as the first time there were two problems. One, I didn't pull the top in far enough. Two, the bottom had to be sewn right next to the hem or the hem would flip up. Though I'm calling it completed, it still has a little left. I need to tack the ribs to the seam allowances just above the joint for four or five more ribs, and then I want to do it lower in the cream part since that fabric frays easily and I want the ribs to sit there better. For all practical purposes though, it's done! And I left it open all night last night to make sure it was in working order. I woke up to a still opened parasol that didn't have anything weird happen to it, so all was good :)

Pink Parasol

Thursday, May 24, 2012

Imitation Hand-Hemstitching. A Tutorial!

The other day I was looking through my fabulous Art of Dressmaking by Butterick. This is the same book that had the technique for making the lace collar for my 1905 waist. I noticed the imitation hand-hemstitching section again and thought it looked interesting to try, but didn't have a reason.

So, today, Twila and I decided to get together on Sunday to recover parasols. I knew I wanted mine to be pink, but I didn't want it to be just pink. So I decided a stripe of my cream figured silk would be nice. Then I thought of an original teens parasol that I own that's green with a stripe of cream sewn in with hemstitching, and decided to try it.

It worked beautifully!

Imitation Hemstitching Imitation Hemstitching

Take your two fabrics, and layer a few layers of tissue paper in between. I gave up on the pins--too difficult through the paper! The book suggested blotter paper or other easy to tear paper. I have a tiny bit of blotter paper from my recent bookbinding adventures, but thought the tissue would be more practical. I folded all the sheets in the package three times.

Imitation Hemstitching

Sew it! Loosen your machine tension and adjust the stitch. I didn't adjust the stitch length as a parasol does have stress on it and I didn't want it too long.

Imitation Hemstitching Imitation Hemstitching

When you're done, it looks like you've piped it with paper. Tear it out!

Imitation Hemstitching

Et voila! "Hemstitching!"

The book suggests facing it or hemming the raw edge. Since a parasol is rather small, I'm going to just press it and hope for the best. If I need to, I'll just tack it down by hand a in few places when the parasol is done.

Imitation Hemstitching

It's very messy :)

Imitation Hemstitching

And for good measure, the book!

Tuesday, May 22, 2012

Flower Tutorial

I was going to start sewing in a few minutes, but Koshka decided it was a good time to sit on my lap. I can't let my big boy down, so here's the flower tutorial!

First, I completely made this up. It's easy and makes pretty flowers though!

These trim the neckline of my pink and gold 1920s dress, and I used the opposite side of my two sided satin, so the gold coordinated nicely with the pink. Also good, the pink nearly matched my skin tone, so the gold really made the neckline pop. I was worried making the dress that you could barely see I was wearing one!

On to the flowers!

First, cut your petals. You need ten total--you sew them right sides together to finish the edges. I didn't take measurements, but just cut what looks right for the size flower you want. They're vaguely Pacman ghost shaped, proportionally :)

flowers1

Sew them right sides together and turn them right side out. Press them flat.

flowers2 flowers3

Run a gathering stitch at the bottom, and pull tight.

flowers4 flowers5

Don't disconnect the thread! Gather the next petal and pull tight.

flowers6

Repeat this until you have five petals. Then sew through all of them a few times until they feel secure.

flowers7

For the center, run a stitch around a small circle. Pull it tight, and tuck the edges under.

flowers8

Sew this center to the flower.

See, I told you it was easy!

Monday, May 21, 2012

1920s Pink and Gold Satin Dress

For Costume Con, I decided I wanted to wear 1920s on Saturday. In part, at least, because my tennis dress took up a suitcase of its own. I had a dilemma though--I wanted to wear a tiara on Saturday night, and neither of my evening style dresses worked with a tiara! So, with 11 days to go and a corset yet to make, I found Ida Frances Pobliner Parker's wedding dress at the Center for Jewish History. I'd directly link, but the links just expire.

I had stash fabric--meant for a pink Tudor dress, which is very fortunate as I cut the overskirt out upside down--and patterns so similar I wouldn't really need to do any fitting, so went for it.

Pink and gold 20s Pink and gold 1923 dress

The dress is fairly straightforward. The most interesting part of the construction is the waist. On the right side, there's an extension of the bodice that wraps around the back. It took quite a bit of staring to figure out what was going on there, since there wasn't a good side view of the dress. It was obvious that the waist decoration didn't end on the side, but not instantly obvious why!

Pink and gold 1923 dress Pink and gold 1923 dress

It's a very good thing the fabric had been bought for a Tudor dress! The overskirt is huge!

It's really quite simple. Except for the waist extension, it's a sheath dress. The overskirt is sewn on over that, and then the waist extension and decoration hides the overskirt join.

The flowers are made with the opposite side of the fabric, and how I made them will be the subject of another post.

Pink and Gold 1920s Pink and Gold 1920s

And some side views without arms in the way!

Construction

Construction

Construction

Construction, showing the overskirt, side extension, and four little tucks I made under the waist decoration to bring it in in back a bit. It initially hung more like a 1960s dress. Oops :)

The waist extension was gathered on the bottom edge, drawn to fit, and sewn right sides together. The top edge was gathered over a cord and then sewn wrong side to right side.

Sunday, May 20, 2012

1960s Tennis!

This year for Costume Con, Twila and I entered 1880s tennis dresses in the historic masquerade. More on that later. But for the day, we wanted easy costumes with tech rehearsal and workmanship judging to think of. She had a brilliant plan--vintage tennis dresses!

Tennis, Anyone, the vintage outfits! Tennis, Anyone, the vintage outfits!

Mine is from a mid 60s pattern. It's made of cotton pique from Farmhouse Fabrics in colors to match my Victorian dress. I got the idea from the pattern envelope--a previous user of the pattern labeled it in white, red, and blue. It's very straightforward. I just followed the pattern instructions. It's unlined with facings. The purple at the waist isn't a waistband, but rather a bias strip of trim between the bodice and skirt and then tacked the the seams. The scarf I'm wearing is I suppose vintage now--it's mine from junior high. It's from Banana Republic back when they still had a jeep in the front window of the store :)

It was my first time using a metal zipper. I used this tutorial from Sew Retro and it may have been the easiest thing in my sewing life to do.

Tennis, Anyone, the vintage outfits! Tennis, Anyone, the vintage outfits!

Now, this is a dress you can get very active in. (Not that we really did, but our hotel had a tennis court! How awesome was that?) So of course, there are little shorts below :)

Tennis, Anyone, the vintage outfits!

Tennis, Anyone, the vintage outfits!

More pictures of us being silly in the Photoset!


And a video of us practicing our presentation!