Showing posts with label cotehardie. Show all posts

Wednesday, August 6, 2014

Costume College--What I wore!

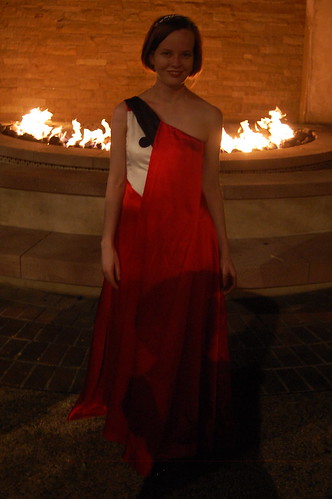
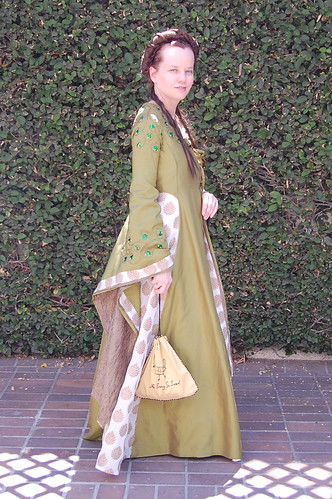
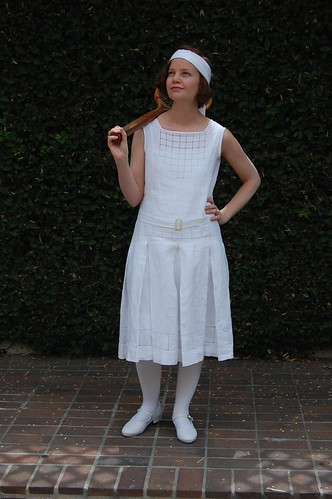
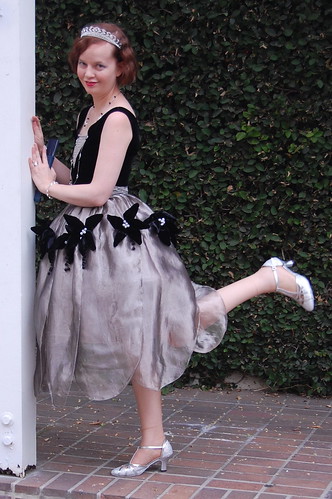
I don't generally do these, but I thought why not do something new and do a post about what I wore to Costume College? I made three new dresses--the Game of Thrones dress, 1920s tennis dress, and 1920s robe de style. I rewore my Angry Birds dress on Thursday night, and my cotehardie on Sunday.

bird got

My Angry Birds dress, with five yards of silk charmeuse lined with three yards of China silk may be the best thing to wear ever. I had thought about a more elaborate dress, but since we were going to the garment district on Thursday, I felt this was for the best! I also loved wearing my Game of Thrones dress. I wore it over my 18th century jump-type-things, which gave a nice fit plus a sort of "period" feel. In the show, they wear 18th century style stays, but I didn't like the way mine looked under the dress, so the jumps it was!
DSC_9029 silver

And then the 20s. How much do I love the 20s? So much! The tennis dress was perfect for Saturday. I couldn't imagine not dressing up at Costume College--I just don't have enough events--but an easy costume is nice. I initially worried that it wouldn't feel costumey enough, but once the whole thing was together, it was. And the robe de style might be my favorite gala dress ever. I wish I had thought to get a picture with the sun behind me, because my legs shadowed through very nicely. So scandalous!
cotehardie

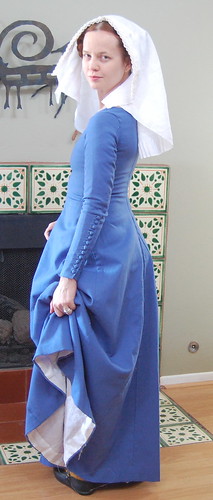
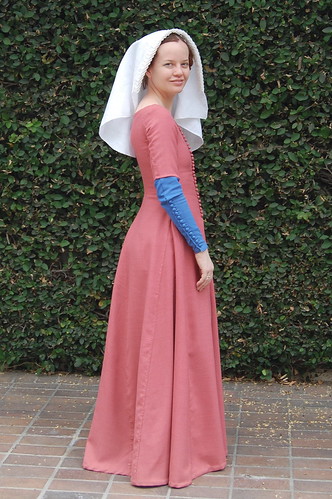
And then I finished with the cotehardie. I really just wanted to wear the veil again. And some advice--if you make this type and travel with it, put the dowels in it. It packed perfectly! I had already refreshed it by putting the dowels back in and spraying it with water and baking it. It had flattened a little since the last wear, so I was quite happy I didn't need to completely redo it!

And that was my wardrobe! Next year's plans include the 1890s bicycling sweater and outfit I didn't do this year, a teens evening dress with beetle wing embroidery, another Game of Thrones dress, and...

Monday, May 5, 2014

The Completed Cotehardie!

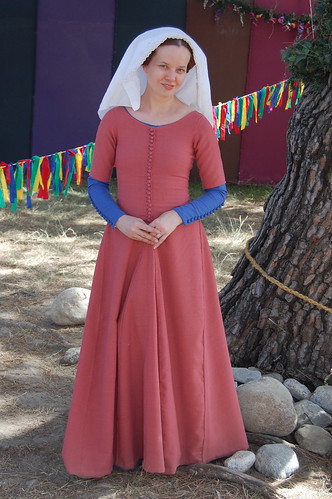
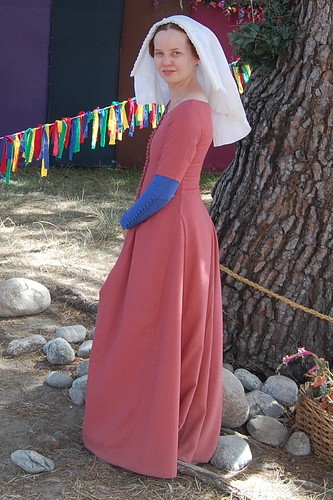
Cotehardie at Faire 7 Cotehardie at Faire 5

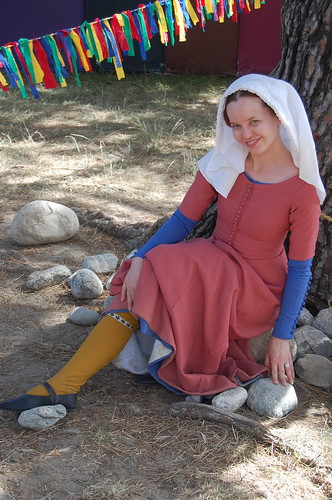
My completed cotehardie! You can read about the construction here, about the veil here and here, and about the hose here.

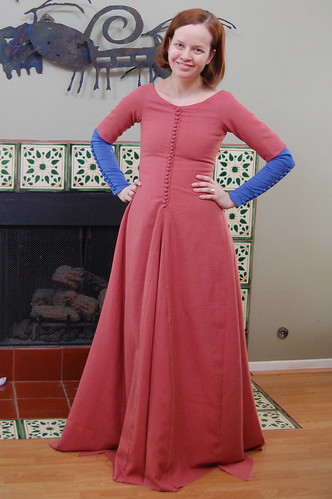
I'm wearing two dresses--known as cotehardies in costuming circles. The blue dress is a supportive layer that laces up, and could be worn on its own or with an overdress. The pink overdress is cut to the same pattern (except I should've raised the neckline a bit) and closes with buttons. I'm wearing both dresses over my Regency short sleeved shift. The blue sleeves are a little too tight to be comfortable over my 18c shifts. With a little wear they would be fine. I considered making a sleeveless shift (there are extant examples), but in the end, my Regency shift worked fine.

Cotehardie Construction

I am very used to figuring out my own construction information, so making a cotehardie was a new experience in more than one way--not only was it a new period, but instead of turning to books, I turned to some rather excellent sites on the internet. The site I used most was Charlotte Johnson's By My Measure. I've been making buttonholes for years, but used Tasha Kelly's medieval buttonholes with squared off ends. I like doing them this way very much! She also has very informative articles on the dress. I used this tutorial at The Medieval tailor to make buttons. I used an EOS lip balm container for tracing the circles. It was in my sewing bag and a perfect size. Sarah Jane's cotehardie posts are interesting as well. She made hers a little differently than I did, and it's interesting to see the differences. The blue dress is made with a three loop fingerloop braid that I used this video tutorial for. For the pattern, I used my Angry Birds dress pattern, which may seem odd until you realize it's just a fitted dress with a flared skirt and no waist seam. It just needed to be fitted a bit more to get rid of the darts and cut with gores instead of a flared skirt. This in turn was based on my Grumpy Cat sundress, and I used that as a starting point for the neckline.

Both my pink and blue cotehardies are made of wool from William Booth, Draper, and the blue cotehardie is lined with linen from them as well. I used China silk from Dharma Trading for facings on the blue dress. My buttonhole twist for the eyelets and buttonholes is from Superior Threads.

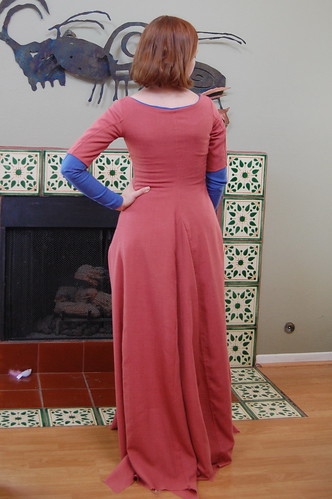
The pink dress is unlined. The construction remains the same. The two dresses are made from the same pattern. The blue dress laces as it's meant as a supportive layer. The pink dress buttons and no stress is placed on the buttons. I meant to raise the neckline of the pink dress by half an inch, but forgot.

I sewed all the seams, except the armscyes, with flat felled seams.

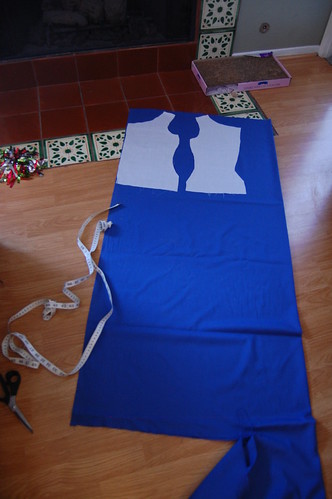
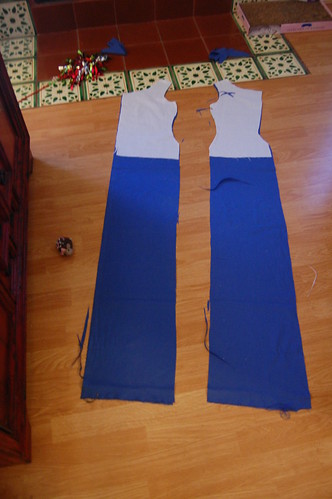
Each dress took about three yards of fabric. The four main body pieces were cut from one width of fabric and measured shoulder to hem. The gores were cut from one width as well, and measure hip to hem. I had enough fabric leftover from the body pieces to cut the sleeves.


Cotehardie Construction 1 Cotehardie Construction 2

To cut the main body pieces, I placed the front and back pieces next to each other. I ripped the fabric at the length I needed, and cut straight down. You can see the leftover that I used for the sleeves.

Medieval Hose--Construction!

Cotehardie at Faire 9

For my cotehardie, I made a pair of bias cut wool hose from the Medieval Tailor's Assistant. They're made of lightweight worsted wool from Burnley and Trowbridge, and I'm using their wool tape as garters. My shoes are the Juliet Garden Shoes from Revival Leather Goods.

I had initially planned on making a full tutorial for these, but quickly found that would be impossible as I hopped around with muslin pinned to my calf, hoping I wasn't going to impale myself too badly, and making somewhat random cuts into that muslin in the hopes that they would somehow make sense. The short version is, take a large piece of muslin, mark the bias by drawing a line along the length, pin it tightly to your leg--the bias line on the front, the pins on the back, cut slits around the ankles for the gussets, pin in fabric to fit the gussets, and trace your foot for the sole. This method is described in the book. I do, however, have construction information!

Wednesday, April 16, 2014

Hemming Without Help, A Tutorial!

Some people are lucky--they have people to mark their hems. Others of us are not, we have to muddle through on our own. While hemming my blue cotehardie, I realized that this is something I've done often enough (I've never had help with a hem!) that I could do a tutorial on it. There are other methods, of course. You can use a dress form, and there are chalk hem markers, but I find this method works well for me, and is quite reliable!

In this tutorial, I'll demonstrate marking the hem on my pink cotehardie, and demonstrat hemming both a lined skirt, the blue cotehardie, and unlined skirt, the pink cotehardie.

Hemming 1 Hemming 2

When making skirts that will be leveled at the hem, I always make them a little bit too long. You can see that here. The gores in particular are quite long on this one. When I cut them, I didn't take the longer diagonal edge into consideration, knowing that it would be fixed when the dress was hemmed.

If you're sewing by hand, leave the last inch or so unsewn so you don't have to worry about picking out and refinishing seams later.

Tuesday, April 1, 2014

Frilled Veil, Part Two

Since I've all but finished the frilled veil to wear with my cotehardie, I thought it was time to complete the tutorial started here.

DSC_7170

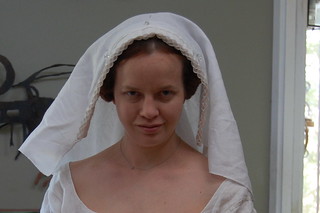
Here's the completed veil with a sneak peek of the cotehardie. I'm still planning a deep pink overdress with short sleeves and buttons up the front. I do feel sad to cover this dress though! But onto the veil :)

The first frilled veil I came across while actively searching for something to put on my head was at Medieval Silkwork. I thought I had come up with a veil that was a mix of those that inspired me, but looking at my sources again after wearing it, it's obvious that I was most inspired by hers. It's a lovely veil, and I wanted to make sure to give proper credit to my inspiration!

Frilled Veil 1 Frilled Veil 4

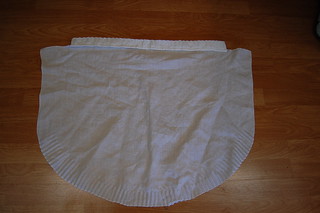
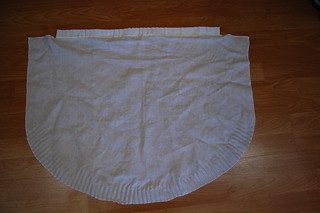
Here's the veil, laid out flat. It's sewn with a running stitch to a large half oval. Both right and wrong sides are shown.

Frilled Veil 2 Frilled Veil 3

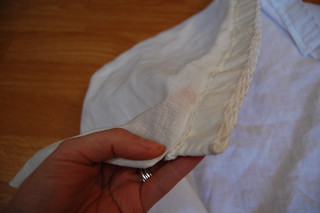
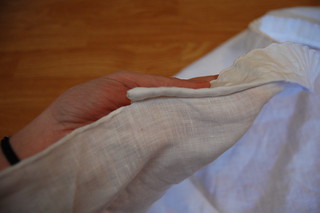
And here's a closer view of the same thing. You can see that I only sewed the frill to the veil at the edge of the binding.

Frilled Veil 5 Frilled Veil 6

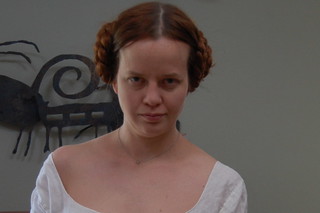
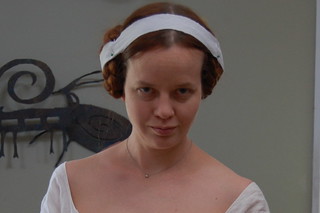
Now, putting the veil on. You need to start with an appropriate hairstyle. Looped braids were very popular, and I decided to imitate those by wrapping my fake braids into sideways buns. I just wrapped the fake braids around my own very tiny braided buns. I had planned on making a St. Birgitta cap since I didn't think a band would stay put on my apparently fussy head (nothing likes to stay on it), but when trying it on, I found a solution--pin the band to the buns. The band is just a bias strip of linen that I really need to hem before I wear. It's pinned in back, and to the buns. I used green pins so they would stand out. In the picture with the cotehardie, I put my hair in three buns--the two shown and one at the base of my neck. In the pictures here, two. I think that I prefer three to better anchor the band in back.

Frilled Veil 7 Frilled Veil 8

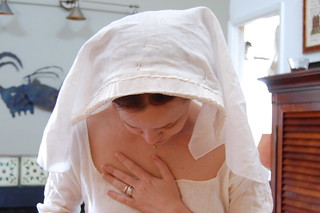
Now, pin the veil to the band. Start with the center, and pin perpendicular to the band. You can see the back of the pin sticking out in back a bit. I'd bury it better if I were actually wearing it. Then, use two more pins to pin the veil at your temples. I find it works best about where I pinned the band to my braids. My pins are from The Norse Gypsy Forge on Etsy.

And that's it! It's really quite a comfortable and secure way to wear a veil.

References:

Research and Thoughts about Frilled Veils at By My Measure (and she has a lovely frilled veil on her Fitting Yourself page

Frilled Veil in Action at Medieval Silkwork

Starched Frilled Veil, at Katalfalk coincidentally the same site I learned honeycomb smocking from.

The Fretwork Veil at Family de Huntington.

LInks to many veils at Larsdatter.com