Showing posts with label 1913 mata hari dress. Show all posts

Wednesday, August 19, 2015

A 1913 Dress Based on a Photograph of Mata Hari

IMG_20150804_213733

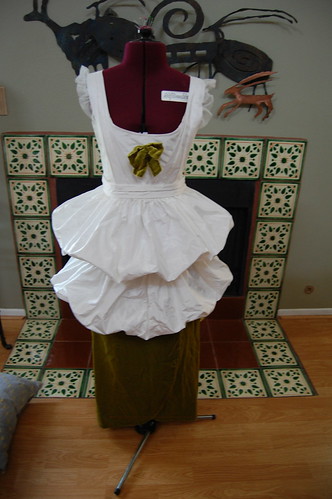
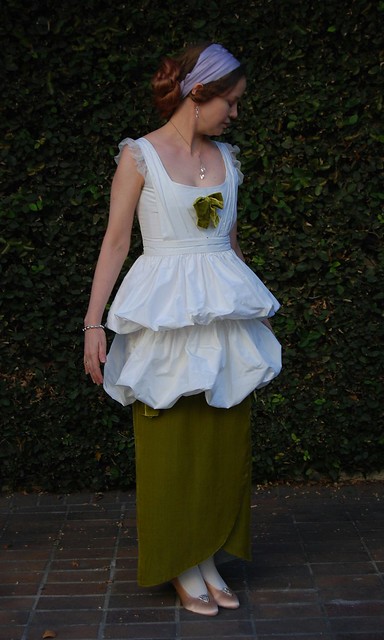
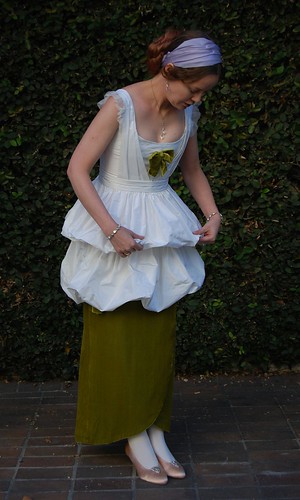
Do you know those dresses that you see and instantly decide that you must have? That was my reaction when I saw this dress in a 1913 photograph of Mata Hari. I abandoned my Costume College gala plans and decided to make it. I'm so glad I did--it's a bizarre little dress and was so much fun to wear!

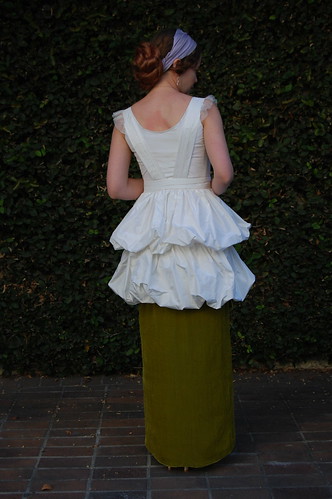
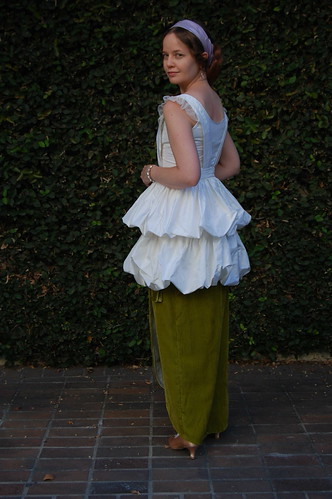
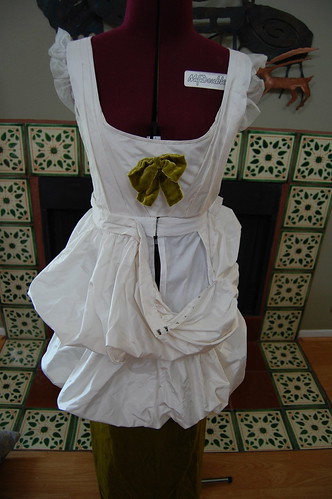
I used my bustle bodice pattern as a base, lowering the neckline and raising the waist. I draped the side pleats on my dressform. It closes at center front with a front panel covering that opening and snapping into place on the left. This is illustrated in this post.
DSC_0684 DSC_0685

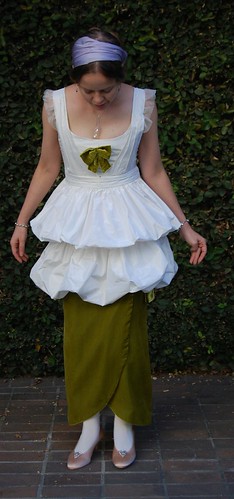
The dress is made of silk taffeta from Pure Silks and my bandeau and the velvet for the skirt are from Thai Silks. The lining is the combed cotton broadcloth sheeting from Dharma Trading. The sleeve flounces are silk net.
IMG_20150804_214032 IMG_20150804_213500

My hair is based on this style, and though obviously smaller, I was quite pleased with how it turned out and wish it had photographed more true to life. I did realize though, that this particular style is just 1860s with a bandeau. My necklace is from The Littlest Sister on Etsy, and my earrings and bracelets are from Dames a la Mode on Etsy. My shoes are Capezio ballroom shoes with vintage shoe clips.

Closure and construction information can be found here. Although after my first dress with strange closures I thought I'd never make another one, I've really come to love making dresses with multiple closures. Figuring them out is quite satisfying, and I think they make rather lovely dresses with the hidden closures.


1913 Mata Hari Dress--Closures and Construction

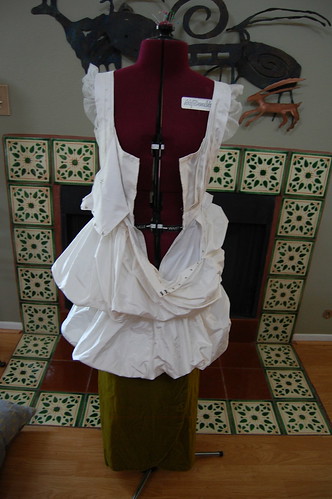
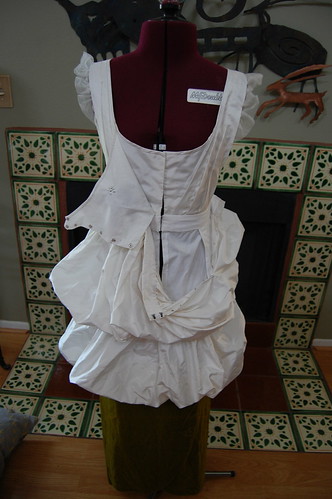
The dress I made based on a 1913 picture of Mata Hari has rather interesting construction. I based it off period examples, and although 1910s dresses commonly closed in back, I decided that mine would close in front for ease of dressing.

DSC_0955 DSC_0956

Perspective with this dress is slightly odd. It never seems to look the same in pictures as it does in real life!

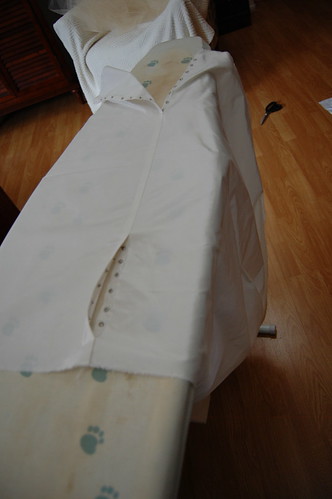
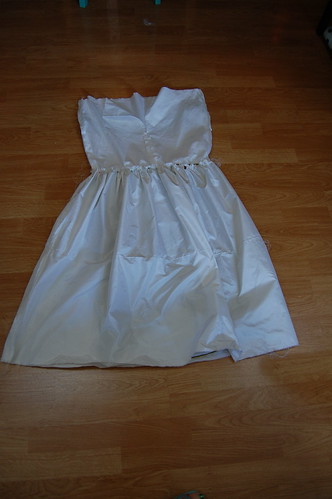
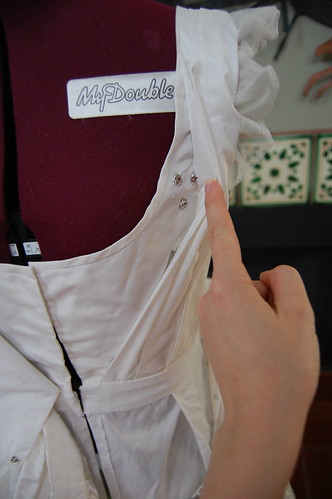
The dress opens at center front. The bodice is attached to a straight skirt that also opens at center front. It closes with hooks and eyes.

DSC_0958 DSC_0959

A panel of silk lined with cotton covers the closure and snaps into place on the left side.

DSC_0960 DSC_0963

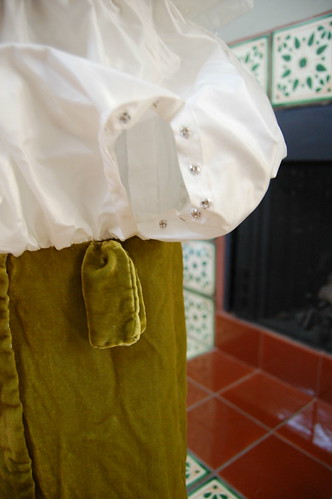
The waistband of the bubble skirt closes separately on the left. The picture on the right shows a secret passage in the lower bubble skirt. I closed the bottom part of the seam with snaps, so a tailor's ham would fit through and you can iron it. A good thing, as it is looking a little worse for wear after Costume College!

DSC_0455 DSC_0456

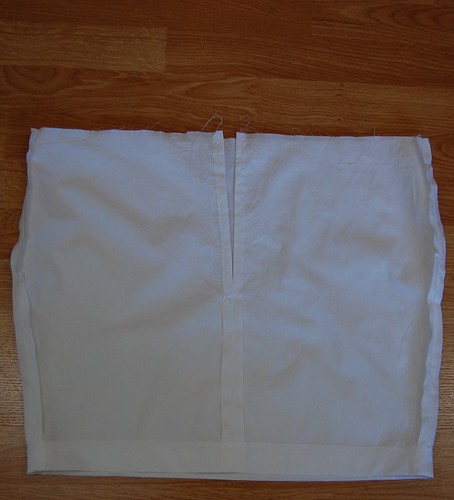
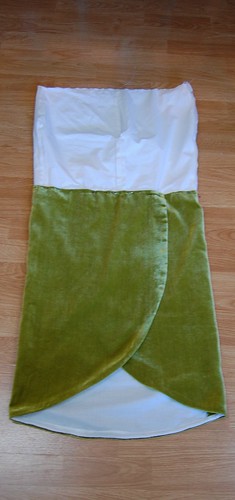
The base skirt is shaped a little like a pencil skirt. It needed to be wide enough to fit comfortably over my hips and narrow enough for the wrap skirt and bubble to look good, so it tapers in. The waist measurement is wider than mine, and it's fit to the bodice with darts.

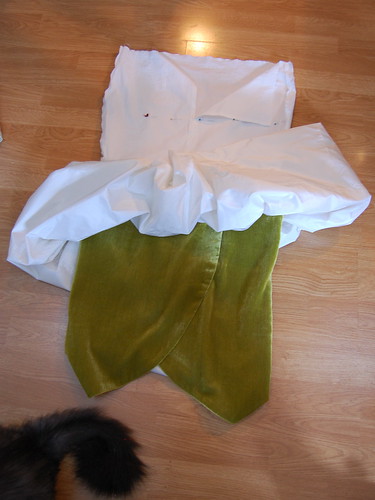
The base skirt is hemmed, and the raw edge of the wrap skirt is sewn on that. It doesn't matter that the wrap skirt edge is unfinished, as it's covered by the bubble skirt.

DSC_0457 DSC_0458

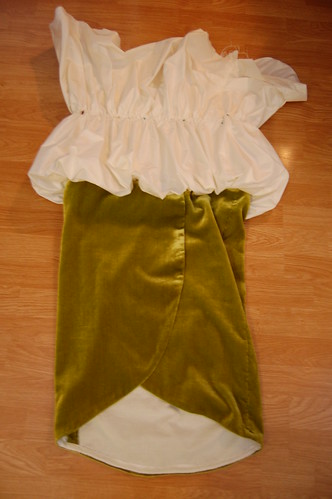
The bubble skirt is a giant tube with gathering stitches run at the bottom, middle, and top. The bottom seam is sewn for about an inch or two and then left open for a few inches that close with snaps so the finished skirt can be ironed. The bottom gathers are pulled to fit the base skirt, pinned on top of the velvet wrap skirt, and sewn into place.

DSC_0460 DSC_0461

The center line of gathering is pulled in and pinned along the marked line seen on the left. It's then sewn to that.

The top is gathered into its own waistband, and the base skirt is sewn to the waistband bodice.

Though it is quite intricate, the multiple closures are worth it to get these complicated styles.