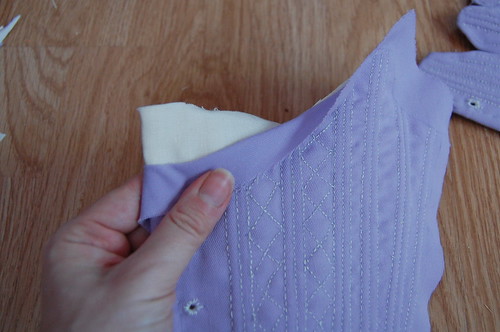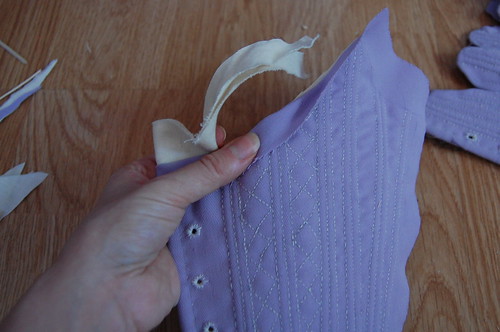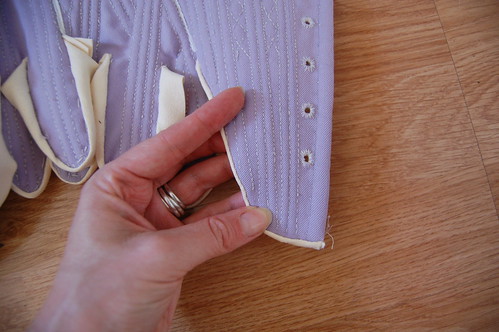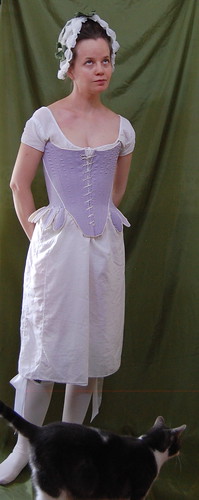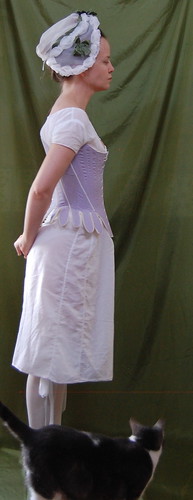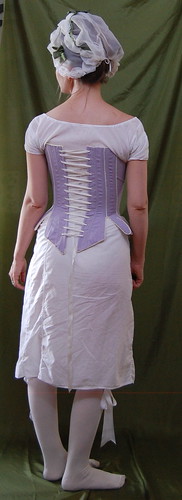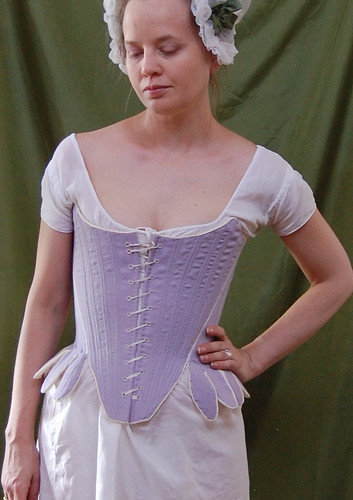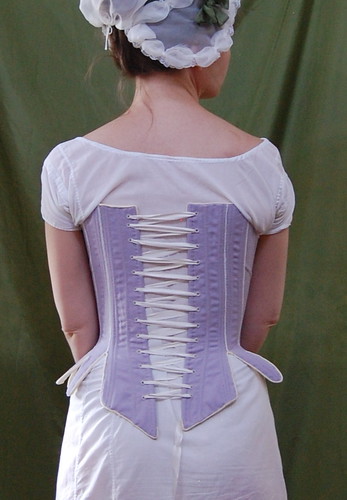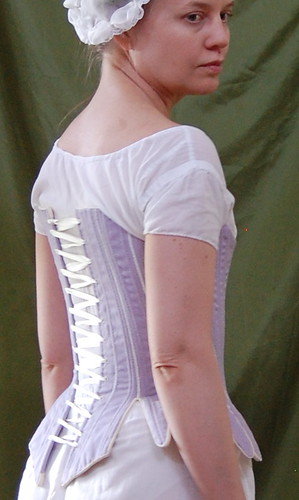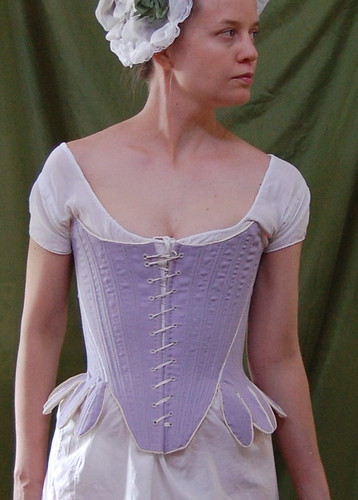
For my robe a la piemontaise and redingote, I decided I wanted new stays. I wanted them to be a little different than my other stays, so I decided on front lacing (though this wasn't the most common form of stays) and strapless.
I used the 1798 jumps in
Corsets by Jill Salen as a starting point. I combined two pattern pieces and made them without the alterations. I wanted them half boned, but used
these stays as my main inspiration for boning channels. My stays are made of a layer of purple wool from
Burnley and Trowbridge, a gift from a friend (thank you!), two layers of linen buckram from
William Booth, Draper, and lined with linen check from Burnley and Trowbridge. They're bound in ultrasuede, which I bought an eighth of a yard of on eBay. They're boned with reed, which I cut in half to make narrower. There are two reeds in most channels. The front and back lacing areas are reinforced with either metal or
plastic artificial whalebone. All the sewing is done with linen thread, though I wish I had used silk!
I need to thank
Nicole, of Diary of a Mantua Maker for not only the ultrasuede suggestion (I was looking for a non leather alternative), but for explaining just how 18th century stays managed to have such a narrow binding--the outer fabric seam allowance was basted over the edges. I was lucky enough to see this on an extant set of stays in
Lara Corset's collection.
More pictures of the completed stays can be found
here.
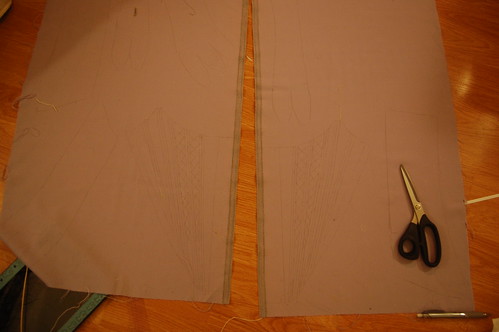
I started by tracing my pattern and boning channel placement onto the wool outer layer.
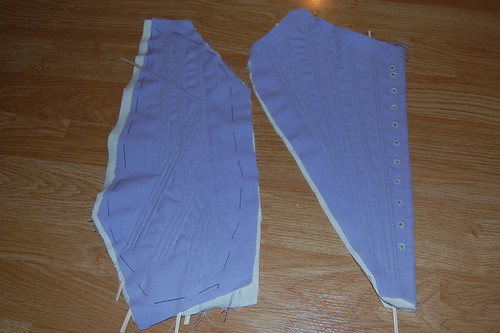
I then basted the pieces to two layers of linen buckram, and cut them leaving a wide allowance. The basting stitches can be seen on the left. After sewing all the channels, I trimmed again, leaving a seam allowance on all edges.
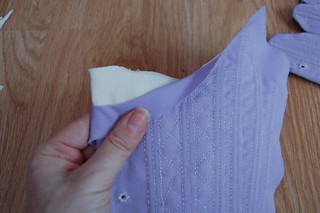
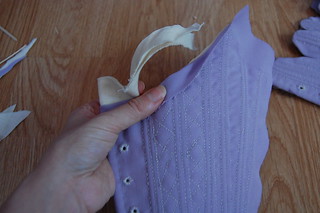
After inserting the boning, I trimmed away the linen seam allowance on just the neckline, underarm and waistline.
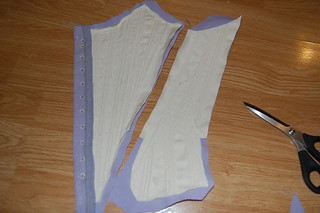
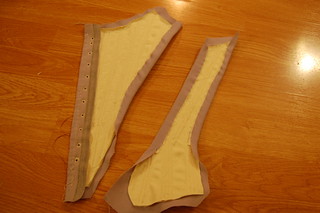
Here are the trimmed pieces. You can see the excess wool on to and bottom. To prepare the pieces for sewing, I basted the seam allowances down to the linen.
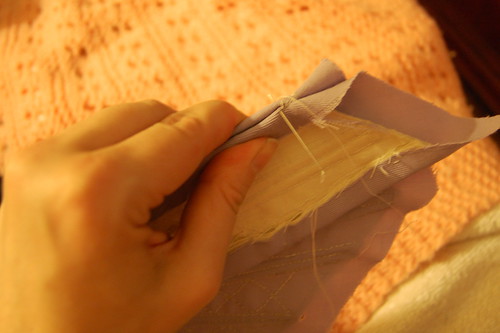
The pieces are sewn together using a closely spaced whipstitch.
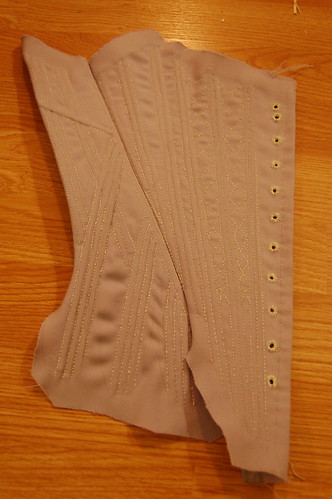
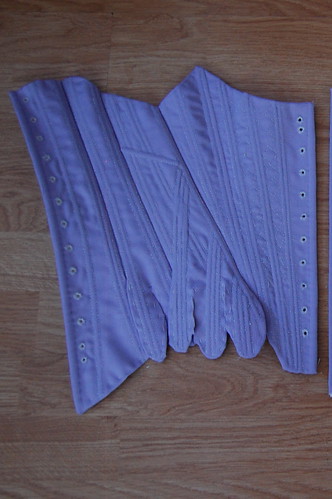
Here's what it looks like when it's sewn together. Once all the pieces were sewn, I folded the excess wool over the top and basted it to the linen. This basically binds the stays.
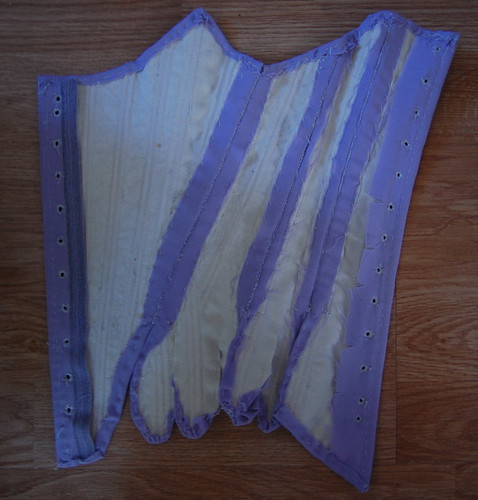
Here it is from the inside. You can't wrap the wool perfectly around the tabs because of the way they're cut, but it does help!
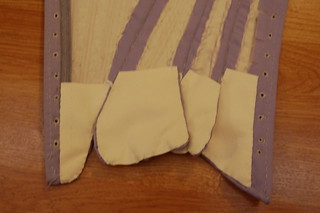
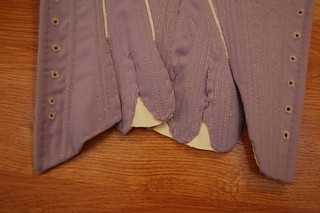
I lined the tabs separately in ultrasuede based on
this example at 18th Century Stays. I cut the ultrasuede to the shape of the tabs, and then trimmed.
Before binding, I sewed a 1/8" piece of cotton tape to each seam. This was common on stays.

Here they are trimmed. The lining goes all the way to the edge of each tab.
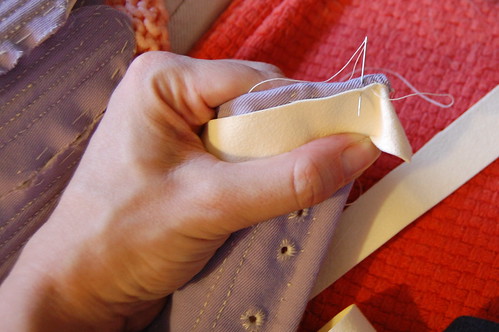
Then it was time for binding! The ultrasuede has a firm edge, so you don't need to turn it under. Since it's sewn through the fold of the wool, you can make it very narrow from the outside.
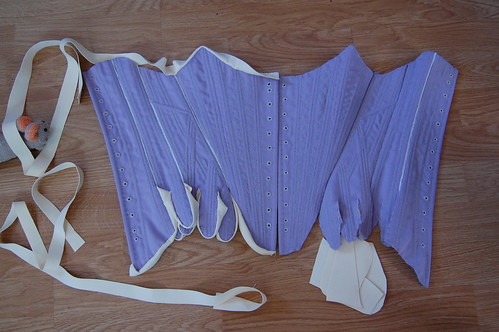
Here's the binding partially sewn on. I like the sew the tabs first since they're so annoying :)
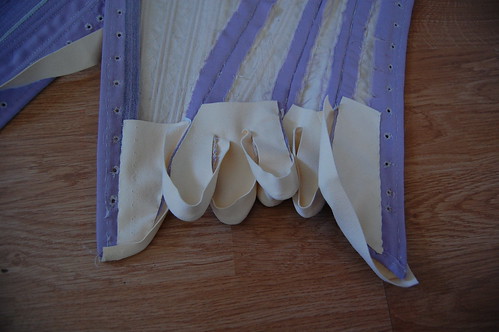
The binding is turned in, as normal, and whipstitched to the back of the stays.
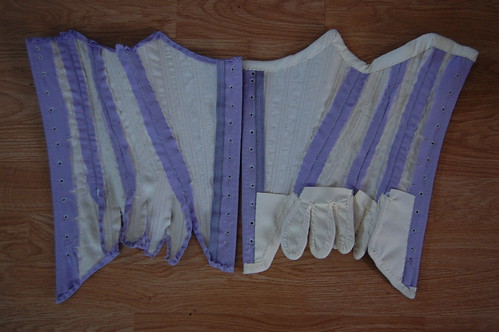
And here it is, half done!
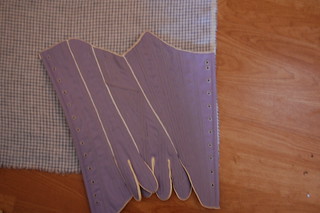
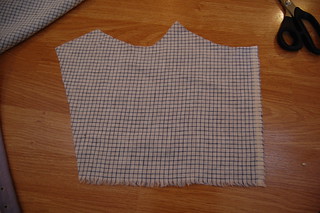
Since the tabs are already lined, the lining itself is quite easy. It doesn't need to be seamed--tracing the finished stays works fine!
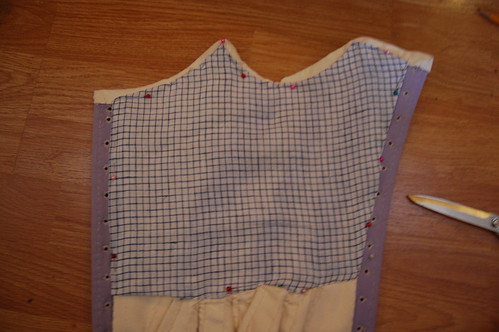
The edges of the lining are turned under, and it's whipstitched in. It doesn't cover the eyelets and it covers the edge of the binding, making it easy to replace if necessary.
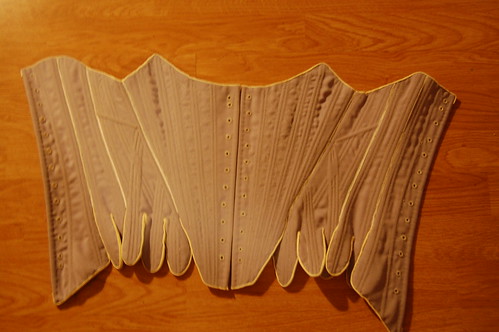
Completed stays front!
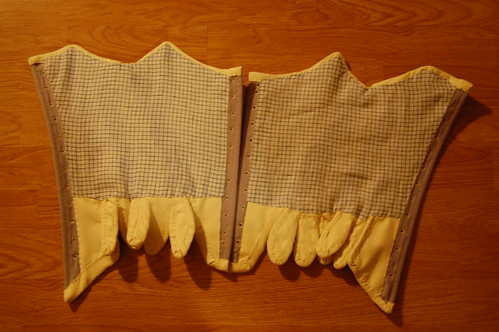
And back!