
Both my pink and blue cotehardies are made of wool from William Booth, Draper, and the blue cotehardie is lined with linen from them as well. I used China silk from Dharma Trading for facings on the blue dress. My buttonhole twist for the eyelets and buttonholes is from Superior Threads.
The pink dress is unlined. The construction remains the same. The two dresses are made from the same pattern. The blue dress laces as it's meant as a supportive layer. The pink dress buttons and no stress is placed on the buttons. I meant to raise the neckline of the pink dress by half an inch, but forgot.
I sewed all the seams, except the armscyes, with flat felled seams.
Each dress took about three yards of fabric. The four main body pieces were cut from one width of fabric and measured shoulder to hem. The gores were cut from one width as well, and measure hip to hem. I had enough fabric leftover from the body pieces to cut the sleeves.
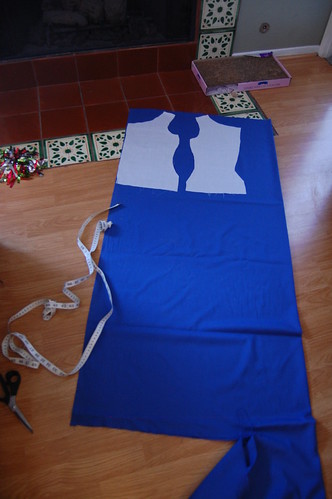
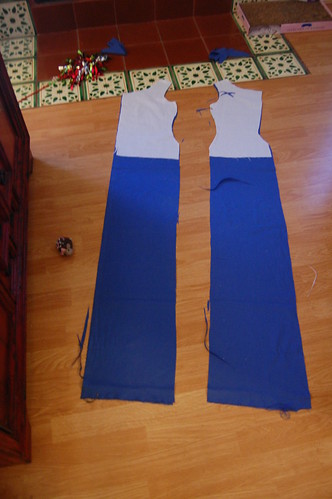
To cut the main body pieces, I placed the front and back pieces next to each other. I ripped the fabric at the length I needed, and cut straight down. You can see the leftover that I used for the sleeves.
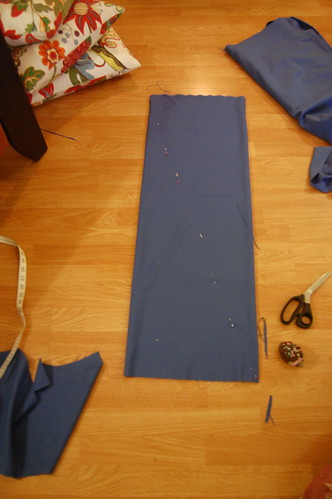
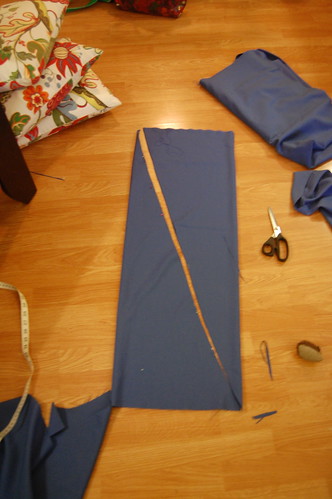
To cut the gores, I ripped a piece of fabric the length I needed them to be. I then folded it in half, and folded it in half again. I then pinned a diagonal line, and cut down that line. This left me with three full gores and two half gores. To imitate narrow width fabric, I then cut one of the half gores in half. This can be skipped, and I ended up skipping it for the pink dress.
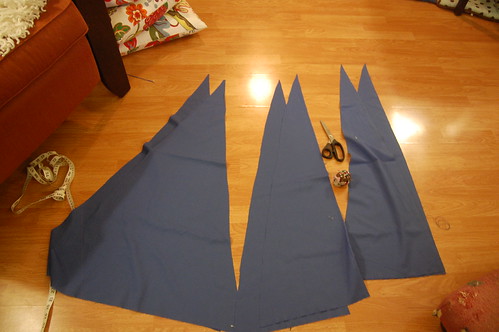
The cut gores. The two full gores are for the side seams. The half gores are for the center back and center front.
Repeat for the lining, if using.
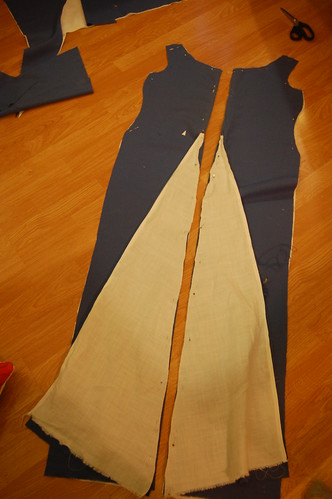
Pin the gores to the front pieces, bias edge to straight edge. On my second dress, I did this step after I marked the center front. I cut the center front of the dress a little wide to fine tune the fit. This meant that I had to move the gores a bit after I sewed them, since I had to fold the center front under about an inch and a half. If you don't cut this wiggle room like I do, go ahead and sew this first!
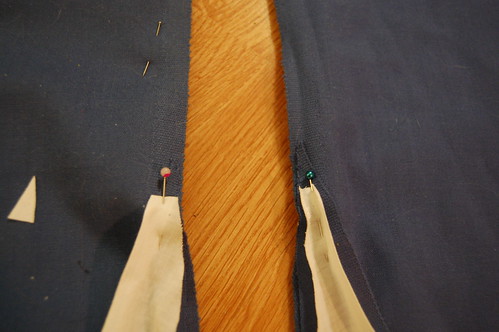
The top of the gore should line up with the edge of the straight piece.
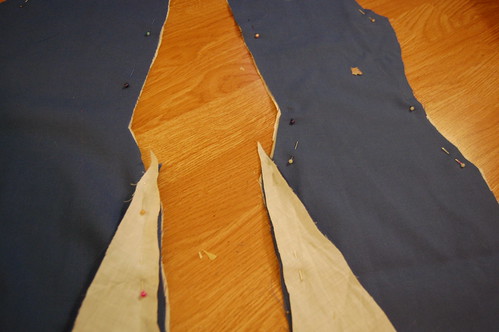
Repeat on the back. This time, the tip of the gore should extend past the edge of the back seam. This makes a straight join down the seam.
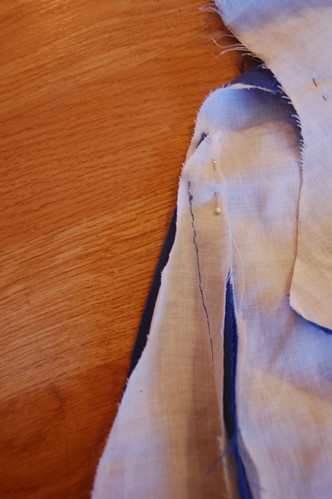
You can see here how the edge lines up done as above.
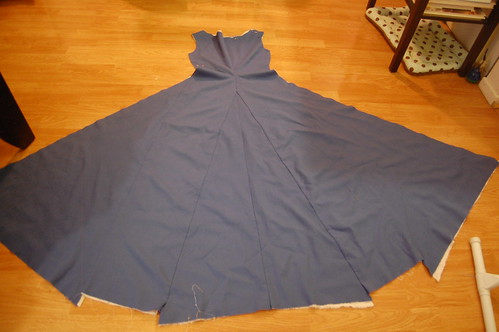
Sew the center back seam, and you have a huge back! We'll deal with that hem in my hemming by yourself tutorial.
Now, sew the back to the front.
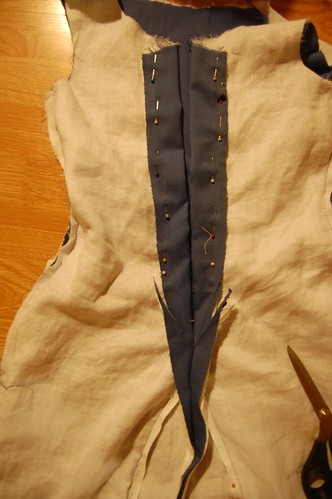
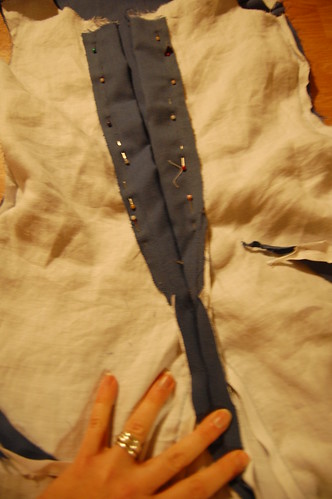
And here we have an oops! I'm including it just because it's a good reminder that many mistakes can be easily fixed. As mentioned above, because of the wiggle room in fitting I left myself, my fold over at the center front was too wide to work with the gores in the skirt. I fit the bodice by folding the center front edge under. Then I picked out the top of the gore, trimmed the top of the gore, and resewed the top down. I didn't reset the whole gore, just the top portion. This meant that the seam was no longer completely straight, but the slight angle at the top didn't make a difference.
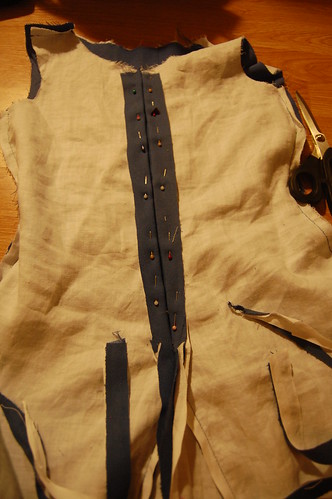
I then trimmed the rest of the wide seam allowance. I wanted to finish the center front with a strip of silk. On the pink cotehardie, I didn't trim this edge and used the fold over supports the buttonholes.
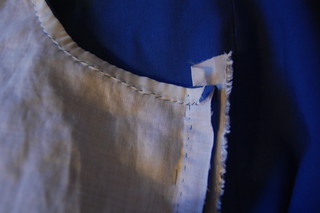
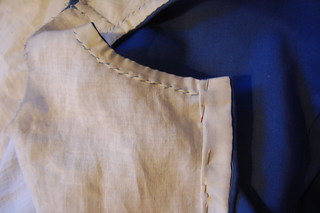
Now, back to regular construction! I bound the neckline with a straight of grain strip of right silk. I used the standard sew right sides to right sides, fold binding to the inside, and whipstitch into place method of binding. I then sewed a straight strip of silk to the center front edge, folded it to the inside, and whipstitched it down.
Next, make a million or so eyelets!
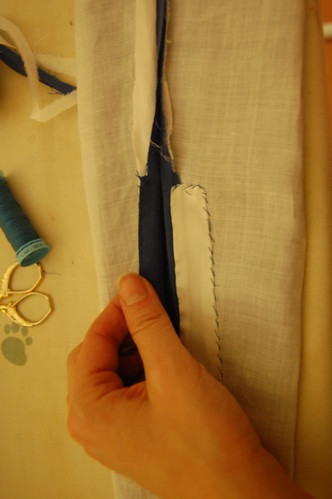
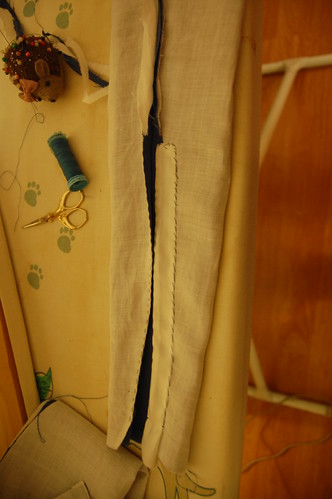
The sleeves are fairly standard. I left them open below the elbow for buttons. I faced the buttonhole side with a piece of straight silk, and the button side I turned the lining and wool layers in towards each other and hemmed them shut.
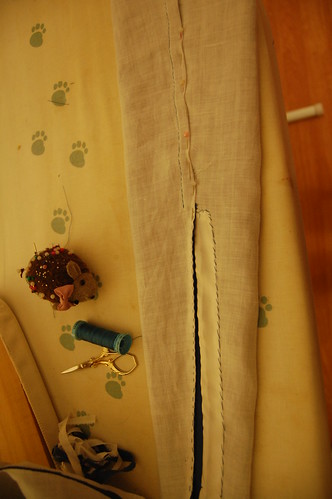
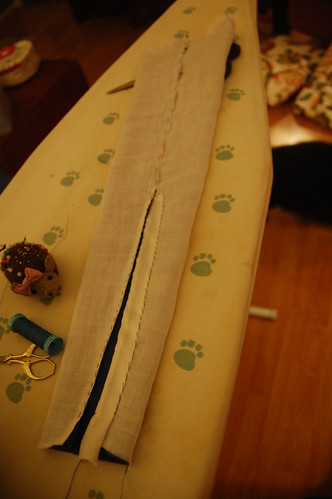
I then felled the seam above the opening. I ended the sleeve with a facing of silk cut on the straight of grain.
This covers most of the basics of the dress. It's really quite straightforward, and if you don't backstitch every seam by hand, quite a quick project as well.

