
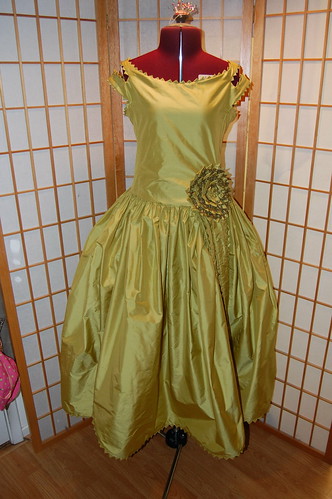
For reference, the completed dress!
My favorite eras lately seem to have been bouncing back between 1920s and Regency, two so called easy eras. And while on the surface, I suppose they are, it's the detail in both that appeals to me. It's the small things--things often lacking on the bigger, showier dresses. And completely why I like these two eras so much.
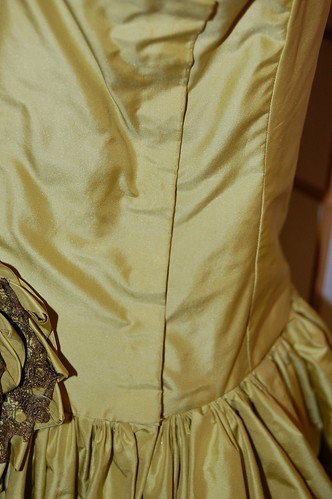
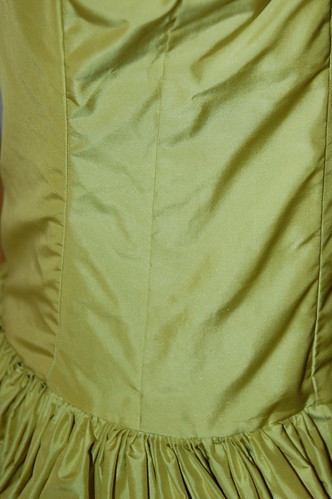
On the left, we have the left underarm and on the right, the right underarm. The left underarm closes with snaps, as the original appeared to. (I admit it, another reason I love the 20s? Snaps!) The right underarm has a tuck to mimic this placket. I sewed mine a tiny bit close to the edge, but on the original, it was sewn a little further out and mimicked the placket very nicely.
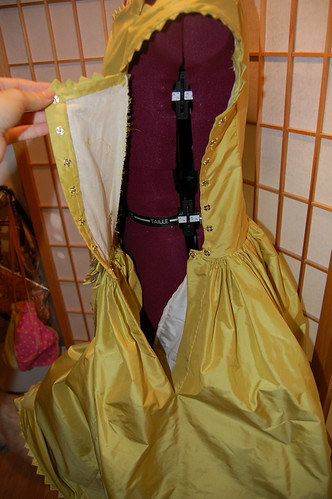
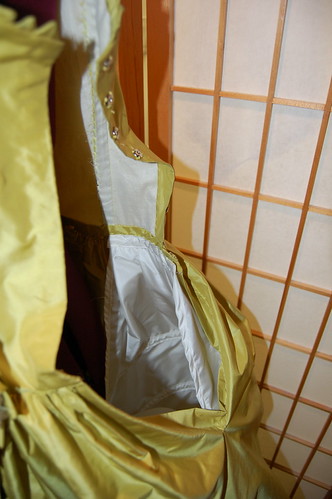
And here's the placket open. I had to take educated guesses as to what was going on inside the dress. Fortunately, the dress on the cover of Lanvin showed pocket hoops sewn to the dress, and I found a dress on eBay showing the hoops. I made a slight extension of the skirt placket which snapped into place and has the hoop sewn to it. Also, if you look carefully, you can see I sewed the placket on wrong side out. Oops. Did you see my other post where I said I'm not a perfectionist?
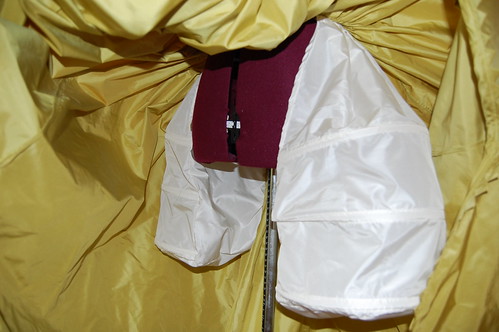
And here are the hoops. They're silk taffeta and boned with artificial whalebone. Or is it German boning? It's the solid white one that only the Canadian Farthingales site seems to sell. I love that stuff! They're simply scaled down from the Corsets and Crinolines side hoops.
The shoulder was a little stressful to do. I cut slits with angled slits at the end, sewed the trim right side to right side, and flipped it back. The slits actually affected the fit, as the straps sat differently on my shoulders after that.
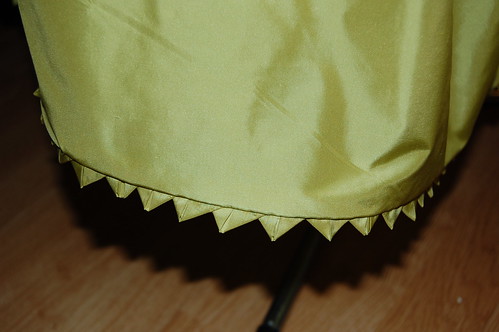
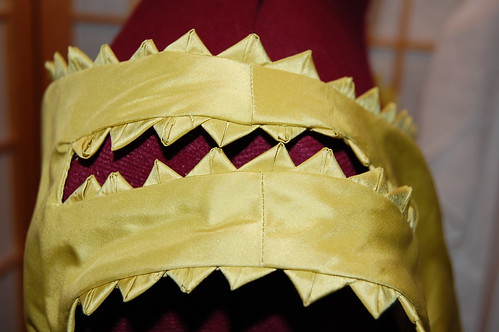
I love the hem--or rather lack of hem. Trim is sandwiched between bias and the hem, then the bias binds the raw edge and the trim is pressed down. Amazingly, it stays. It's deceptively heavy, and that makes quite a difference! I made note of this hem style in the notes I took while studying the dress.


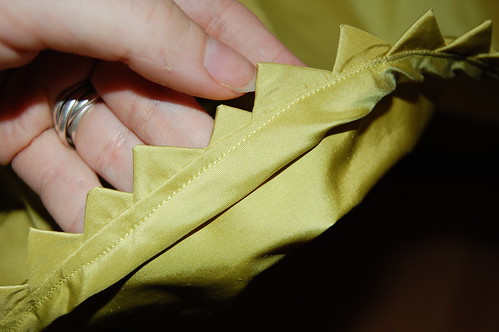
The streamers are made like this--I sandwiched the trim between two plain strips of silk on one side, then sewed the trim to just one side of the silk on the bottom and the other side, then I flipped that side over and hand whipped it down, so I wouldn't have to turn thick, spiky tubes of fabric. Much easier than turning tubes!
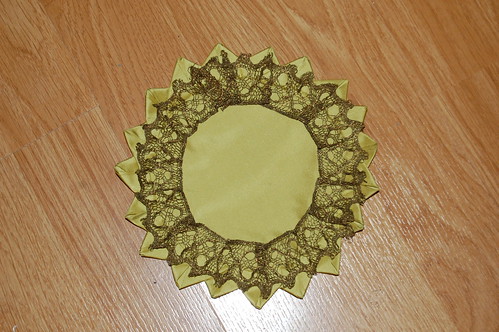
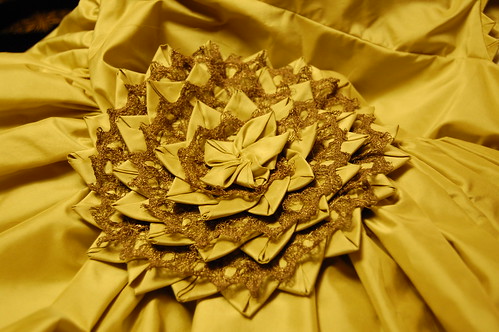
The rosette was made of layers of triangle trim and vintage metallic lace from The Ribbon Store. Much simpler than it looked!
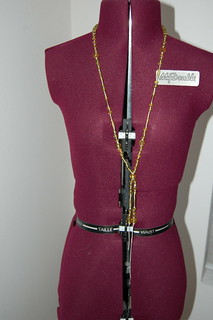
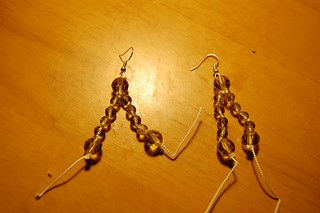

For accessories, I made a matching necklace and earrings (no other color would remotely go with this!) based on one I saw on eBay, and I wore it over the above undies.
Okay, with just this one gown, I think I will follow your blog forever! Love it!
ReplyDeleteHi Katherine, I've been following your blog for years now and first of all wanted to thank you for all your detailed research and the helpful tutorials! You are great!
ReplyDeleteSecondly, right now I'm working on my own Robe de Style, and after some pondering decided that it should also get small pocket hoops. I scaled down the hoops from Corsets and Crinolines to half their size in width (I kept the whole length) but they turned out too small. Could you maybe tell me the approximate size of yours? They seem exactly the right size as they give the perfect shape but are not that noticeable overall. Thanks! :)