My 1905 waist was made largely with techniques from this book.
First, the yoke. This could be used for any sort of shaped lace you wanted.
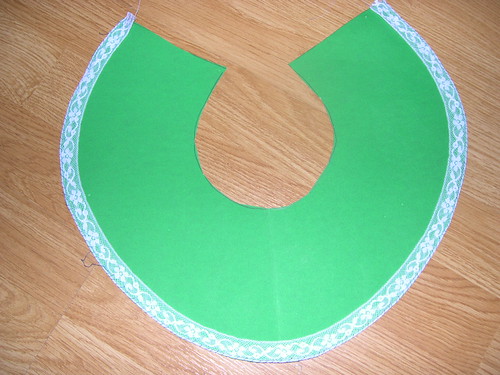
First, cut a piece of cardstock to the shape of your pattern piece. You need to use good lace that has a pull thread in it for the next step. Baste the lace to your pattern piece and pull the gathering threads so it lies flat. Use a contrasting color for the basting thread.
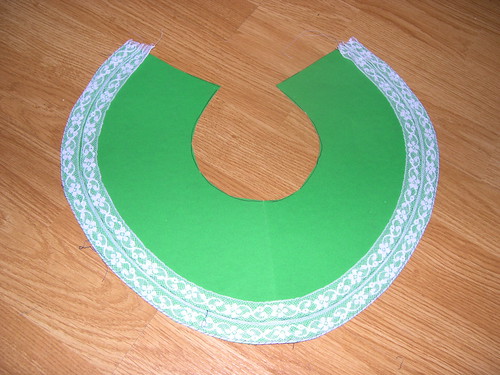
Repeat with a second piece of lace.
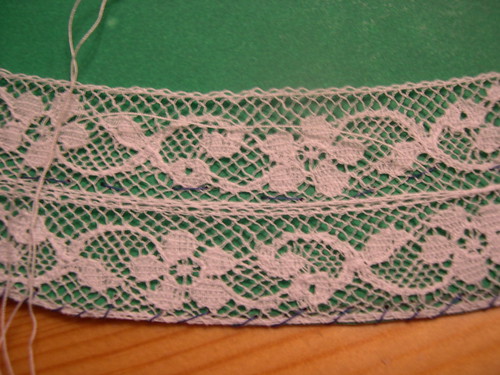
Here's where the magic happens (and it really is!). Whipstitch the two pieces of lace together. If you enlarge this picture, you can see this on the right.
Keep going until your pattern piece is filled.
Then cut the basting stitches away, and you have lace fabric! It's so amazing :)
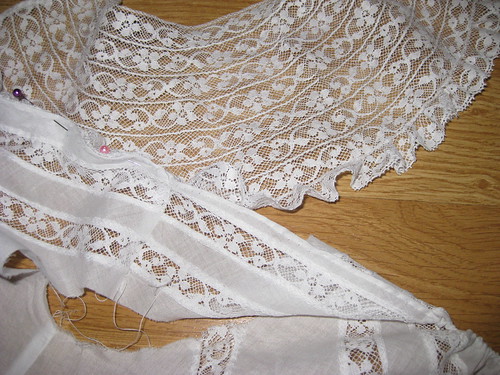
Here's the finished yoke with gathered lace attached.
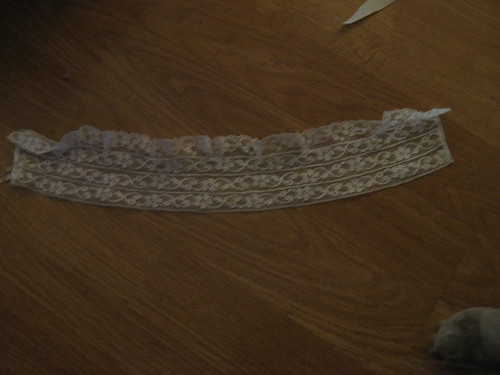
And the collar!
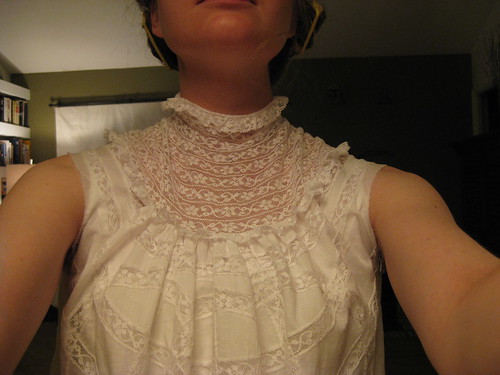
The yoke attached to the waist. I hemmed the neck edge and then whipped the yoke to it.
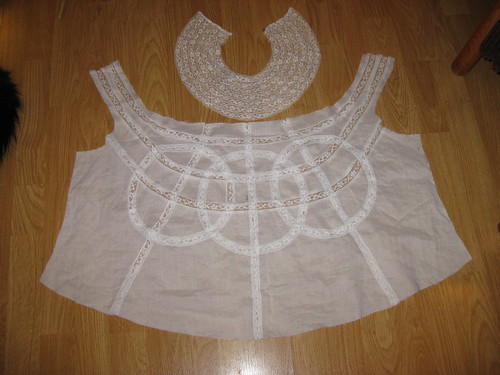
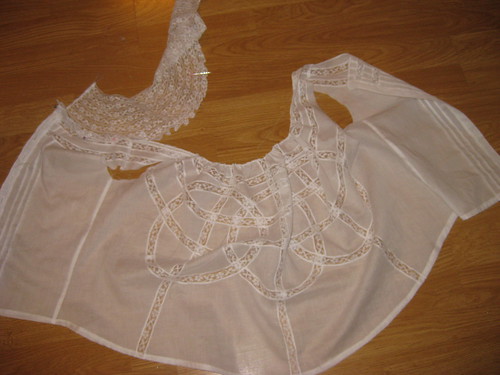
And here is the yoke in the process of being attached.
The lace insertion is done in the typical way. Sew the lace on, cut down the center back of the fabric underneath, and hem.
The petticoat under flounce is also done in an interesting way.
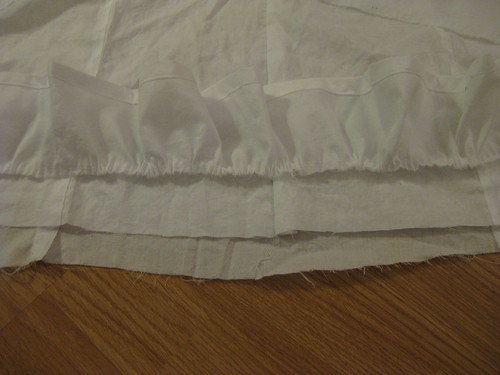
Set the ruffle on the right side of the skirt.
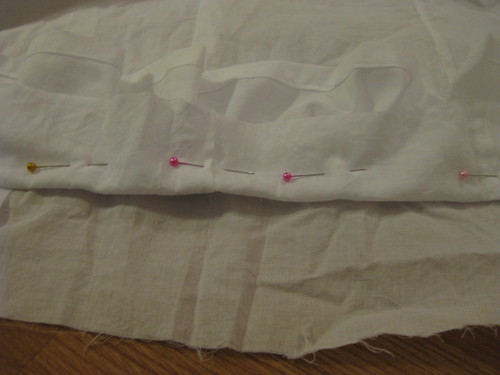
Fold the bottom edge over it.
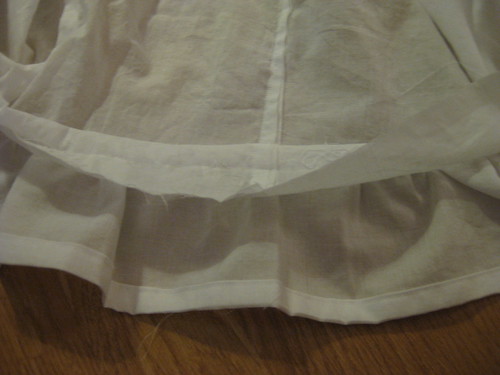
Sew, and flip down.
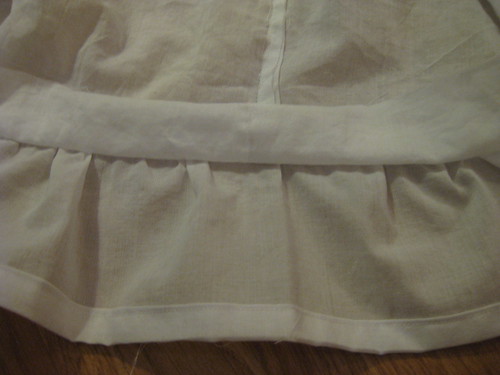
Fold the raw edge under the seam, much like a flat felled seam.
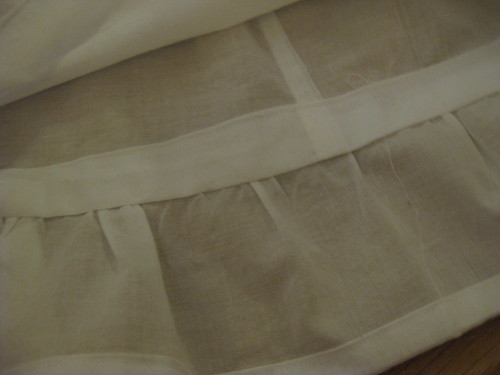
And sew!

Wonderful tutorials, Katherine! These will be helpful for adding a feminine touch to modern clothes, too. :-D Thanks for sharing!
ReplyDeleteGod bless, and happy sewing!
~"Wild Rose"~
I love your DIY's! They are out of the ordinary.
ReplyDeleteWow, "lace fabric"! I agree with Wild Rose, this could be helpful for modern sewists, too!
ReplyDeleteWow is right: you make such lovely things it brightened my day just to look at them. Thanks so much for posting the tutorials.
ReplyDeleteDarrin