
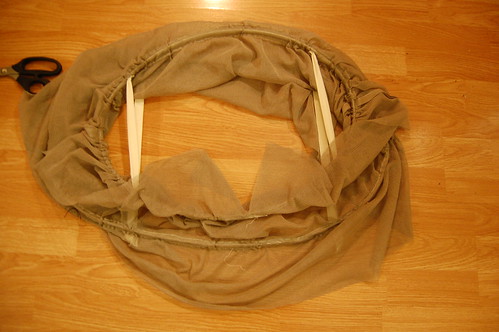
My hoop is made of cotton net dyed with iDye from Dharma Trading and boned with hoop boning I bought locally. It's loosely based on this hoop and this hoop, both at the Met, and made with the shape of my skirt in mind. The first hoop was my main inspiration. It appears to be very straightforward and use straight panels, not shaped panels.
To start, I took my roll of boning and held it around my hips to see how wide I wanted my hoop to be. Here I am holding my cut piece of boning around my hips. And that is my dress bodice!
My larger piece of boning ended up being about 64 inches around (measured as finished with the overlap in place), and the smaller piece of boning ended up being about 53 inches around. The tape ties that hold it into an oval shape are about 8 inches long on the top hoop (the smaller one) and 12 inches long on the bottom hoop. I used two widths of netting. I didn't try to make it the same size as the boning, but chose to gather it over the boning instead.
I cut the length of the netting a little longer than I needed so that I could level it.
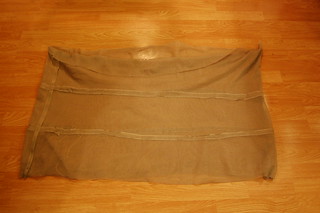
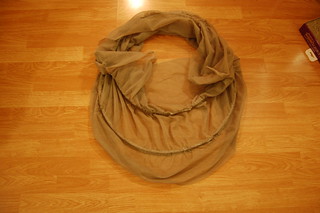
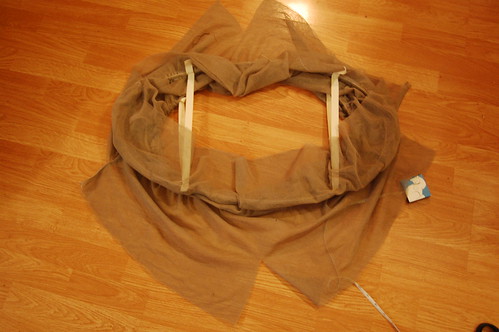
First, sew your side seams and boning channels, and insert the boning into what is currently a very round skirt. I doubled the net on the boning channels and inserted the boning so two layers of netting hid the boning. Since my skirt is sheer, I wanted it to show less, although there are period examples where you can see the boning. And see my perfectionism post about that machine sewing. Yikes. It does look better in person...
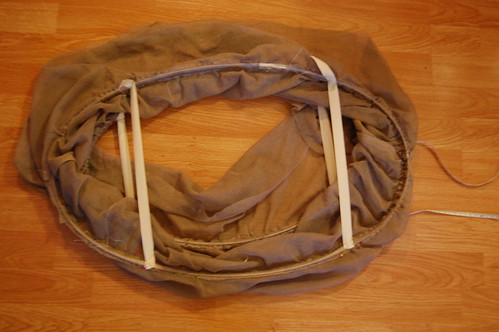
Now, pin your tapes to the bones to form it into an oval shape. If you use two pins and cross them in an X shape, they stay pretty securely so you can try the hoop on to test the shape.
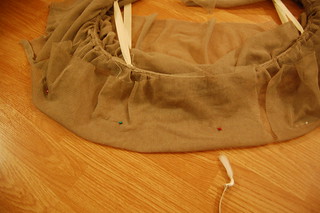
To level the hoop, I pinned it to my shirt at the center front, back, and sides so that the hoops sat where I wanted them too. I then tied a sash (from my chemise dress!) around my waist. I adjusted it, and placed a pin to mark it at the sides and front and back.
I measured the pins to check them. The side pins were both five inches from the top, and the front and back pins were both six inches from the top. I cut slits down to those depths.
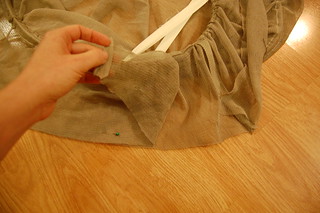
I then folded down the top edge and trimmed the excess away.
Then I cut another slit in the center front to use as the front opening. One benefit of net--no finishing needed!
After doing this, I ran gathering stitches by hand (it was way too awkward do do by machine!) and sewed it to a silk taffeta waistband done in the usual way--right side to right side, flip over, whipstitch down. This was also done by hand. It closes in front with two hooks and straight eyes.
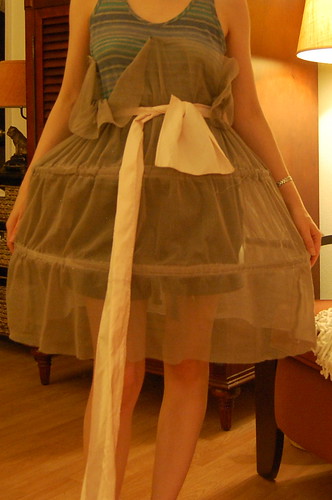
And the finished hoop. Very glamorous, no?
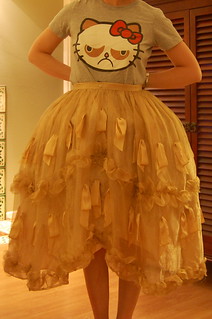
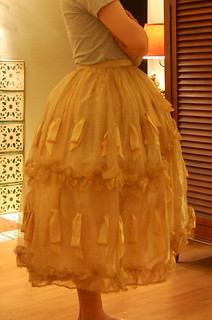

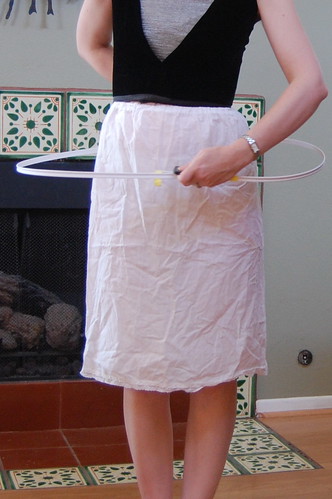
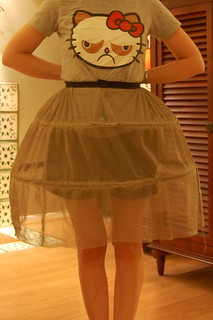
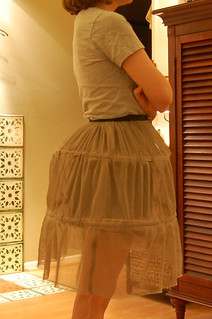
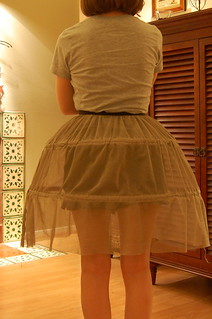
And under my gold 1920s skirt. It's similar to the silver skirt--it's made from the same fabric, and is just straight panels like the silver one will be. Of course, that one will be overlapping hemstitched panels, but the same shape!