
This article originally appeared on Your Wardrobe Unlock'd.
The original dress that this is based on can be seen on my antiques blog, here.
Through recreating a dress, you can learn more about it than you can through observation. I’ve tried to be as faithful as possible to the original in this recreation. The most notable difference is I made it to fit me--I didn’t want to put all this work into a dress and not be able to wear it! The techniques though, follow those of the original.
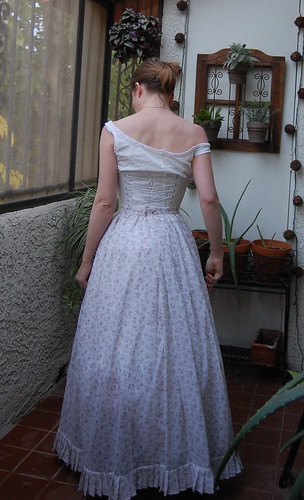
I'm breaking this tutorial up into three parts, the skirt, overskirt, and bodice. The scaled pattern for each part will be at the bottom of the post. There's also another post with the dress actually being worn.
In addition to the skirt, this post has a little about how I reproduced the fabric.
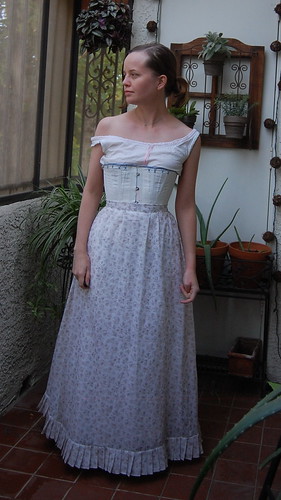
My reproduction is made from custom printed cotton voile from Spoonflower and based on the original fabric. It's lined with plain weave white cotton, and closes with antique buttons.
I copied the skirt as closely as I could, piecing and all. This of course isn't necessary for an accurate skirt.
The fabric
When I bought this dress, I fell in love with the fabric. I would love that pattern for a dress of my own, but there would of course never be a chance of it. Until Spoonflower, that is!
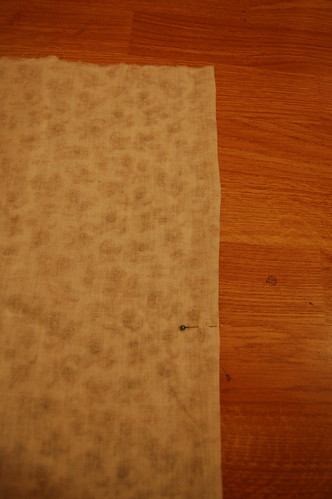
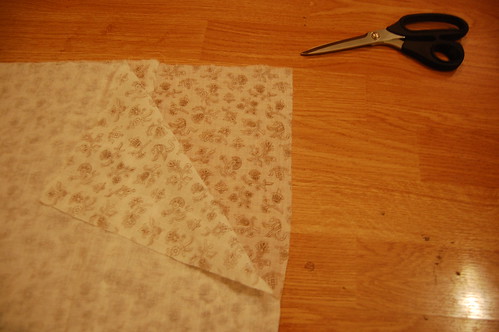
To recreate the fabric, I chose a smooth, unfaded part of the skirt and scanned it. I then opened it in Photoshop Elements and cropped a square out of it. I very carefully cropped between motifs so they would line up when tiled. I then copied and pasted the square three times to create a larger square to make sure the motifs lined up. Trust me--if I can do this, anyone can do this! I wish I could give a more technical explanation, but it really was just trial and error. I’m very happy with the Spoonflower fabric. The voile I chose is a lovely texture, and the printing is nice and crisp. The color is a little different than the original, but that’s due to my lack of skill. My only caution is the fabric was printed slightly off grain, and Spoonflower can’t guarantee that won’t happen, so I wouldn’t recommend a strong horizontal print. I will happily order fabric from them again when the chance arises!
The Skirt
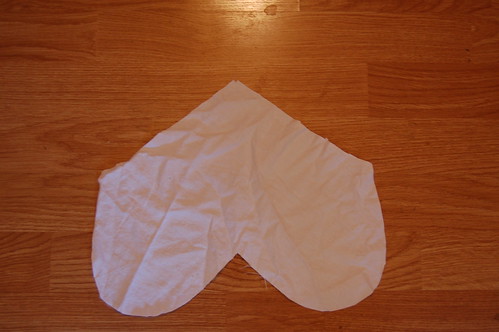
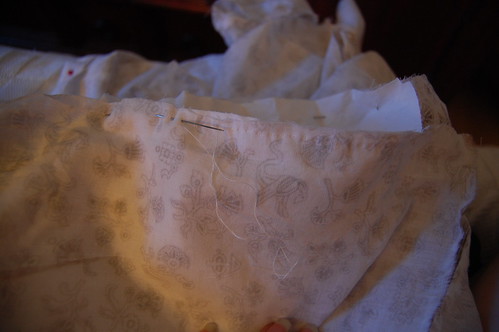
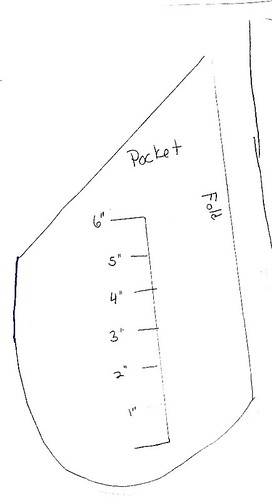
Cut one pocket on the fold. Fold, and sew with a machine stitch 3/8” from the edge.
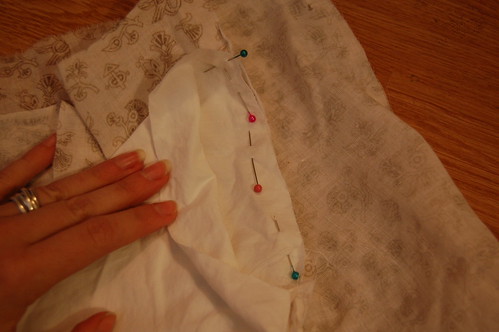
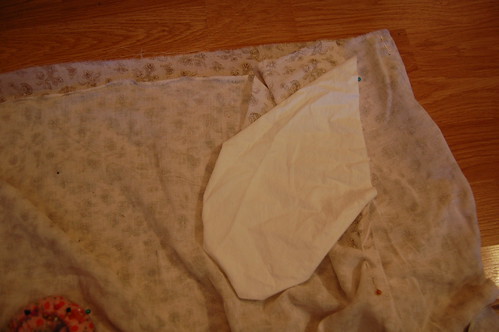
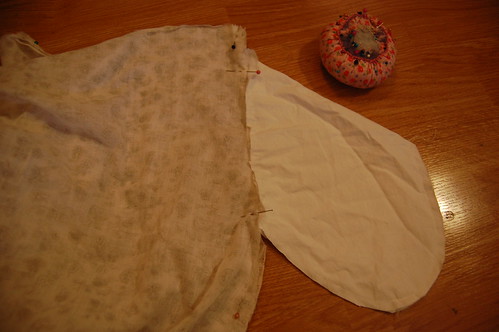
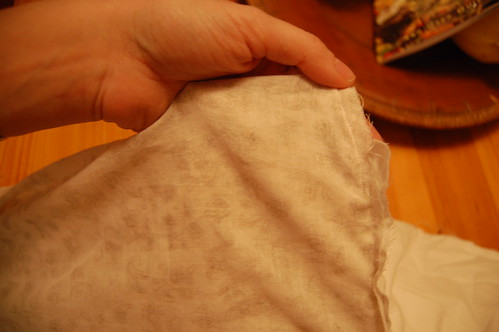
Turn the pocket right side out. Pin the right side of the pocket to the right side of the right side gore, two inches from the top of the skirt.
Pin the pocket, right sides together, to the front panel of the skirt, matching the top of the seam.
Using a running stitch, sew the pocket to the skirt. Leave the top half inch of the pocket, the point of the fold, unpinned.
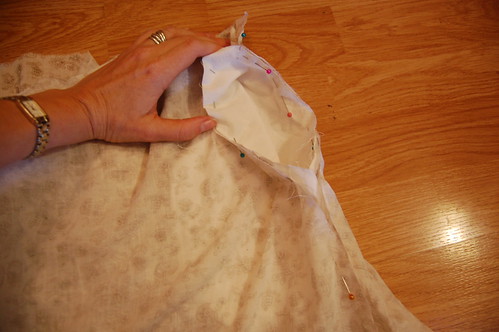
Turn the pocket wrong side out.
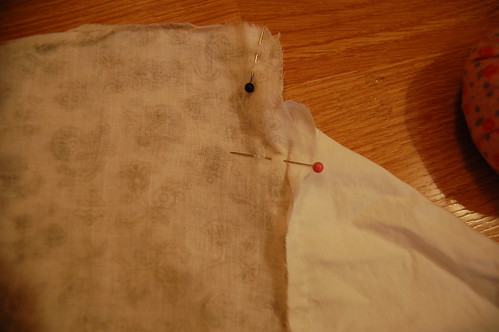
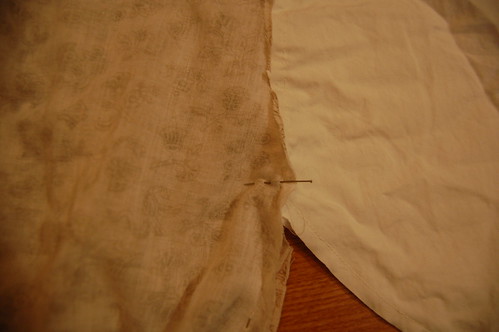
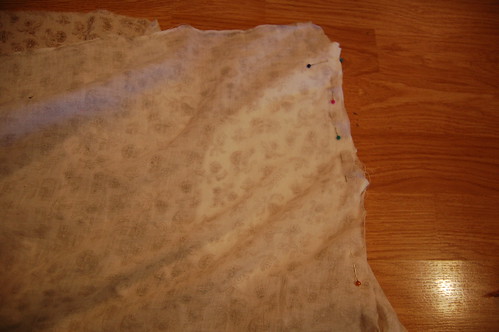
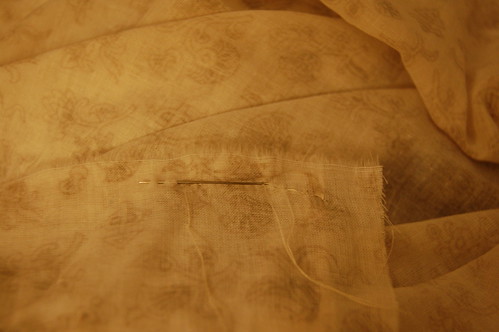
Pin the skirt seam together, leaving the pocket open. The pins marking the start and end of the seam should come just past the pocket stitching.
Sew from the top of the skirt to the first pin. Then sew from the second pin to the bottom of the skirt.
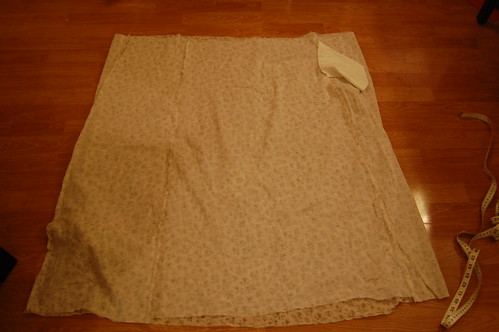
Sew the rest of the skirt seams using a ¼” seam allowance. You now have a giant tube with a pocket!

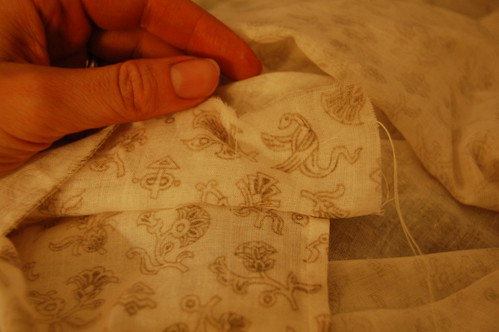
Find the center back of the skirt, measure nine inches down, and cut an opening for a placket. Fold the edges under ¼” and then fold over again to make a narrow hem. Machine sew.
After I hemmed the placket, I noticed it had been altered. It had been lengthened by about an inch and the alteration was hemmed by hand.
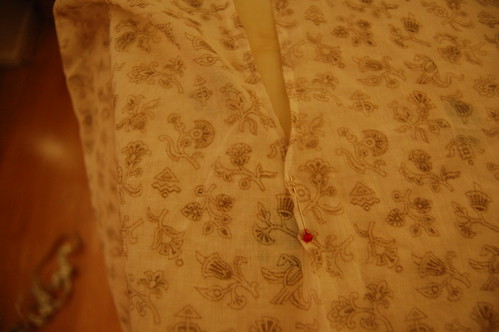
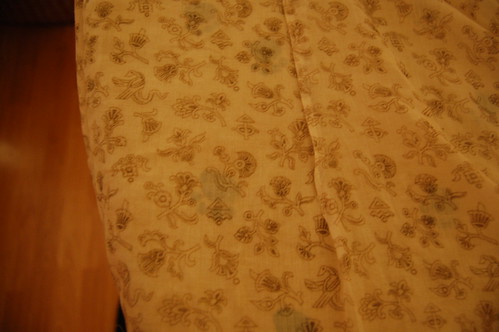
Fold the bottom of the placket to make a ¼” pleat at the base, and stitch into place by hand.
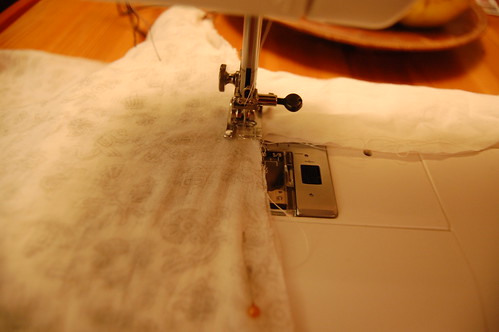
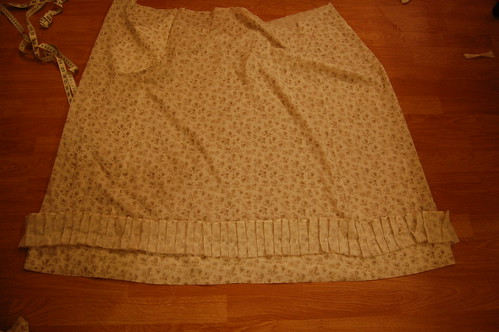
The skirt has a three inch self hem. Turn up the fabric, fold the top edge under, and machine sew hem into place.
I recommend adding the pleats to the skirt before you add the waistband. It’s much easier to work with a flat skirt than a gathered skirt.
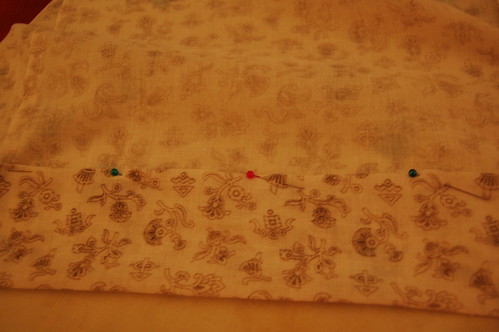
For the pleats, cut four inch strips of fabric equal to three times the skirt’s hem. Sew these into a tube, and hem with a narrow hem.
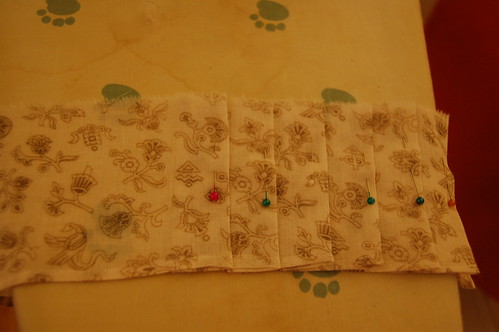
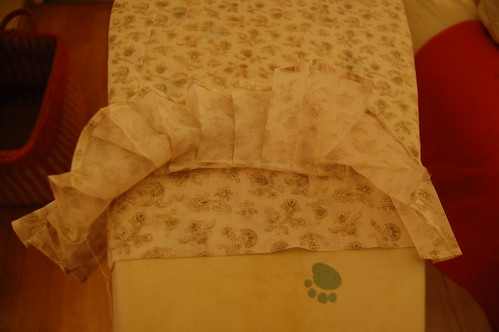
Pleat this strip. The strips on the original range from about ½ inch to about ¾ inch. They were most likely done by eye, without measuring. Don’t overlap the pleats. They weren’t overlapped on the original, and this means that each pleat takes up three times the fabric in the ruffle. Since the ruffle was cut to about three times the width of the skirt, the ruffle will fit the hem with just a little easing.
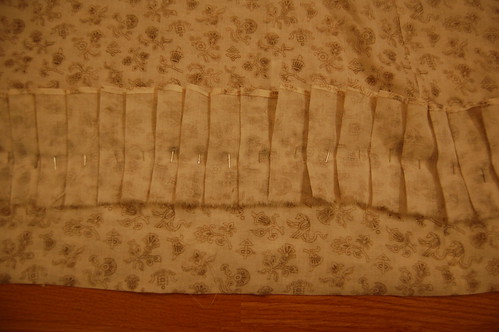
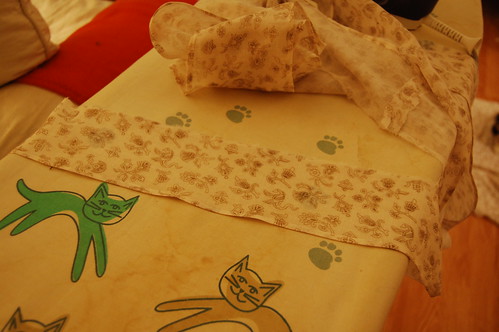
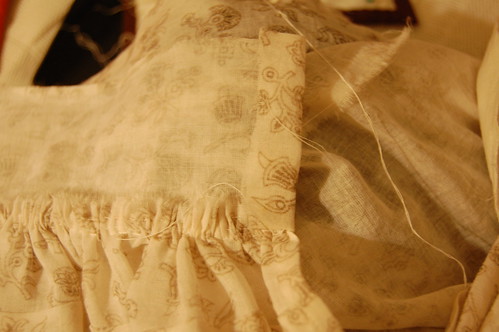
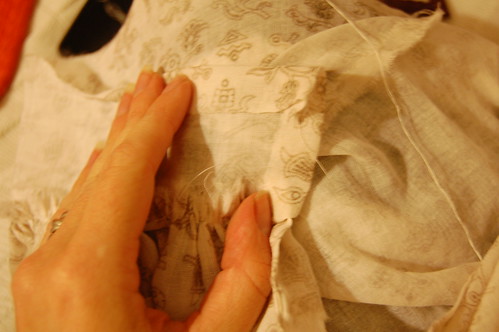
Turn the ruffle inside out, and loop it around the hem of the skirt, right side to right side with the hem facing up, just above the stitching line for the hem. You can see that my ruffle is only slightly larger than my skirt. Ease the ruffle to fit, and pin it into place using tons of pins.
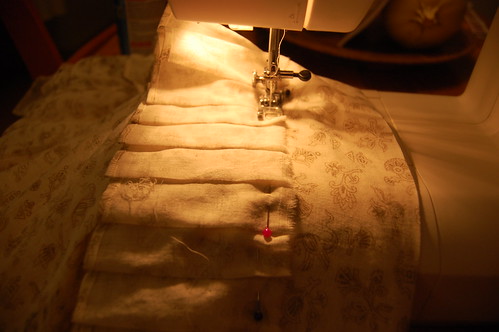
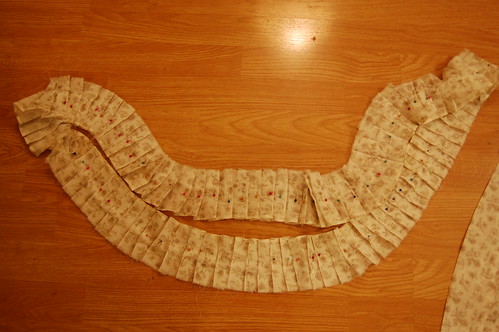
Using about a ¼ inch seam allowance, machine sew the pleats into place.
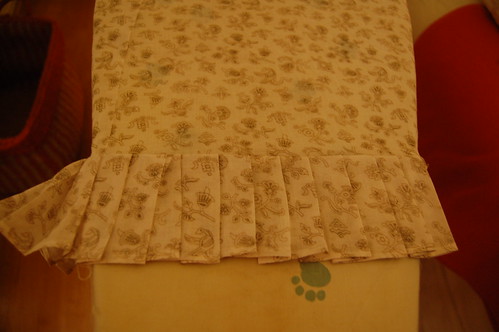
Press the pleats carefully, and voila! Finished pleats!
The next step isn’t required for an accurate skirt; however, this skirt was pieced, and it’s very interesting to see how it was done! An interesting thing about this dress is the original construction was by machine, while the alterations all seem to be by hand. Perhaps it was made by a dressmaker with a sewing machine, and then altered by an owner without one?
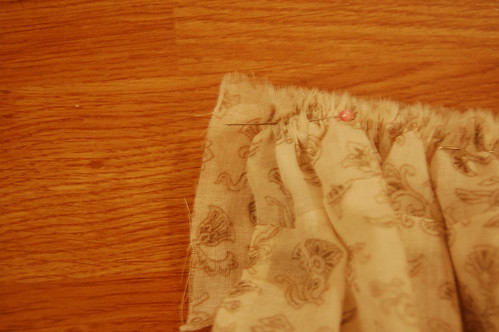
Cut a strip of fabric about 2 inches wide, and about an inch longer than the top of your skirt. The original was cut with the straight of grain running down the short edge (selvage to selvage, in other words) and was pieced.
Using a running stitch, sew it to the top of the skirt. The seam allowance was quite small, about ¼ inch. The ends of the strip should extend by about ½ inch on each side.
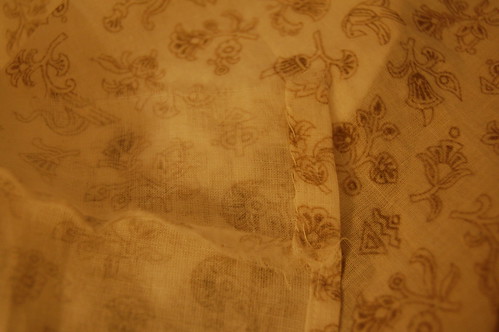
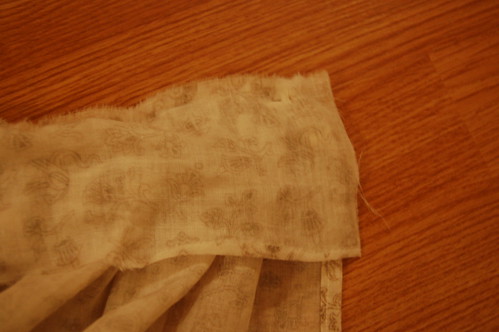
Fold the seam allowance down, and using a whipstitch, hem the edge of the strip.
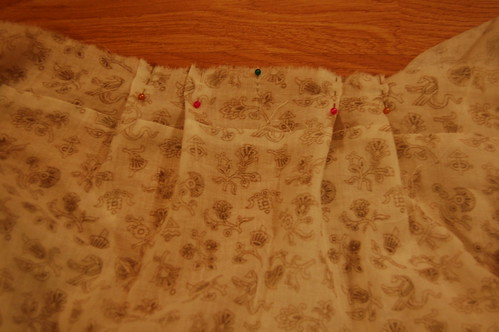

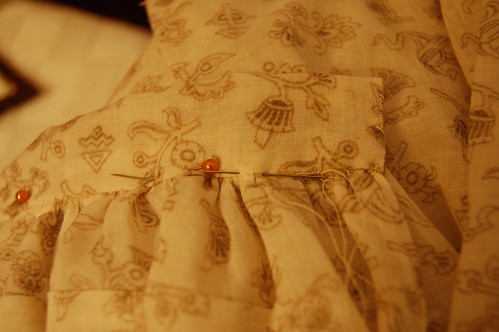
Pleat the front of the skirt and gather the back.
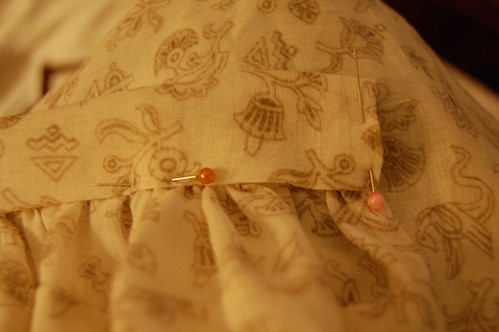
The waistband is a strip of fabric about 4 inches wide and folded in half. As far as I can tell, it was sewn to the wrong side of the skirt, folded to the front, and whipstitched down.
It extends slightly past the edges of the skirt. Pin into place, and sew with a whipstitch.
Fold the side edge in, fold the top edge down, fold the waistband in half, and pin into place.
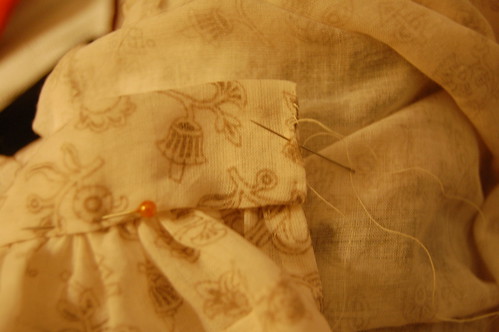
The edge of the waistband is closed with a whipstitch. The gathered area is slipstitched closed. You can barely see the stitches on the original. At the front of the skirt, however, the stitches closing the waistband are visible.
And, since the skirt shows no sign of closures, that’s it! If you want to be truly accurate to this skirt, bury a pin into the placket.

No comments:
Post a Comment