
The original dress that this is based on can be seen on my antiques blog, here.
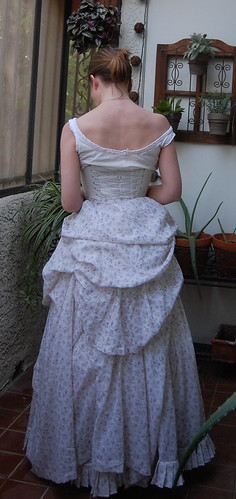
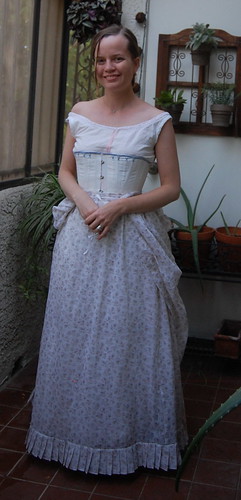
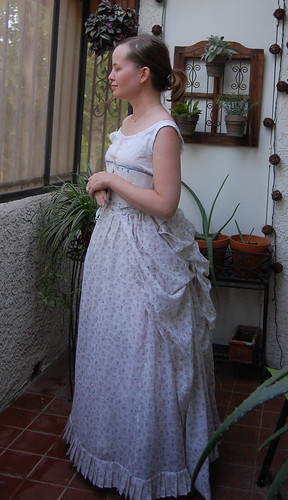
I'm breaking this tutorial up into three parts, the skirt, overskirt, and bodice. The scaled pattern for each part will be at the bottom of the post. There's also another post with the dress actually being worn.
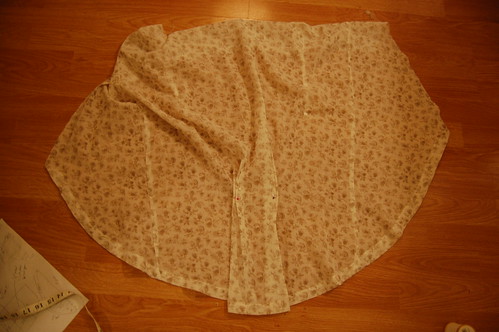
Overskirt

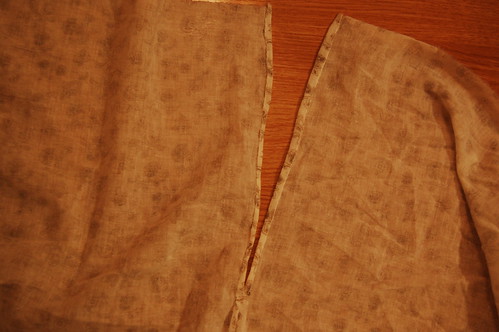
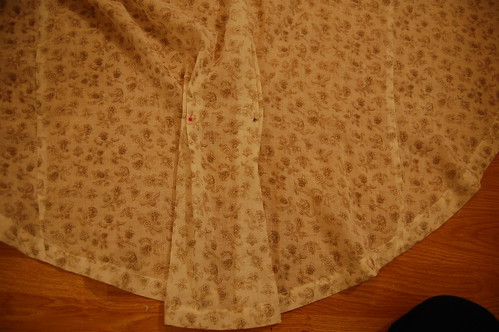
The first steps of the overskirt aren’t truly necessary, but interesting in the history of the skirt. It originally had a center back placket, which was later closed and covered.
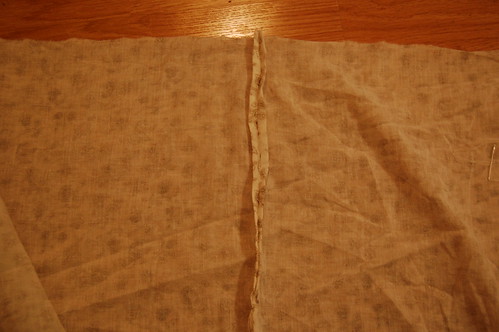
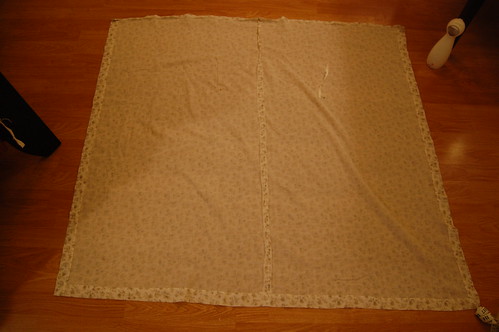
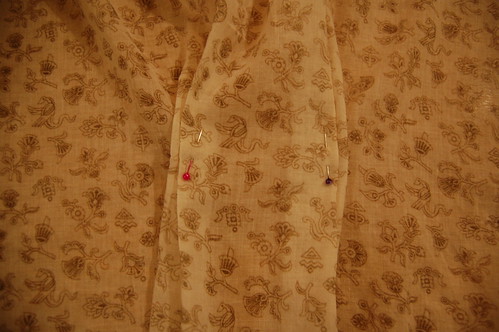
Sew the center back panels together, leaving the top nine inches open. Hem the opening with a whipstitch. Next, baste the opening closed. If not trying to copy the original alteration, just sew the whole center back seam.
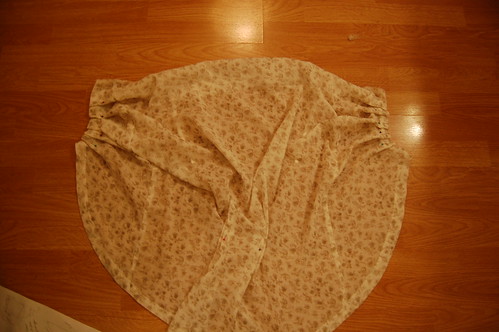
The next step is rather necessary--the hem!
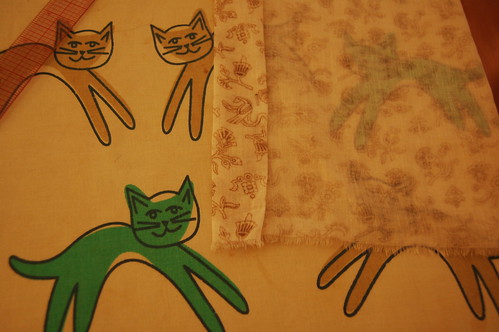
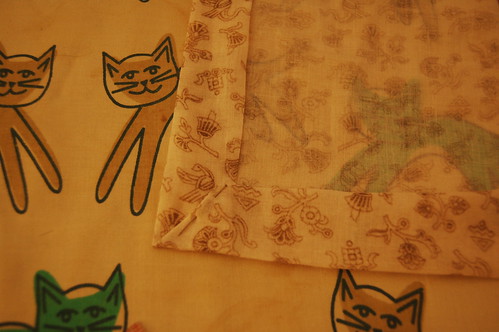
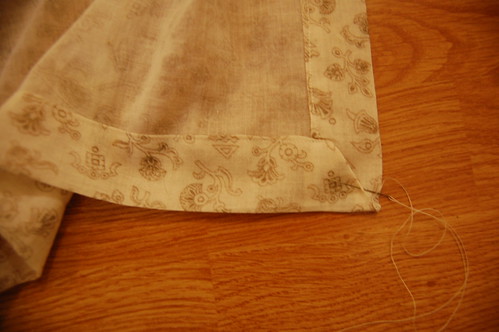
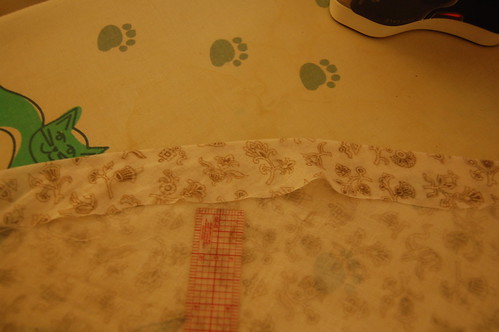
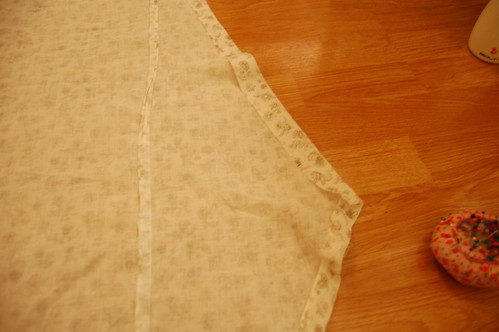
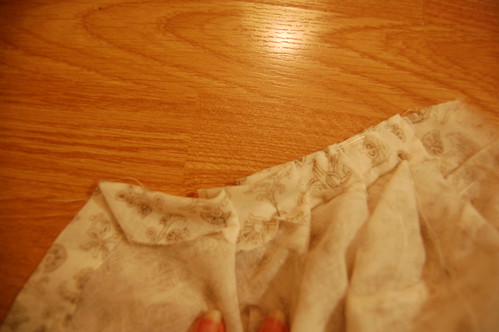
First, hem the sides with a 1 ¼” hem. Next, fold the top edge up two inches, and under half an inch. Fold the corner to form a diagonal. Sew the hem by machine. Sew the loose edge of that corner down by hand.
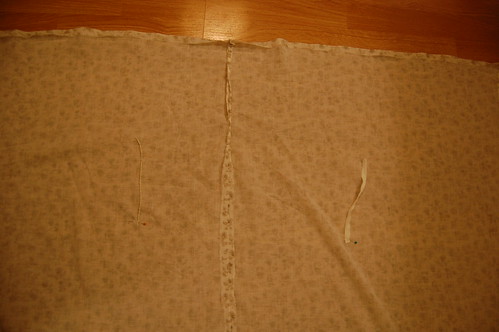
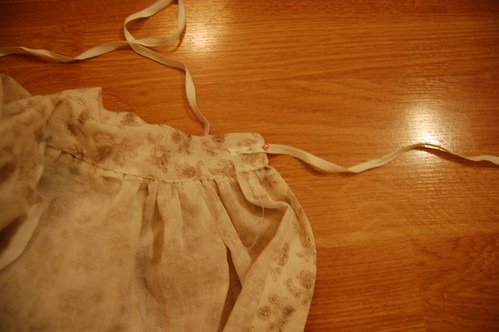
Fold the top edge over ½ inch and press it. Sew the cords to the skirt.
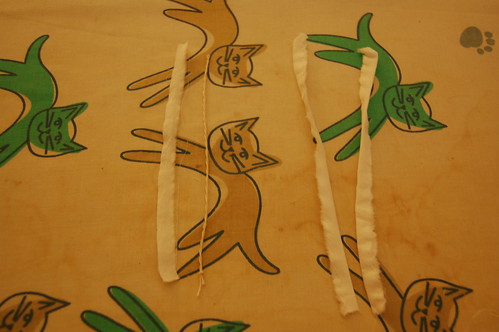
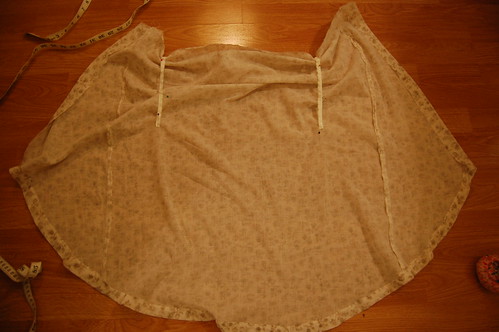
The cords and tapes for lifting the skirt. The base skirt has a twisted cord and narrow piece of selvage. The puff has two strips of fabric folded and whipstitched.
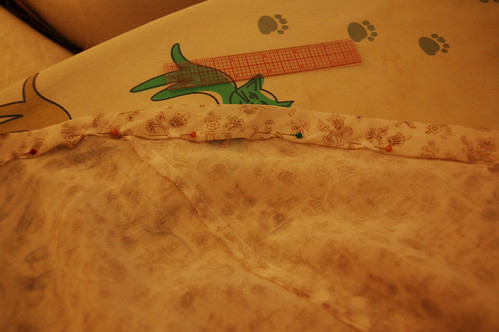
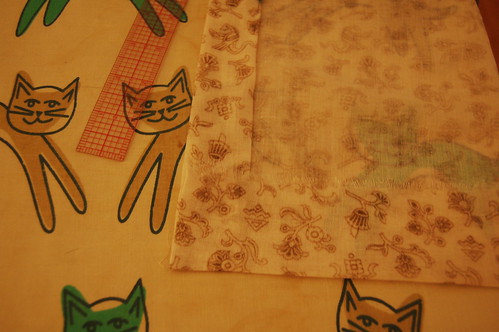
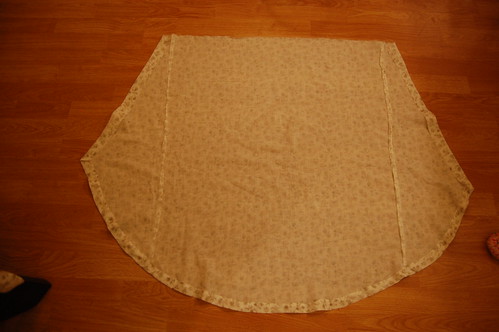
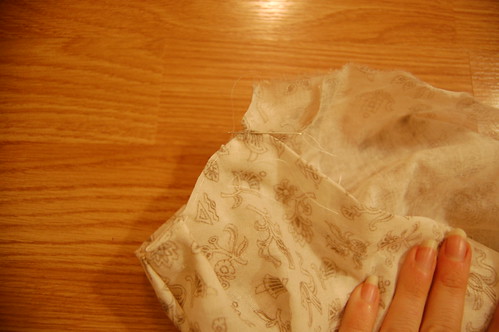
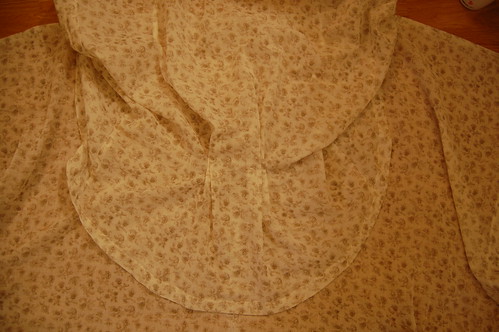
Sew the seams with a ¼” seam allowance. Press the curved edge up about 1 ¼” for the hem. Fold the top under ¼” and pin with lots of pins. You’ll need to ease it a little to accommodate the curve, but with enough pins, it should get pretty smooth. Sew with a machine stitch.
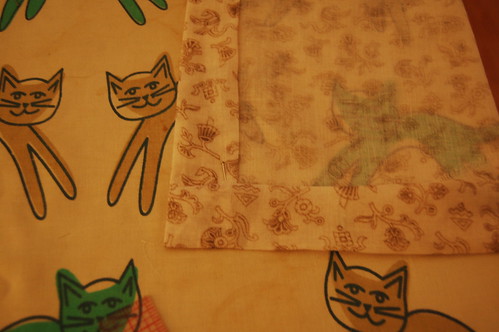
Press the straight edges of the overskirt in one inch.

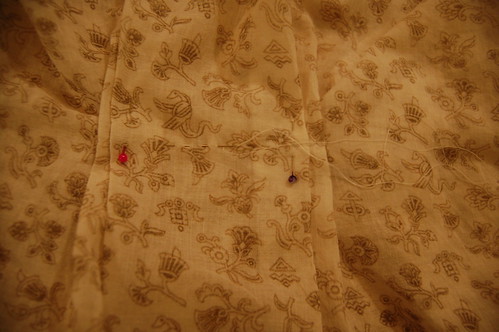
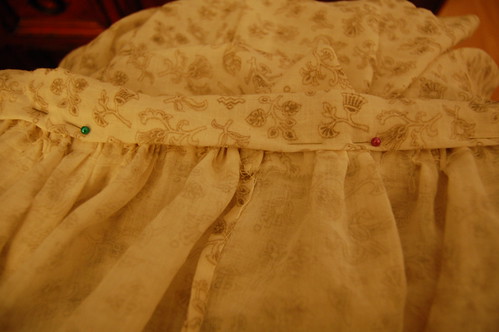
Sew in the tapes. A confession, these don’t exactly match the original. However, they do look good, and I really didn’t want to redo it! It does show the importance of testing! The draft shows the correct placement of the tapes.
Make the box pleat in the center back.
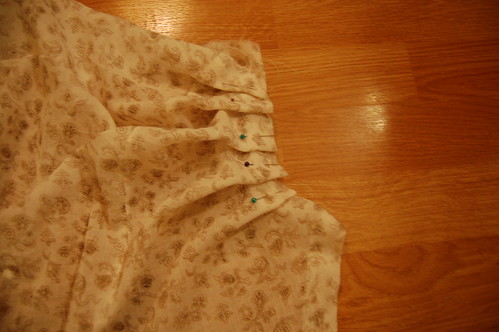
Pleat the sides of the overskirt. There are five pleats on each side, measuring ½ to ¾ inch. The finished measurement is 7 inches.
Hand baste the pleats into place.
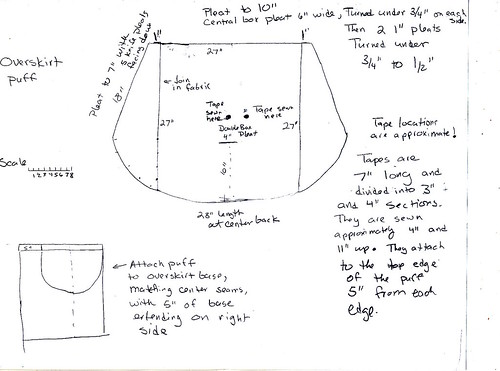
Picture overskirt puff 14
Take the bottom of the pleats and sew to the top of the skirt, ½” away from the top of the skirt.
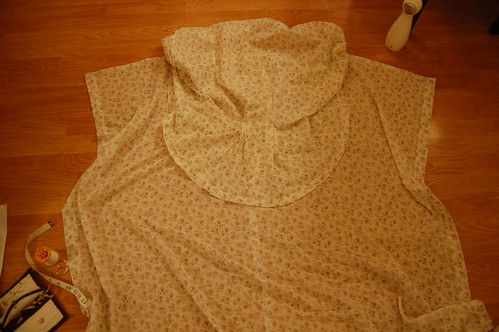
As it’s easier to sew things flat, mount the puff to the base. Sew the box pleat to the center seam of the base, just at the bottom of the original placket. Sew the pleat into place by hand.
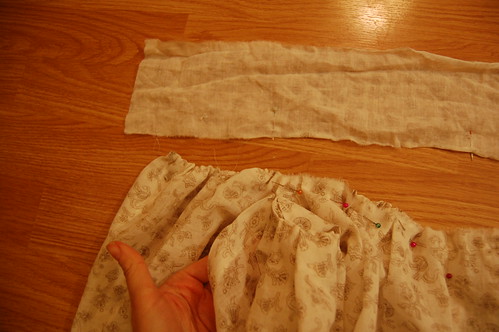

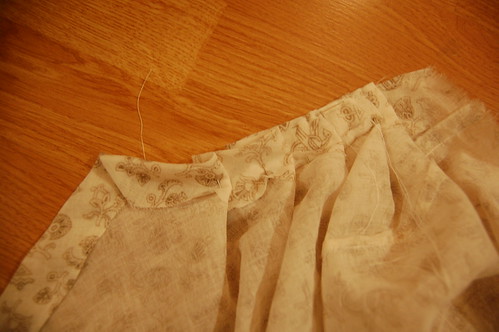
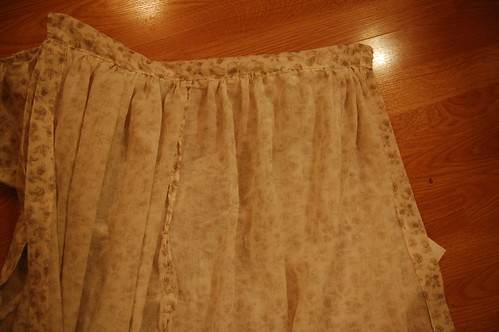
Gather the base skirt. The original was done with a single running stitch through the ½ inch fold. Pleat the puff. The overskirt base is five inches wider than the puff. The gathering on the skirt is uneven--the left side is five inches wider than the right. Match the puff right edge to the base right edge, the centers, and allow the left base side to extend five inches past the edge of the puff.
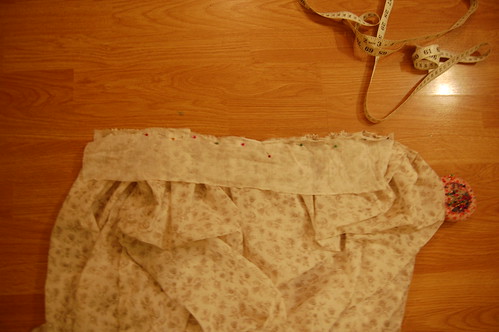
I made the waistband measure 19 inches, which is 71% of my waist measurement. The waistband of the original is 71% of the waist measurement.
The waistband construction is standard. Place it right sides together to the front. Sew it through to the right side through all layers, fold the edges in, fold the waistband in half, and whipstitch into place.
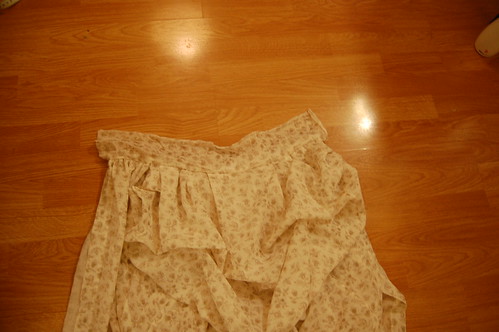
Sew tapes to the edges of the waistband for closures, and the overskirt is done!
I <3 u!
ReplyDelete