Here's my rather long sleeve tutorial!
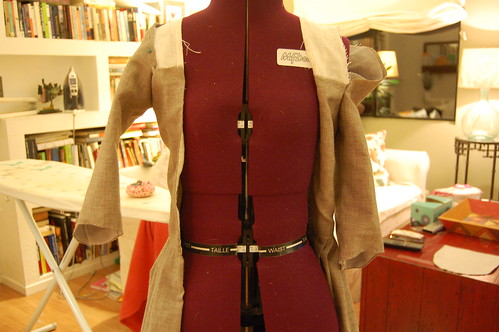
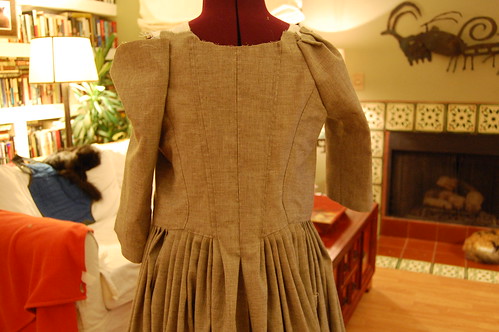
Here's the bodice with the sleeves half done. Long story short, sew the underarms from the corner to the top of the shoulder strap seam on the front, pleat the top to fit, sew top into place, neaten the inside, et voila, a sleeve! Explained much more in depth in the above linked tutorial, of course!
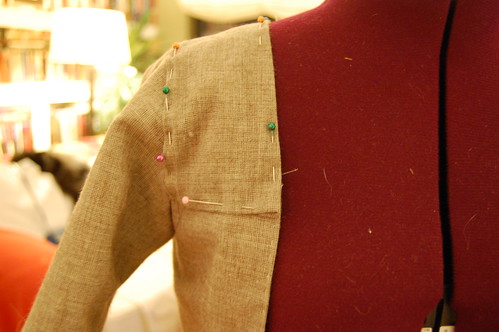
The next step is optional, and also explained more in depth in the sleeve tutorial. You can cover the exposed lining with robings, but I wanted narrower robings than would cover the strap, so covering the strap with fabric it was!
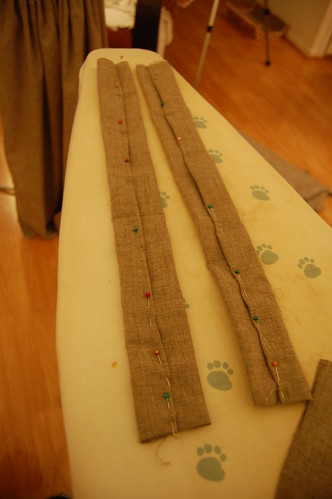
The robings themselves are quite easy. Make two tubes of fabric the width you want and slightly longer than the edge of the bodice bottom to the back shoulder strap seam. Sew it shut, and tuck the ends under one one end and hem it. This end will be the front. Leave the other end unhemmed.
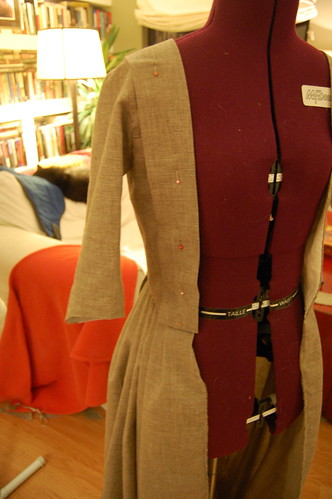
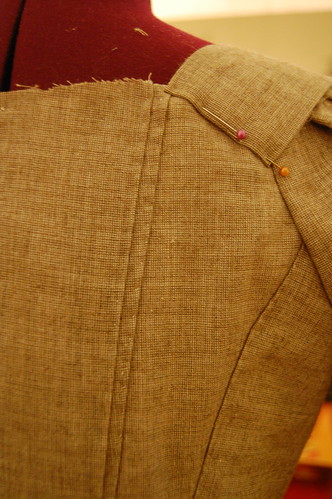
Starting at the front edge, pin the robing into place. I like to let it hang a little past the bodice edge. Keep pinning over the shoulder, and when you get to the back shoulder seam, tuck it underneath. And that's it! Well, as far as pinning it on, anyway :)
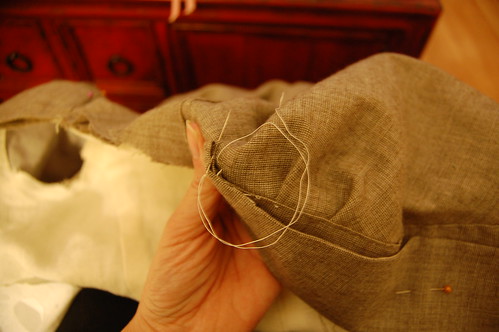
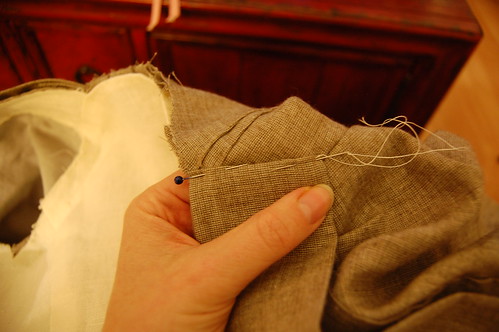
As far as sewing them on, I made this way up. I haven't seen an original, sadly, so can't confirm if this is right, but it looks good!
To start, I slipstitched about an inch of the robing at the back shoulder seam, to hide the turned under edge. Then I used a spaced backstitch at the back, and slipstitched about an inch up the other side of the robing.
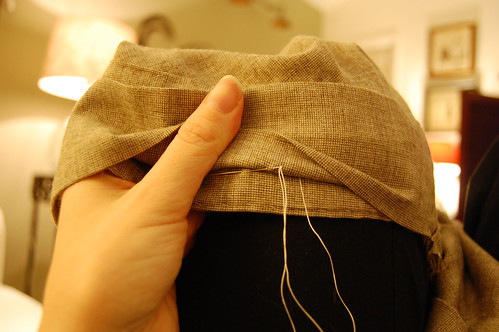
For the front of the robing, I lifted it and did a large sort of loose running stitch that would just barely hold it in place. I wanted to avoid the glued down look. It's about three-quarters of an inch in to leave place to pin the dress shut. I sewed across the middle of the bottom edge as well.
I did see a dress in a museum once where you could see between the robing and dress, as if it were only sewn at the ends. I suspect that tension would keep the robing in place if it were only sewn at the ends, but the dress in question could just as easily have become unsewn over the years!
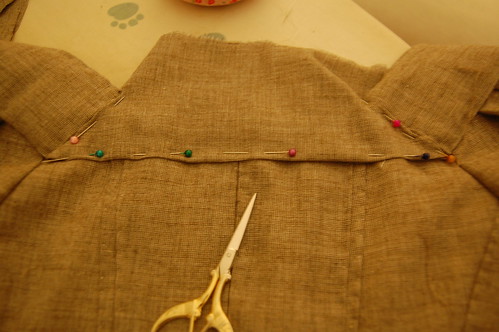
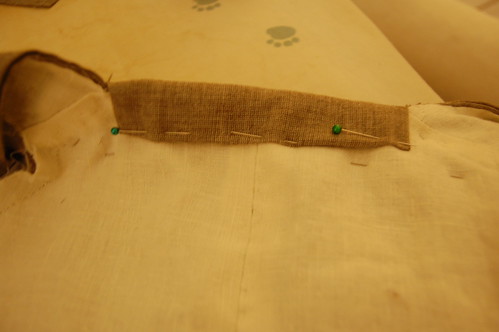
And next we have the back binding, explained more in depth here, at my francaise tutorial.
For the stomacher, I just traced my chocolate francaise stomacher. Tutorial on how I made that here!
I haven't made the petticoat yet, but I'll make it using this method from my website. Without leveling it for pocket hoops, of course. It'll be even all around.
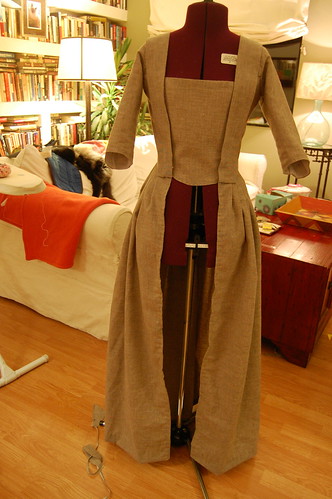
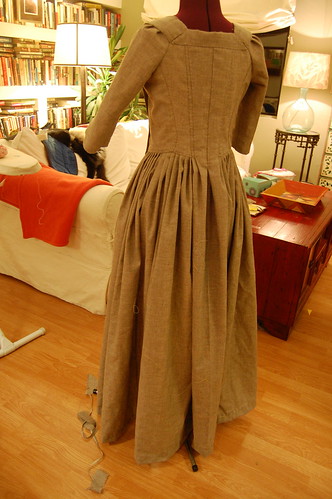
And the finished--except for a petticoat--dress!

I seriously have "historical-clothing-closet" envy every time I see what you've been up to! Thank you for your tutorials. They are always a joy to read & look at, and helpful! (Also, I love seeing if I can spy the kitties in the background!)
ReplyDeleteI think you have inspired me to re-think one of my gowns. :)
looking for someone to sew an early 1800's dress for daughters school project re-inactment of mercie otis warren. any referrals? can be reached at double4205@yahoo.com
ReplyDeleteI had no idea the robings could be separate pieces. That's awesome! I always thought they were these complex folds building into the piece. I like this much better.
ReplyDelete