
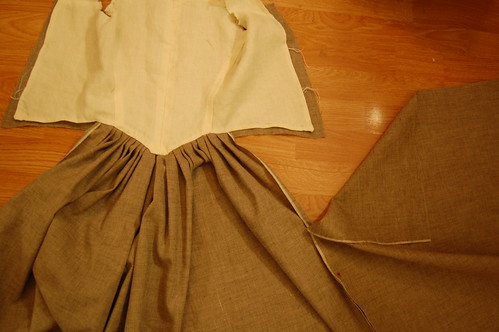
Start by pinning your front pieces to the back. Sew with a running stitch (or, OK, machine stitch...) and leave the top nine or so inches open for pocket slits, if desired.
If you don't want pocket slits, it's probably best to sew the front skirt panels to the back skirt panels before you do the back pleating.
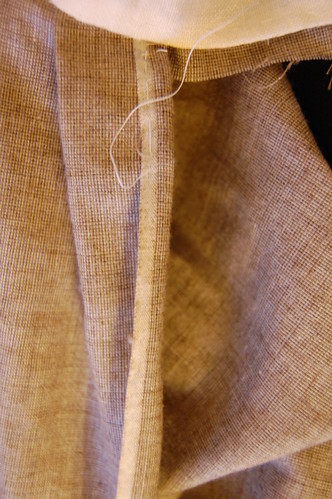
Hem the pocket slits. If you have a nice selvage, just turn it under once. If you have messy one, it's probably best to turn it under twice.
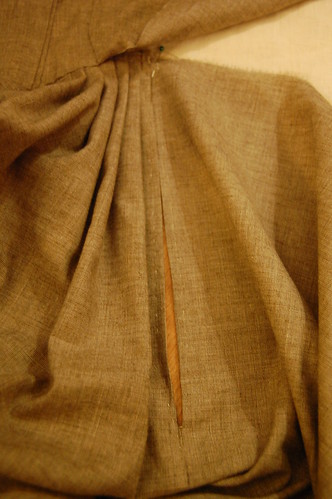
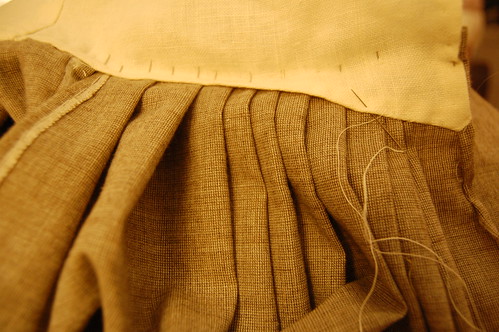
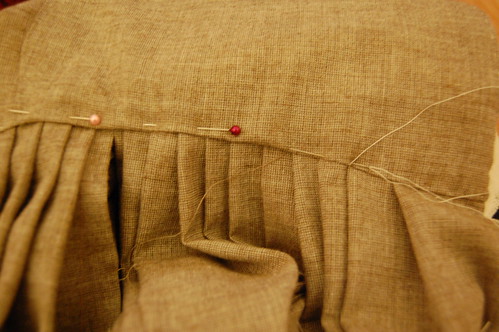
Now it's time to pleat the front of the skirt. All the pleats face the pocket slit--so the back pleats faced towards the front, and the front pleats face towards the back.
For the first pleat, line up the fabric so the pocket slit is even, and pin flat. The white you see in the picture is the lining. A little hard to tell, I know!
Then pleat! The front of the bodice does dip, so what I did was to pleat it straight across, ignoring that dip. This makes it so the front of the skirt won't be longer than the rest, and it will hang straight. You'll notice that in some of the pattern drafts, fabric is folded in front. You can do this too--I just thought this would work best with my fabric.
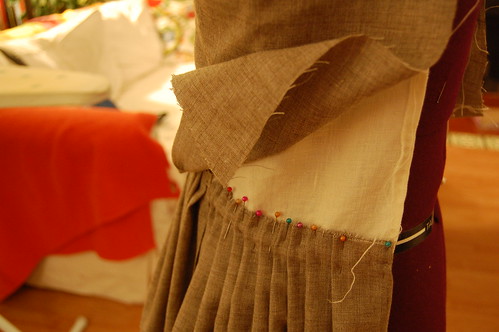
Since the front of the skirt will need to be hemmed, when you pin it in place, be sure to turn the front edge of the skirt under.
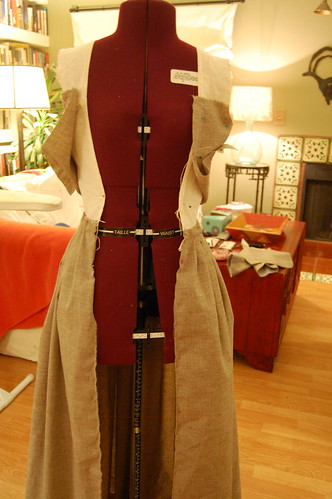
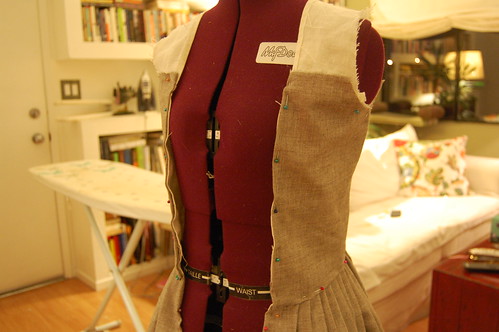
The skirt with both sides pleated--you can see how the skirt is level and pleated straight across the waist. You can also see that my dressform is very much not level!
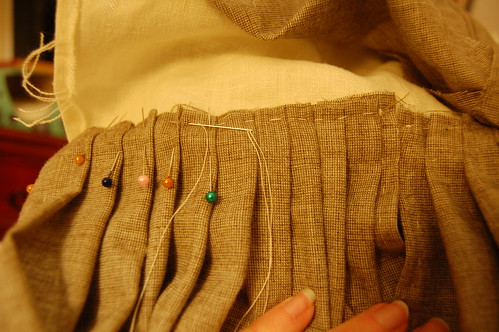
Sew the pleats down. Like the back, I sewed them with a whipstitch from the back, and then with a running stitch on the front. They'll of course be covered with the bodice front!

Like on the back, turn the bottom edge of the bodice over and pin into place.
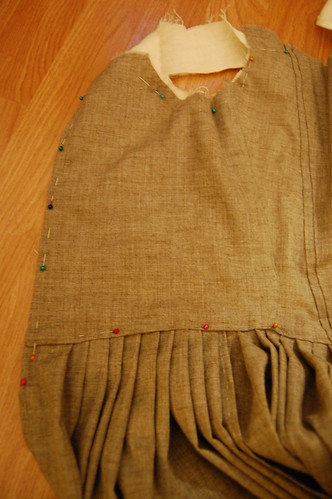
Sew the lining into place. I used a spaced backstich on the skirt and point a main sous la rabbatre on the front.
And that's the front! In part four, we'll do the robings, and mention the sleeves and stomacher.
This is a fantastic tutorial. Thanks for going into such detail. I was supposed to go to a mantua workshop at Burnley and Trowbrige, but had to skip it because of the weather over there. Until I get another chance to go, this was great info. Thanks again!
ReplyDeleteThanks so much for your great tutorials! They have helped guide me through making 18th century clothing and making my first
ReplyDeleteLarkin & Smith English Gown. I had difficulty fitting the pleated skirt into the bodice smoothly particularly where the cut is made under the En Forreau
section. So I fiddled with it and somehow made it work although there must be some tips to make this transition smoother!
Keep up the good work as it is very inspiring and educational!