
On to making the wings!
You'll need:
Galvanized wire
Cardstock--brown for the "leather" binding and a light color for the title pages
Vellum
Printed paper
A gold pen
Glue (I used Elmer's wood glue, simply because that's what I found lurking in my dye basket)
Needle and thread
Ribbon
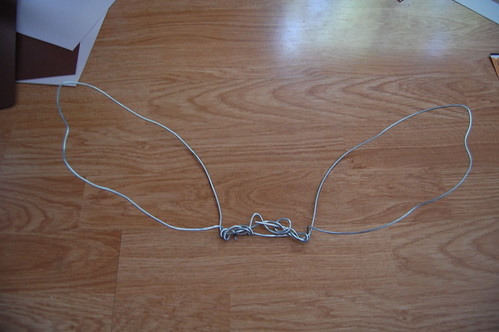
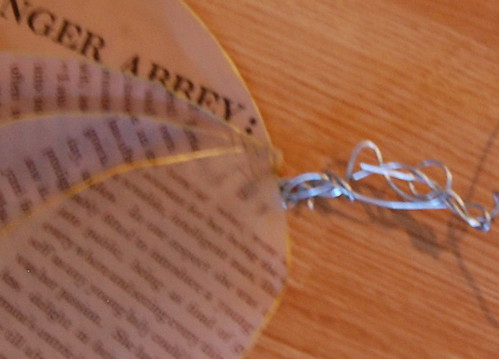
To start out, make a frame. This is where I'm going to be the least help! I don't know the weight of the wire--I didn't buy it, but was given it at a wing making session at Twila's--but it's about the same as a chain link fence. It's a little hard to bend, but not too bad.
Anyway, twist your wire into two wings. Use one piece, and twist the ends together around a straight piece in the back. I'm saying this badly, I know! Once you have this twisted, take a hammer and bash it as flat as you can. This makes them very secure. And it's fun :)
Make sure to make the wings small enough to fit on a piece of paper.
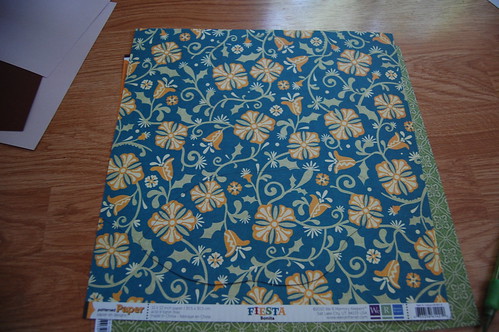
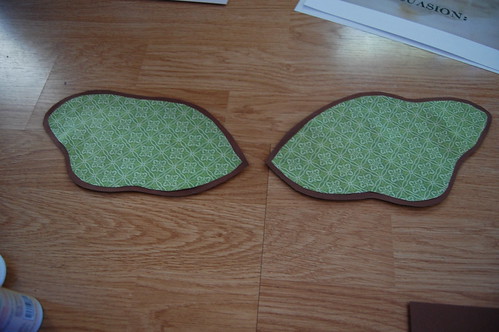
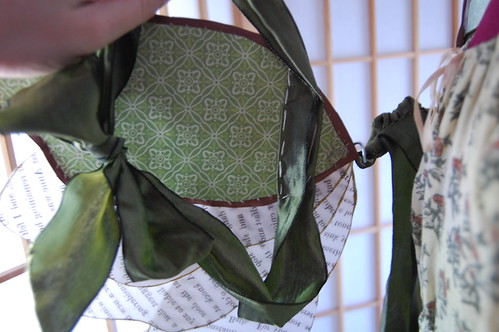
This is the wrong side of the paper I chose--isn't it adorable? If I were making c. 1900 wings instead of c. 1800, this would be perfect!
Trace you wing shape onto this. Trace each wing individually as they won't match perfectly.
Be careful to cut it so the design you want will be on the outside of the wing. If you make a mistake like I did though, it's easy to bend the wings in the opposite direction.
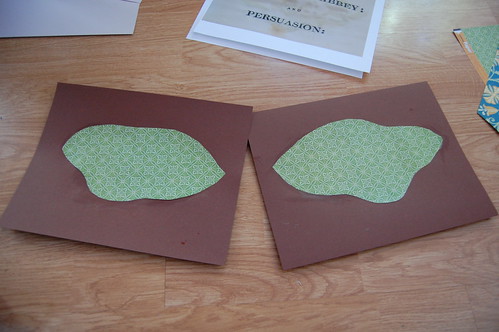
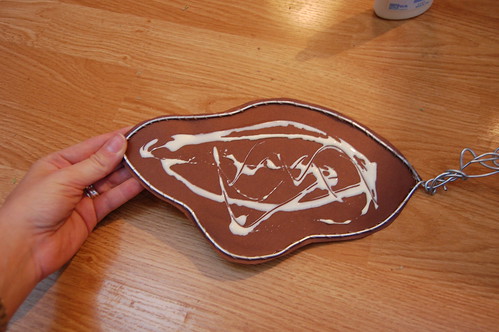
Glue the wings to the brown paper. Cut this out, leaving a small border. This should end up slightly bigger than your frame. This is the book cover :)
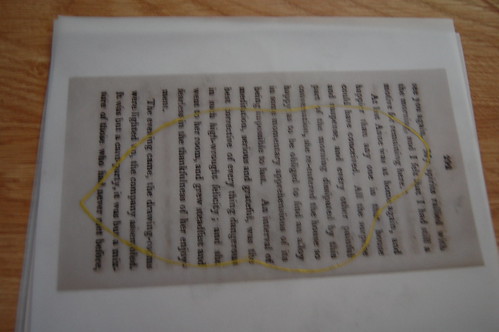
Print your passages onto the vellum. Trace the wing shape and highlight it with your gold pen. See? Gilded edges!
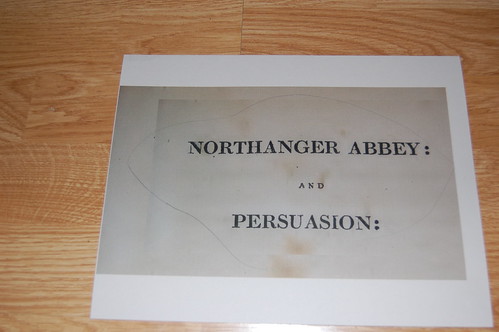
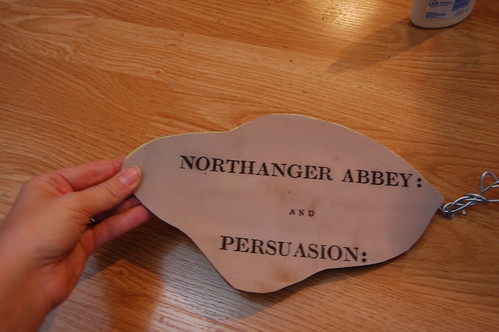
Print the title page onto the light colored cardstock, and trace the wing shape. Use the brown/printed paper for this tracing. You want these two pieces the same size. I also traced the edges with the gold pen.
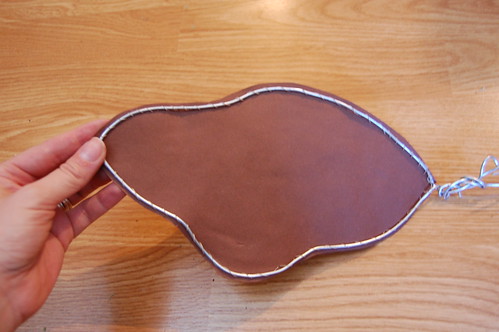

Sew the frame to the cover. I found that if you did it just where the printed paper met the brown paper, it barely showed. I obviously discovered this after the first few inches of sewing. You could also glue the printed paper on after sewing--something I didn't think of until later! I did like cutting the brown margin first though.
Put tons of glue on the wrong side. I ended up using a lot more than this.
Stick the title page to the cover.
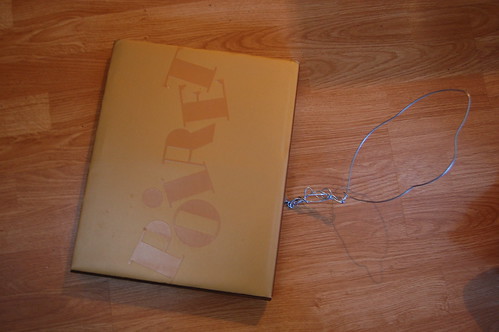
Find a big heavy book and flatten it :)
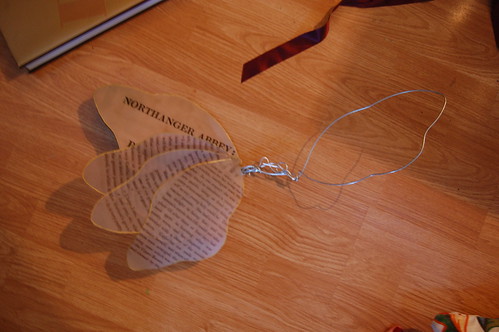
Cut out your vellum wings, arrange them so you like them, and sew them down. I would recommend doing this after sewing the second cover. These did get in the way a little bit while sewing the second one!
Here's a cropped version of the above photo--I just took big stitches through all the layers. Sort of like staples, actually :)
Repeat for the other wing!
To attach the wings, sew the ribbon from top to bottom an inch or so from the edge. Be sure to sew through all the layers of the cover. Pin the ribbon in place and try it on to check placement. These are a little top heavy, so attaching ribbon to the bar in back doesn't hold them up--or at least it didn't for me!
Wrap the center bar in ribbon. The trailing bits of ribbon that I attached is the bookmark, like the ribbon attached to spines. And just pretty :)
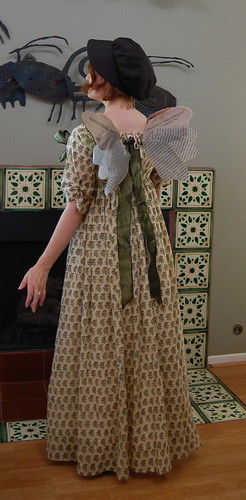
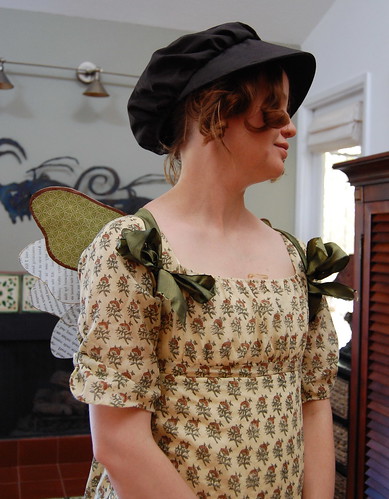
A full view from behind.
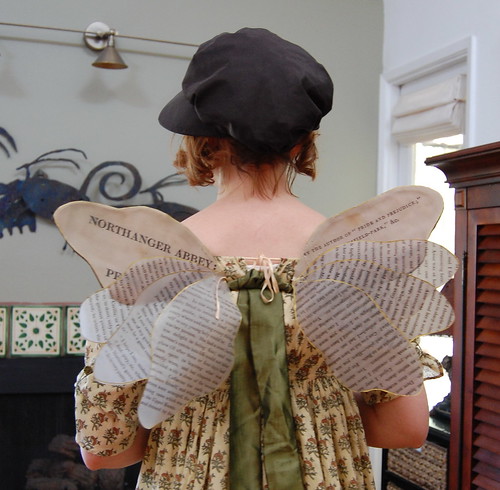
And a close up of the back. The dress will tie shut better when I have help--Regency is rather difficult to put on alone!
Jane Austen Fairy Wings from Katherine on Vimeo.
And to see how they move, a short video!
This is entirely too cute and may have to become my Halloween costume. Thanks!
ReplyDeleteI'm so glad! I hope they turn out well for you!
ReplyDeleteAawww, this is really cute!
ReplyDeleteSabine
Your blog is amazing! So inspiring :) I will try this tutorial as soon as I can for sure! Thank you so much for sharing your ideas!
ReplyDeleteThose wings are so cute! I like the big heavy book you chose to help flatten too!
ReplyDeleteAdorable!
ReplyDeleteNow THOSE are fun! I love how you used the pages from books for wings! Genius!!
ReplyDeleteThe wings are great - but I'm DROOLING over that print! Where did you find it?? It must be an authentic Indian block printed cotton, you can't find that sort of thing in regular fabric stores here in the US...
ReplyDelete