
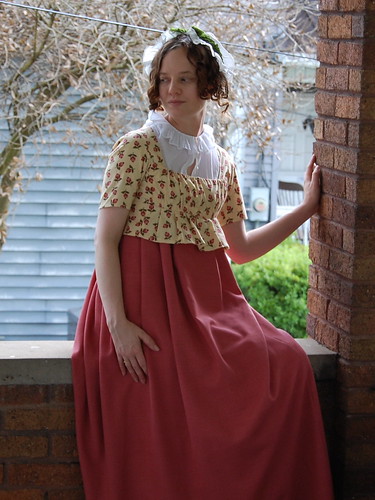
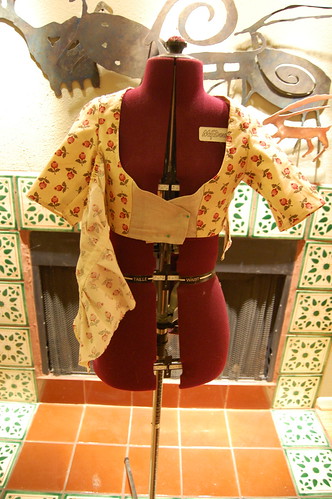
To help with prep for Aubry's Regency house party I mentioned in my apron post, I of course needed more than an apron, I needed a full working outfit. I decided on a shortgown. I've long admired them because they're just too adorable. For costuming purposes, I'm defining a shortgown as short version of a dress--a bodice with some sort of skirt attached. I have a Pinterest board of them here. I had everything I needed in my stash, pomegranate print fabric that was a gift from my friend Sarah (after I admired it shopping with her and managed to not buy it!) and wool from William Booth, Draper, and leftover from my cotehardie.
My main inspiration was this shortgown, though for practicality I decided on short sleeves, which are often seen in costume prints.
The shortgown is constructed pretty much the same way as a drop front dress. The only difference is in the way the bib and skirts are attached. For this reason, this tutorial starts after the bodice is constructed. My drop front dress tutorial covers construction up to this point.
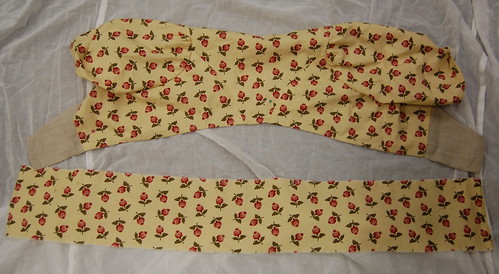
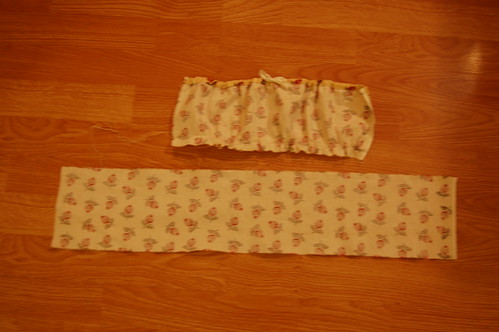
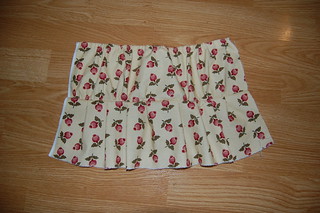
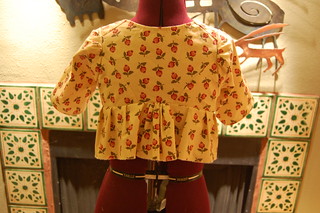
And here's the completed bodice and the back skirt. You'll notice that the skirt is the entire length of the bodice. It's going to be pleated and gathered to just fit the back.
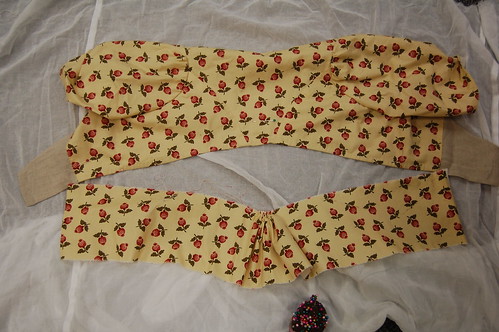
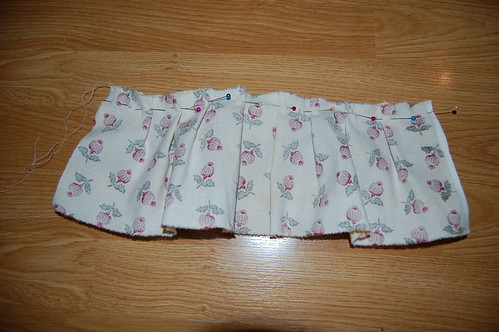
I gathered the center back of the skirt. The rest of the skirt is fit with pleats.
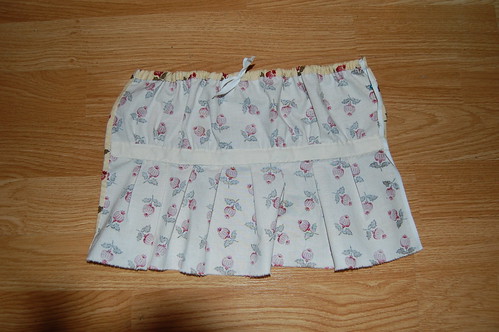
Then I pinned the gathered and pleated skirt, right side to right side, to the bodice. The edges of the skirt end about under my armpits.
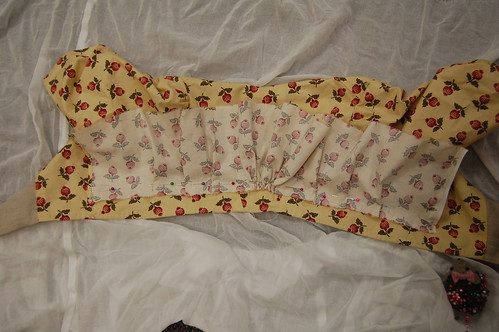
The attachment of the skirt might look a little strange, so high above the fitted edge. However, when looking at extant shortgowns, I noticed that many of the skirts, including the one on my inspiration, were mounted above the edge of the bodice. It can be seen here on the open side of the skirt. The seamline for the skirt can be seen here. The hem with a line of stitching above it can be seen on this shortgown as well. The museum for this shortgown also has a good zoom feature.
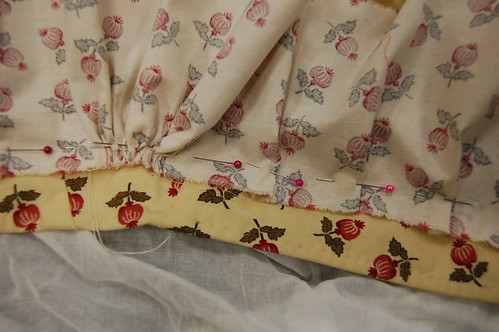
Here's a close up of the pinned on skirt. I then sewed the skirt to the back along the line of pins.
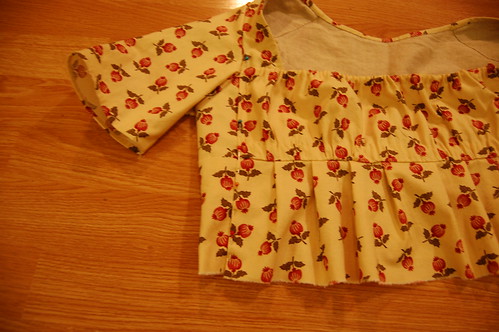
The next step was to make the bib. The bib is just a rectangle of fabric. I put a drawstring channel with a center front eyelet in the top, and gathered the bottom to fit. The straight strip of fabric below the bib is the front skirt.
I then pleated the front skirt to match the bib. I put them wrong sides together and sewed them. Neither side edge is hemmed yet.
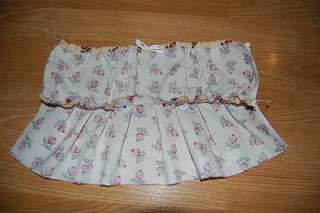
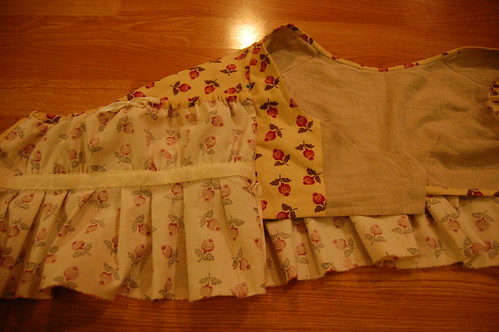
Here it is open, from both the front and back.
I then finished the seam with cotton tape as seen here, hemmed the left side, and folded the right side (which I used the selvedge for) under.
I then pinned the bib to the dress on the right side. I sewed it down using a spaced backstitch. I then hemmed the front and back of the skirt as one.
Here's a view of the same, only open.
To wear the shortgown, pin the front flaps, as you would for a drop front dress. The bib then pins to the left side.
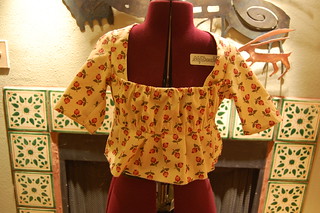
And the front and back views!
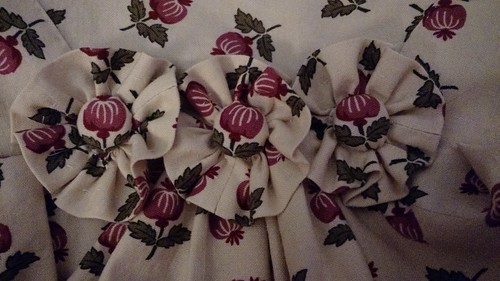
One final touch was to put three buttons on rosettes on the center back. Many shortgowns featured buttons, which in addition to being decorative, help keep the center back skirt in place, and balance an apron so it stays on your high waist. While most didn't have the rosettes, my inspiration did, and I liked them too much not to use them.
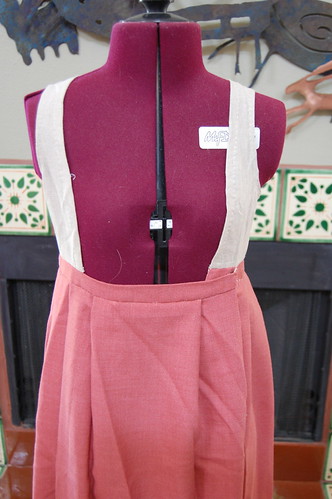

The petticoat is very simple. Using the same bodice pattern as the lining, I made an unlined bodice but stopped it at the straps, it had no flaps. I then sewed a straight paneled petticoat to a waistband and whipstitched it to the bottom bodice edge.
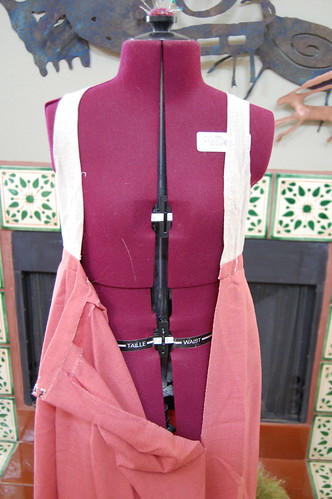
The petticoat closes at the left side. This is loosely based on the petticoat for the 1790s riding habit in Patterns of Fashion.
ahhhh, the smart way to do a bodice for a petticoat. Why didn't I think of this. SHHHHH don't answer
ReplyDeleteIt took me forever to think of doing it this way! The petticoat for the blue shortgown is done differently. I don't have pictures of that yet. In fact, it's still in the car after Costume College...
DeleteThanks for sharing so many details. Saw your second post first, and was going to ask your inspiration for the petticoat - but then saw this post! Those buttons on the back of the jacket are delightful.
ReplyDeleteYou're welcome, and I'm glad I answered your question!
DeleteI adore the buttons. I almost left them off--they were the last thing I did after all my projects were finished. I'm so glad I had time for them :)