
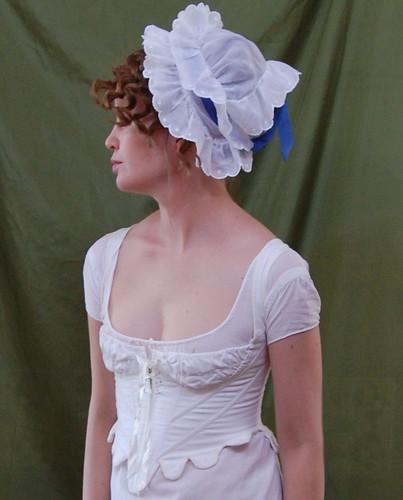
My main inspiration for these stays was this pair of stays in the Victoria and Albert Museum. Mine are slightly simpler, but keep the elements I wanted. Separate cups, higher waist, and general 18th century cut. I used the 1790 linen stays pattern from Corsets by Jill Salen as a starting point since they had the general shape I wanted. I changed them to back lacing with false front lacing and gathered cups. They're made of two layers of fabric, cotton broadcloth for the outer layer and cotton twill for the inner layer. Both fabrics are from Fabric.com. They're boned with metal and plastic artificial whalebone. I used the plastic in the diagonal channels so I could easily shape the end of the bone to fit. They're bound in tight weave cotton ribbon that I bleached white. They're laced with silk ribbon from Farmhouse Fabrics. The cups are drawn in with twisted cotton crochet cord.
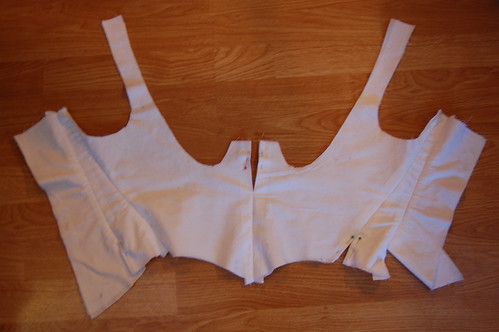
Basic construction is straightforward. All seam allowances are turned in towards each other--so they're on the inside--and the pieces are whipstitched together. This is based on early 18th century stays construction, but since the seam allowances are inside, there's no need for a separate lining to cover seam allowances.
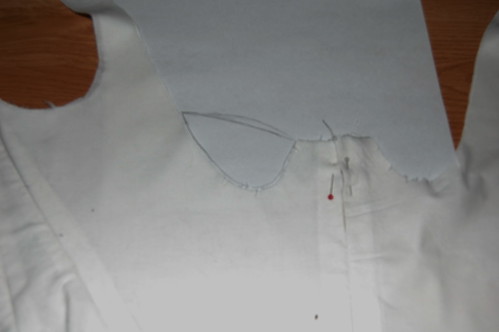
To pattern the shaping for the cups, I fit the stays normally, adjusted my bust into the position I wanted it held, and drew a line underneath that. I smoothed out the line when I took the mockup off.
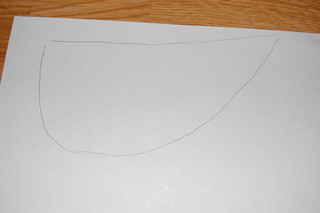
To pattern the cups, I traced the shape of the cup onto paper.
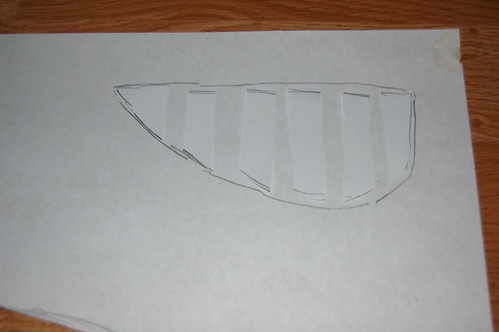
I then cut that shape into strips, spread it out, and traced around that.
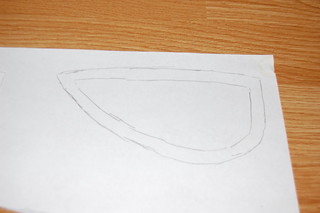
I added a seam allowance on all sides--to sew to the stays and to put a drawstring channel in the top--and adjusted the top line so it would make a smooth line with the straps.
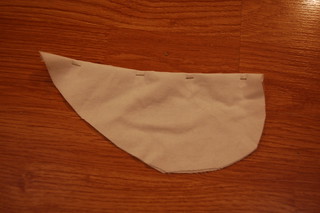
The cups are two layers of broadcloth. The top is hemmed to make a drawstring channel. The line drawn in the center of the cup is to create a drawstring channel for the center of the cup.
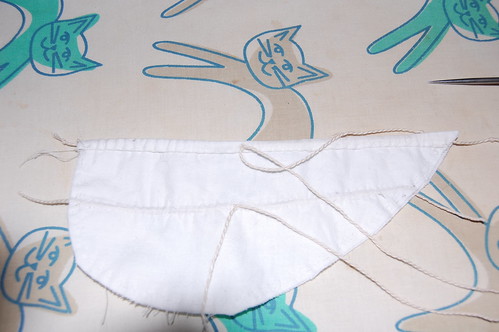
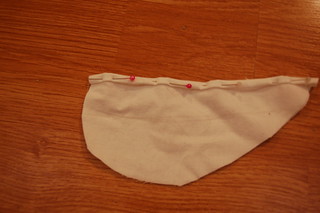
Here it is sewn--there are no eyelets for the twisted crochet cord drawstrings; they're just poked through the fabric.
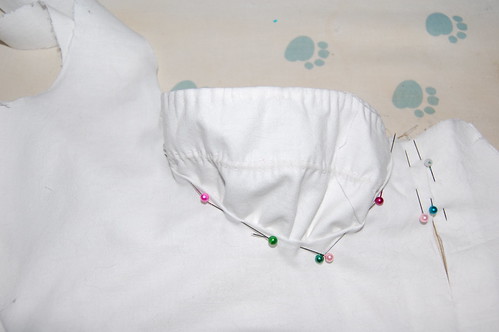
The seam allowance under the cup is folded down, and the cup is topstitched in. I used a spaced backstitch.
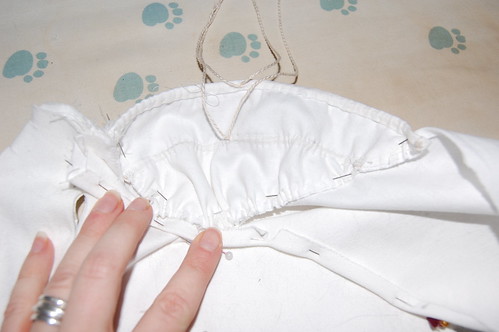
The lining is left loose. The curve is clipped a little to make the seam allowance fold more easily.
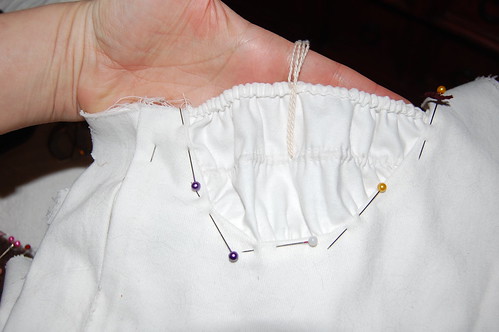
The seam allowance folded down, and is whipstitched to the wrong side of the cup.
I did a second row of spaced backstitching after the lining was whipstitched down. This wasn't completely necessary, but it made it feel more finished.
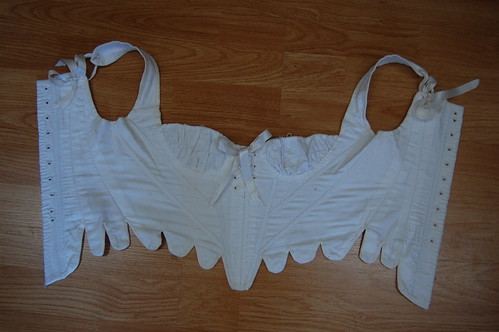
The tabs are cut, boning is added, eyelets are sewn, they're bound, and they're done!
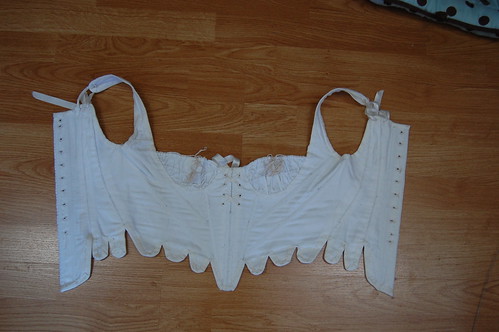
Here they are from the back, which because of the techniques used, looks an awful lot like the front...
Your stays came out really lovely! And it's cool to finally see cut-out cups in action. Thank you for sharing! :)
ReplyDelete