

Hair is probably my least favorite part of costuming, yet it's such an important part of costuming. For my King's Landing Dress, I needed to be extra creative with hair. My hair is currently a perfect for my 20s gala dress and 20s tennis dress for Costume College length, which is very much not the right length for my Game of Thrones dress! I also wanted to avoid wearing a full wig, as dealing with a lace front widow's peaked wig just isn't high on the list of what I want to do, plus from Victorian costuming, I'm very used to using hairpieces.
This tutorial will be a little less complete than my average tutorial. Due to the immense amounts of futzing I had to do, some steps aren't photographed. Setting the hairpiece down to take a picture just wasn't an option!
I used the following materials for the hairpieces.
Buckram and millinery wire.
Nylon netting and polyester stuffing
Needle, thread, long hairpins (the normal skinny type), bobby pins, tiny rubber bands, wig clips.
Jac-o-net nylon hairnet (from Sally Beauty Supply)
Black'n Gold Kanekalon fake hair--This is the cheapest and longest fake hair. I used two packages, but only because you have one try before it's unusable.
Dios Remy Fiber fake hair--This is much nicer fake hair. It's sewn to a weft and is brushable.
(pictured at the bottom of the post!)
And onto construction!
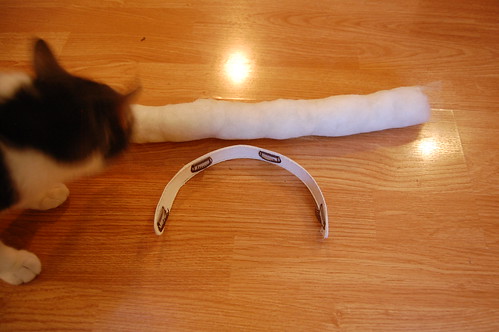
Here's the structure for the hairpiece. It's a piece of buckram edged with millinery wire, and a tube of netting stuffed with batting. (As I was making the hairpiece, I realized I made the tube too big, so I took some stuffing out and narrowed it. This also meant I needed to narrow the buckram.)
To make the buckram, cut a strip just wide enough to cover the wig clips. I then put it on my head, and marked the length I wanted--just over each ear. I then sewed millinery wire around the edge and sewed four wig clips to the band. Then I shaped it like a headband.
To make the tube, cut a piece of netting so that when it's sewn and stuffed, it'll be a little wider than the band. Remember, when you wrap hair around it, it will become thicker. You want it to be a little longer than the band. Leave the ends of the tube open.
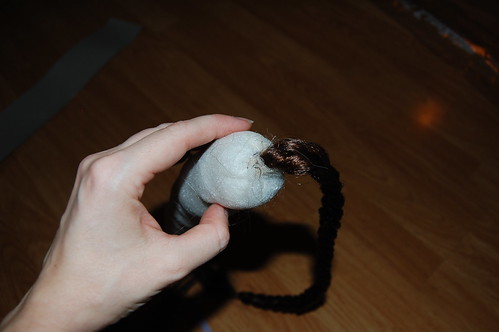
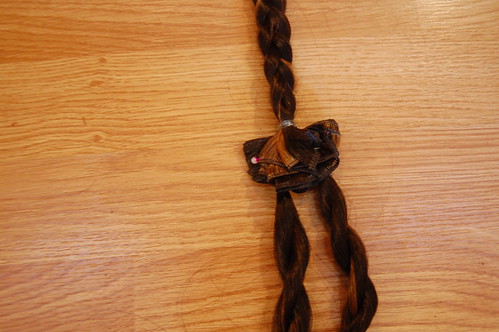
Make a two braids and/or twists to use as decorative wraps. Put one end of the braid or twist into the tube, and gather the end of the tube and sew through the end of the braid or twist to keep it there.
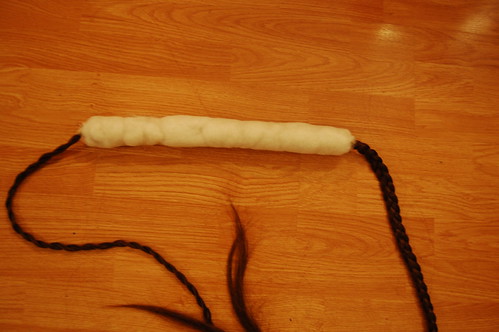
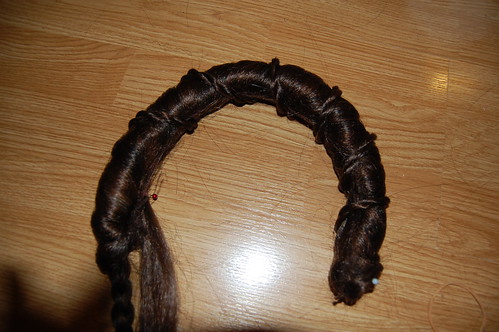
Here's what it looks like when both are done. I made the twist very long, as it's easy to trim later. To make the twist, I took two pieces of hair, twisted them, and then twisted them around each other, much like when making cord. I'm sure there's a tutorial out there on how to do something like this!

To wrap the tube in hair--and I do apologize for no pictures--take a full length of hair, and drape it over the middle of the tube. Then wrap from the center to the edge. When you get to the end, twist the hair tightly and wrap it around the braid once or twice. Then take a hairpin, shove it through the braid, the part you just twisted around the braid, and into the the stuffed tube. Repeat for the other side.
To finish the ends, I pressed the leftover wrapping hair to the bottom of the tube, and sewed into place. This was a very futzy step, picture taking was impossible, but it worked quite well.
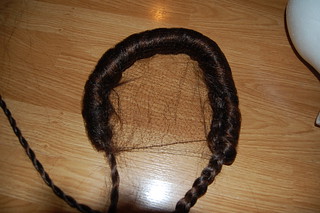
The hard part is over! You may have noticed though, that the hair is somewhat frizzy and doesn't feel like the most secure thing in the world. The next step is easier if you have a styrofoam head. Put the hairpiece on the head, put the hairnet over it, take the whole thing off the head, and sew the hairnet tightly around the hairpiece. Trim the excess hairnet.
Now, to make the hairpiece a little more decorative. Take one of your twists or braids, and wrap it around. There's no real method to this, just whatever looks nice. Sew it in strategic places. Take the end of hair, and sew it flat like you did with the hair twisted around the tube. Sew from the edge of the band into the hairpiece. It's not easy, just do the best you can.
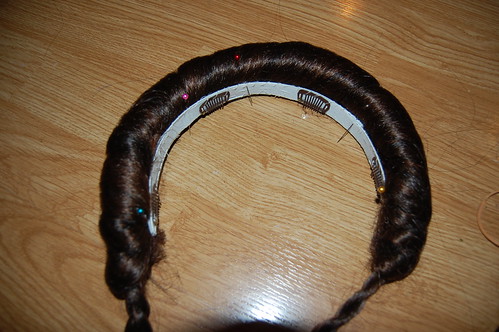
Now, take the tube and pin it to the band. Ignore that the twist isn't twisted around--I was trying something and didn't take a picture later. Sew it to the edges of the band, both front and back.

Now, take the other braid, and run it around the hairpiece. I used this to hide the white at the bottom edge since my tube wasn't quite thick enough.
You'll notice in this picture a third twist that I didn't have before. I noticed that some of the white band was showing, so I twisted some more hair, sewed it in an inconspicuous spot, and wrapped it around the bottom, hiding the white.
And that's it for this part of the hairpiece! If you have long hair, you won't need this second part, just style your hair into some twists. This back hairpiece isn't exactly show accurate, but it does give a similar effect.
To make the back piece, I twisted two pieces of the nicer hair into twists, and braided a third. I then sewed the three pieces together, as shown.
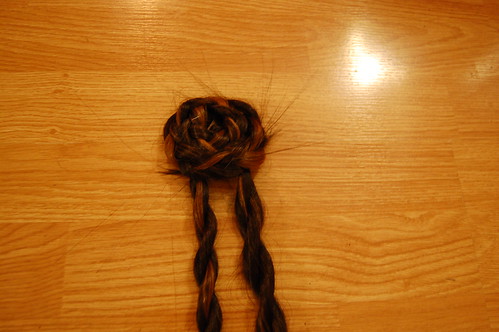
I then twisted the braid into a bun to cover the join and sewed it into place.
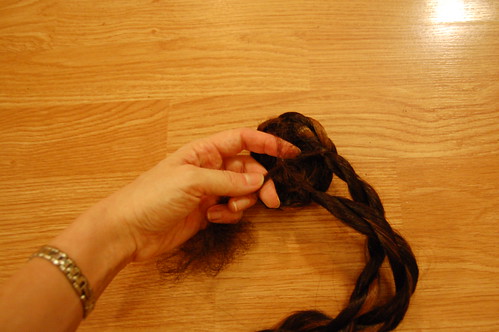
That was all fuzzy, so I put a hairnet over it, twisted it, sewed it into place, and trimmed the excess.
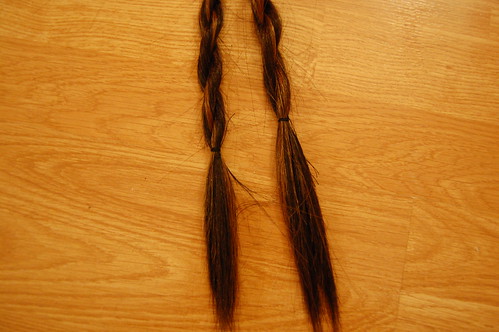
I then sewed the ends of the twists shut. And that's it for the back hairpiece! Now, to put it all on...

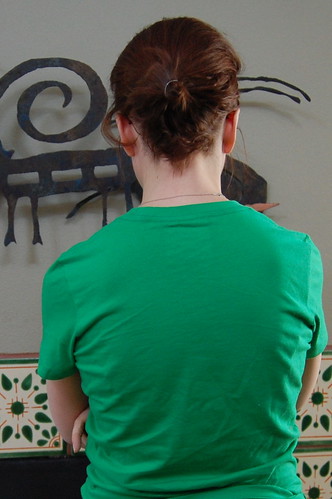
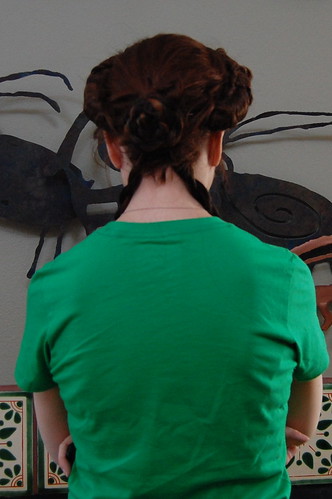
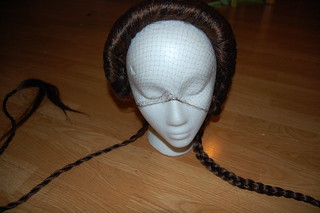
Here I am with my normal hair. I slept on rollers the night before like I normally do to give my hair a little more texture. I have very, very, fine, flat, difficult to work with hair. If you have normal hair, you can skip this, I'm sure. I put it into a doubled over ponytail as best I could. I'll probably be a little neater when I wear the dress!
I then took the back hairpiece, centered it over the ponytail, and pinned around the edges with regular bobby pins. I then opened the wig clips, slid the front hairpiece slowly on, being sure to catch as much hair as possible, and closed the clips. I then secured the ends of the front hairpiece with bobby pins. I don't have pictures of this process, but it's quite simple.
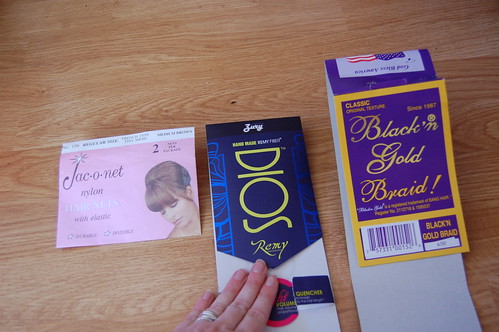
And here are some of the supplies I used. I needed to ask for the wig clips (not shown, obviously) at the hair store--they kept them behind the counter. They're made to sew in and hold very, very well.
Hopefully this process makes sense! It really was a trial and error thing as I went through it, but I'm very pleased with the end results.