
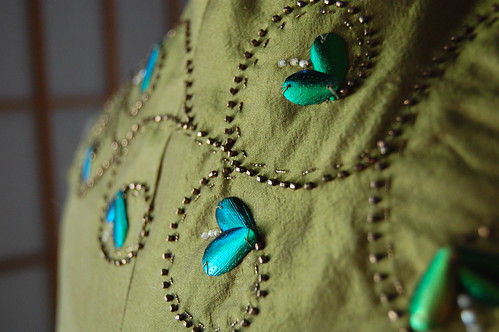
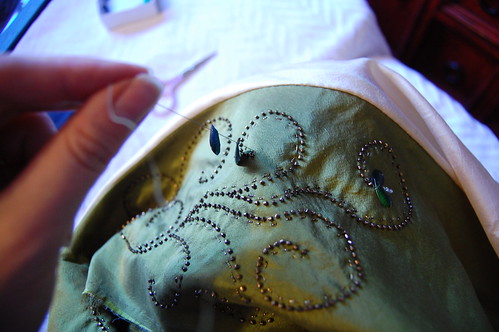
From the start, I knew I didn't want to make a recreation of a dress, rather I wanted to make a dress that if I turned up in King's Landing, would fit in. We see enough of this style to get a feel for it. One thing I noticed while looking at different dresses was the embroidery had a great deal of texture. With that in mind, I decided on beading highlighted with metallic thread and beetle wings. While certainly not the level of detail on one of Cersei's dresses, it is similar to the amount of detail on Sansa's dresses in this style. I talk a little about the design itself and how I transferred it to the dress in this post.
And now, what I used for the embroidery. Beetle wings that I bought on eBay. This link takes you to the seller I used, although they don't seem to have any in stock right now. Search for beetle wings or elytra to find them. Most of them are in Thailand, where they're a byproduct of the food industry, so a little advance planning is needed! And while there certainly is something of an eww factor, they're really no worse than silk! Or so I told myself. A few minutes into working with them, and I was pretty much over that. I have a friend who's also working on a beetle wing dress at the moment. You can see her blog which includes a little historical information here, Where When Why.
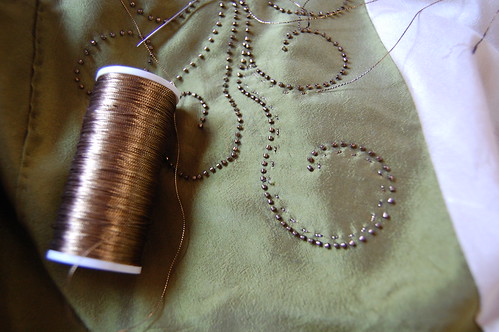
I used the Benton and Johnson #371 wire in antique gold from Hedgehog Handworks for the running stitch along the beads. I've included a picture of it below. Though this is called a wire, it really isn't. It's a thread (cotton, I think) core with a metallic thread wrapped around it.
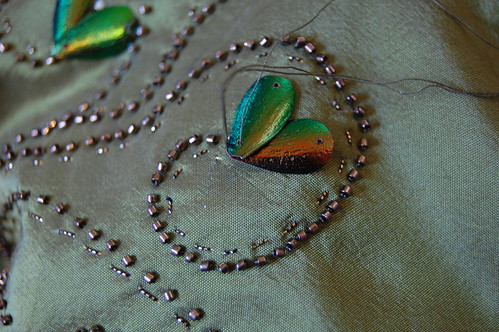
I used the Delica glass metallic bronze beads from Fire Mountain Gems. These are very nice beads, and do the job of imitating metal quite well. I also used these in silver on my Victorian knitted star bag. They fit over my size 10 sewing needles quite nicely! The cream colored beads between the beetle wings are Mill Hill from my local embroidery shop.
Now, onto the details!
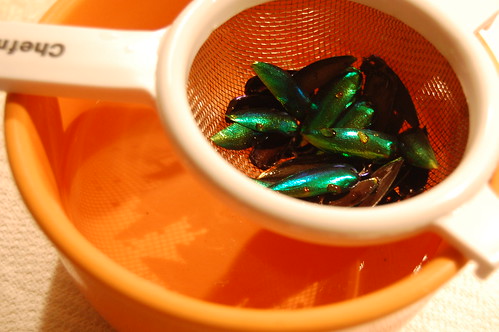
To prepare the beetle wings--they're easier to cut when softened--I counted out how many I needed and put them in a mini strainer over a bowl of water and poured boiling water over them. It took less than an hour to cut the 36 of them (there are 38 total--two done the day before!), though I didn't really time myself.
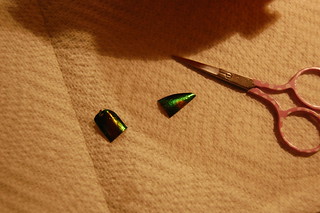
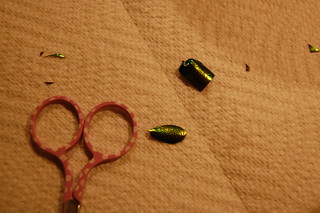
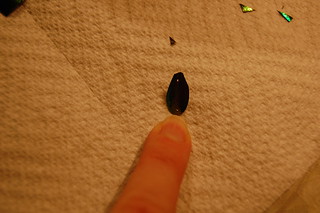
They were much larger than I needed, so I cut them in half. Then I trimmed the pointy end into the shape I needed. It's really very easy! I saved top end for later use. The pointy end is slightly flatter, and therefore worked better for what I'm doing. I may need to use the top ends as well though, since I only have 100 wings.
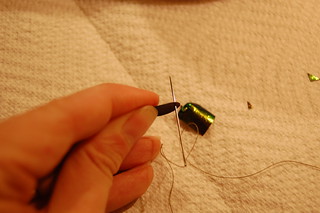
Though I ordered the wings pre drilled, that ended up not helping because I trimmed them. They're very easy to put holes into though! I just took a threaded needle slightly larger than the one I planned on sewing with, and poked it through the back. When I did my sample wings, I actually did this as I was sewing, but found it much easier to work with premade holes. Repeat for the other end so you can secure the wing at top and bottom. The picture on the left shows both holes.
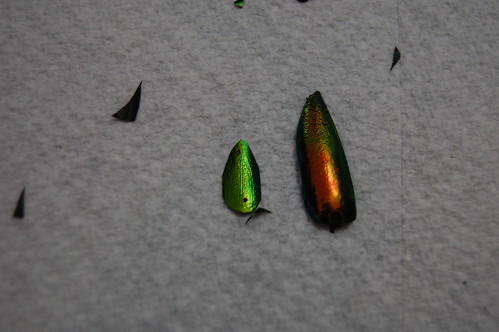
And now, a completed wing with a trimmed wing!
To sew them on, start by securing your thread. I just used a single strand regular Gutermann cotton thread. I changed my technique a little as I went on--by the third set of wings I had one I was quite pleased with--so some of the following pictures are from different sets of wings, so if they look different, it's because they are!
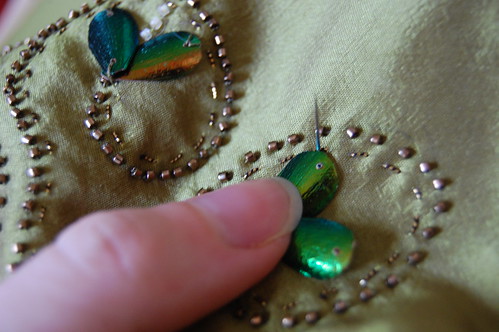
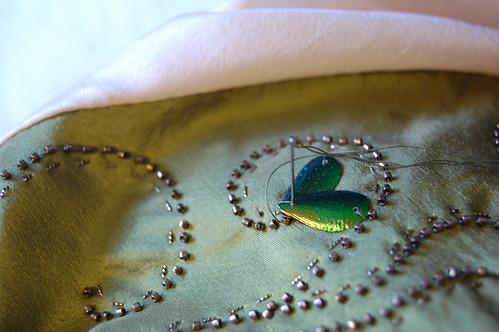
Now, slide two wings onto the thread.

Put the wings on top of each other. Don't worry about spreading them into their finished form yet. Just take a stitch and secure them.
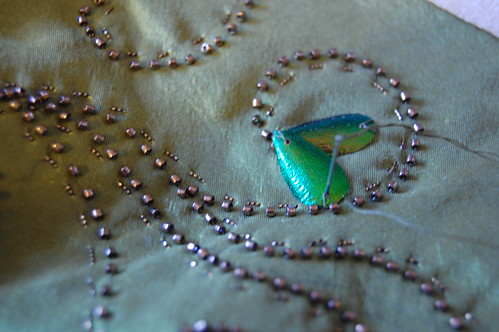
Now, spread the wings into the position you want
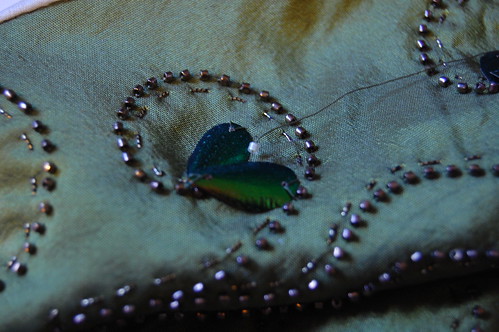
Bring your needle underneath, and put it through just past the edge of the wing. Then put it back through the hole.
This is what it looks like putting the needle into the hole. I obviously skipped a few pictures, as you can see a few threads securing the wing that weren't there in the last picture!
Once you've secured the bottom of both wings, repeat! This picture shows where I came out at the top, and am putting the needle back in. Repeat for the bottom two holes. I found it easier to make two circles instead of making two stitches at a time because everything was neatly in place for the second pass.
Now, for the beads! Take your thread under the wings, out at the split, and thread one bead on the needle. Sew it down using a running or backstitch.
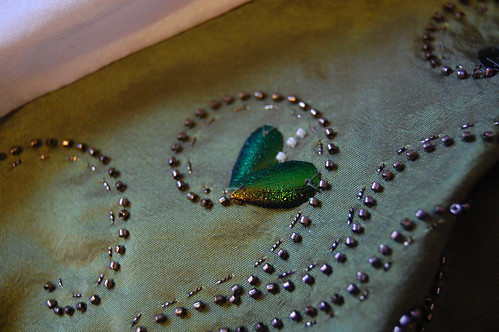
Repeat for the other two beads, and secure your thread beneath the work. That's it!
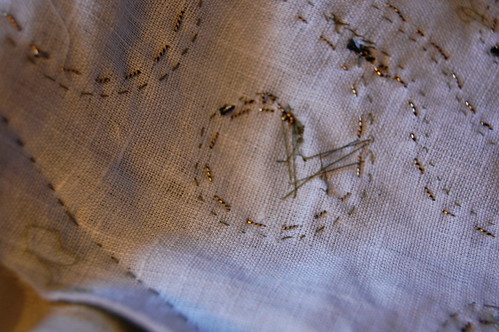
The back. It's not particularly pretty, but this is what a lining is for, right? :)
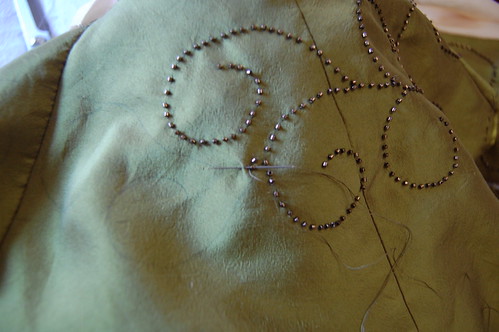
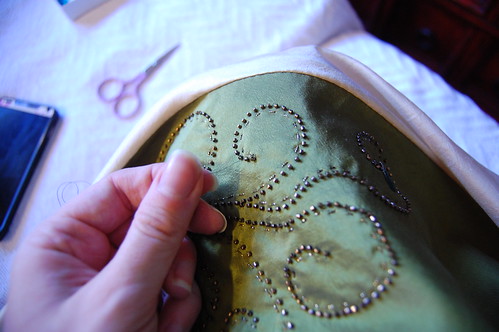
And now for the other trim! The beads were incredibly easy. After trying to sew them as a solid line and deciding I didn't like it, I tried sewing them a bit apart and did like it. I just used a running stitch, it made the beads lie nicely. It's not a continuous line, each swirl I started a new thread.
I then used the gold wire to do a running stitch next to the beads. I ended up taking the last few stitches done here out. I liked it much better with the running stitches just on one side. I'm not complaining about liking the way with less work better!. I was also going to put running stitch swirls in ivory on it, like on Sansa's dragonfly dress, but found those distracted from the beading too much.
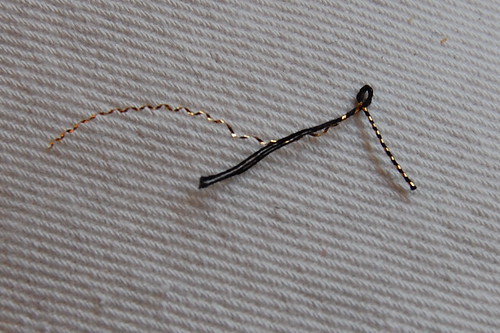
And here's what the metallic thread looks like a little unwound. Even though I love using very long pieces of thread, it really is best to use this in shorter lengths!
As for what's coming, I'm going to add more of this trim, to both the shoulders and cuffs, and then edge the dress and side panels with Italian wire mesh ribbon.