
So, how to make a court petticoat over those very wide hoops! :)
First, prepare your panels. I used three widths of 55" inch silk for the silk skirt in my pictures. My linen underpetticoat is narrower, but only because I thought the reason it wasn't working was it was too full.
To prepare the panels, cut three panels. Cut one in half down the middle. These will be your side panels. So you have a full width in front, a full width in back and a half width over each hip. Sew each seam, hem the skirt if you want, and in the center front and back cut a narrow waist curve--an inch or so deep and a little bigger than half your waist measurement. Pleat these to match your waist measurement and put ties/waistband on both the front and back. This is just like the petticoat on my website. You could do this last, but it's a lot easier to be able to put the skirt on the dressform properly.
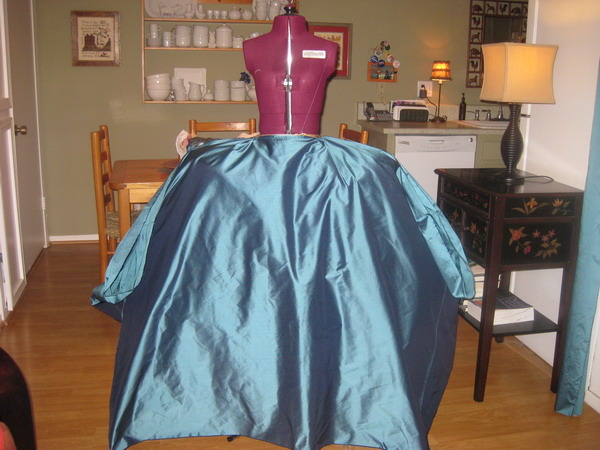
Put the hoop on the dressform, and put the skirt--inside out--over that. You will be making a giant stacked box pleat. You do not want this on the outside--it will not be attractive :)
Mark the center of the sides.
Pull the side up until the bottom of the petticoat is level. The edge of the fabric is where you giant stacked box pleat will go. Also, this marks where the pleats along the top of the skirt end.
Put a few pleats in along the top. These should point towards the waist, which means on the right side, they point towards the edge of the hoop. The pleats should end where the giant stacked box pleat will start.
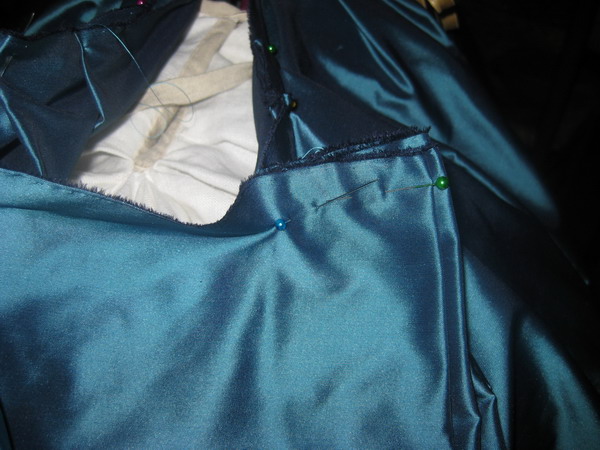
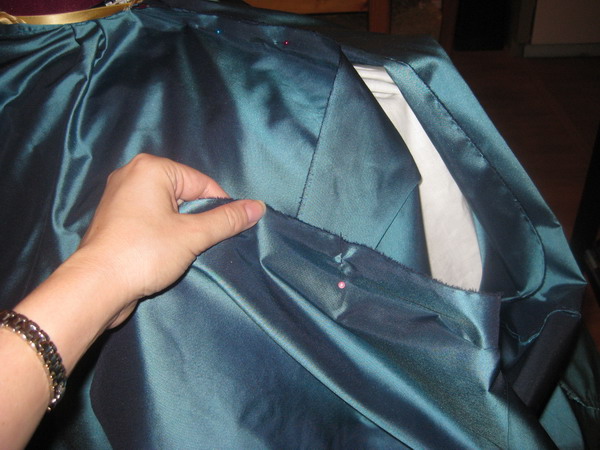
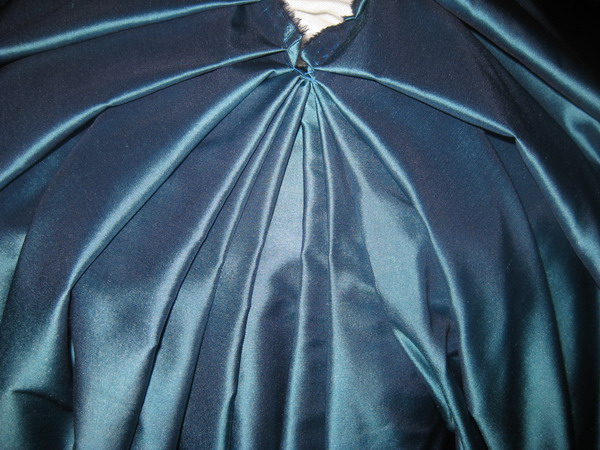
Start pleating. I made my giant stacked box pleat about two inches wide on each side, so about four inches total. The edge of this pleat starts right where the pleats in the previous step stop. You're making a box pleat so that there's an inverted box pleat on the right side. The center of this--where the two pleats meet, essentially--will end up being at the tip of the opening on the petticoat.
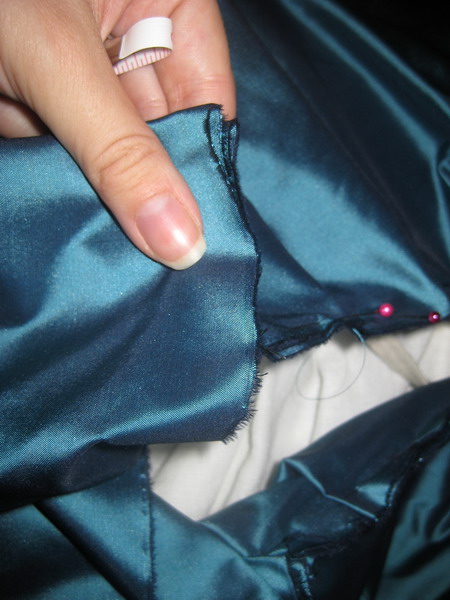
One of the pleated sides. Notice, it's just folded back and forth on itself.
Once you've completed one side, do the other. Leave this pleat hanging free. I suppose you could baste it in place when you see where it wants to land, but that's not really necessary.
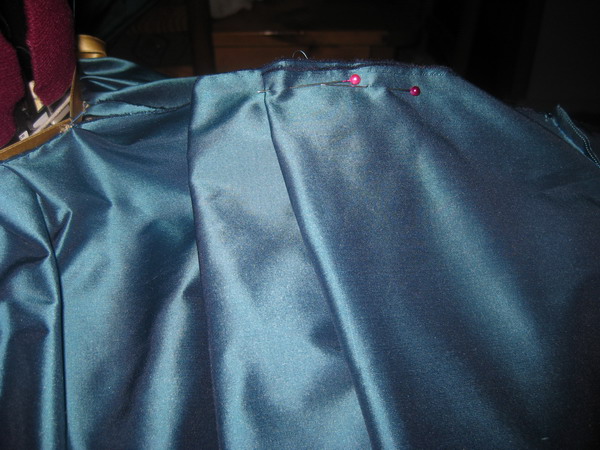
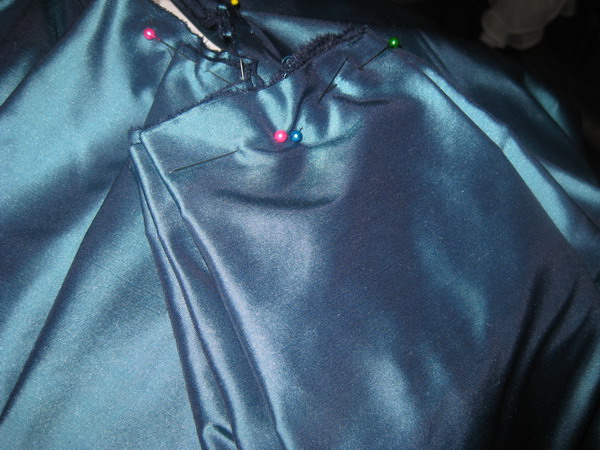
The top edge of this pleat is perpendicular to the skirt opening.
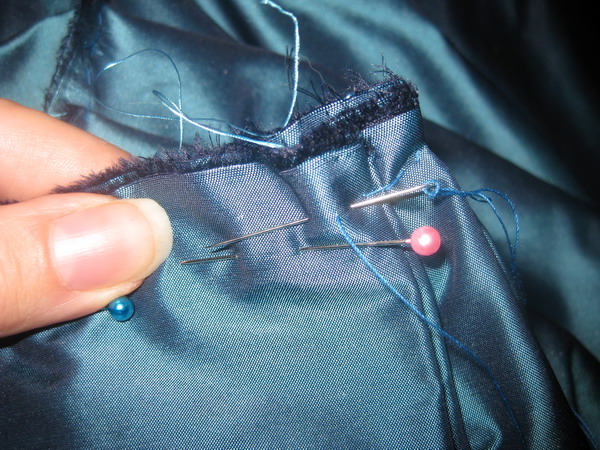

Baste your pleats while the skirt is still on the dressform.
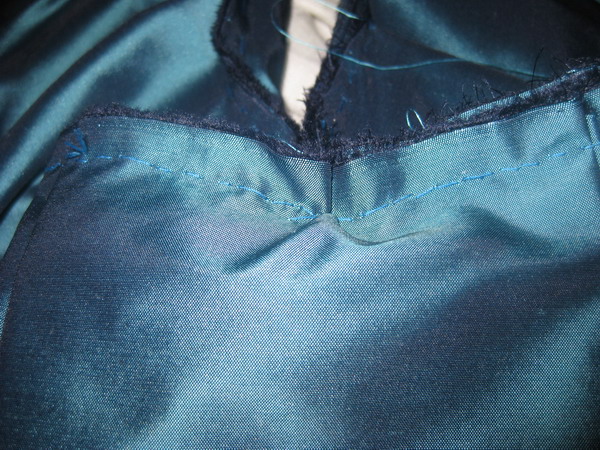
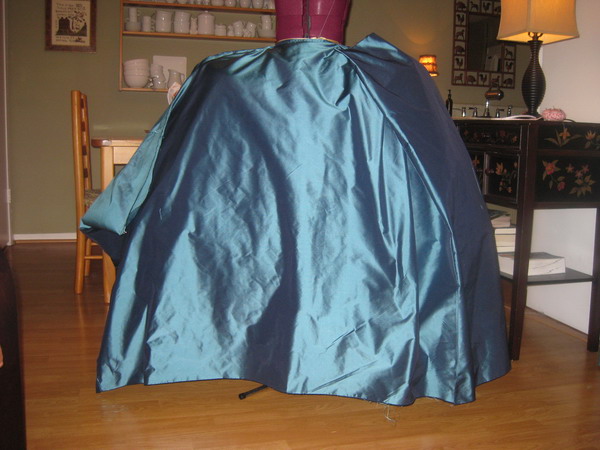
The completed look from the inside and outside.
To finish the edge, I just bound it with a strip of taffeta. You can see this opening, therefore if you're making a skirt that's going to be seen--no train over it--I'd probably pleat it this way, sew the sides shut, and put an opening somewhere in the waistband. Probably center back, and add a few more pleats and hide it in one of those...
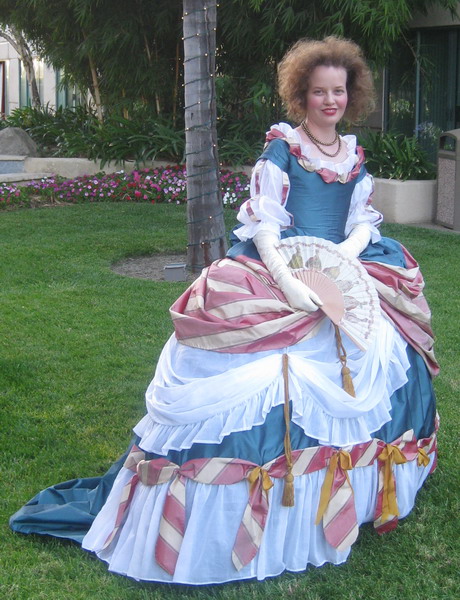
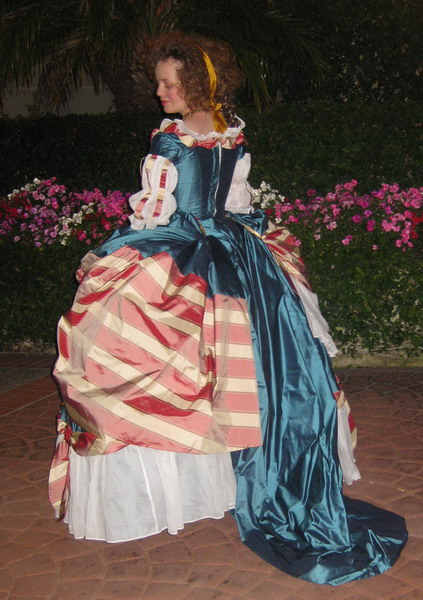
And, the finished dress!
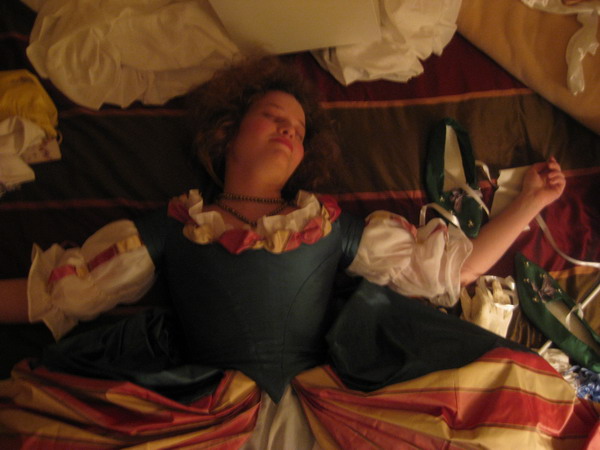
And just for fun, one of my favorite costume pictures ever, although it doesn't show much of the costume--After the Costume College gala, 2008!
Your gown is absolutely gorgeous!! I just discovered you have a blog, but I found your dress site a couple years ago, and have been a big fan of yours ever since.
ReplyDeleteI think your work is stunning, I am in awe of you!
Hi
ReplyDeleteYour blog is great!!!
My name is Raoni Pontes, I'm a brazilian historian and alway stay visiting your blog. You have very good posts.
I have a hand fan collection too, you can see this collection at: http://pontescollection.blogspot.com/
Pleas visit.
Thanks very much
Kind Regards