Tuesday, August 18, 2015

1780s Stays

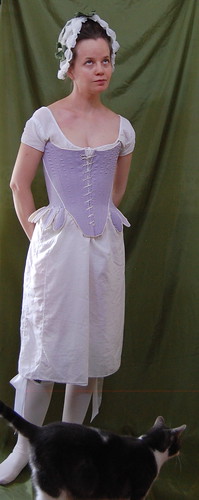
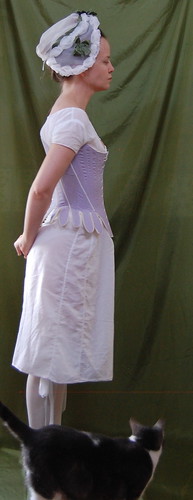
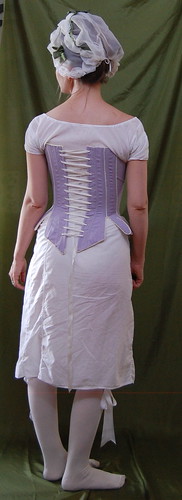
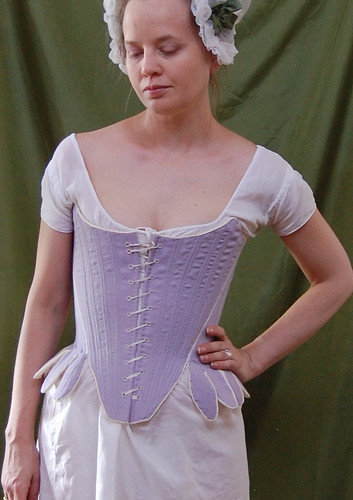
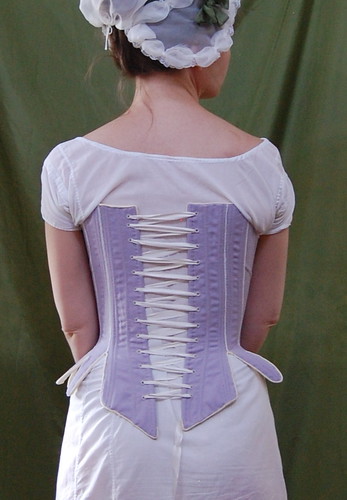
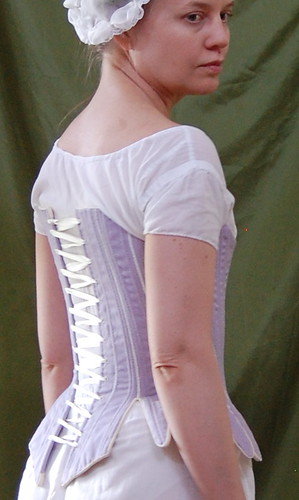
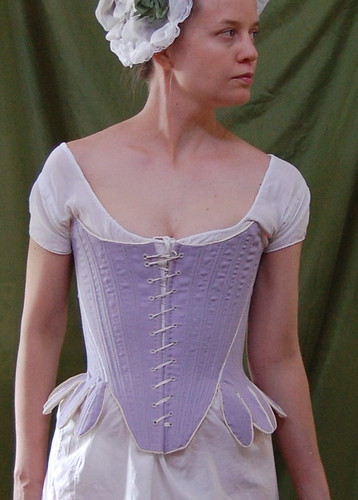
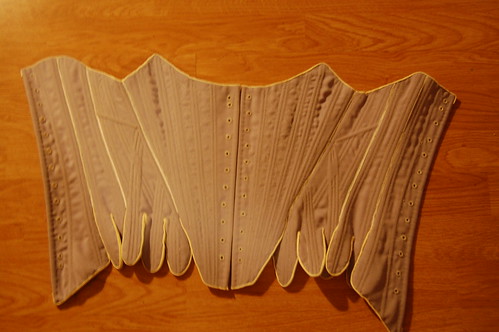
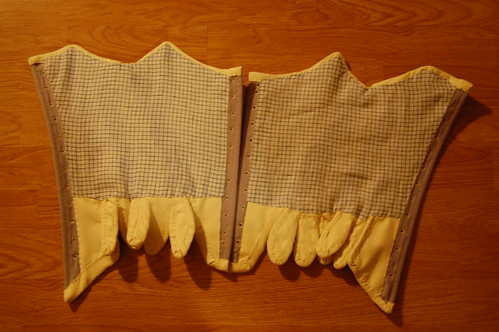
Purple Stays 28 Purple Stays 29 Purple Stays 27

Before making these stays, I already had two hand sewn pairs of 18th century stays. It's completely logical to need a third, right? I enjoy making stays though, and a long term hand sewing project is always nice to have.

I have an in depth post on construction here. The short version is they're made of wool, linen buckram, reed, metal boning and artificial whalebone and are based on the 1798 jumps in Corsets by Jill Salen.

Purple Stays 34Purple Stays 31

It's very nice to have front lacing stays! I can lace myself into back lacing stays, but don't really like doing it. I kept the back lacing so they'd be adjustable. Stays usually stretch, and a perfectly closing set of front lacing stays usually doesn't stay that way forever.

Purple Stays 32 Purple Stays 34

I'm quite pleased with the shape of these stays. Usually my corsets are interchangeable, but I actually had to make adjustments to my bodice muslin for these stays. As annoying as patterning is, it was a welcome change :)

1780s Stays--A Tutorial!

Purple Stays 33

For my robe a la piemontaise and redingote, I decided I wanted new stays. I wanted them to be a little different than my other stays, so I decided on front lacing (though this wasn't the most common form of stays) and strapless.

I used the 1798 jumps in Corsets by Jill Salen as a starting point. I combined two pattern pieces and made them without the alterations. I wanted them half boned, but used these stays as my main inspiration for boning channels. My stays are made of a layer of purple wool from Burnley and Trowbridge, a gift from a friend (thank you!), two layers of linen buckram from William Booth, Draper, and lined with linen check from Burnley and Trowbridge. They're bound in ultrasuede, which I bought an eighth of a yard of on eBay. They're boned with reed, which I cut in half to make narrower. There are two reeds in most channels. The front and back lacing areas are reinforced with either metal or plastic artificial whalebone. All the sewing is done with linen thread, though I wish I had used silk!

I need to thank Nicole, of Diary of a Mantua Maker for not only the ultrasuede suggestion (I was looking for a non leather alternative), but for explaining just how 18th century stays managed to have such a narrow binding--the outer fabric seam allowance was basted over the edges. I was lucky enough to see this on an extant set of stays in Lara Corset's collection.

More pictures of the completed stays can be found here.

Purple Stays 1

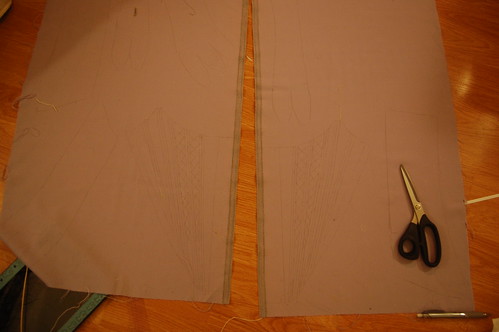
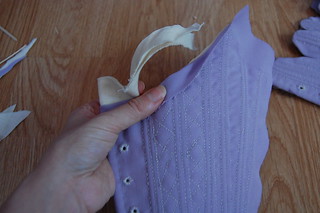
I started by tracing my pattern and boning channel placement onto the wool outer layer. 

Purple Stays 2

I then basted the pieces to two layers of linen buckram, and cut them leaving a wide allowance.  The basting stitches can be seen on the left.  After sewing all the channels, I trimmed again, leaving a seam allowance on all edges.

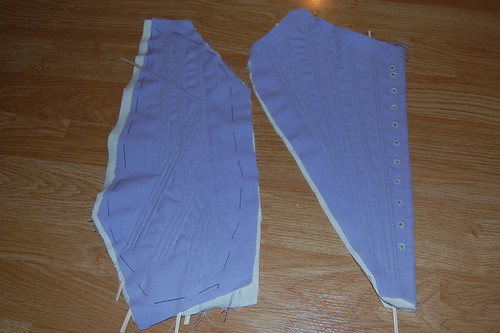
Purple Stays 3 Purple Stays 4

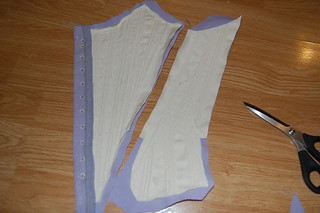
After inserting the boning, I trimmed away the linen seam allowance on just the neckline, underarm and waistline.


Purple Stays 5 Purple Stays 6

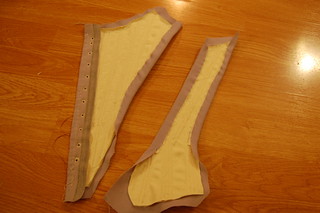
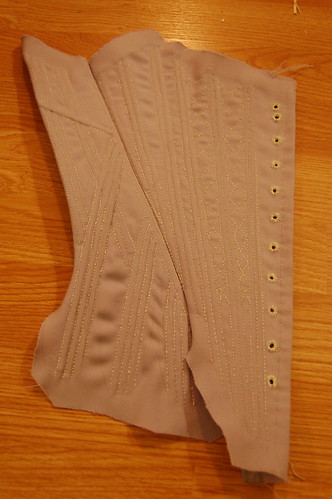
Here are the trimmed pieces.  You can see the excess wool on to and bottom.  To prepare the pieces for sewing, I basted the seam allowances down to the linen. 

Purple Stays 7

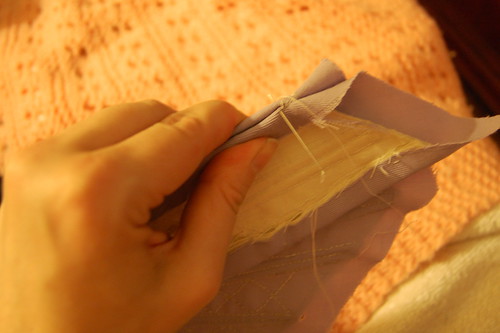
The pieces are sewn together using a closely spaced whipstitch. 

Purple Stays 8 Purple Stays 10

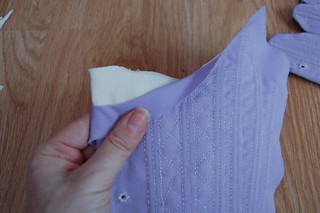
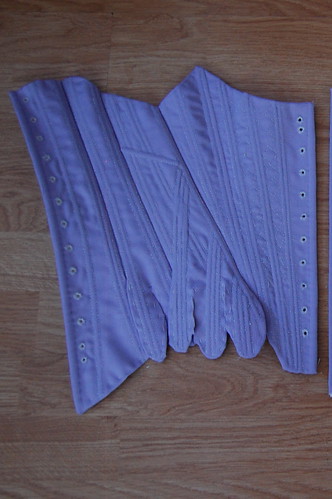
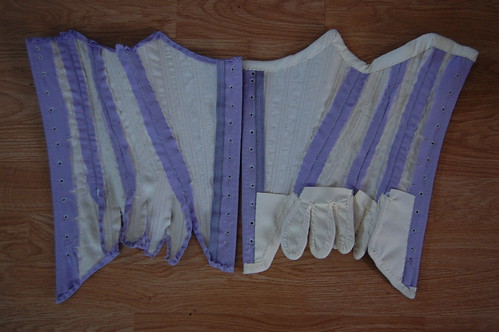
Here's what it looks like when it's sewn together.  Once all the pieces were sewn, I folded the excess wool over the top and basted it to the linen.  This basically binds the stays. 

Purple Stays 11

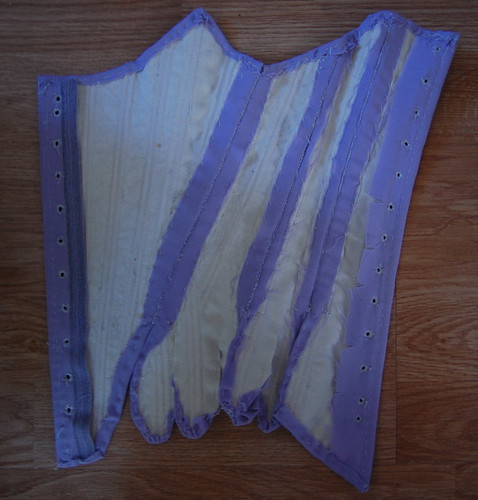
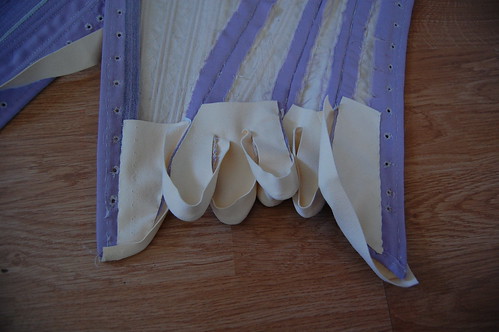
Here it is from the inside.  You can't wrap the wool perfectly around the tabs because of the way they're cut, but it does help!

Purple Stays 13 Purple Stays 12

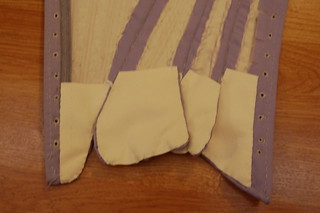
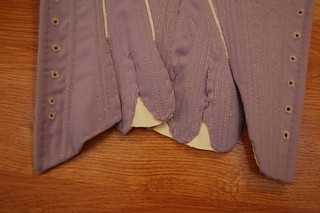
I lined the tabs separately in ultrasuede based on this example at 18th Century Stays. I cut the ultrasuede to the shape of the tabs, and then trimmed.

Before binding, I sewed a 1/8" piece of cotton tape to each seam.  This was common on stays.

Purple Stays 14

Here they are trimmed. The lining goes all the way to the edge of each tab.

Purple Stays 15

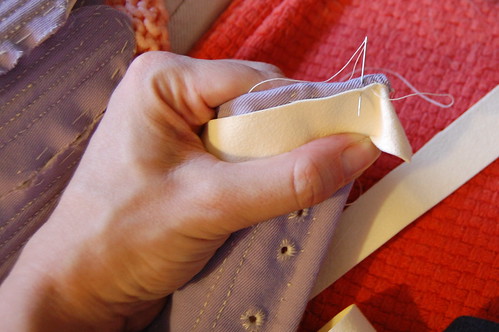
Then it was time for binding!  The ultrasuede has a firm edge, so you don't need to turn it under.  Since it's sewn through the fold of the wool, you can make it very narrow from the outside. 

Purple Stays 16

Here's the binding partially sewn on.  I like the sew the tabs first since they're so annoying :)

Purple Stays 17

The binding is turned in, as normal, and whipstitched to the back of the stays. 

Purple Stays 18

And here it is, half done!

Purple Stays 20 Purple Stays 21

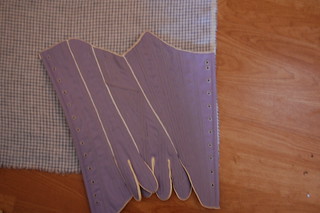
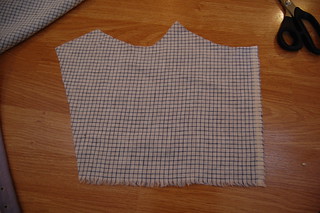
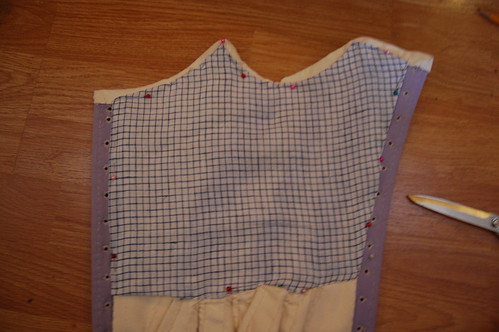
Since the tabs are already lined, the lining itself is quite easy.  It doesn't need to be seamed--tracing the finished stays works fine!

Purple Stays 22

The edges of the lining are turned under, and it's whipstitched in.  It doesn't cover the eyelets and it covers the edge of the binding, making it easy to replace if necessary. 

Purple Stays 23

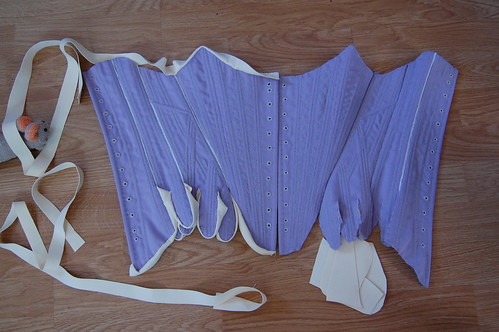
Completed stays front!

Purple Stays 24

And back!


Sunday, August 16, 2015

Robe a la Piemontaise--Tutorial and Construction!

piemontaise5

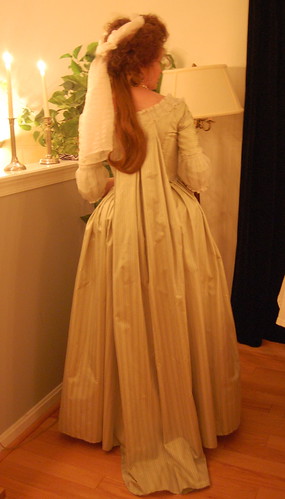
A piemontaise was a fashionable gown of the 1780s. It was similar to a sacque in that it had pleats from the shoulder to the hem, but unlike a sacque, the pleats were loose over the bodice. Extant robes a la piemontaise include this dress in the Imatex database, this dress, also in the Imatex database, this dress, in the Danish National Museum, and this dress from liveauctioneers.com. All links are to Pinterest.

Thankfully, the Danish National Museum has a pattern draft which helps explain how robes a la piemontaise work. They're made essentially like gowns with separate bodices and skirts, but with extra fabric at the center back of the skirt that attaches at the center back neckline. It would be a very easy dress to alter if styles changed. This dress is best worn over a split bumroll, as seen on Aubry's blog, as a regular bumroll pushes the back out and makes the distinction between the pleats and bodice less noticeable.

This tutorial is for draping the back and skirt. I have a tutorial for making the bodice here, although any method of making a bodice would work, and a very short cuff tutorial can be found here.
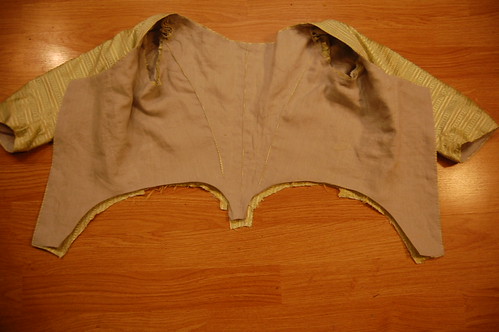
DSC_9423

My bodice tutorial ends here, with a finished bodice with an unfinished bottom edge. When I was working it out, it seemed like the method where you insert the skirt between the bodice and lining would work best for the piemontaise.
DSC_9424

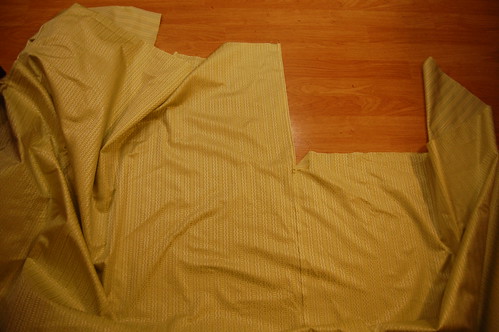
After the bodice is done, the next step is to prepare the skirt. The side panels of the skirt should be your waist to hem measurement, and the center back panel should be a little longer than your neck to hem measurement--including any train you want. I used the diagram linked above for the widths of the panels.

The top inch or so of the seam should be left unsewn, and the skirt edge should be folded into a little triangle. This makes pleating the skirt to the bodice easier. The raw edges of the neck to hem panel should be hemmed since they do show a bit in the finished dress.
DSC_9425

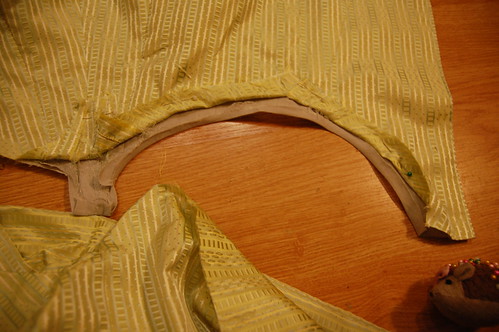
To prepare the bodice for the skirt, finger press the lining seam allowance up, and pin the silk seam allowance out of the way.
DSC_9426

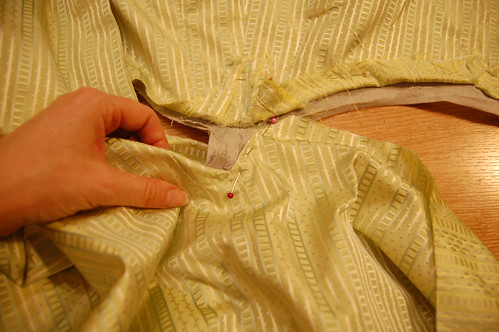
Start by pinning the little folded triangle to the point of the skirt. Ignore the neck to hem length.
DSC_9427

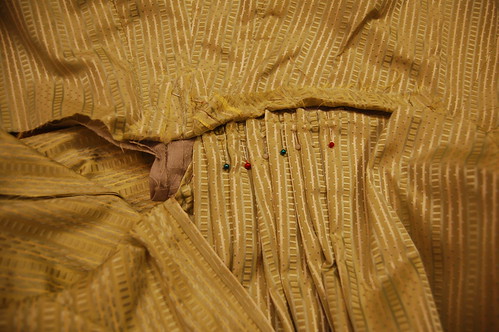
Then pleat!

DSC_9428

Continue to ignore the neck to hem length, and repeat the skirt pleats on the other side.
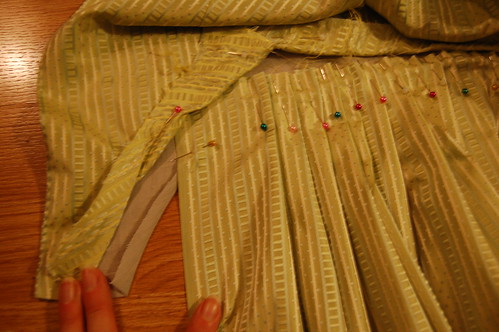
DSC_9430

An easy way to level the skirt at the center front point is to just keep pleating straight. Ignore the point, and keep the top of the pleats level. When you sew it, you sew the edge if the lining to the skirt, so the fabric over the point just becomes excess fabric. With a lightweight fabric, you don't even need to trim it which is useful for any remodeling you may wish to do.
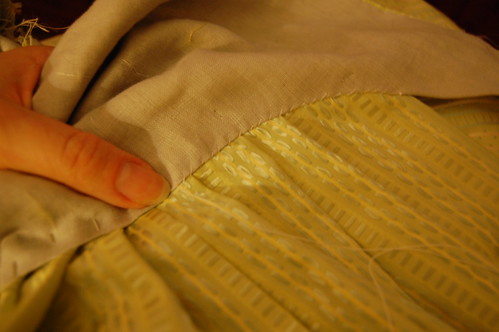
DSC_9431

Then turn the skirt over, and whipstitch the pleats to the edge of the bodice.
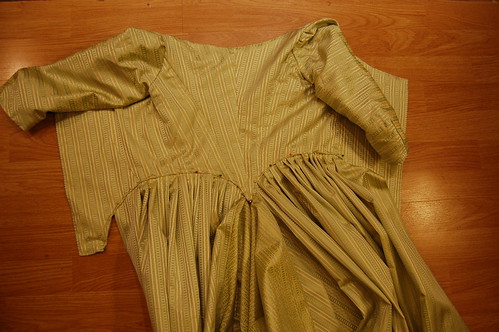
DSC_9432

Then turn it back over, and topstitch the silk over the pleats. I used a spaced backstich.
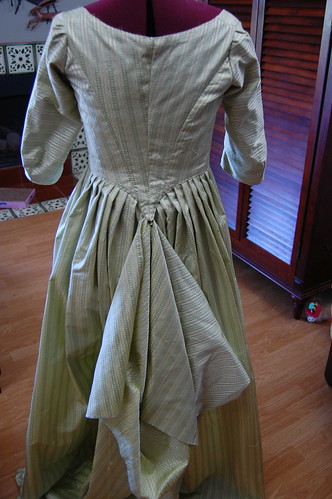
DSC_9436

I find draping the back easier on a dressform. My dressform is only somewhat me sized, so you don't need to worry about an exact sized form, as long as your bodice fits. The dressform is mostly so gravity can help you out.
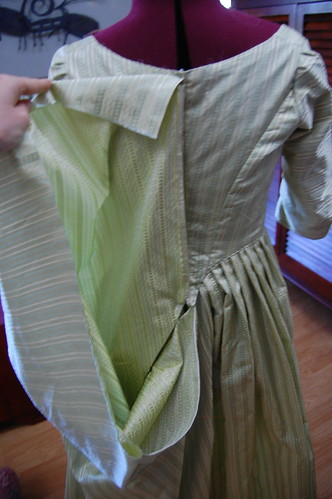
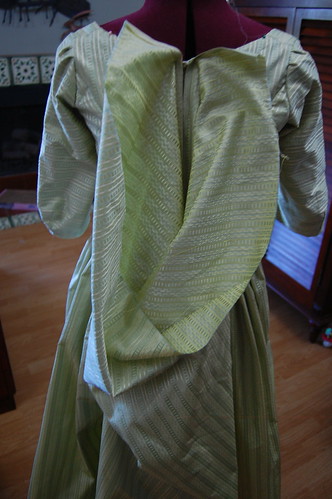
DSC_9437DSC_9438

To start the back draping, pin the edges of the neck to hem panel to the center back neckline. You'll notice the extra fabric there--that's for wiggle room. It's much easier to cut away then piece your fabric!
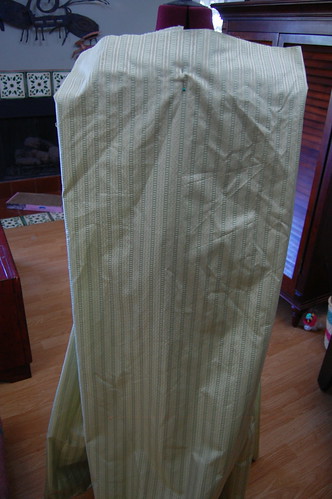
DSC_9439

Now, pin the center of the neck to hem panel to the center back.

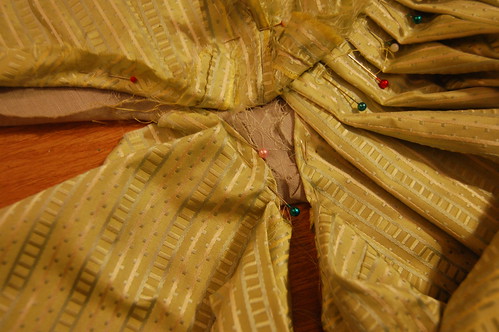
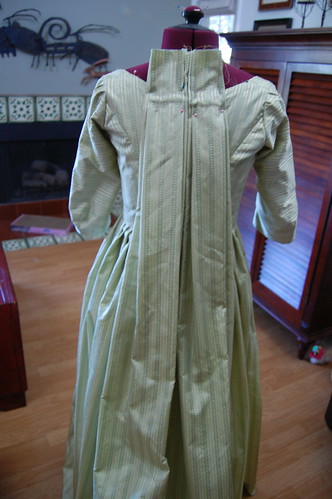
The pleating on this is similar to that on a sacque--you want two layered box pleats. Depending on the width of your fabric--I suspect some of the examples I linked had narrower panels--you might do it differently than I do below.
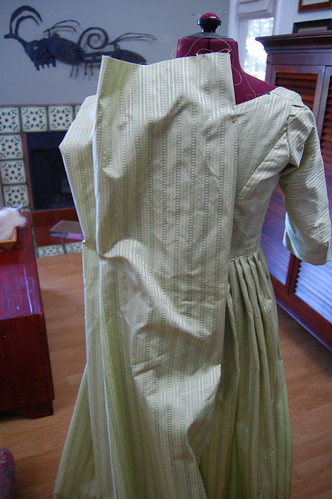
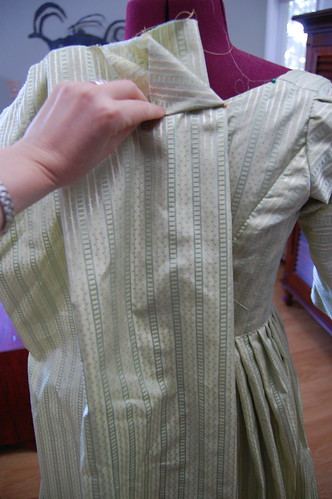
DSC_9440 DSC_9442

To start, pleat your fabric just slightly narrower than you want your back panels. Then, make a second pleat just slightly wider than this. (With a narrower panel, you could skip the inner pleat. This pleat is often found on sacques, and lets the fabric drape more elegantly.)
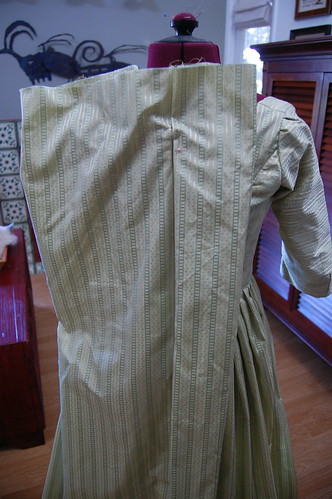
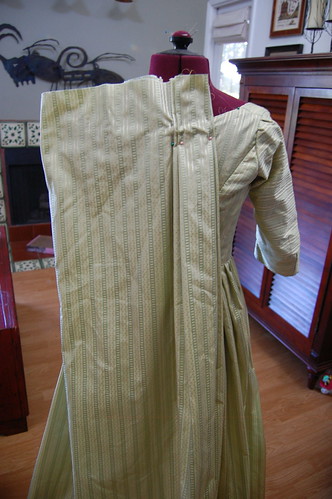
DSC_9443 DSC_9444

Next, form a box pleat by pleating your fabric towards the center. Then, take the leftover fabric and make a box pleat. The leftover box pleat should stop short of the underpleats, so you can see a little of each edge sticking out.

It's fine to have underlap below the pleats--it's what you can see that matters!
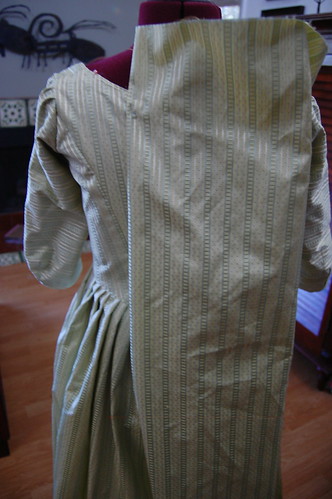
DSC_9445 DSC_9446

Repeat on the other side! Don't worry about getting the pleats exactly the same as the first side--especially underneath. As long as they look the same, it's fine.
DSC_9450

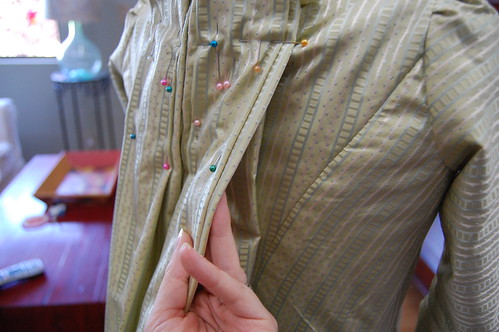
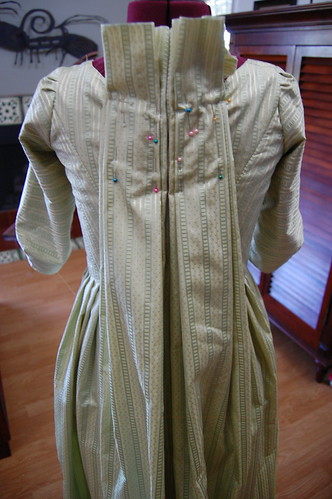
I took it off the dressform to smooth everything out, tried it on, found I needed to pull up the pleats a tiny bit, and put it back on the dressform.

The pins that you see here mark where it needed to be sewn to keep the pleats smooth. The underpleat was left loose, but the visible pleats looked better sewn together. I used a spaced backstitch along the pinned lines.
DSC_9451

After sewing down the pinned parts, I trimmed the excess fabric and bound the neckline using a straight of grain strip of the silk. My apologies for not having pictures of this step. I then trimmed the neckline and sides of the skirt with box pleated silk organza.
piemontaise4 piemontaise6

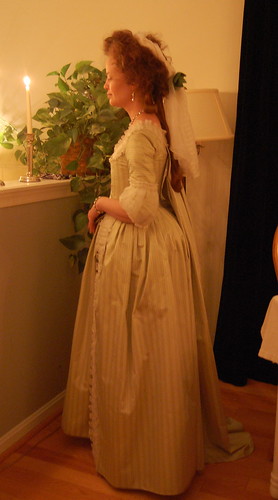
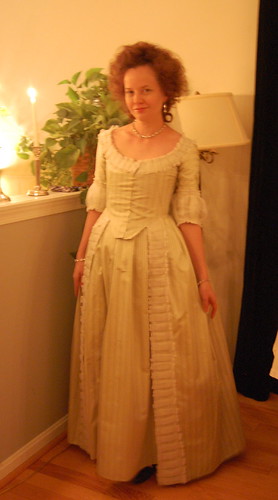
And the completed dress! At this time, my only pictures are by candlelight (or very bad first try on pictures! I hope to take better pictures in the not too distant future!