Showing posts with label regency. Show all posts

Sunday, February 5, 2023

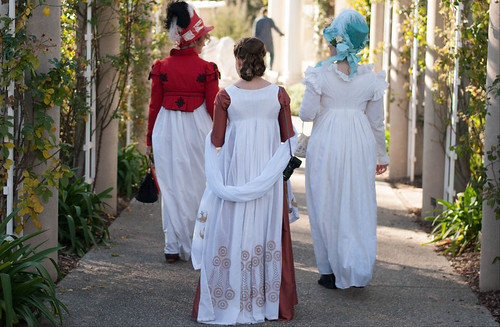
A Black and Red Print Dress for the Huntingtion

DSC_0521-01

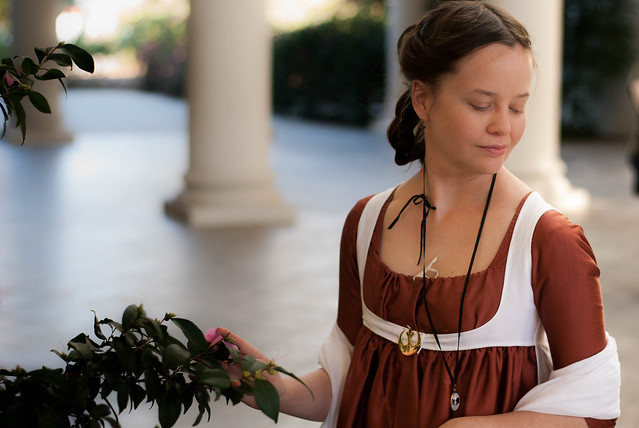
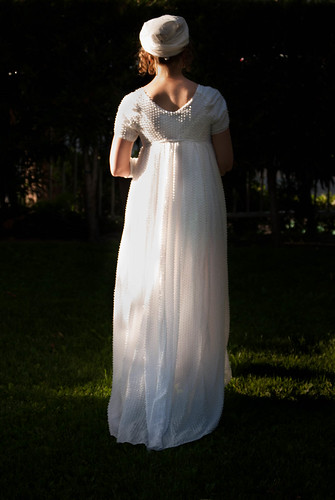
Finally, another event! My last (though you couldn't necessarily tell from my blog...) was the 2020 Jane Austen Evening in Pasadena, with our traditional trip to the Huntington Gardens and Library before the dance. Clearly, I needed a new dress! I had started embroidering a dress in 2021, but it's been set aside since 2021. Even though my favorite part of costuming has always been making costumes, I'm also the type of person who needs a reason to make a dress. Taking pictures isn't enough. I've knit (mostly c 1920s sweaters), restarted knitting projects, had many false starts, two dresses for Halloween (one for work, and the other (unusually) just for pictures), and made a few small things (everything but the skirt to go with my 1919 sweater), but haven't had a true deadline since 2020. I wanted to make two dresses for the Jane Austen Evening, but had procrastinated on the 1922 sweater that I was working on and wanted to finish in 2022. I finished that minutes before midnight on New Year's Eve, but it did delay the start of this dress! I still would have had time for two, but wanted to enjoy making it. I decided that I'd rather have a new dress for the Huntington than the dance, so wore my black embroidered dress from 2018 in the evening. I'm very happy I wore an old dress since I just watched the ball instead of danced. I usually try to dance all the easy dances, but this year was different.

DSC_0595-01 DSC_0584-01

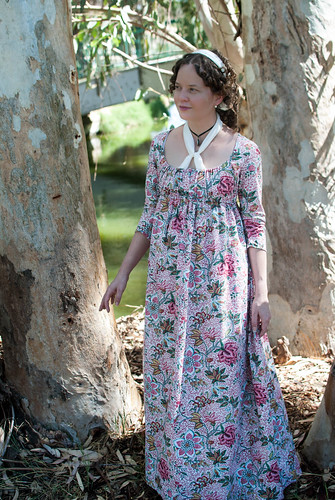
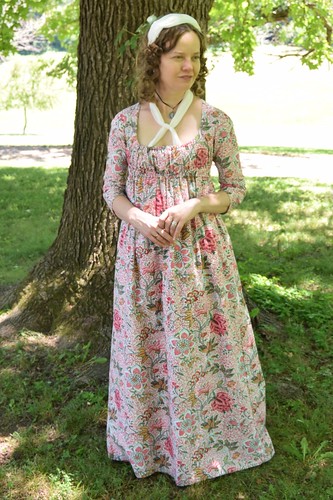
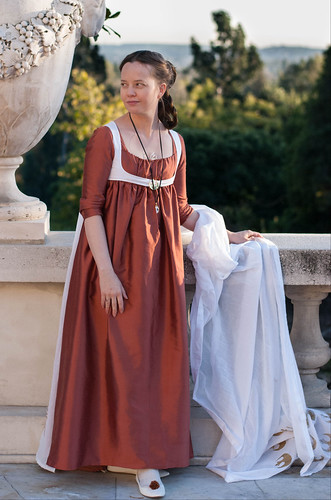
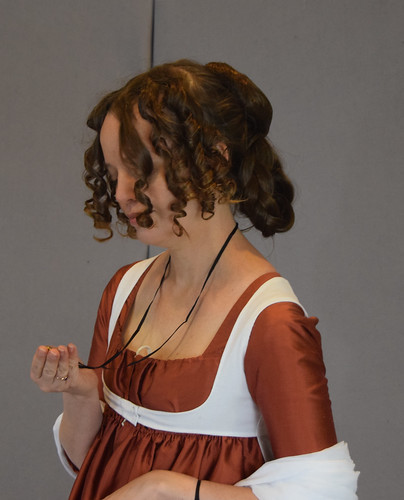
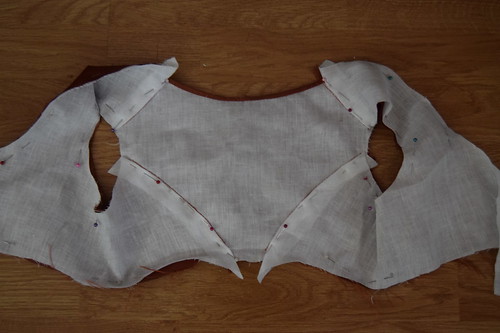
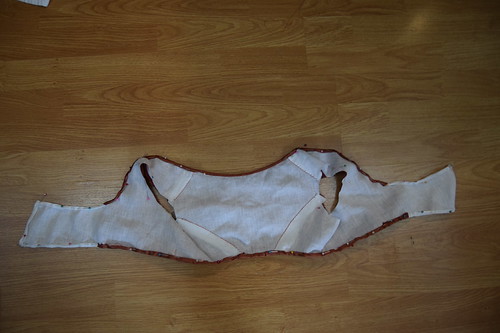
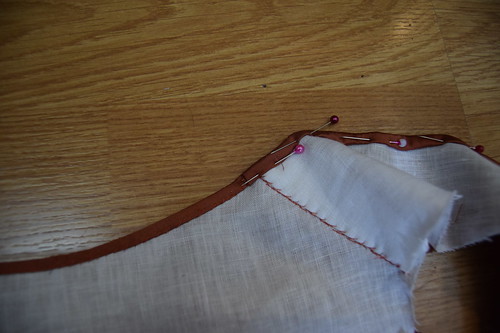
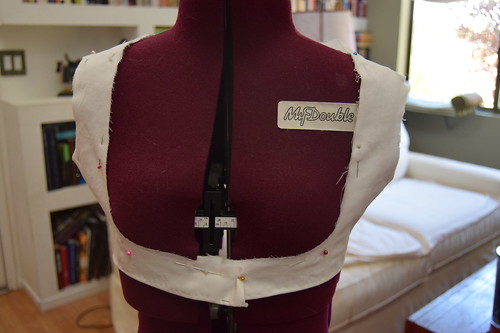
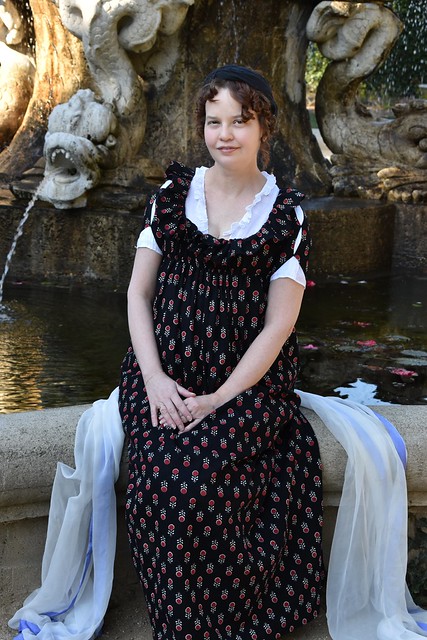
Onto the dress! It's made of block print cotton from The Block Prints on Etsy. My chemissette is ramie voile from Burnley and Trowbridge. It's lined in linen and sewn by hand. This may be the first dress I've made that I didn't take pictures of while I made it, but the costruction is similar to my Regency Leia dress. Since this dress has a curved neckline and that dress has a square neckline, I sewed the shoulder strap on after the front piece. The linen flaps pin in front and the dress closes with drawstrings.
DSC_0536-01 DSC_0534-01

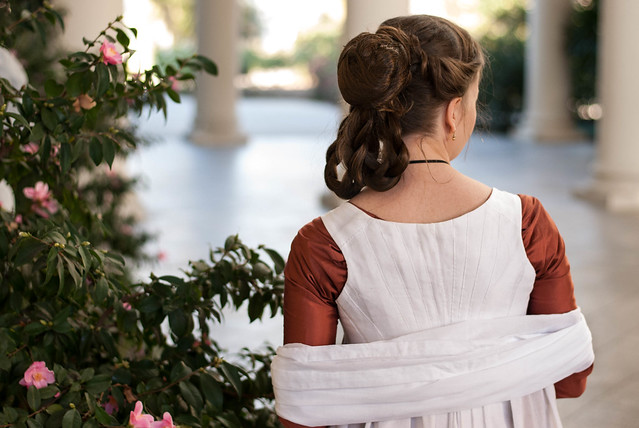
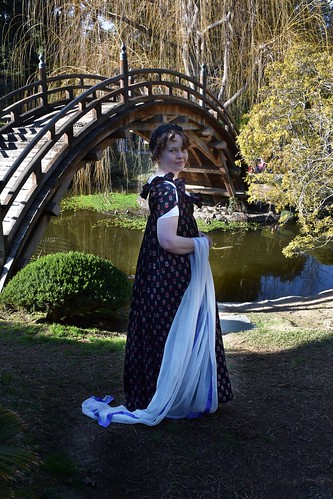
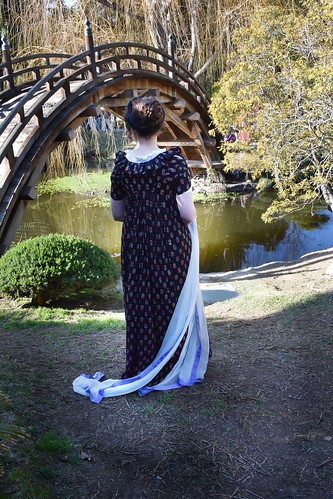
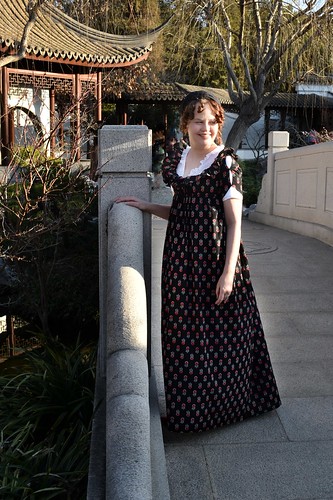
The Huntington is beautiful, and I'm so happy we had more time to explore than usual. The bridge in the Japanese gardens was a lovely backdrop! My shawl is silk gauze edged with rayon ribbon that I dyed--both from Dharma Trading.
DSC_0550-01 DSC_0555

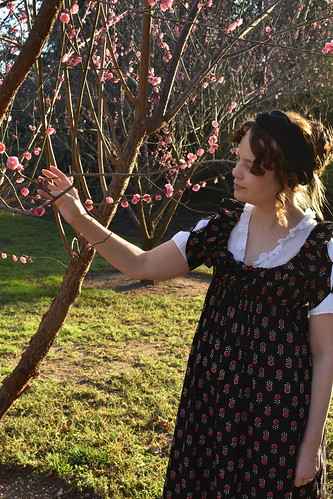
Another bridge--in the Chinese gardens--made another lovely backdrop. Not everything was blooming in January, but some of the trees had the prettiest pink flowers. My skirt has no shaping--it's just straight panels. I usually make gored skirts for this style, but lost track of time. Suddenly, the event was in a few days. I really do like the shape of it though, and think it worked well with the slightly fussy bodice!

DSC_0512-01 DSC_0530-01

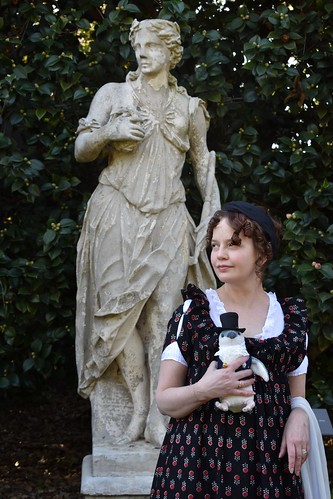
The sleeeves on the dress are inspired by my fashion plate, which has a petal sleeve over a white puffed sleeve. After working on the sleeve for three days, I switched and made straight sleeves inspired by the puffed sleeves. They looked right, but I don't like puffed sleeves very much. The sleeve is two layers. The cotton voile has a layer of pleating applied under the slit. The black fabric was cut with a scallop and then I cut it from the scallop to the top of the sleeve and hemmed it with a narrow hem. The penguin is Arthur. His Instagram is @penguins_wear_clothes and this was his first vacation.

d3cc0a38f12c6e56d3e9fd7c92a2f46a

The fashion plate I used as inspiration. Despite not liking puffed sleeves, they (and the ruffle) drew me to the dress. When I switched to straight sleeves, I was tried to make it so it was still obvious that it was inspired by this sleeve.

PXL_20230129_035926356 PXL_20230129_035901979-01 2023-02-05_09-25-36

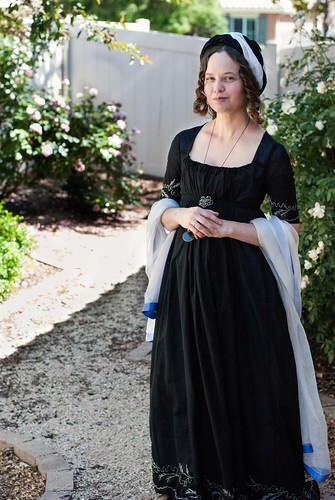
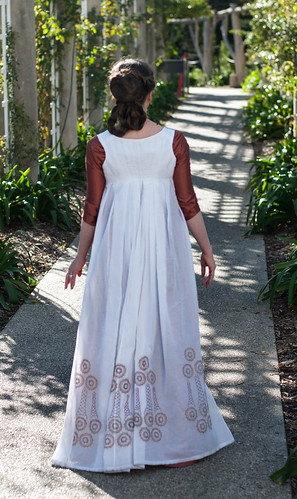
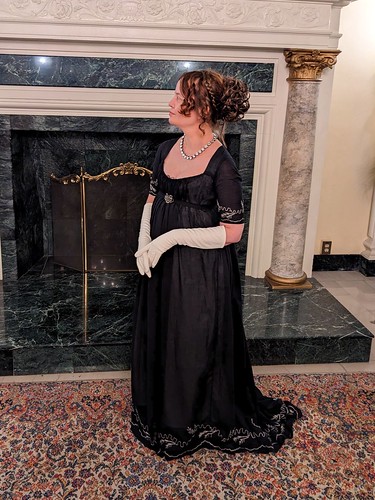
My dress for the ball--including one taken by my friend @journeyofaphotog in better light in 2018! This dress is pleated over a linen base and is basically made the same way as my diamond back 1790s dress.

Monday, August 5, 2019

A Late 1790s Bird Print Dress with a Diamond Back

katregency-32 katregency-27

My late 1790s dress is based on examples of cotton print dresses, and a remodeled 18th century dress from An Agreeable Tyrant at the DAR Museum. It's made of a cotton print from Colonial Williamsburg, lined with linen from Burnley and Trowbridge, and worn over stays, shift, and strapped petticoat.

I made the dress for the Jane Austen Festival in Kentucky, and it was as comfortable as a dress can be there. The pictures here were taken by my friend (in much better weather!), whose photography Instagram, @journeyofaphotog, can be seen here.

Construction for the dress can be seen here


A Late 1790s Dress with a Diamond Back--A Tutorial

DSC_2833 DSC_2838

My late 1790s print dress worn at the Jane Austen Festival. It's made of bird print cotton from Colonial Williamsburg, lined with linen from Burnley and Trowbridge, and worn over short stays made with springs (here--other pictures I was wearing my cupped short stays), a linen shift, and petticoat on straps. The dress closes with drawstrings in the front over a pinned linen lining. More pictures of the dress, including how it closes, can be seen here.

IMG_20170410_134616871

In 2017, I was lucky to be able to see An Agreeable Tyrant at the DAR Museum. I already owned the catalog, which has scaled patterns for many of the dresses. I had been thinking of making a print dress when we saw a remodeled silk taffeta dress with just the sort of back I had been meaning to make for years, but never did. Seeing one in person made things click, and I knew that my new dress would finally have that back.


Sunday, December 31, 2017

Princess Leia's Bespin Costume--If Star Wars Took Place Around 1800...

Jae-16

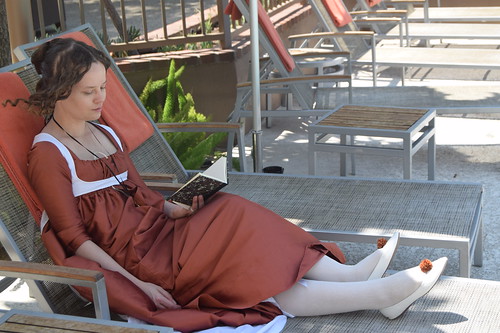
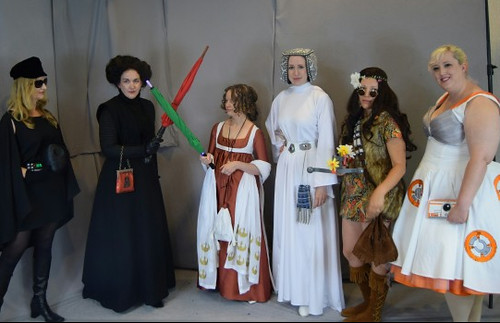
For Costume College 2016, Jen Thompson had a fabulous idea--historical versions of Star Wars costumes. I wanted to participate, and was thinking of what to do, when on the way to the Jane Austen Evening (perfect!), the idea of Leia's bespin costume as Regency popped into my head. After all, if you look at it, it practically is 1790s with its overdress, and, well, overdress. Definitely workable, and daydreaming made the trip so much better.

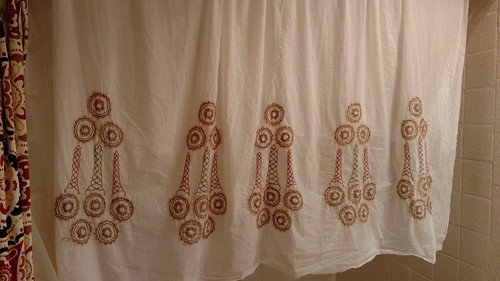
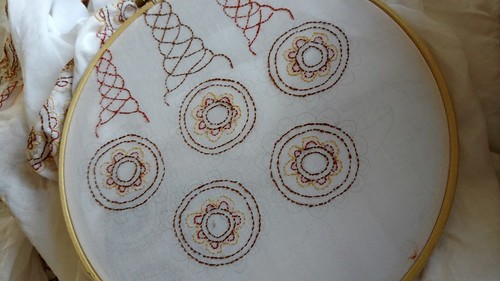
My idea for this dress was to make a dress that would fit into the Regency period, yet be recognizable as Leia's costume as well. To do this, I made a typical c. 1800 round gown, with a sleeveless overdress based on period overdresses. Dresses with paisley borders--made from shawls or in imitation of shawls--were popular, and I decided to imitate that look by embroidering just the hem of the overdress instead of continuing it up the whole back of the dress. The back of the overdress is pleated--like many original dresses, and as a nod to the collar of the movie costume. I considered putting a collar on the back of the overdress, which was seen on originals, but I decided I liked the pleated look too much to cover it.


Jae-42 Jae-46

In addition to wearing this to Costume College, I wore it to tea at the Huntington before the 2017 Jane Austen Evening. Once again, I was so lucky to have pictures taken by my friend, Llyra Lee. I couldn't have made the dress without help from my friend Maggie who made a beautiful version of the dress, and helped with my embroidery design.

Construction information for the dress can be found here, including some details from my visit to the Fashion Museum in Bath earlier in the year. My journal for the dress is here, and details most of my thoughts as I made it. The silk taffeta is from Fabric Mart, the voile from Farmhouse Fabrics, and the linen lining is from Burnley and Trowbridge.

Jae-18

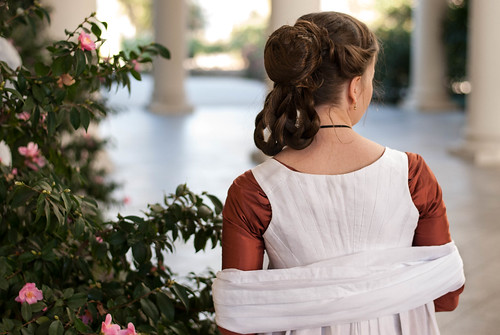
The pleated back of the dress is one width of fabric, neck to hem. It's pleated to fit the linen lining. The bun and braids is a hairpiece. To make it, I took two long pieces of braiding hair, braided the center, leaving the ends loose, looped the braids, attached them to each other, and made a bun from the loose hair. I then covered the bun with an invisible hairnet which I sewed over it to keep everything into place. From there, I just pinned it on.


Jae-15 IMG_20160710_194919963

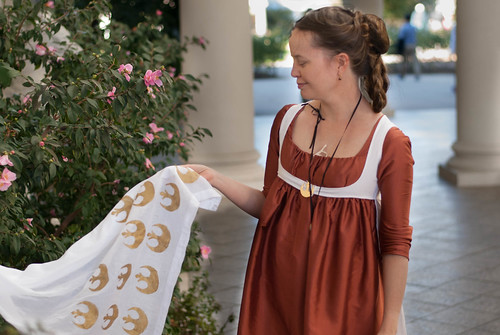
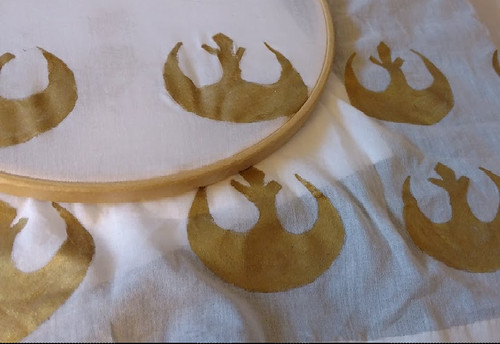
My shawl is made of three yards of voile from Dharma Trading. I used a Rebel Alliance stencil from CeeCeesSpecialties on Etsy for the pattern, which I painted with gold Lumiere Fabric paint and DecoArt SoSoft Fine Glitter. I traced the design on and then put it in an embroidery hoop to stabilize it as I painted it.


DSC_1987 712689_600

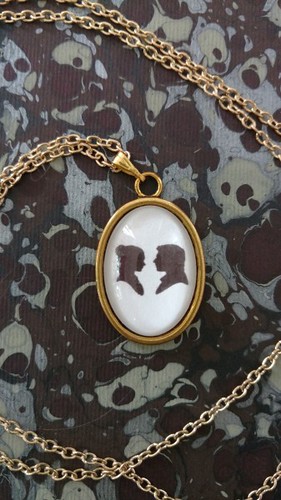
The pendant I wore with the dress--a silhouette of Han and Leia--was made by CrystallineFairy on Etsy. The Rebel Alliance pin that can be seen in the pictures from the Huntington (I forgot to bring it to Costume College) is from the 1997 rerelease. I bought it on eBay.

DSC_2066 IMG_20160713_175123749

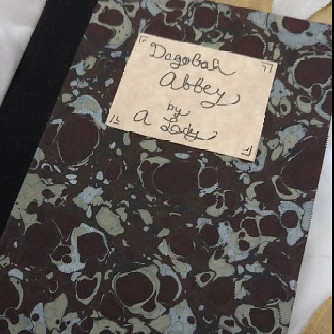
With the novel reading heroines of the Regency in mind, I decided I needed a book as a prop. I bought a small book from VersLibris on Etsy and added a title plate for Dagobah Abbey using double sided tape.

DSC_2036 IMG_20160721_171751594

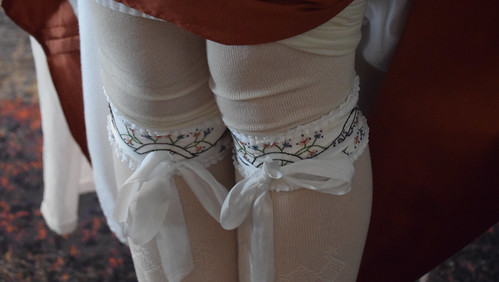
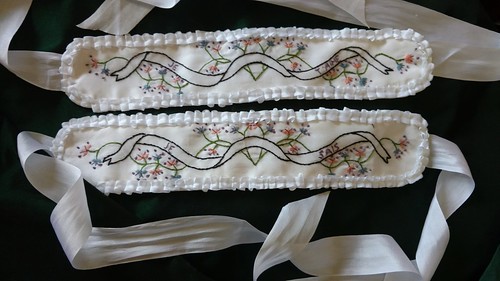
The garters are based on a pair in the Victoria and Albert Museum. They say Je T'aime and Je Sais (I love you, I know). They're silk, interlined with cotton flannel, embroidered with Au Ver Au Soie embroidery thread, and trimmed with China silk ribbon from Silky Way.


DSC_1992 IMG_20160704_200828603

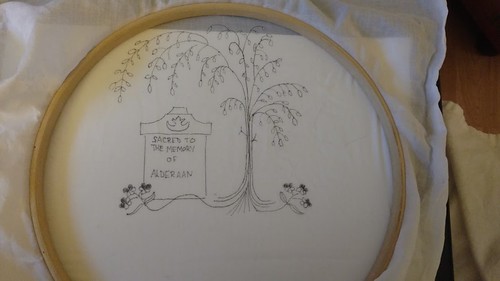
My reticule is based on early 19th century inked bags. I browsed through memorial art until I found a design that I could reasonably imitate with my drawing skills, and dedicated it to the memory of Alderaan.

IMG_20160709_163302318 IMG_20160709_145839970

The embroidery is done with wool from my local embroidery store. It's all done in back stitch.

713676_600 Jae-26

And worn with two different groups--our Star Wars historical group at Costume College, and our Regency group at the Huntington--I think it fits in nicely with both!

Regency Leia Bodice and Pleated Open Robe--Some Construction

My Regency Leia dress was the first dress I made after I was lucky enough to study some late 1790s/early 1800s dresses in person at the Fashion Museum in Bath. I used a few of those techniques on this dress. A little ironic considering the fantasy origin of the dress, but, being me, I did want to make it as accurate as possible--even if the embroidery pattern may have been a bit strange to early 19th century eyes!
The completed dress can be seen here.

DSC_1794 DSC_1796

The dress is made of silk taffeta with a linen lining.

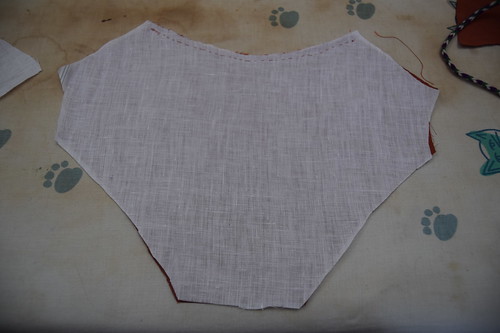
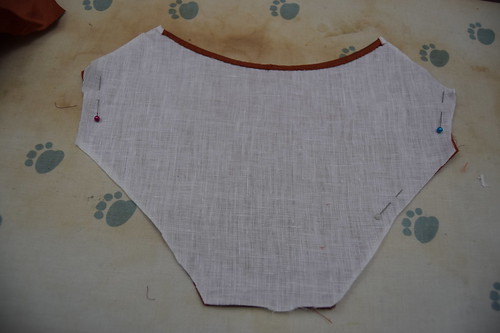
The first step was to baste the center back neckline lining to the silk. Then, the two layers were turned under and hemmed.

Many of the extant dresses we looked at had a row of large stitches on the back neckline. We wondered about the purpose. When I made this dress, it became obvious--it was much easier to neatly hem the curve of the neckline without the fabrics shifting when it was basted. And since it doesn't show, there's no reason to take the basting out.


DSC_1797 DSC_1798

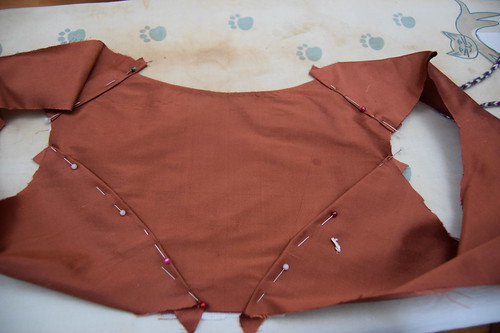
After the center back is done, the seam allowances on the silk fronts are folded under, and sewn to the back. The seams are sewn where the pins are. Although in the past I've sewn lapped seams very close to the fold, many of the dresses we studied had seams sewn a little ways in from the fold, which gave the seams a defined look.

After the silk is sewn, the lining is inserted. The seam allowances were folded under and whipstitched in.

DSC_1799 DSC_1800

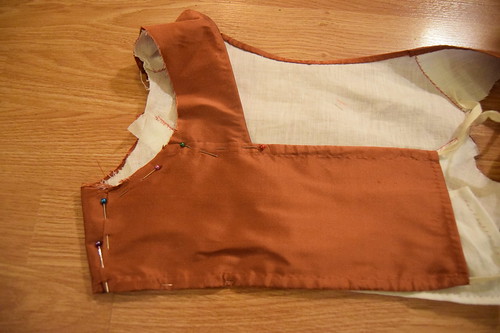
Once the lining is done, the edges of the bodice are hemmed. The hem starts at the side back, around the strap, down the neckline, the center front flap, the bottom edge of the bodice, and continues until the other shoulder strap.

The silk doesn't extend all the way over the center front flaps--only to where it's going to be covered by the center front gathered panels.

Although a bodice of this shape could easily be hemmed without hemming the center back first, doing it this way would work very well for a more square shaped back, where there's no slope between the center back and the back straps.

DSC_1801 DSC_1802

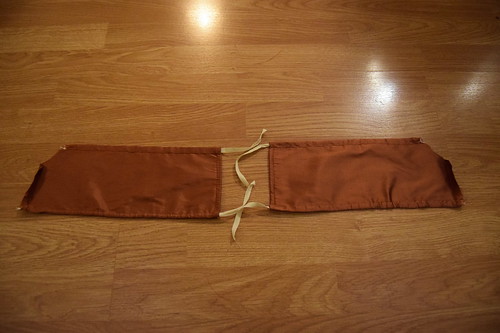
The center front gathered panels are just rectangular strips that are hemmed at the top and bottom for drawstrings with a curve cut out for the armscye. The seam allowance at the side seam is turned over and topstitched to the bodice. The top of the panel is sewn to the shoulder strap where it's pinned.

The sleeves are then set normally. The skirt is a slightly gored tube that opens at center front. I cartridge pleated it and sewed it to the bottom edge of the bodice, being careful to not catch the drawstring. The front panel is slightly gathered with most of the gathers being concentrated in back.

Most dresses I've seen from this time have the center back of the skirt mounted about an inch or so above the back waist and sewn right side to right side, which makes it stand out a bit, but I chose not to do this on this dress because I wanted a flatter line under my overdress.

DSC_1804 DSC_1805

The overdress is cotton voile lined with linen. I completed the bodice except for the top hem and securing the voile layer on the shoulder straps.

DSC_1806

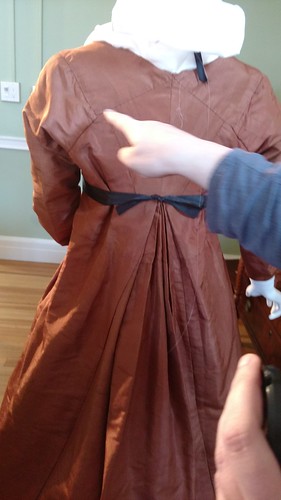
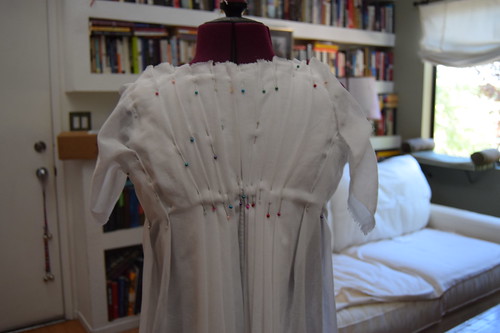
The back is one rectangular panel from neck to hem. It's really quite simple--the panel is pinned at the center front and sides, and then pleated until everything is pleated and it looks nice. I have an inverted box pleat at the center back with all the other pleats facing it.

All the pleats are sewn down and trimmed. The center back neckline was finished with a strip of fabric that was turned to the inside and hemmed. The front neckline was turned under and hemmed. The sleeves were finished with strips of voile on the bias and hemmed.

The center front is pinned shut--and worn with a Rebel Alliance pin, of course :)

Jae-18

Saturday, August 19, 2017

A Regency Beaded Evening Dress, c1805

coco201743

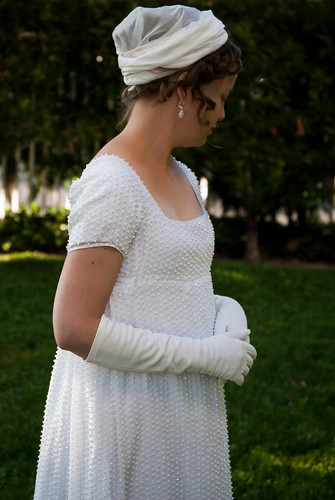
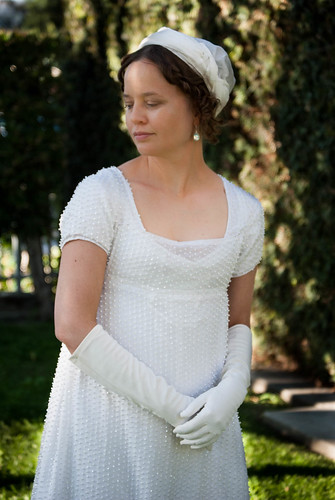
After making a beaded Regency day dress last year, I knew I wanted another one. I had wanted one like this or this for quite some time. When we had our study day at the Museum of Fashion in Bath, we were able to see this dress in person and close up, so I knew that I'd be making a version of it sooner rather than later.

DSC_3052 DSC_3078

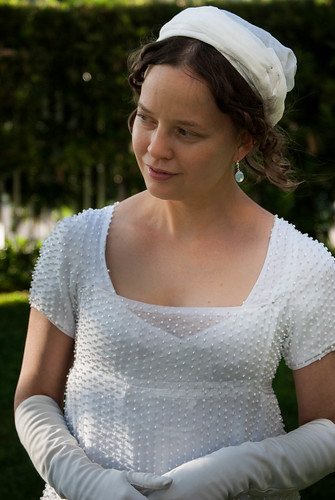
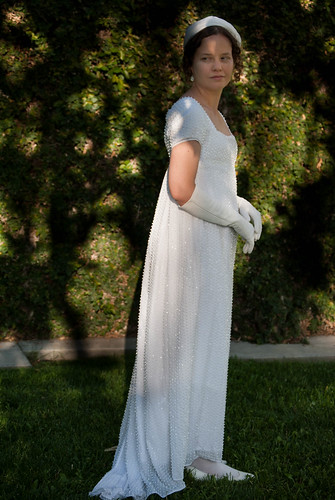
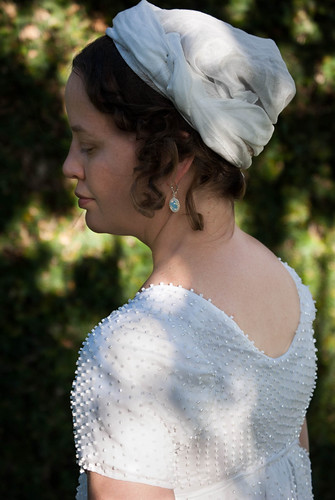
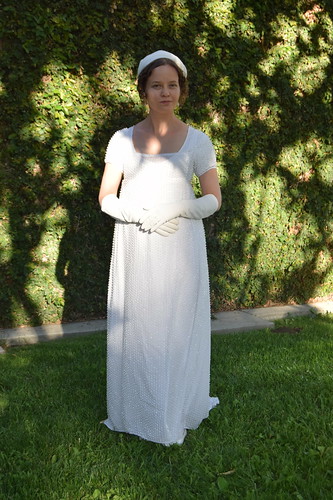
My dress is made of silky Swiss voile from Farmhouse Fabrics, beaded with number 8 Delica opaque luster seed beads from Fire Mountain Gems, and the bodice is lined with lightweight linen from Burnley and Trowbridge. My earrings are moonstone earrings from Dames a la Mode.


coco2017122 coco2017113

I wanted to make a fixed turban for the dress, but my attempts didn't work out. I think the fabric I was using was the wrong weight--it would look good wrapped on my head, then when I took it off, deflate. So instead, I used a triangular fichu, tied that on my head, and wrapped a long hemmed piece of voile around that and pinned it into place.


coco2017112

I used about 26,000 beads on the dress. They're sewn on with a back stitch reaching from bead to bead. The beads at the back waist on the bodice are reinforced. I sewed them again after the dress was done so they'd have a little protection from the waist tie.
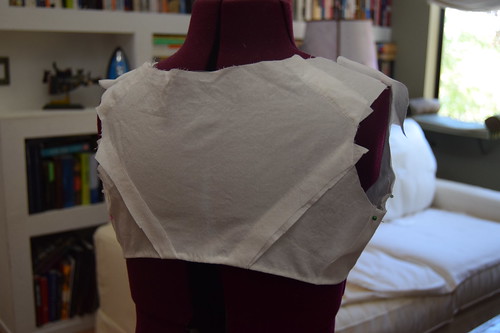
I used graph paper to create a grid and then drew the dots on the dress with a mechanical pencil.

coco201742

The beads are quite large, based on the original. Mine are actually a little smaller than the original dress's beads, if my memory is correct. The dress weighs nearly 2 and a half pounds. I needed to use a few more pins than usual because of the weight of the dress, and before I wear it again, I'm going to add more loops for the waist ties. The original dress didn't have ties or loops. It may have just been pinned originally, or it may have been altered.

The beads were comfortable to wear. I was a little worried about how the underarms would feel rubbing against the bodice, but I didn't even notice them. Sitting down was slightly odd--it felt like I was sitting on ball bearings and that I might slide off the chair, even though there really was no danger of that.

coco2017117

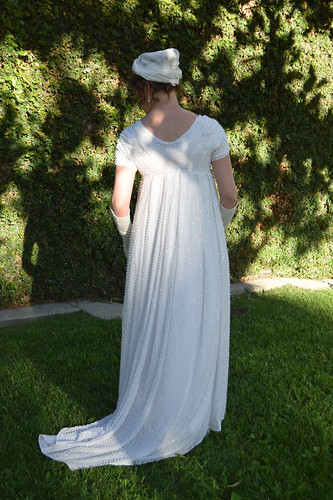
I was very curious about how the dress was going to drape. I thought that the train might just flop to the ground. I was very pleased that it draped nicely. I'm wearing it over my normal just above the ankle length strapped petticoat.

2017-08-15_04-44-47

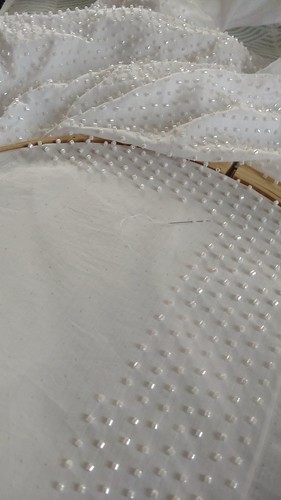
I used a ten inch hoop on the bodice, and a larger one for the skirt. Thankfully, the beads didn't get in the way of hooping the dress. I sewed most of the beads on the skirt using a curved needle (not shown here--of course my best hooped picture has a straight needle!), which meant I didn't need to guide the needle under the hoop and could have a handful of beads in my left hand.
2017-08-15_04-40-50 2017-08-15_04-39-45

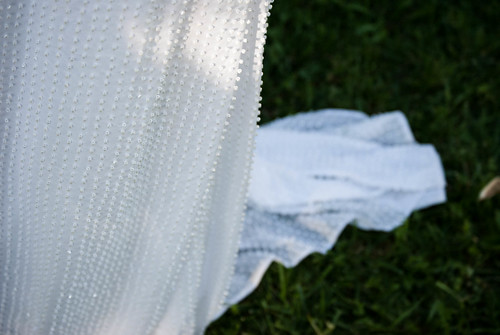
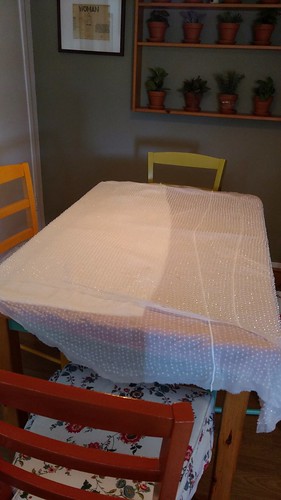
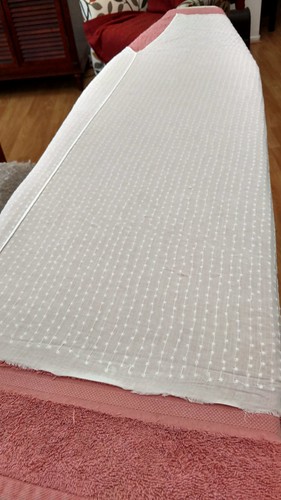
After working on the dress off an on for about six months (more off than on--I wish I had paid more attention to time!) I washed it carefully in the sink and laid it flat to dry. To iron it, I put it beads down on top of a fluffy towel.

coco2017116

And I adore the way the light hits the dress in this picture. This picture, and the close ups above are by my friend, Llyra Lee, who's becoming a better photographer every day!


A beaded Regency evening dress, inspired by one in the Fashion Museum in Bath from Katherine on Vimeo.


And the dress in motion! Please excuse the Votes for Women temporary tattoo sticking out of the back. It's leftover from my dress from the previous day.