Monday, August 8, 2016

A Beaded Robe de Style

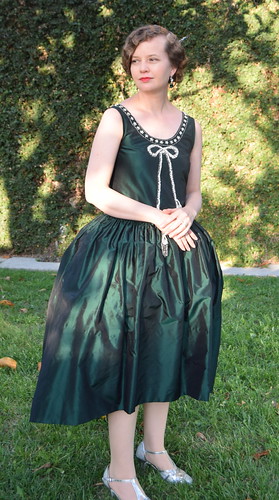
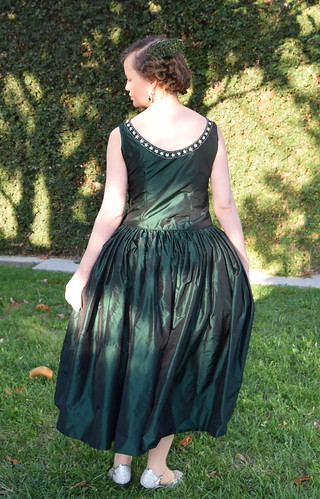
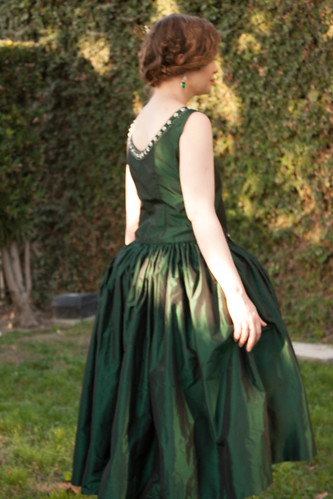
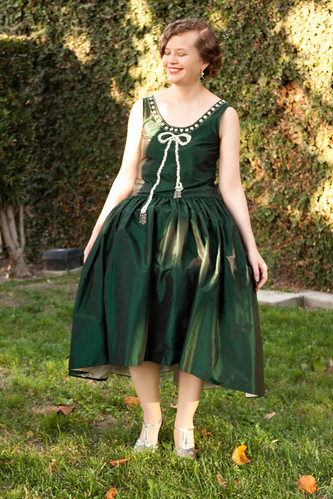
Green Robe de Style Green Robe de Style

I almost didn't make a new dress for the gala at Costume College this year. I had a very busy year costuming wise and thought that I wouldn't have time. But things went a little more quickly than I expected, and I realized I was going to end up with a week with no costuming plans right before Costume College. I had fallen in love with this robe de style ages before, when it was an eBay auction, and just as I was considering making it, more pictures came up on Pinterest. I really wanted to make it in green, and one day, after daily checking Renaissance Fabrics all of a sudden had green in stock. I had to make it then!
Green Robe de Style Green Robe de Style

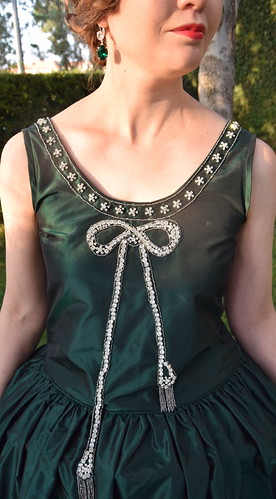
I made a few design changes from the original. After 2 hours of working on them, I decided I liked the dress better without sleeve caps. I think the silk net that I had was too lightweight to work correctly. I also left out the inserts of net at center front and back. I left off a beaded element at the center back because I liked the neckline more without it. I also decided against turning up the front hem to show the lining.

I'm wearing the dress over my envelope chemise and 1920s hoop. I didn't take pictures making it, but it's essentially the same as my first robe de style. I added guards so the straps wouldn't slip. Information about the beading can be found here.

These two pictures and the one with the gorgeous light below are by my friend Llyra Lee who's doing wonderful things with photography lately!

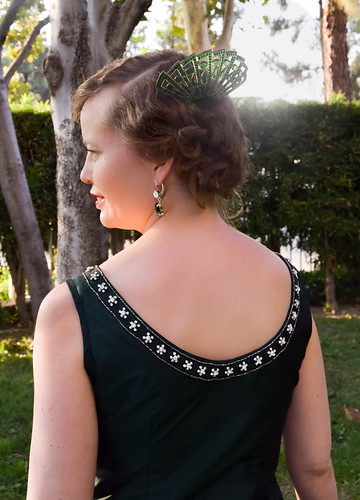
Green Robe de Style Green Robe de Style

The dress is trimmed with 2mm, 5mm, and 6 mm rhinestones from Pretty Things Supplies, the steel beads are from Hanson Stone Vintage, the skirt lining is cream silk charmeuse from Dharma Trading, and the green taffeta is from Renaissance Fabrics. It's lined in lightweight cotton voile. My comb is from Pansy Belle Attic. My earrings are from Dames a la Mode. My shoes are t-strap ballroom shoes by Minitoo that I found on Amazon.

I waved my hair using a vintage Subpedo iron in front, and a vintage triple barrel iron in back. Both needed to be heated in a stove meant for non electric irons. It was a little intimidating, but I'm very happy with the results--especially for being rather new at using it!
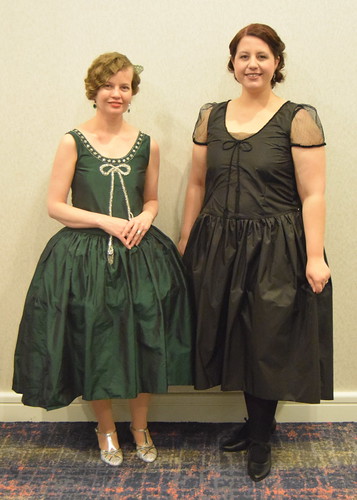
Green Robe de Style

One of my favorite parts of the evening was seeing Stephanie's interpretation of the same dress. I love what we approached the same and differently! Though you can't tell in the picture, her bow was made of black beads that sparkled beautifully.

Transferring a Design and Beading a Bow--A Tiny Tutorial

Green Robe de Style

The most striking feature of the dress I copied for the 2016 Costume College Gala is a rhinestone bow on the front neckline. It's what drew me to the dress when I first saw it, and it was one of those dresses always in the back of my mind.

My green silk taffeta is from Renaissance Fabrics, my steel cut beads are from Hanson Stone Vintage, and my rhinestones are from Pretty Things Supplies

IMG_20160723_160140394a

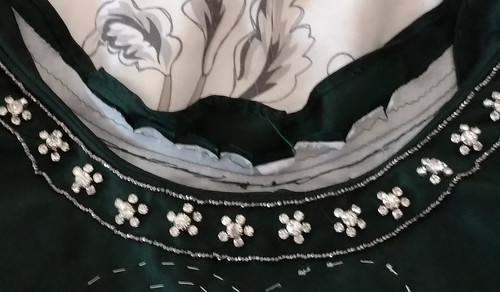
I knew when I was making this dress that I wanted to add the beading to the mostly finished dress. I finished the bodice, except for sewing the neckline facing down. This way I was able to sew the neckline beads on and then whip the facing into place. I left off the skirt as well, because I didn't want it in the way. You can see the half finished facing in the above picture. The rhinestones are 5mm surrounded by 2mm.

Because my fabric is so dark--green shot with black--my previous technique of a cell phone flashlight and bowl, wasn't going to work. My fabric was also too dark for the pencil markings to show up. I have a chalk pencil somewhere, but I didn't really want to rub that off with the beading anyway.

Beaded Bow

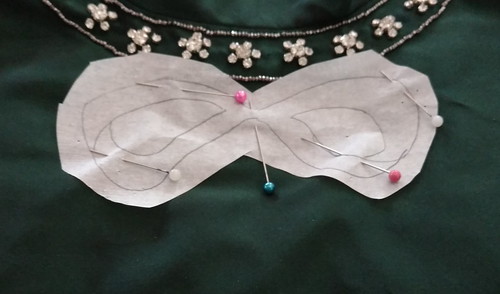
To start, I traced my design onto tracing paper. It looks opaque in the picture, but is actually sheer. Tissue paper would work as well. I then pinned the design into place.

To get the design itself, I enlarged the picture of the dress and traced it--very easy!

Beaded Bow

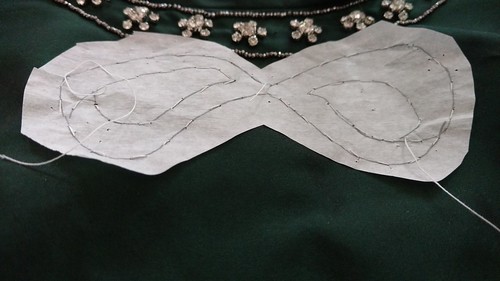
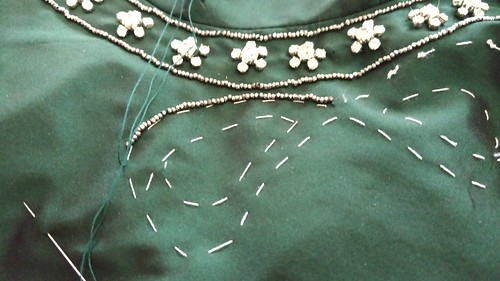
I then sewed along the lines using white thread and big basting stitches.

Beaded Bow
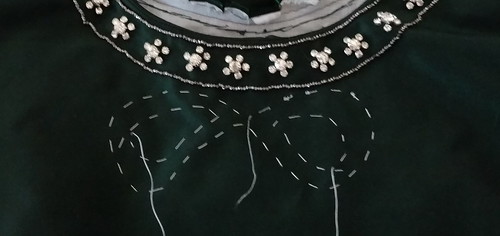
When I tore the paper off, very carefully and with the help of a seam ripper, I had a perfect guide for the beads!

Beaded Bow

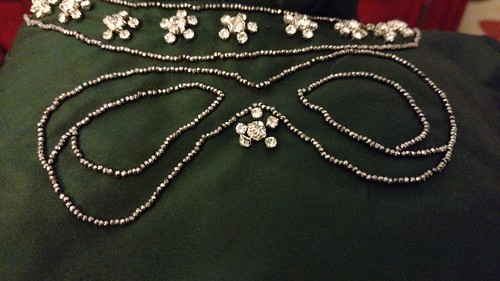
I sewed the beads right next to the guiding stitches--this made them easier to pull out once the beading was done.

Beaded Bow

The completed outline!

Beaded Bow

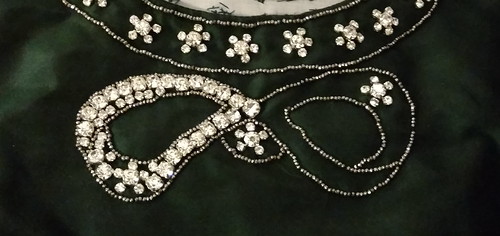
I then filled the bow with rhinestones. I used a 6mm in the center and 5mm and 2mm in the rest.

Beaded Bow

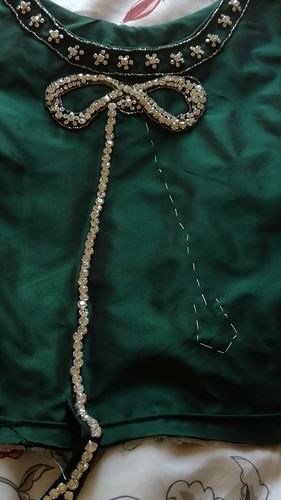
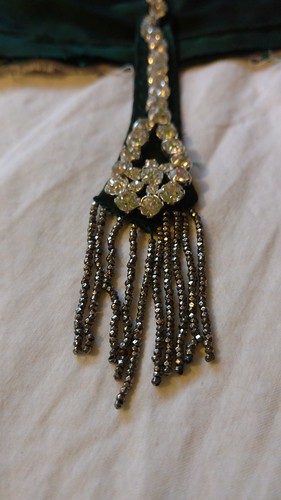
For the tails of the bow, I basted a line, sewed 6mm rhinestones along it, and then sewed the steel beads along the edge.

Beaded Bow

One of the tails ends past the skirt. I hemmed a piece of fabric in the shape I wanted, added the rhinestones, and sewed it to the dress. I sewed the steel beads after this so they'd cover the join between the extension and the dress.

And that's it! For the beading, at least :)

Saturday, August 6, 2016

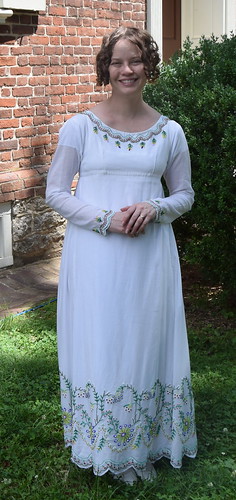
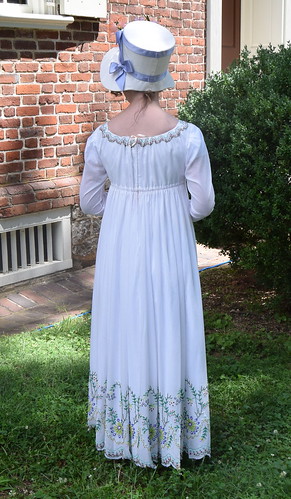
A Regency Beaded Dress

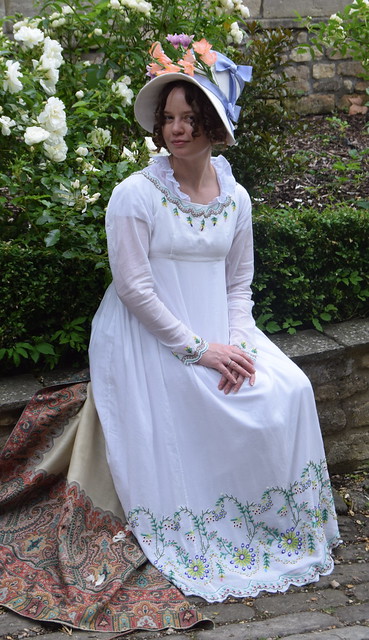
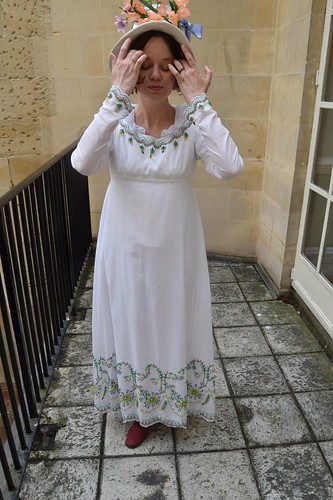
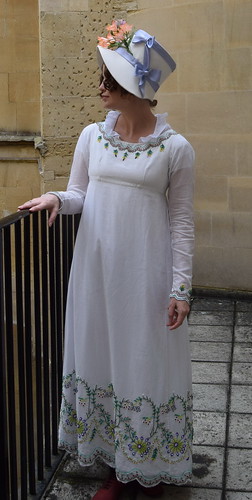
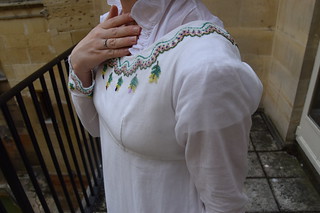
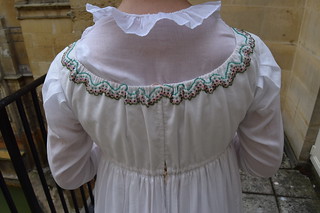
Regency Beaded Dress

If you want a big, over the top, detailed, insane dress, it's going to take time. A lot of time. And commitment. And deciding just what else can be put aside. When I first saw this Regency beaded dress in the Met on April 8th, 2013, I knew I had to have it. I also knew that when I started it, it would take over my entire costuming life. And three years later--except for one brief break to finish a kitty sock, it did just that! I started the dress on February 4th, 2016 and finished it on May 20th. It went out of town with me twice, to work just in case I had ten extra minutes at lunch, and most days I worked on it for four to five hours. Occasionally more, and sometimes less, but to say it took all of my time is somewhat of an understatement! I rearranged my entire costuming schedule around this dress, and thankfully enjoyed every minute of it.

Regency Beaded Dress Regency Beaded Dress

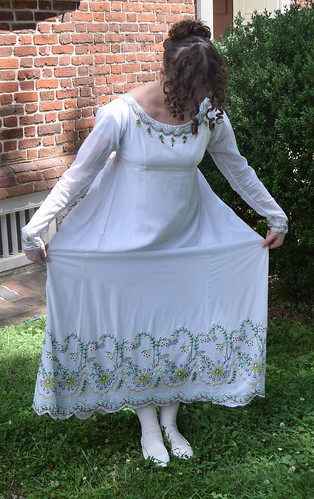
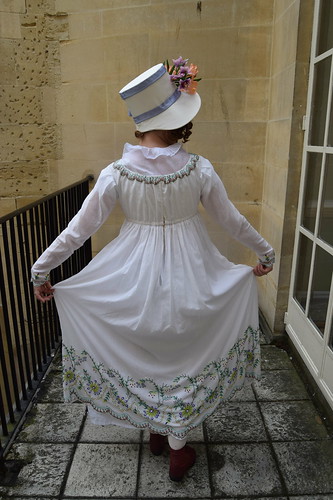
I'm wearing it over a linen chemise from Burnley and Trowbridge's lightweight linen, the underbust version of Sabine's short stays, and a bodiced petticoat in the first pictures--taken in Bath--and a strapped petticoat in the second pictures--taken at the Louisville Jane Austen Festival.

My bonnet is the Ophelia from Timely Tresses. It's trimmed with ribbon from Bulldog and Baum and flowers from A Pink Swan.

Regency Beaded Dress Regency Beaded Dress

Regency Beaded Dress Regency Beaded Dress

The beading weighs quite a bit! The skirt is on the narrow end, around 80 inches, because I didn't want too many of the beads to get lost in the width. Walking in it is a little like walking in a hobble skirt because of the way the beads press against your legs.

Regency Beaded Dress Regency Beaded Dress

Construction on this dress was very straightforward. It's fitted with darts in front and closes with drawstrings in back. It's made of sheer cotton from Farmhouse Fabrics and the bodice is lined in cotton from Dharma Trading. The beads are 15/0 rocailles from Fire Mountain Gems. A lot of beads--while I didn't keep exact track, I did need about two and a half boxes of light green, two mossy green, two yellow, and two white in addition to partial boxes of other colors. There are 8,500 or so beads in a box.

I'm incredibly pleased with how this dress turned out, and I'm still a little stunned that I made it! Though I've worn in three times this year, in addition to wearing it in Bath and to the Jane Austen Festival in Louisville, I also wore it to Costume College, I'm hoping to have many chances to wear it in the future!

I don't have any actual construction pictures of the dress since it is so straightforward, but I did take many pictures while beading! You can see them below.