Showing posts with label 18th century. Show all posts

Wednesday, August 19, 2015

Binding 18th Century Stays--An Abbreivated Tutorial

After writing my 1780s stays tutorial, I realized that there was one part that was probably more helpful than anything else--binding the stays. I don't take credit for this binding method, rather Nicole, of Diary of a Mantua Maker told me about it, and I was later lucky enough to see it done on extant 18th century stays in Lara Corset's collection.

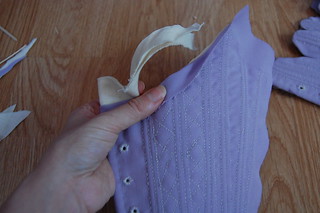
If you've ever wondered how 18th century stays had such a narrow binding, this is how. Instead of cutting all layers to the edge and binding, a seam allowance was left on the top layer of the stays, which was then wrapped to the wrong side and hemmed, essentially binding the stays before adding the binding.

Purple Stays 3

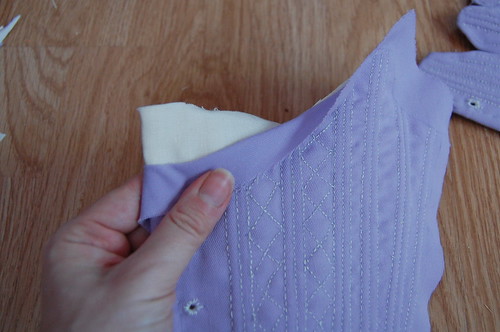
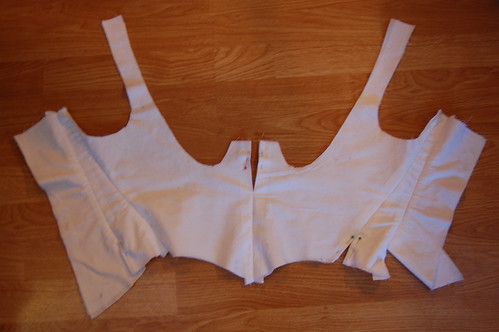
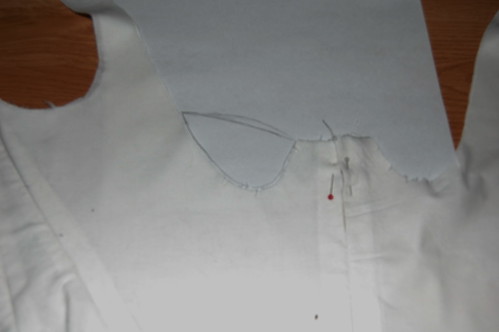
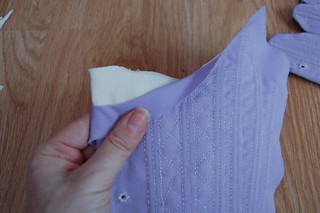
Here's the seam allowance on the top of the stays. Right now, it's all layers of the fabric. Inserting the boning is much easier this way.

Purple Stays 4

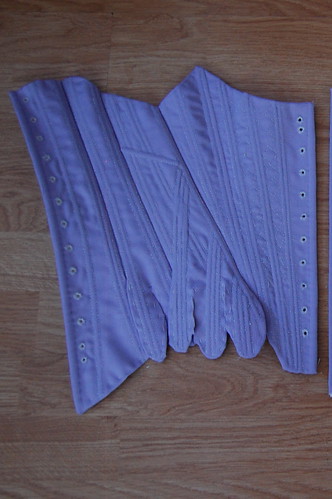
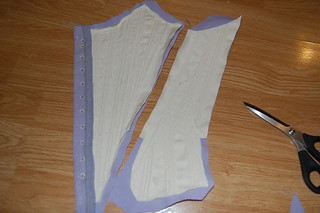
Only the inner layers of the stays are cut. The top layer seam allowance is left in place.

Sew the panels of the stays together. No need to do it by hand like I did, unless you're like me and actually think it's fun to hand sew stays!

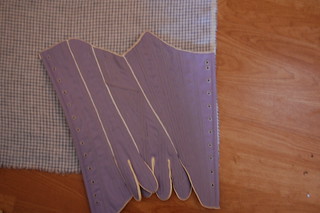
Purple Stays 11

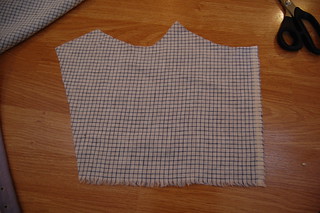
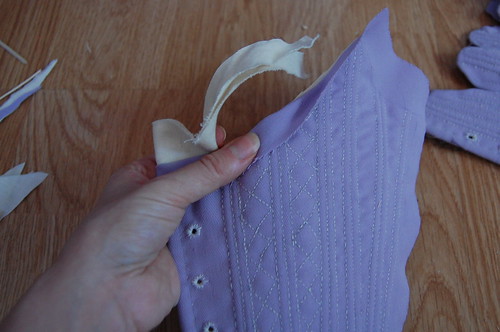
Once the panels are sewn together, fold the excess seam allowance to the wrong side and hem it to the lining.

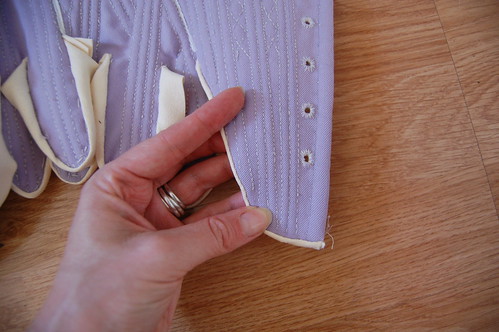
Purple Stays 10

Here it is from the right side. Now, when you bind the stays, you're not doing it to finish the edge because it's already finished, but rather binding to finish the edge more nicely and provide a little extra strength at the seams.

Purple Stays 15

Bind the stays however you like. I used ultrasuede (also on Nicole's recommendation!). I'm afraid to get the truly narrow binding though, it does have to be done by hand. You want to catch the top of the hem more than anything else.

DSC_9323

And nice, tiny binding, just like real 18th century stays!

Tuesday, August 18, 2015

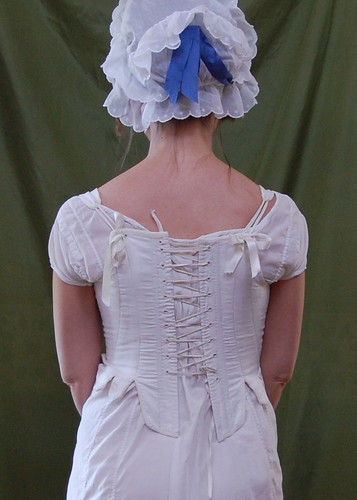
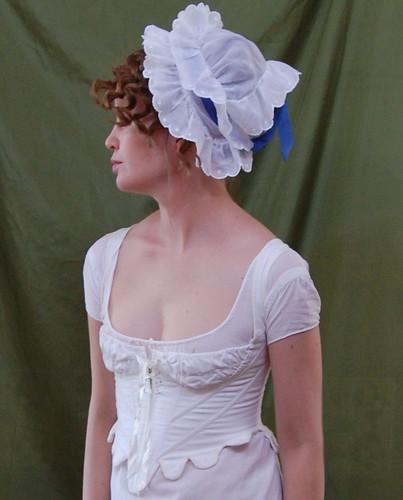
1790s Transitional Stays

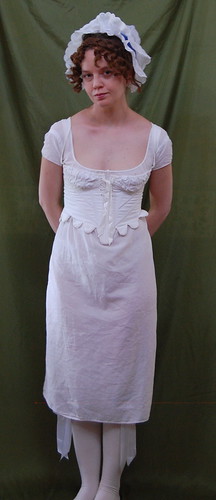
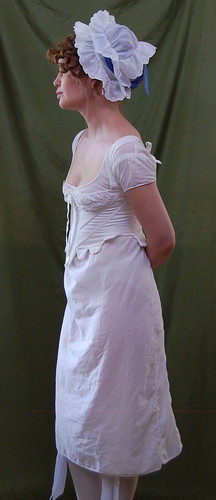
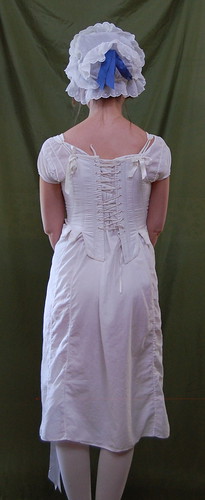
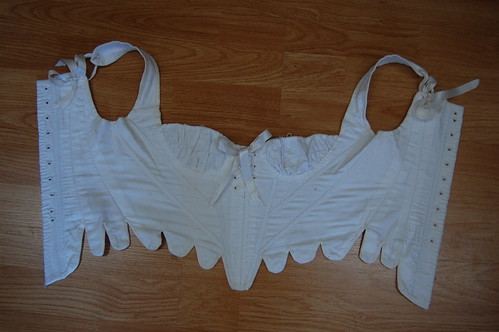
transitional_stays1 transitional_stays5 transitional_stays3

I've needed a new set of early Regency stays for a while. I have 1820s or so stays that I love, but my early stays stretched beyond wearability.

I have a detailed post about making these stays here. The short version--they're based on stays in the V&A and use the 1790 Linen Stays pattern from Corset by Jill Salen as a base. They're cotton broadcloth lined with cotton twill.

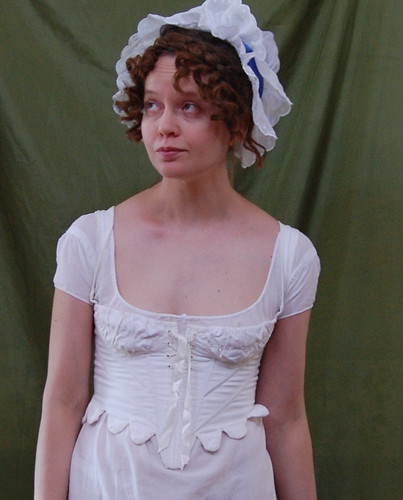
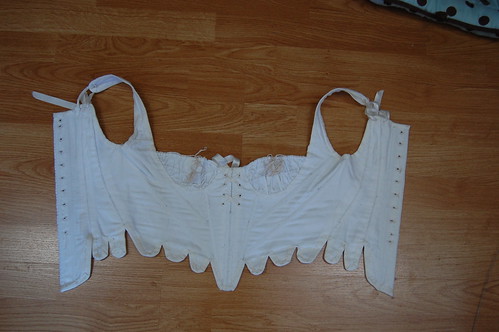
transitional_stays6 transitional_stays8

These stays are extremely comfortable--even if I did manage to tie the straps at different lengths and the center front bow came untied, and a tab flipped up for these pictures :)

1790s Transitional Stays--A Tutorial

transitional_stays7

My main inspiration for these stays was this pair of stays in the Victoria and Albert Museum. Mine are slightly simpler, but keep the elements I wanted. Separate cups, higher waist, and general 18th century cut. I used the 1790 linen stays pattern from Corsets by Jill Salen as a starting point since they had the general shape I wanted. I changed them to back lacing with false front lacing and gathered cups. They're made of two layers of fabric, cotton broadcloth for the outer layer and cotton twill for the inner layer. Both fabrics are from Fabric.com. They're boned with metal and plastic artificial whalebone. I used the plastic in the diagonal channels so I could easily shape the end of the bone to fit. They're bound in tight weave cotton ribbon that I bleached white. They're laced with silk ribbon from Farmhouse Fabrics. The cups are drawn in with twisted cotton crochet cord.

DSC_9867

Basic construction is straightforward. All seam allowances are turned in towards each other--so they're on the inside--and the pieces are whipstitched together. This is based on early 18th century stays construction, but since the seam allowances are inside, there's no need for a separate lining to cover seam allowances.

To pattern the shaping for the cups, I fit the stays normally, adjusted my bust into the position I wanted it held, and drew a line underneath that. I smoothed out the line when I took the mockup off.

DSC_9868a

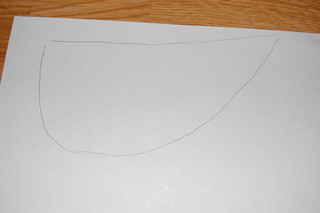
To pattern the cups, I traced the shape of the cup onto paper.

DSC_9869a

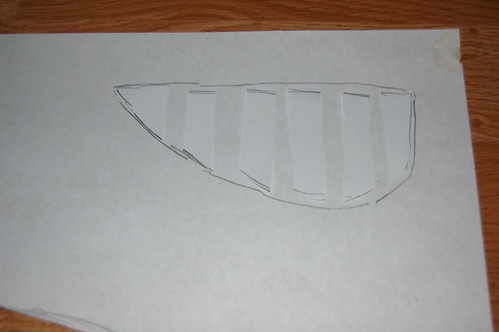
I then cut that shape into strips, spread it out, and traced around that.

DSC_9870 DSC_9871

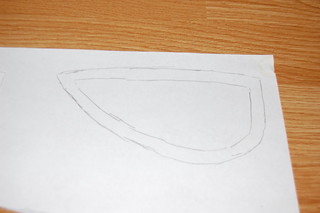
I added a seam allowance on all sides--to sew to the stays and to put a drawstring channel in the top--and adjusted the top line so it would make a smooth line with the straps.

DSC_9913 DSC_9914

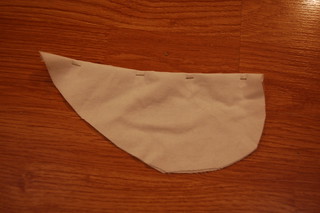
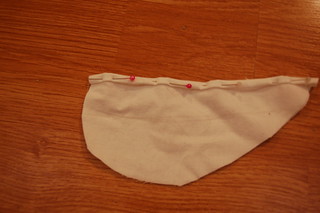
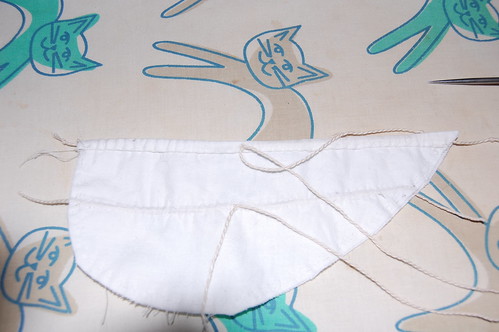
The cups are two layers of broadcloth. The top is hemmed to make a drawstring channel. The line drawn in the center of the cup is to create a drawstring channel for the center of the cup.

DSC_9915

Here it is sewn--there are no eyelets for the twisted crochet cord drawstrings; they're just poked through the fabric.

DSC_9916

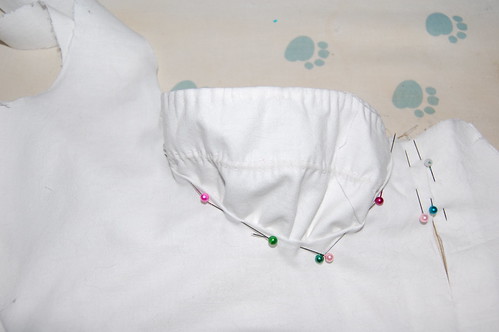
The seam allowance under the cup is folded down, and the cup is topstitched in. I used a spaced backstitch.

DSC_9917

The lining is left loose. The curve is clipped a little to make the seam allowance fold more easily.

DSC_9918

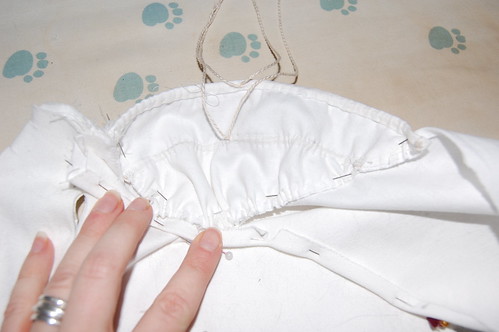
The seam allowance folded down, and is whipstitched to the wrong side of the cup.

I did a second row of spaced backstitching after the lining was whipstitched down. This wasn't completely necessary, but it made it feel more finished.

DSC_0871

The tabs are cut, boning is added, eyelets are sewn, they're bound, and they're done!

DSC_0872

Here they are from the back, which because of the techniques used, looks an awful lot like the front...

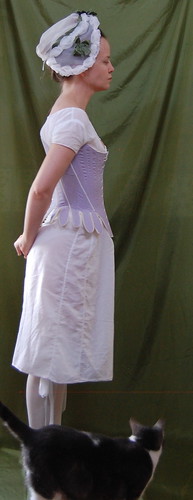
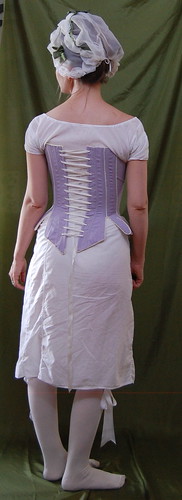
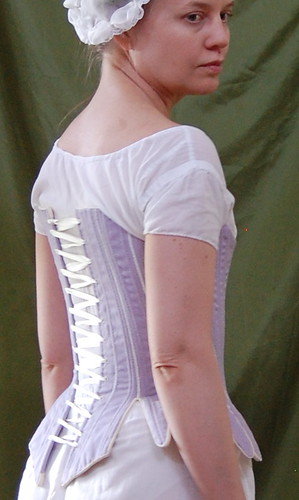
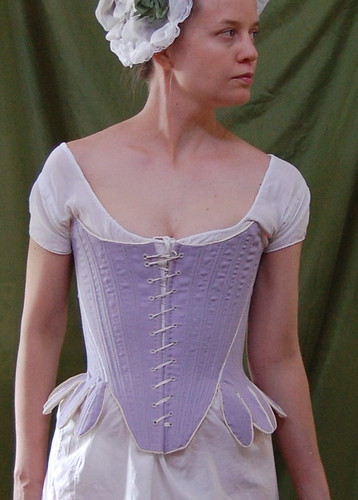
1780s Stays

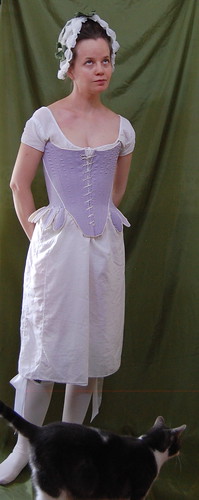
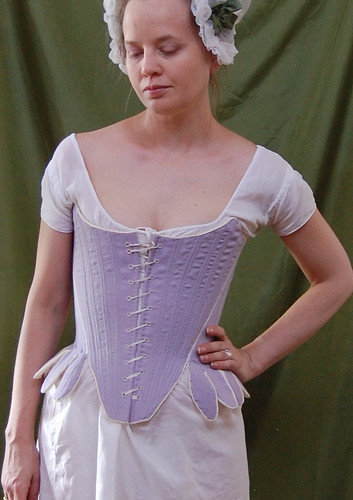
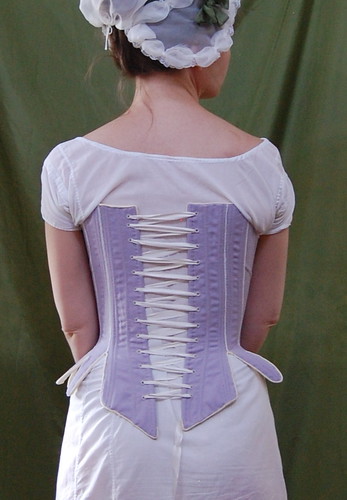
Purple Stays 28 Purple Stays 29 Purple Stays 27

Before making these stays, I already had two hand sewn pairs of 18th century stays. It's completely logical to need a third, right? I enjoy making stays though, and a long term hand sewing project is always nice to have.

I have an in depth post on construction here. The short version is they're made of wool, linen buckram, reed, metal boning and artificial whalebone and are based on the 1798 jumps in Corsets by Jill Salen.

Purple Stays 34Purple Stays 31

It's very nice to have front lacing stays! I can lace myself into back lacing stays, but don't really like doing it. I kept the back lacing so they'd be adjustable. Stays usually stretch, and a perfectly closing set of front lacing stays usually doesn't stay that way forever.

Purple Stays 32 Purple Stays 34

I'm quite pleased with the shape of these stays. Usually my corsets are interchangeable, but I actually had to make adjustments to my bodice muslin for these stays. As annoying as patterning is, it was a welcome change :)

1780s Stays--A Tutorial!

Purple Stays 33

For my robe a la piemontaise and redingote, I decided I wanted new stays. I wanted them to be a little different than my other stays, so I decided on front lacing (though this wasn't the most common form of stays) and strapless.

I used the 1798 jumps in Corsets by Jill Salen as a starting point. I combined two pattern pieces and made them without the alterations. I wanted them half boned, but used these stays as my main inspiration for boning channels. My stays are made of a layer of purple wool from Burnley and Trowbridge, a gift from a friend (thank you!), two layers of linen buckram from William Booth, Draper, and lined with linen check from Burnley and Trowbridge. They're bound in ultrasuede, which I bought an eighth of a yard of on eBay. They're boned with reed, which I cut in half to make narrower. There are two reeds in most channels. The front and back lacing areas are reinforced with either metal or plastic artificial whalebone. All the sewing is done with linen thread, though I wish I had used silk!

I need to thank Nicole, of Diary of a Mantua Maker for not only the ultrasuede suggestion (I was looking for a non leather alternative), but for explaining just how 18th century stays managed to have such a narrow binding--the outer fabric seam allowance was basted over the edges. I was lucky enough to see this on an extant set of stays in Lara Corset's collection.

More pictures of the completed stays can be found here.
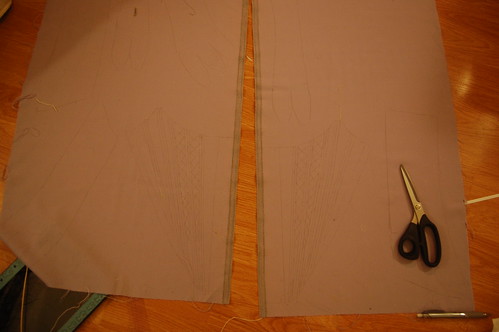
Purple Stays 1

I started by tracing my pattern and boning channel placement onto the wool outer layer. 
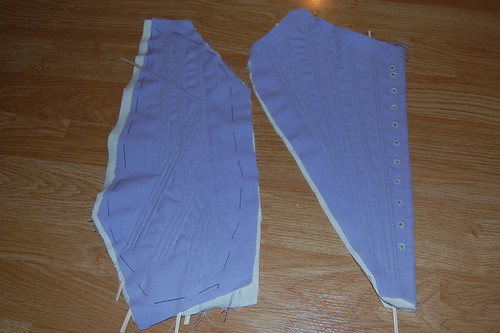
Purple Stays 2

I then basted the pieces to two layers of linen buckram, and cut them leaving a wide allowance.  The basting stitches can be seen on the left.  After sewing all the channels, I trimmed again, leaving a seam allowance on all edges.
Purple Stays 3 Purple Stays 4

After inserting the boning, I trimmed away the linen seam allowance on just the neckline, underarm and waistline.
Purple Stays 5 Purple Stays 6

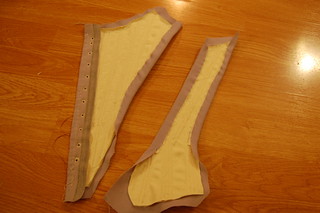
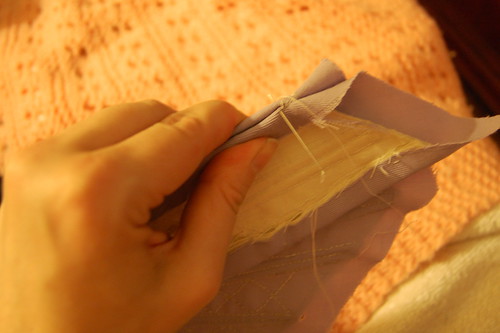
Here are the trimmed pieces.  You can see the excess wool on to and bottom.  To prepare the pieces for sewing, I basted the seam allowances down to the linen. 
Purple Stays 7

The pieces are sewn together using a closely spaced whipstitch. 
Purple Stays 8 Purple Stays 10

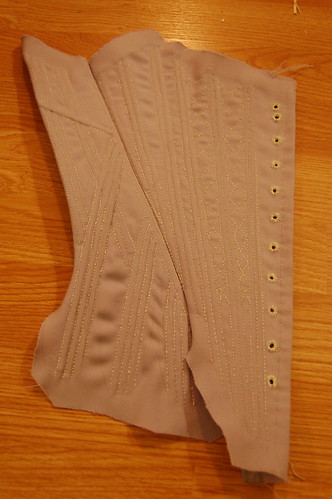
Here's what it looks like when it's sewn together.  Once all the pieces were sewn, I folded the excess wool over the top and basted it to the linen.  This basically binds the stays. 
Purple Stays 11

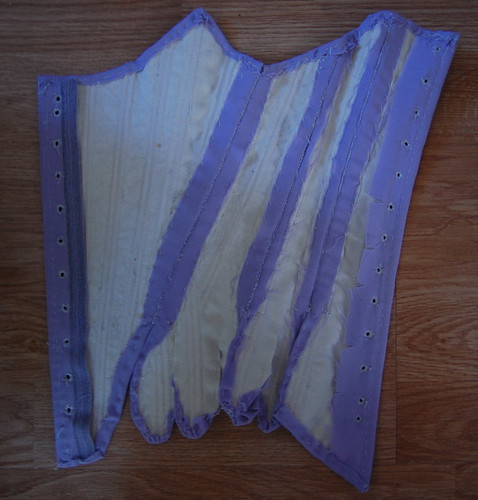
Here it is from the inside.  You can't wrap the wool perfectly around the tabs because of the way they're cut, but it does help!
Purple Stays 13 Purple Stays 12

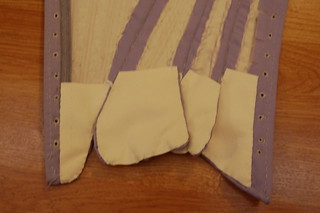
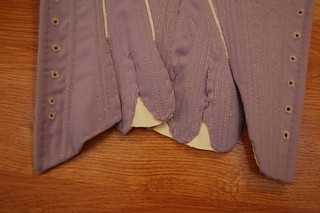
I lined the tabs separately in ultrasuede based on this example at 18th Century Stays. I cut the ultrasuede to the shape of the tabs, and then trimmed.

Before binding, I sewed a 1/8" piece of cotton tape to each seam.  This was common on stays.

Purple Stays 14

Here they are trimmed. The lining goes all the way to the edge of each tab.
Purple Stays 15

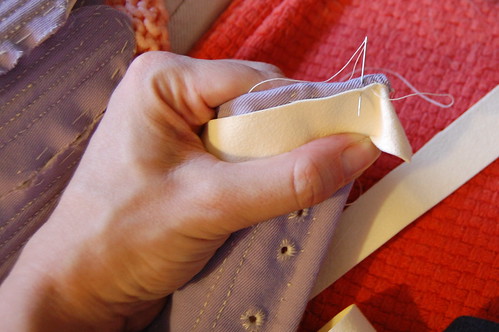
Then it was time for binding!  The ultrasuede has a firm edge, so you don't need to turn it under.  Since it's sewn through the fold of the wool, you can make it very narrow from the outside. 
Purple Stays 16

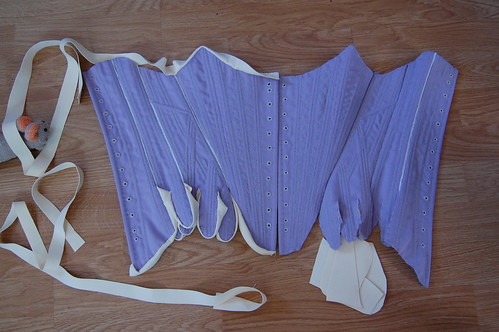
Here's the binding partially sewn on.  I like the sew the tabs first since they're so annoying :)
Purple Stays 17

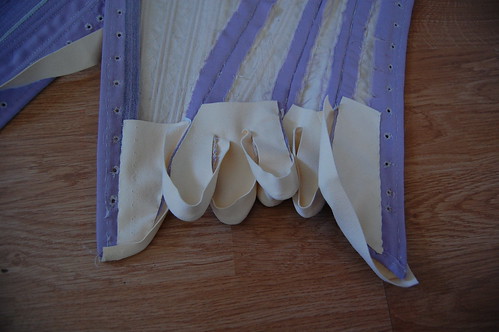
The binding is turned in, as normal, and whipstitched to the back of the stays. 
Purple Stays 18

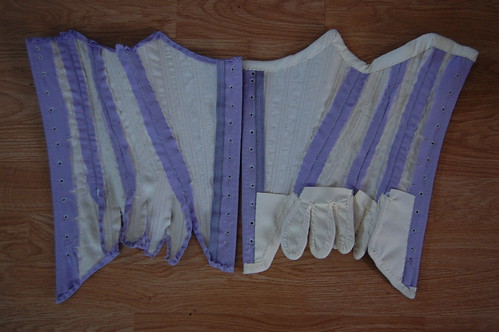
And here it is, half done!

Purple Stays 20 Purple Stays 21

Since the tabs are already lined, the lining itself is quite easy.  It doesn't need to be seamed--tracing the finished stays works fine!
Purple Stays 22

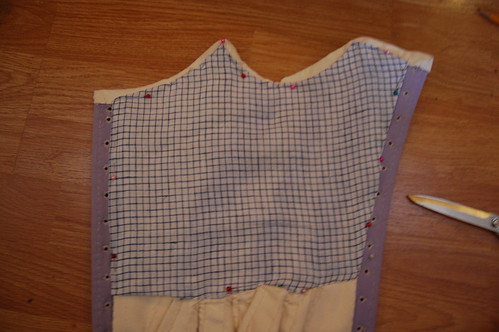
The edges of the lining are turned under, and it's whipstitched in.  It doesn't cover the eyelets and it covers the edge of the binding, making it easy to replace if necessary. 
Purple Stays 23

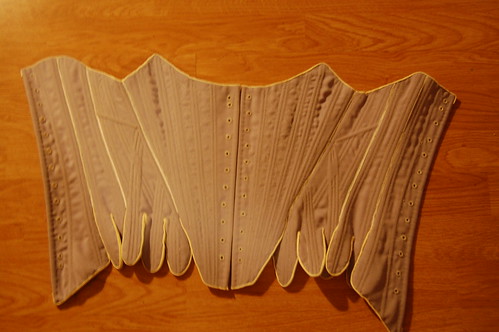
Completed stays front!

Purple Stays 24

And back!