
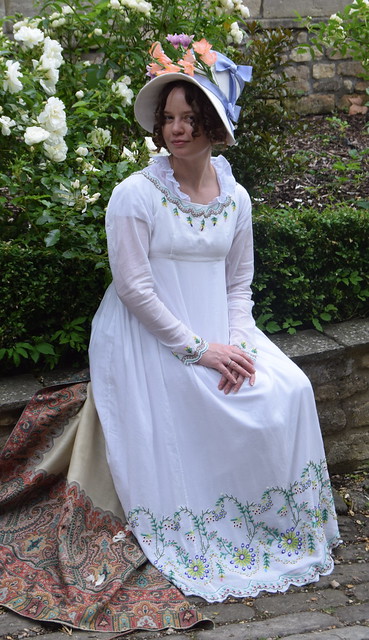
If you want a big, over the top, detailed, insane dress, it's going to take time. A lot of time. And commitment. And deciding just what else can be put aside. When I first saw this Regency beaded dress in the Met on April 8th, 2013, I knew I had to have it. I also knew that when I started it, it would take over my entire costuming life. And three years later--except for one brief break to finish a kitty sock, it did just that! I started the dress on February 4th, 2016 and finished it on May 20th. It went out of town with me twice, to work just in case I had ten extra minutes at lunch, and most days I worked on it for four to five hours. Occasionally more, and sometimes less, but to say it took all of my time is somewhat of an understatement! I rearranged my entire costuming schedule around this dress, and thankfully enjoyed every minute of it.
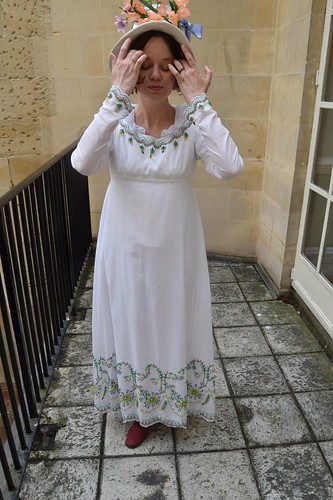
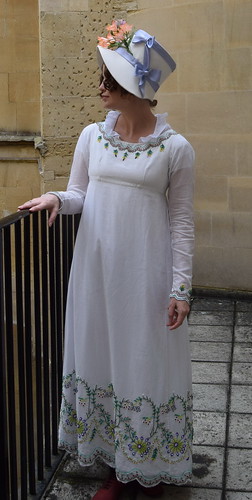
I'm wearing it over a linen chemise from Burnley and Trowbridge's lightweight linen, the underbust version of Sabine's short stays, and a bodiced petticoat in the first pictures--taken in Bath--and a strapped petticoat in the second pictures--taken at the Louisville Jane Austen Festival.
My bonnet is the Ophelia from Timely Tresses. It's trimmed with ribbon from Bulldog and Baum and flowers from A Pink Swan.
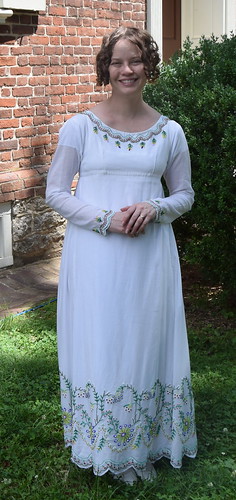
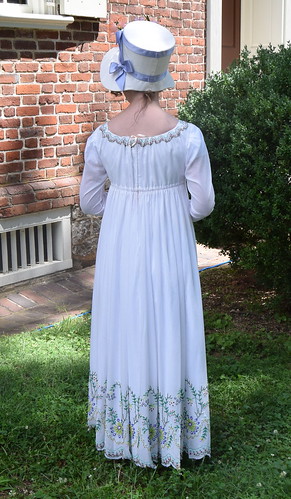
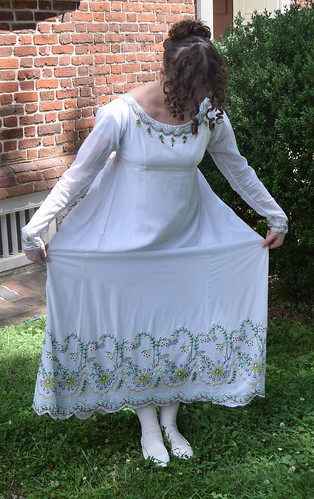
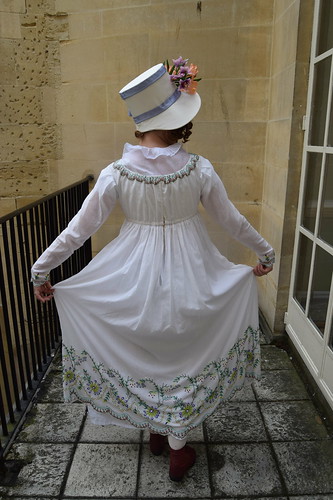
The beading weighs quite a bit! The skirt is on the narrow end, around 80 inches, because I didn't want too many of the beads to get lost in the width. Walking in it is a little like walking in a hobble skirt because of the way the beads press against your legs.
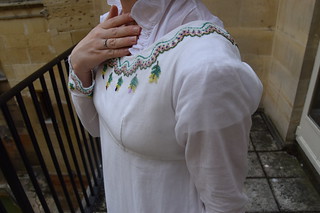
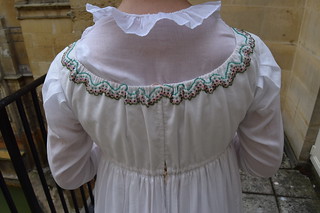
Construction on this dress was very straightforward. It's fitted with darts in front and closes with drawstrings in back. It's made of sheer cotton from Farmhouse Fabrics and the bodice is lined in cotton from Dharma Trading. The beads are 15/0 rocailles from Fire Mountain Gems. A lot of beads--while I didn't keep exact track, I did need about two and a half boxes of light green, two mossy green, two yellow, and two white in addition to partial boxes of other colors. There are 8,500 or so beads in a box.
I'm incredibly pleased with how this dress turned out, and I'm still a little stunned that I made it! Though I've worn in three times this year, in addition to wearing it in Bath and to the Jane Austen Festival in Louisville, I also wore it to Costume College, I'm hoping to have many chances to wear it in the future!
I don't have any actual construction pictures of the dress since it is so straightforward, but I did take many pictures while beading! You can see them below.
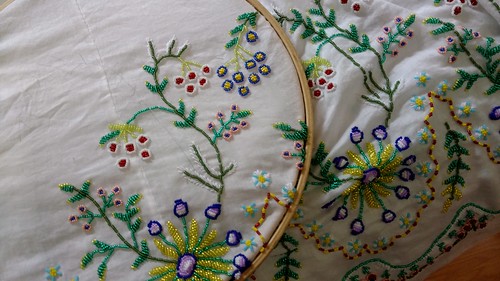
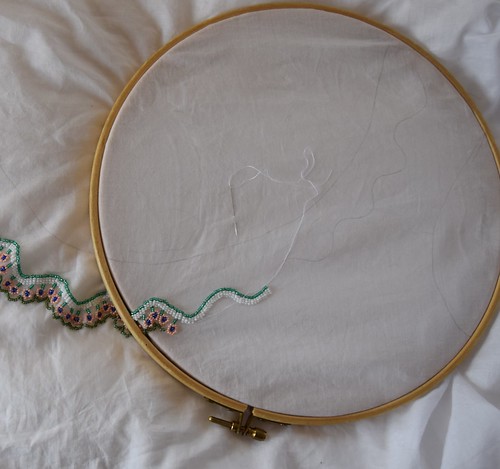
I was thankful that, if careful, I was able to put the beading directly into the hoop. You can also see a skirt seam in this picture. I decided that because there was so much beading that would be going over seams, I would make the skirt first, leave enough at the hem to support the hoop, and then do the beading.
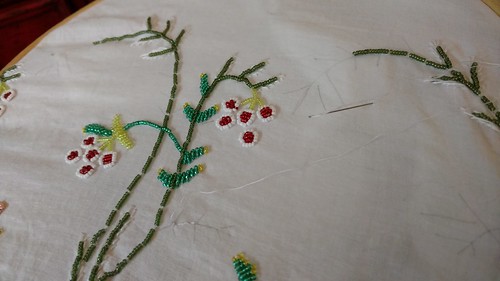
One thing that made the dress easier--the beading directed the embroidery. I traced the design on with a mechanical pencil, and only needed a few outlines instead of the entire pattern.
Though there are tricks--such as going through the last bead in a row--to make beading straight, after being able to count how many beads were on each stitch in many places on the original, I decided to do it without worrying about it. It's much faster!
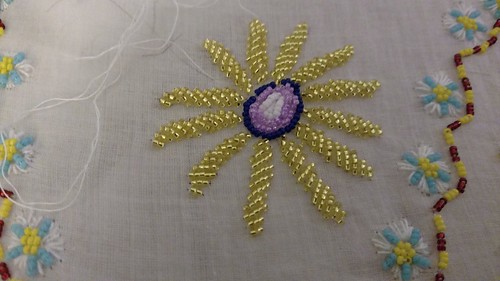
For the flowers, I just drew a line to mark the center of the centers, and twelve lines radiating from it to sew the petals. The stems and round buds in between the petals were done without marks.
A detail of the neckline. I started by drawing the scalloped edge, beaded that, then the flowers, and then drew the tiny scallops above the flowers.
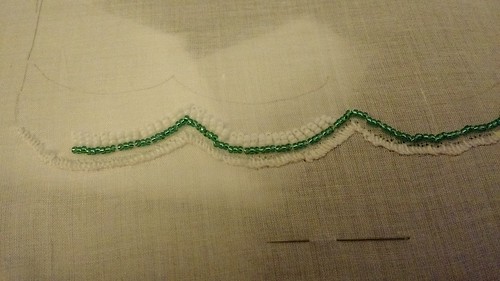
For the cuff, I drew the scalloped edge, buttonhole stitched, and used that as a guide. Ignore the pencil marks above it--I initially made the sleeve too short.
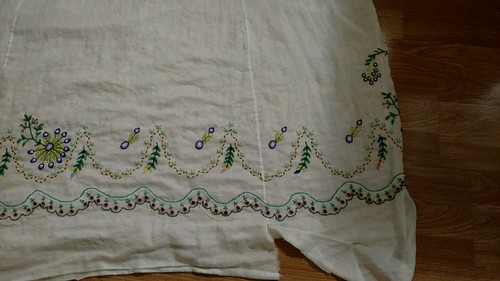
To make things seem like they were progressing more quickly, I chose elements to bead. In this case, the center and the small stem that the large sprigs attached to--this way I was able to draw in the big sprigs.
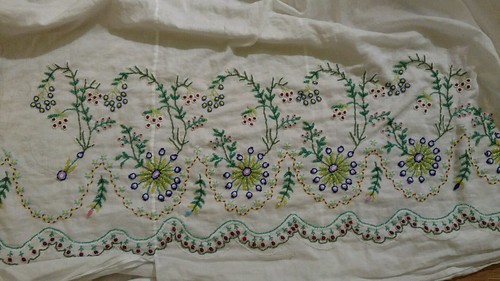
So much beading!
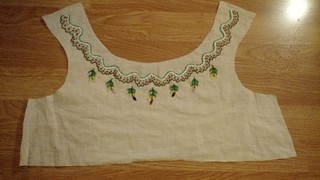
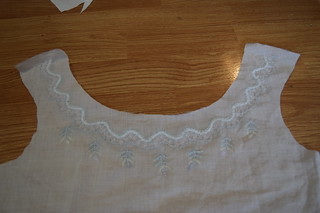
And the completed bodice front!

