Part two of the tutorial can be found here.
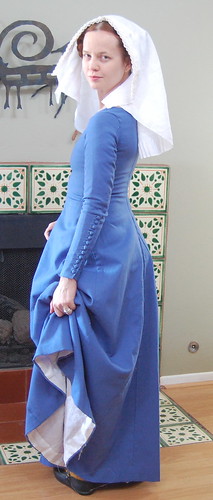
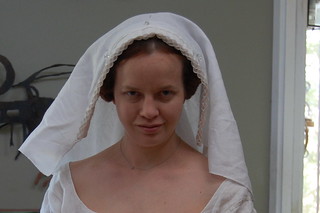
I'll be going to a much different than my local Renaissance faire this April. Therefore, my usual faire clothes (Regency fairies, 1950s, the last time I wore Renaissance to my faire my friend and I were the only ones who did and it was a hundred degrees...) won't do. In typical me fashion though, I decided I had to have a cotehardie, and then I decided I really had to have a frilled veil. OK, a little early, but desire is a strong thing, right? In place of the many costumes I need to post (blue bustle dress, plaid 1820s, beaded 1920s and a few tutorials), I'm going to post an in progress post of my veil. What I'm doing isn't really that innovative, but I'm posting in the hopes that it will be helpful. My sources are all linked at the end of the post.
This may be a little premature, as the veil isn't done and may come out completely silly, but I have confidence it's going to be a good veil!

To start, I narrow hemmed four strips of 2.8 oz linen from William Booth Draper. They're 2 inches wide, by the size I liked draped over my head. How's that for scientific?

Then I marked the veil for what's basically honeycomb smocking. A little trial and error showed that 5/8" would work best with my dowels. (This picture shows the 3/4" marks. I'm not sure why I feel that's important to mention!)

Then sew two layers of the frill together. Quite simple, just stitch around a few times, and then put the needle through the hem, take a few more stitches, repeat...

Then I added the next frill layer. Repeat the above procedure, sewing the new layer halfway between the marks on the first layer. I didn't bother marking it this time.

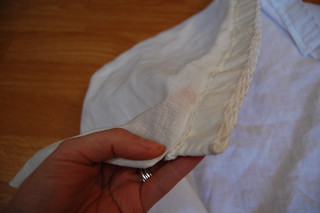
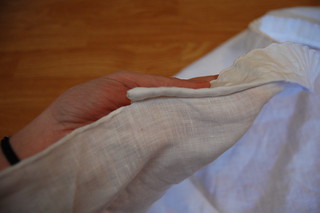
When all of this was done, I hemmed the edges. I hemmed towards the side facing the veil, not the side facing my face. The ends of this will be visible when worn, so I wanted them smooth.

Then I bound the long edge. Koshka supervised.

I dipped it in starch, and inserted dowels to give it shape. The starch shown in this picture is a little too light. I used the recipe from the
third post in this thread. Initially I used medium starch, as I for some reason thought that was heavy starch. That's what I get for skimming and reading amounts only. Also, I didn't boil it, I just added boiling water from the kettle, and it worked great.

I baked it (at 350, very, very closely watched! Please, be careful with baking. And if you have any synthetics, I'd be very, very nervous. They melt! ), and then noticed my very stiff test swatch of the starch was now only kind of stiff.
So I made some new, very thick starch paste by mixing 1/4 cup starch and half a cup water and a tiny bit of boiling water. It wasn't enough boiling water though, so I had to heat it on the stove, and then I got some massively impressive gloop.

I took this picture today. It was a little more wet last night :)
So then I restarched the frill by pressing starch into the fabric. One problem--the inner layer. The paste was too thick, and I'd have to take out all the pegs. I didn't really want to, but you have to do what you have to do, right? I took out the top row, and noticed that smushing more starch still wasn't getting to the inside. It still had the wetter starch on it from before, since I was able to dip that, but I obviously wanted more starch! So I dipped each peg in starch and put it back in.
This seems to have worked quite well to starch the inside, with one small problem. Many of the dowels are stuck in. To remove them, I'm using a size 00000 knitting needle to separate the peg from the linen, and then pulling it out with needle nose pliers. It's working quite well, but may take a while!
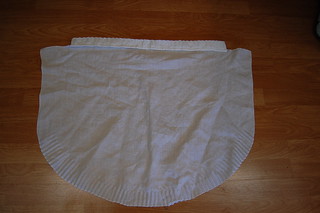
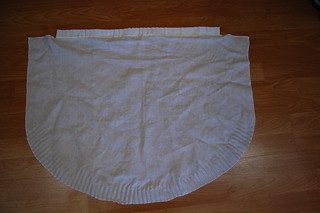
And that's the frill. The veil itself is going to be a half oval. I starched it with what I thought was a very light starch, and it came out too stiff. I washed it by hand, and it got stiffer. It's in the washing machine now, hopefully losing some starch!
References:
Research and Thoughts about Frilled Veils at By My Measure (and she has
a lovely frilled veil on her Fitting Yourself page
Frilled Veil in Action at Medieval Silkwork
Starched Frilled Veil, at Katalfalk coincidentally the same site I learned honeycomb smocking from.
The Fretwork Veil at Family de Huntington.
LInks to many veils at Larsdatter.com