Showing posts with label construction. Show all posts

Monday, August 5, 2019

A Late 1790s Dress with a Diamond Back--A Tutorial

DSC_2833 DSC_2838

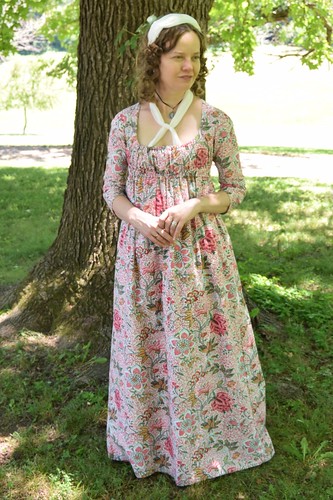
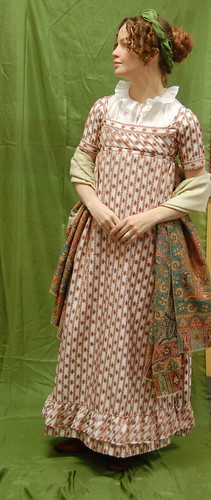
My late 1790s print dress worn at the Jane Austen Festival. It's made of bird print cotton from Colonial Williamsburg, lined with linen from Burnley and Trowbridge, and worn over short stays made with springs (here--other pictures I was wearing my cupped short stays), a linen shift, and petticoat on straps. The dress closes with drawstrings in the front over a pinned linen lining. More pictures of the dress, including how it closes, can be seen here.

IMG_20170410_134616871

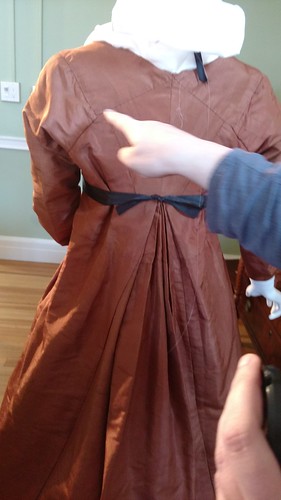
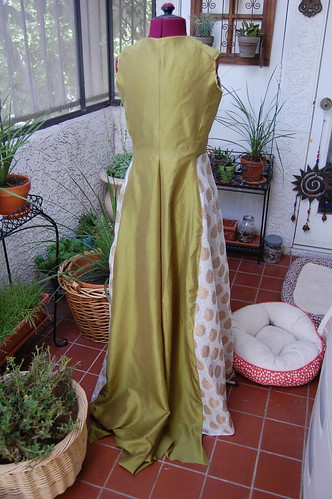
In 2017, I was lucky to be able to see An Agreeable Tyrant at the DAR Museum. I already owned the catalog, which has scaled patterns for many of the dresses. I had been thinking of making a print dress when we saw a remodeled silk taffeta dress with just the sort of back I had been meaning to make for years, but never did. Seeing one in person made things click, and I knew that my new dress would finally have that back.


Sunday, December 31, 2017

Regency Leia Bodice and Pleated Open Robe--Some Construction

My Regency Leia dress was the first dress I made after I was lucky enough to study some late 1790s/early 1800s dresses in person at the Fashion Museum in Bath. I used a few of those techniques on this dress. A little ironic considering the fantasy origin of the dress, but, being me, I did want to make it as accurate as possible--even if the embroidery pattern may have been a bit strange to early 19th century eyes!

The completed dress can be seen here.

DSC_1794 DSC_1796

The dress is made of silk taffeta with a linen lining.

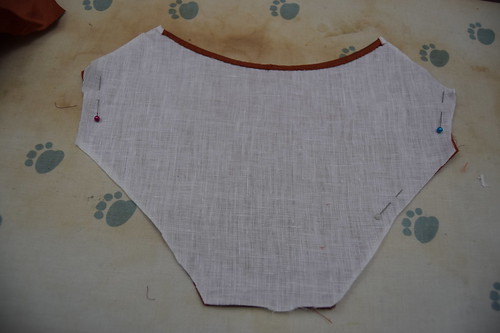
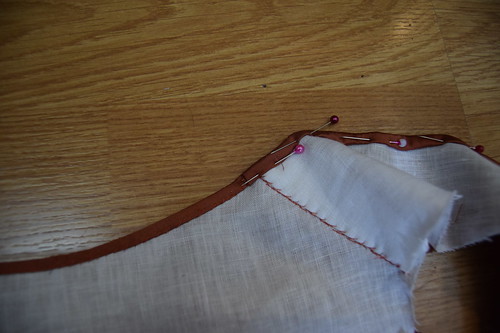
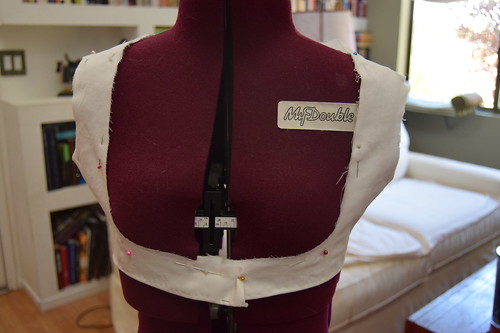
The first step was to baste the center back neckline lining to the silk. Then, the two layers were turned under and hemmed.

Many of the extant dresses we looked at had a row of large stitches on the back neckline. We wondered about the purpose. When I made this dress, it became obvious--it was much easier to neatly hem the curve of the neckline without the fabrics shifting when it was basted. And since it doesn't show, there's no reason to take the basting out.


DSC_1797 DSC_1798

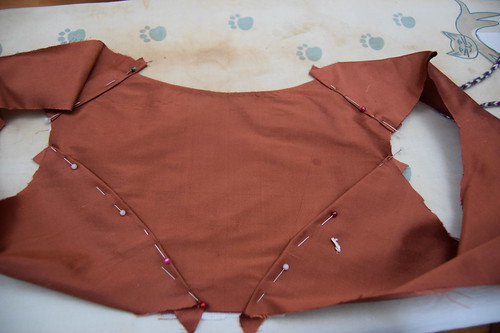
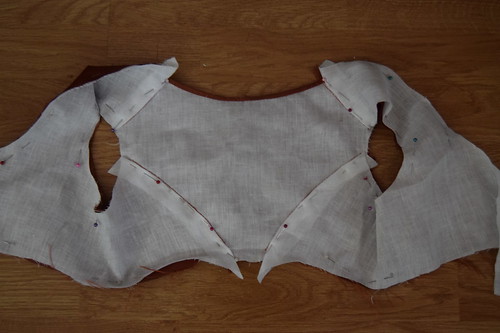
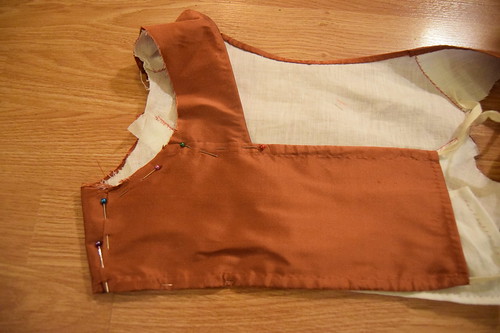
After the center back is done, the seam allowances on the silk fronts are folded under, and sewn to the back. The seams are sewn where the pins are. Although in the past I've sewn lapped seams very close to the fold, many of the dresses we studied had seams sewn a little ways in from the fold, which gave the seams a defined look.

After the silk is sewn, the lining is inserted. The seam allowances were folded under and whipstitched in.

DSC_1799 DSC_1800

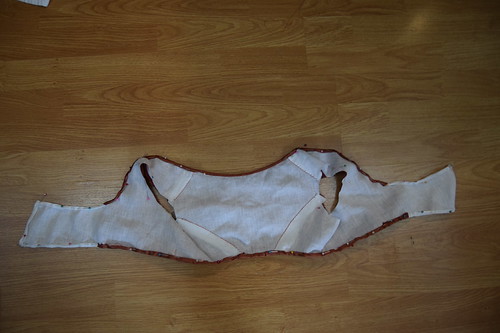
Once the lining is done, the edges of the bodice are hemmed. The hem starts at the side back, around the strap, down the neckline, the center front flap, the bottom edge of the bodice, and continues until the other shoulder strap.

The silk doesn't extend all the way over the center front flaps--only to where it's going to be covered by the center front gathered panels.

Although a bodice of this shape could easily be hemmed without hemming the center back first, doing it this way would work very well for a more square shaped back, where there's no slope between the center back and the back straps.

DSC_1801 DSC_1802

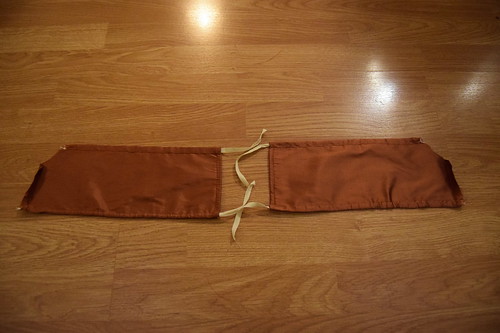
The center front gathered panels are just rectangular strips that are hemmed at the top and bottom for drawstrings with a curve cut out for the armscye. The seam allowance at the side seam is turned over and topstitched to the bodice. The top of the panel is sewn to the shoulder strap where it's pinned.

The sleeves are then set normally. The skirt is a slightly gored tube that opens at center front. I cartridge pleated it and sewed it to the bottom edge of the bodice, being careful to not catch the drawstring. The front panel is slightly gathered with most of the gathers being concentrated in back.

Most dresses I've seen from this time have the center back of the skirt mounted about an inch or so above the back waist and sewn right side to right side, which makes it stand out a bit, but I chose not to do this on this dress because I wanted a flatter line under my overdress.

DSC_1804 DSC_1805

The overdress is cotton voile lined with linen. I completed the bodice except for the top hem and securing the voile layer on the shoulder straps.

DSC_1806

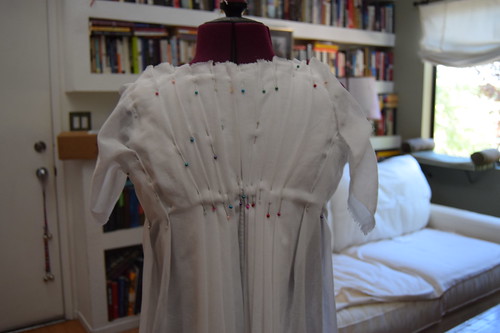
The back is one rectangular panel from neck to hem. It's really quite simple--the panel is pinned at the center front and sides, and then pleated until everything is pleated and it looks nice. I have an inverted box pleat at the center back with all the other pleats facing it.

All the pleats are sewn down and trimmed. The center back neckline was finished with a strip of fabric that was turned to the inside and hemmed. The front neckline was turned under and hemmed. The sleeves were finished with strips of voile on the bias and hemmed.

The center front is pinned shut--and worn with a Rebel Alliance pin, of course :)

Jae-18

Wednesday, August 19, 2015

1913 Mata Hari Dress--Closures and Construction

The dress I made based on a 1913 picture of Mata Hari has rather interesting construction. I based it off period examples, and although 1910s dresses commonly closed in back, I decided that mine would close in front for ease of dressing.

DSC_0955 DSC_0956

Perspective with this dress is slightly odd. It never seems to look the same in pictures as it does in real life!

The dress opens at center front. The bodice is attached to a straight skirt that also opens at center front. It closes with hooks and eyes.

DSC_0958 DSC_0959

A panel of silk lined with cotton covers the closure and snaps into place on the left side.

DSC_0960 DSC_0963

The waistband of the bubble skirt closes separately on the left. The picture on the right shows a secret passage in the lower bubble skirt. I closed the bottom part of the seam with snaps, so a tailor's ham would fit through and you can iron it. A good thing, as it is looking a little worse for wear after Costume College!

DSC_0455 DSC_0456

The base skirt is shaped a little like a pencil skirt. It needed to be wide enough to fit comfortably over my hips and narrow enough for the wrap skirt and bubble to look good, so it tapers in. The waist measurement is wider than mine, and it's fit to the bodice with darts.

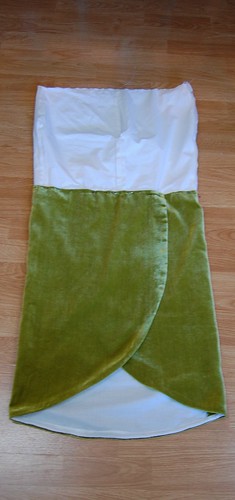
The base skirt is hemmed, and the raw edge of the wrap skirt is sewn on that. It doesn't matter that the wrap skirt edge is unfinished, as it's covered by the bubble skirt.

DSC_0457 DSC_0458

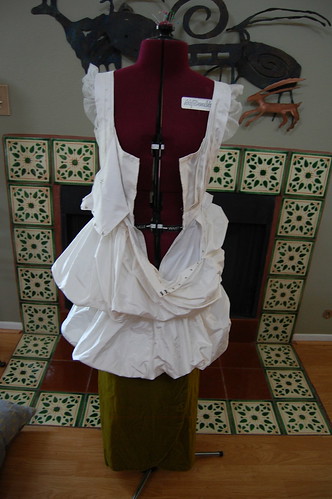
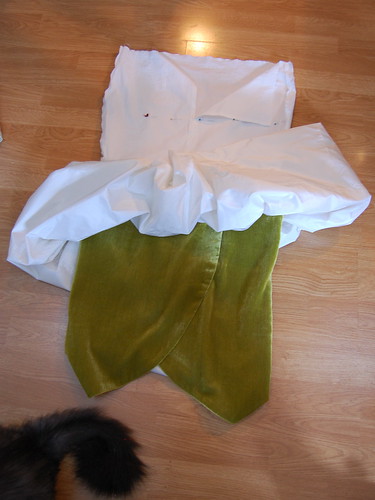
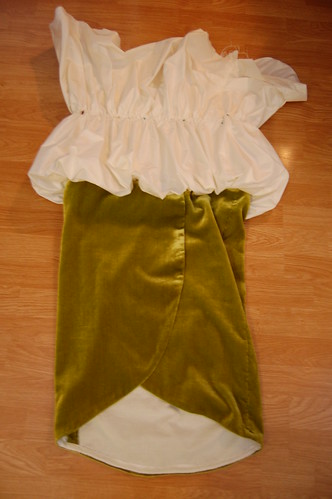
The bubble skirt is a giant tube with gathering stitches run at the bottom, middle, and top. The bottom seam is sewn for about an inch or two and then left open for a few inches that close with snaps so the finished skirt can be ironed. The bottom gathers are pulled to fit the base skirt, pinned on top of the velvet wrap skirt, and sewn into place.

DSC_0460 DSC_0461

The center line of gathering is pulled in and pinned along the marked line seen on the left. It's then sewn to that.

The top is gathered into its own waistband, and the base skirt is sewn to the waistband bodice.

Though it is quite intricate, the multiple closures are worth it to get these complicated styles.

Friday, October 31, 2014

A Regency Drop Front Dress--Construction!

Copper Stripe Drop Front 5

One of the first style dresses to catch my interest as a costumer was a drop front (or bib front or apron front) Regency dress. My first, was one of my earliest costumes, the next was the much more elaborate copy of a dress from the V&A. My third was a copy of a dress in the Danish costume museum.

My fourth, which I'm explaining here, is one of my earliest planned dresses--I bought the fabric in the LA garment district at my first Costume College in 2003. It's quite straightforward in style. The pattern, like my other three, is based on the pattern in Patterns of Fashion

Drop Front Construction 1

The dress is made of a linen lining and a cotton "silk" blend stripe. At least that's what I was told in 2003. I decided to believe it then, but was suspicious--those suspicions were confirmed when I melted a bit of the fabric. Oops. However, a little synthetic is no reason to not use such a perfect fabric!

The linen lining is made separately, and then the striped fabric is mounted on top.
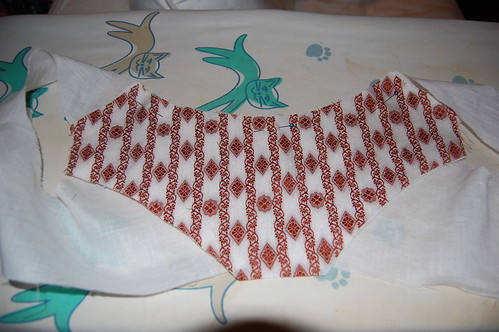
Drop Front Construction 2

After pressing the seams, I laid the striped center piece, wrong side to wrong side, on the linen lining.
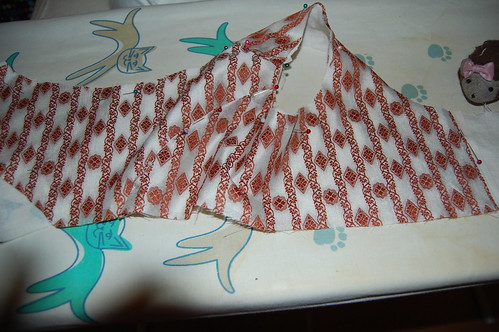
Drop Front Construction 3

Next, I pinned the front piece on top. I found it easiest to start at the neckline curve, then smooth it from there. The neckline, waistline, and armscye edges are matched, and the side back seam allowance is turned under and pinned. This will then be topstitched down. I used a spaced backstitch. If you notice, the striped fabric doesn't extend all the way to the front edge, and I actually trimmed it a little more after this picture. This actually helps the bodice lay nicely--the one layer of linen molds better to your body than the linen with the outer fabric, as I discovered on my very first drop front.
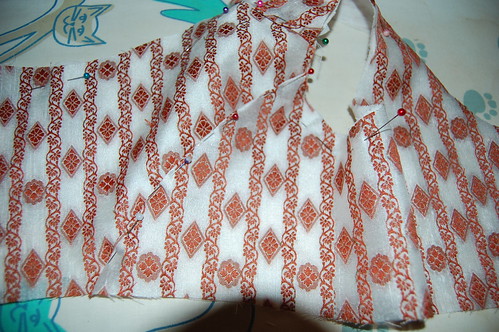
Drop Front Construction 4

Here's a closer view of the side back seam.
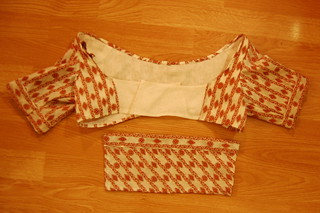
Drop Front Construction 5 Drop Front Construction 6

Next, topstitch the side back seam and the edge of the striped fabric on the flap. Then, finish the neck and waist edges. On this dress, I hemmed the edges based on this dress on Pinterest. On my previous dresses, based on Janet Arnold, I turned the edges in to each other to finish them. The sleeves are inserted normally.

The bib can be anything from a plain hemmed rectangle of fabric, to a gathered piece of fabric, to a tucked piece of fabric, to fitted with drawstrings, and I think I've even seen one fitted with darts. Mine is a bias cut rectangle with a straight band on top. The bib needs to be finished before it's attached.
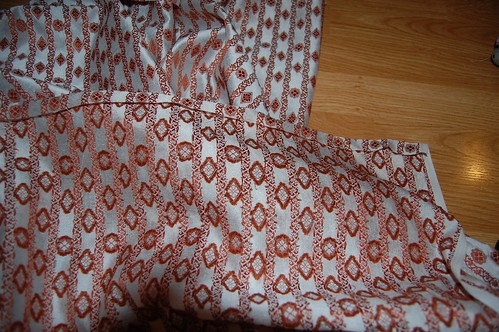

Drop Front Construction 7

Now, onto the skirt! The skirt is quite straightforward. It's just a tube of fabric, sewn selvage to selvage with the top 12 inches on each seam left open. My skirt is about 90 inches around, which is slightly narrower than the Patterns of Fashion skirt. The top center front of the skirt is cut with a very slight scoop where the bib goes to help it sit flat at the waist. It's no deeper than an inch at center front.

Once the skirt is sewn, press the top edge down, as in cartridge pleating.
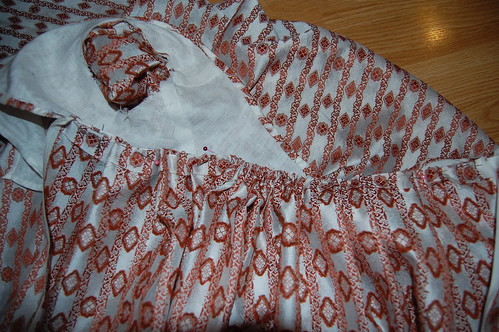
Drop Front Construction 8

Then pin the back of the skirt to the back of the bodice. The edges of the skirt should be around the underarm. I chose to use a mix of knife pleats with cartridge pleats at the center back. Sew these pleats into place.

The back of the bodice has loops to hold the ties in place. On this dress, I used large thread eyes, but you can also use loops made of the dress fabric. I placed these loops on the bottom edge of the bodice directly on each side back seam.
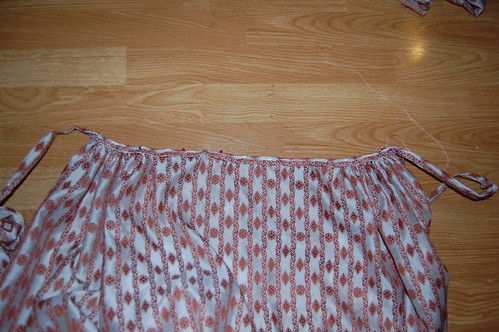
Drop Front Construction 9

There's more than one method to do the front. I chose to do a waistband that doubled as ties and cartridge pleat the fabric on either side of the bib to it. Another option is to hem the top front of the skirt and run a drawstring through the area that I pleated on this skirt.

First, I sewed the waistband to the skirt.
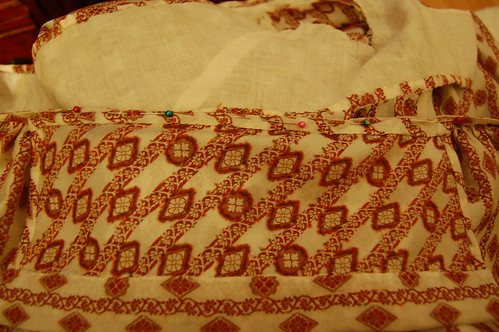
Drop Front Construction 10

Next, attach the bib. Put it right sides together with the waistband (or hemmed top of the skirt) and whipstitch it together.
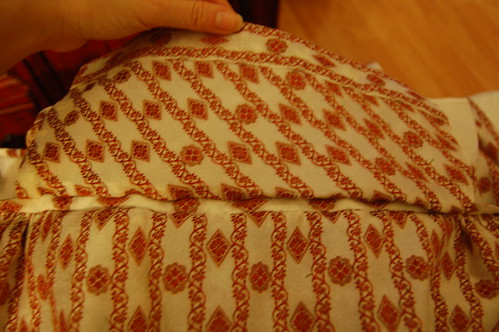
Drop Front Construction 11

Here's the pinned bib from the right side.

And that's it! Well, except for hemming and any trim you might want. It's really quite a straightforward dress!

More pictures of the dress--including how you put it on--can be seen here!


Sunday, August 10, 2014

Game of Thrones King's Landing Dress--Construction, Part Three, Sleeves!

GoT Sleeves 24

And now, to finish the dress started here and continued here. When last seen, this was a sleeveless dress; therefore, this post is about the sleeves!

Because this is a wrap dress, I wanted the sleeves put in smoothly, without a visible seam allowance. To do this, I turned to the method used in my original 1790s bodice. The sleeve in that is sewn to the outer fabric only, not the lining, pressed towards the bodice, and then the lining covers the seam allowance. In the previous construction posts for this dress, the lining was left free for about an inch at the top of the sleeve seams to make this possible. This, of course, is only possible with hand sewing, but if you sew the lining in completely separately, it would work too. I like this method because it covers the armscye seam allowance like bag lining, but unlike bag lining, it's stable and not wiggly.

GoT Construction 37 GoT Construction 38

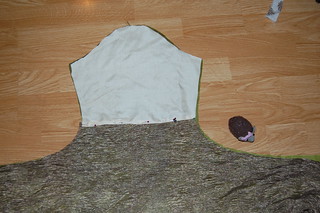
The sleeve is made of two layers--the green silk and a lining with the sleeve cap made of yellow silk (which unfortunately photographed white with the flash I had to use in several of these pictures), and the hanging part of the lining made of crinkled silk metallic blend. This is a one piece sleeve. The sleeve is based on the sleeve from my 1920s Lily Pad Lanvin dress. This may sound a little strange, but it's my only sleeve pattern with an underarm seam, which this dress needed, and it's always easier to start with a pattern that fits. I just extended it so it went just past the middle of my hand and curved it just above the elbow to create the drape. The finished shape can be seen in the pictures, and I do plan on including a scaled copy of my pattern as well.

To cut the lining pieces, I marked a line on my pattern where I wanted the yellow silk to stop and the metallic silk to start, added a seam allowance, and cut there.

To make sure my pieces lined up as closely as possible, I laid out the green sleeve, laid the metallic silk over it, folded the seam allowance of the yellow sleeve cap over, and pinned it to the metallic silk. I then topstitched this into place. Although on the surface this may seem a sort of fiddly way to do it, it guarantees that the sleeve lining and sleeve will match. The metallic silk shifted quite a bit because of the crinkliness, and I was afraid that sewing this right sides together without lining it up would warp the sleeve.

Tuesday, July 15, 2014

Game of Thrones King's Landing Dress--Construction, Part Two

This post picks up from Part One, which covered the main construction seams and the beginning of the lining.

GoT Construction 23

Here's where we left off, with the addition of the beetle wing embroidery and beading. The main seams are sewn, and the lining is attached to the front edge and side panel. One thing--see that running stitch attaching the front lining? It really needs to be a back stitch. Or machine stitch, for that matter. That front stretched a little too much!


GoT Construction 24

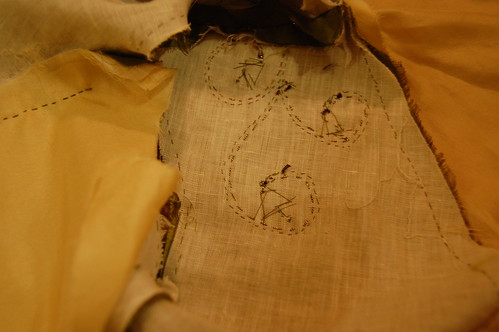
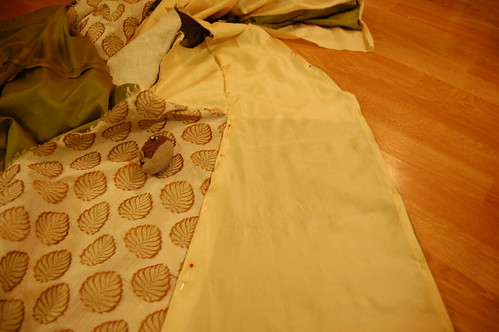
Fold the front lining to the inside. Pin it down the center front edge to give it a little stability, smooth it to the side seam, fold the seam allowance under, and pin it down the length of the side seam.

This is an excellent lining technique for full skirts. It gives you the benefits of both flat lining and bag lining with the disadvantages of neither--the seams aren't exposed as in flat lining, and the lining doesn't hang too freely as in bag lining.


Friday, June 27, 2014

Game of Thrones King's Landing Dress--Construction, Part One

GoT Construction 21GoT Construction 22

The completed dress can now be seen here!
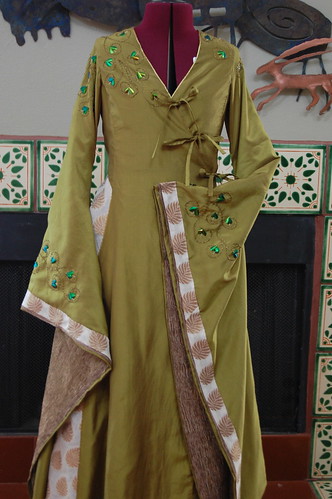
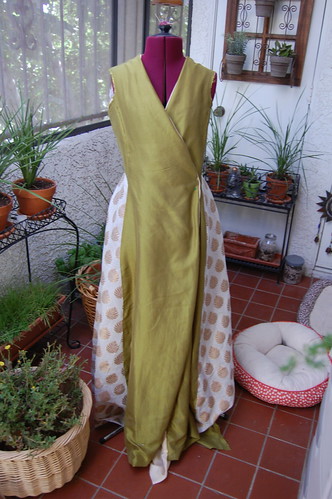
The Game of Thrones, King's Landing inspired dress has been started! If it looks a little familiar, this is because it's the full version of my Game of Thrones sundress. It's made of green washed silk taffeta, plain weave gold silk, and cotton/silk brocade from Pure Silks. The bodice is lined in the 3.5 oz linen from Dharma Trading. I'm sewing it by hand--they don't have sewing machines in Westeros, do they? :) --using mainly 18th century techniques. When I've finished the dress, I'll write a post detailing my decisions, such as why I decided to hand sew, washing the silk taffeta, etc., but for now, I'm concentrating on construction.

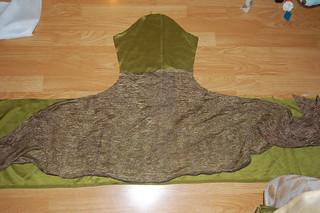
The dress is made of four shoulder to floor panels of silk taffeta, two underarm pieces, and two insets/gores of cotton silk brocade. The bodice is flatlined with linen, which ends around hip level. The dress will be nearly fully lined--everything except the side gores--in the plain weave yellow silk. This lining is why I'm using 18th century techniques. I want all the seams covered, but I want the lining to be attached at all seams instead of hanging free like a bag lining. I'm going to share my pattern as well. Although it is sized to fit me, I hope that the shapes will be helpful.

Part Two--lining and hem--is here.


Sunday, June 15, 2014

A 1920s Envelope Chemise--A Tutorial!

Envelope Chemise 19 Envelope Chemise 21

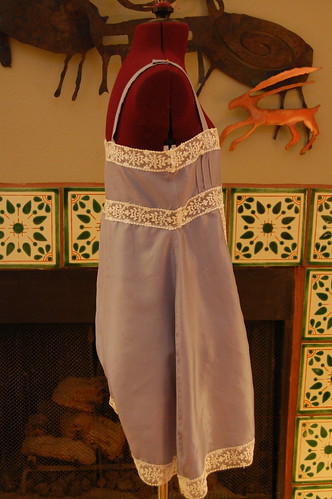
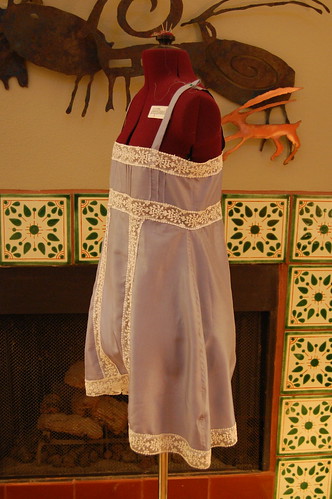
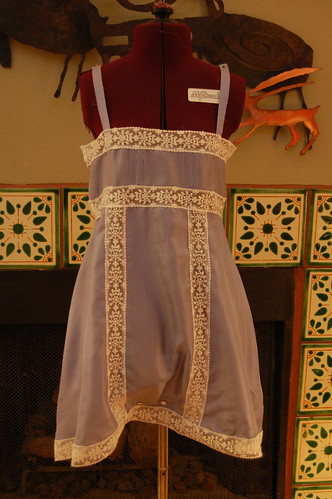
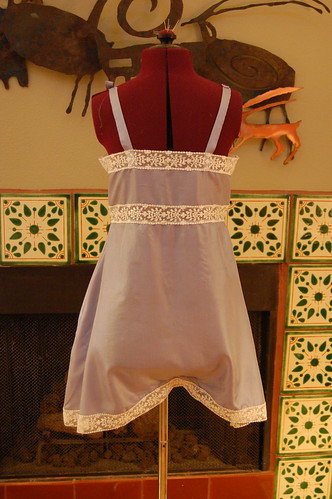
As I was working on my gala dress, a robe de style with a fitted bodice (I'll link once it's done!), I realized I hadn't really given underthings much thought. Bad me! While it's constructed to not really need underthings, I still wanted something underneath it, of course! To get an idea of what to do, I tried my new cotton teddy on underneath it. It was almost right, just a little high around the neckline, so something similar would work. I thought about doing the same, just in silk, but couldn't find any evidence of the slashed and gathered dart before 1924. My search was admittedly quick--I read through some National Cloak and Suit catalogs I have from 1921-1922 and 1924, and the 1924 had several slashed and gathered, the 1921 and 22 had none. Since my dress is dated 1922, I decided against them.
Envelope Chemise 20 Envelope Chemise 22

I based my envelope chemise on my cotton teddy pattern and the 1920s yoked envelope chemise in Women's Wear of the 1920s. I used my pattern for sizing. I made the yoke the width of the top, and then used the angle of the bottom half for the skirt. I made it about an inch longer. It's made of plain silver blue silk from Pure Silks and vintage lace (marked 1972, which I don't really like to call vintage!) that I bought on eBay ages ago. I browsed chemises/teddys/step-ins/etc. on Etsy for ideas about how it should look.