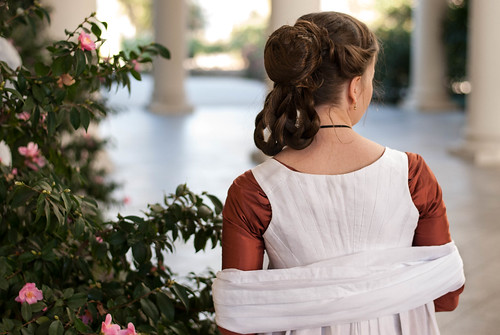
The completed dress can be seen here.
The dress is made of silk taffeta with a linen lining.
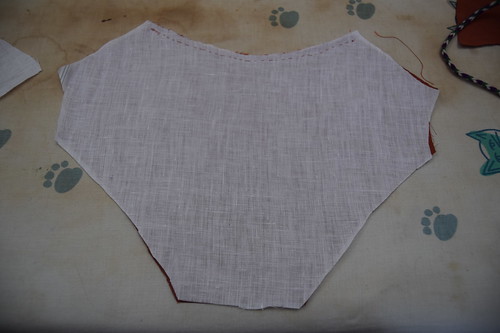
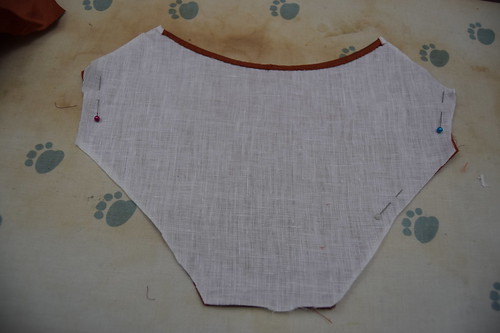
The first step was to baste the center back neckline lining to the silk. Then, the two layers were turned under and hemmed.
Many of the extant dresses we looked at had a row of large stitches on the back neckline. We wondered about the purpose. When I made this dress, it became obvious--it was much easier to neatly hem the curve of the neckline without the fabrics shifting when it was basted. And since it doesn't show, there's no reason to take the basting out.
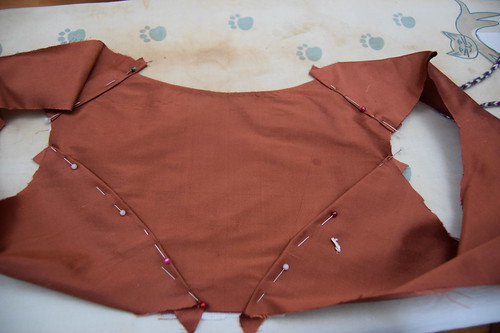
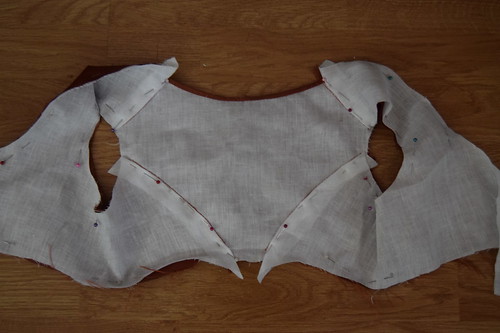
After the center back is done, the seam allowances on the silk fronts are folded under, and sewn to the back. The seams are sewn where the pins are. Although in the past I've sewn lapped seams very close to the fold, many of the dresses we studied had seams sewn a little ways in from the fold, which gave the seams a defined look.
After the silk is sewn, the lining is inserted. The seam allowances were folded under and whipstitched in.
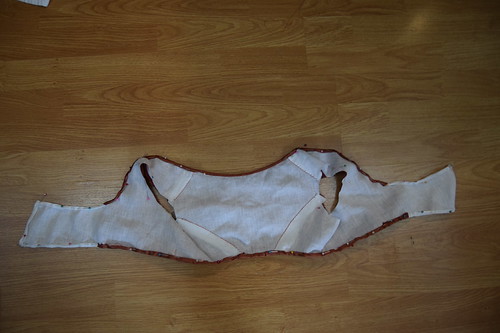
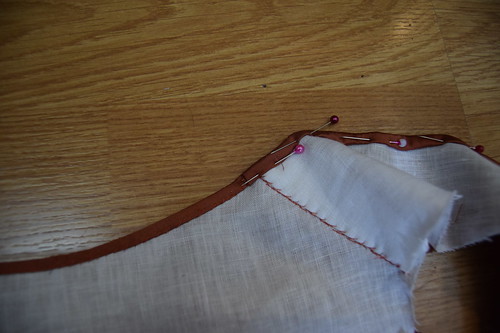
Once the lining is done, the edges of the bodice are hemmed. The hem starts at the side back, around the strap, down the neckline, the center front flap, the bottom edge of the bodice, and continues until the other shoulder strap.
The silk doesn't extend all the way over the center front flaps--only to where it's going to be covered by the center front gathered panels.
Although a bodice of this shape could easily be hemmed without hemming the center back first, doing it this way would work very well for a more square shaped back, where there's no slope between the center back and the back straps.
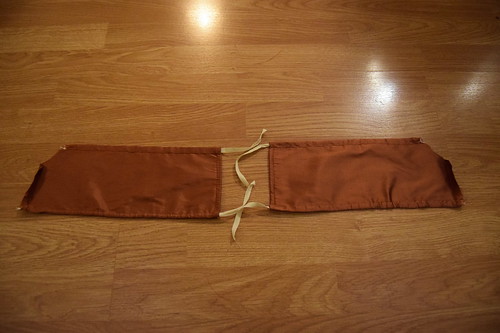
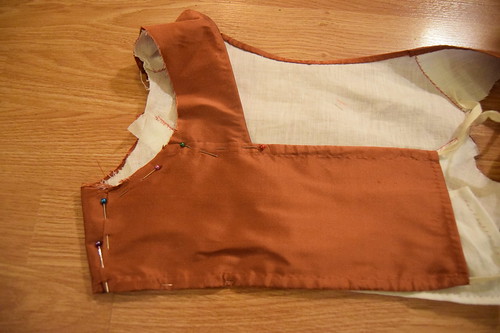
The center front gathered panels are just rectangular strips that are hemmed at the top and bottom for drawstrings with a curve cut out for the armscye. The seam allowance at the side seam is turned over and topstitched to the bodice. The top of the panel is sewn to the shoulder strap where it's pinned.
The sleeves are then set normally. The skirt is a slightly gored tube that opens at center front. I cartridge pleated it and sewed it to the bottom edge of the bodice, being careful to not catch the drawstring. The front panel is slightly gathered with most of the gathers being concentrated in back.
Most dresses I've seen from this time have the center back of the skirt mounted about an inch or so above the back waist and sewn right side to right side, which makes it stand out a bit, but I chose not to do this on this dress because I wanted a flatter line under my overdress.
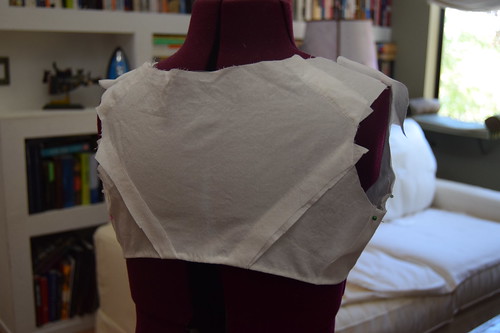
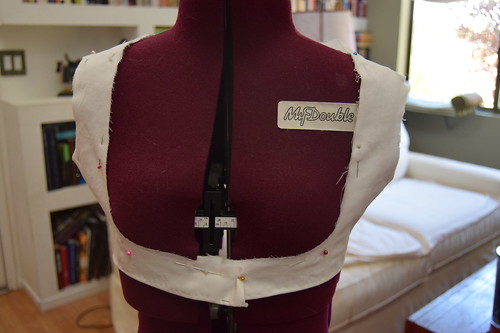
The overdress is cotton voile lined with linen. I completed the bodice except for the top hem and securing the voile layer on the shoulder straps.
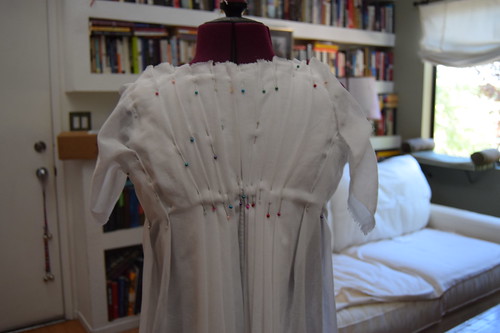
The back is one rectangular panel from neck to hem. It's really quite simple--the panel is pinned at the center front and sides, and then pleated until everything is pleated and it looks nice. I have an inverted box pleat at the center back with all the other pleats facing it.
All the pleats are sewn down and trimmed. The center back neckline was finished with a strip of fabric that was turned to the inside and hemmed. The front neckline was turned under and hemmed. The sleeves were finished with strips of voile on the bias and hemmed.
The center front is pinned shut--and worn with a Rebel Alliance pin, of course :)

Get stylish and trending clothes at https://www.missmeowni.com/. Also you can get the various cat themed fashion accessories.
ReplyDeleteget cute cat themed apparels at https://www.missmeowni.com/
ReplyDelete