
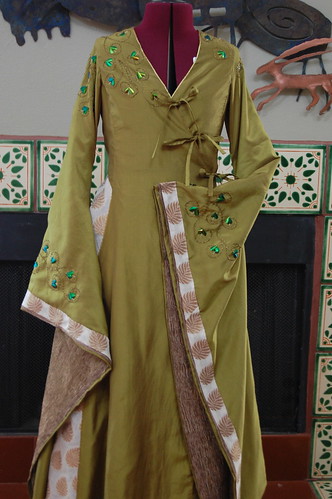
And now, to finish the dress started here and continued here. When last seen, this was a sleeveless dress; therefore, this post is about the sleeves!
Because this is a wrap dress, I wanted the sleeves put in smoothly, without a visible seam allowance. To do this, I turned to the method used in my original 1790s bodice. The sleeve in that is sewn to the outer fabric only, not the lining, pressed towards the bodice, and then the lining covers the seam allowance. In the previous construction posts for this dress, the lining was left free for about an inch at the top of the sleeve seams to make this possible. This, of course, is only possible with hand sewing, but if you sew the lining in completely separately, it would work too. I like this method because it covers the armscye seam allowance like bag lining, but unlike bag lining, it's stable and not wiggly.
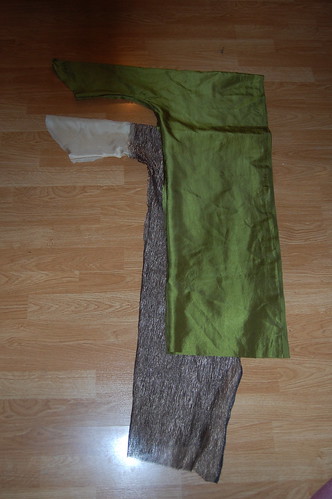
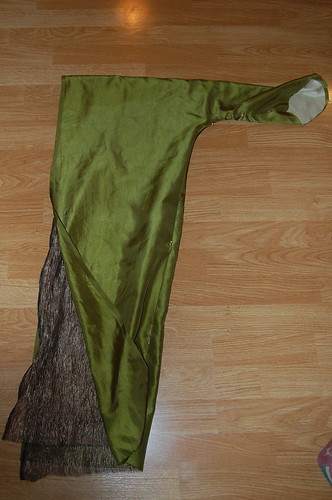
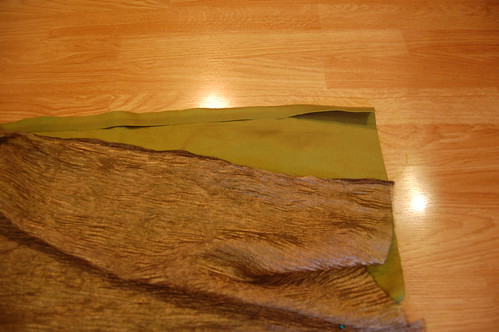
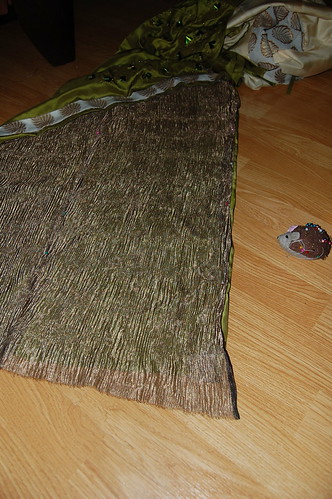
The sleeve is made of two layers--the green silk and a lining with the sleeve cap made of yellow silk (which unfortunately photographed white with the flash I had to use in several of these pictures), and the hanging part of the lining made of crinkled silk metallic blend. This is a one piece sleeve. The sleeve is based on the sleeve from my 1920s Lily Pad Lanvin dress. This may sound a little strange, but it's my only sleeve pattern with an underarm seam, which this dress needed, and it's always easier to start with a pattern that fits. I just extended it so it went just past the middle of my hand and curved it just above the elbow to create the drape. The finished shape can be seen in the pictures, and I do plan on including a scaled copy of my pattern as well.
To cut the lining pieces, I marked a line on my pattern where I wanted the yellow silk to stop and the metallic silk to start, added a seam allowance, and cut there.
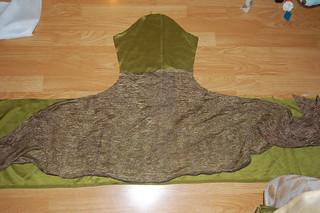
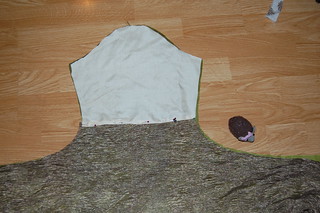
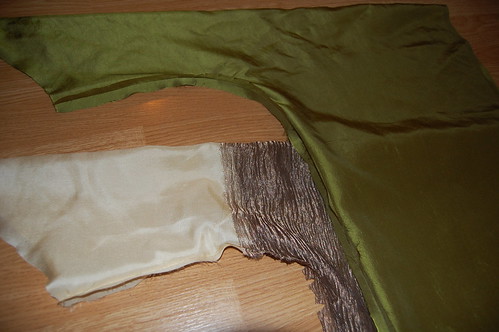
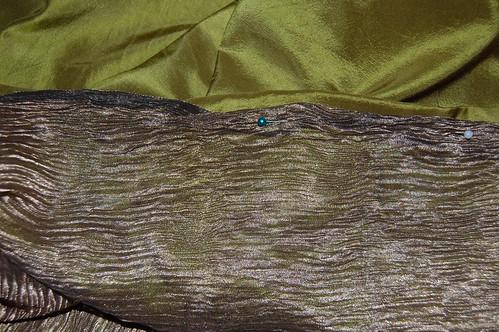
To make sure my pieces lined up as closely as possible, I laid out the green sleeve, laid the metallic silk over it, folded the seam allowance of the yellow sleeve cap over, and pinned it to the metallic silk. I then topstitched this into place. Although on the surface this may seem a sort of fiddly way to do it, it guarantees that the sleeve lining and sleeve will match. The metallic silk shifted quite a bit because of the crinkliness, and I was afraid that sewing this right sides together without lining it up would warp the sleeve.
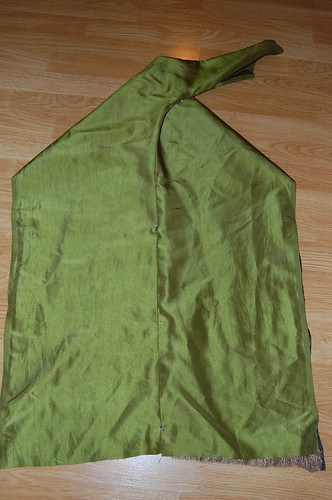
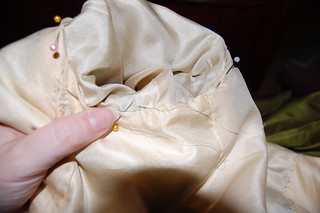
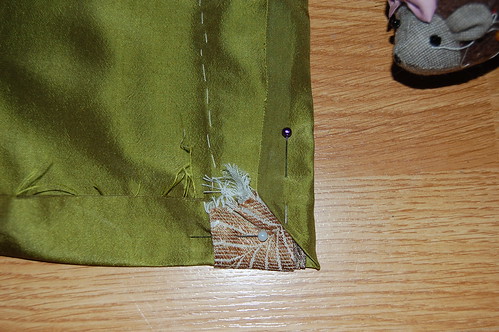
Then I sewed the sleeve seam on both the lining and outer sleeve. I then clipped the seam allowance along the curve where the drape starts and pressed the seams, turned the outer sleeve right side out, and inserted the lining into the outer sleeve. You'll notice that at this point, the sleeve isn't hemmed and both layers are loose. There were a few reasons for doing this this way. I like to hem my sleeves last, so I don't have to guess at what length will be best. I also wanted to trim the sleeve after they were successfully set (and the left sleeve gave me so much trouble that I'm glad I waited!). I also wanted more control than bag lining, as that can be fussy with the best of fabrics, and as noted before, the metallic silk liked to shift!
And here are the clipped seam allowances. These small clips make the difference between a sleeve that falls elegantly, and one that doesn't want to drape at the elbow.
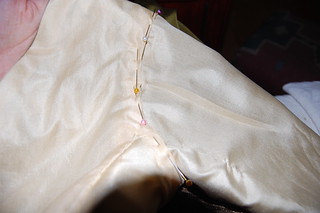
Once the lining and sleeve were put together, I laid the whole thing flat and pinned the seam allowances together and left the pins there until I hemmed the sleeves. This helped keep the fabric from shifting and made hemming easier. I initially basted the seam allowances together, but found that the sleeves hung better when the layers were loose.
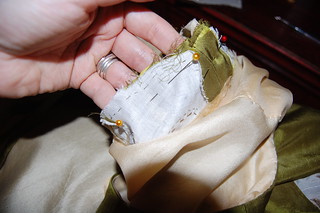
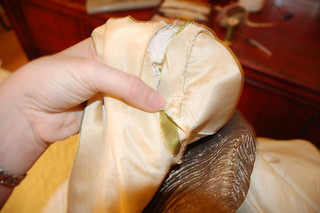
Now it's time to actually put the sleeves in! I folded back the bodice lining, and pinned the sleeve in normally, treating the outer sleeve and sleeve lining as one. The sleeve was then sewn through the bodice--green silk and linen flatlining--and both layers of the sleeve.
Then I pressed the sleeve seam allowance toward the bodice--opposite of usual--clipped the seam allowance where it wanted to be clipped (mostly in the underarm), folded the silk bodice lining over that, and whipstitched it into place.
Let's not mention how many times the left sleeve had to go in, and let's not mention that I actually had to recut the curve in the slope because of wayward trimming. The right sleeve--shown here--went in beautifully. Well, except for one east to fix half inch hiccup :)
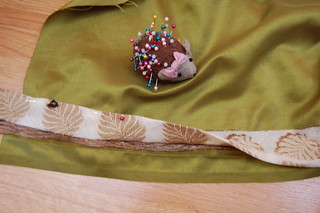
And now, trimming the sleeve! My sleeve trim is based on Cersei's aqua bird dress, and her red and gold dress. To start, I needed to decide exactly where the trim needed to go. I tried the dress on, marked the hem at the wrist opening, and pressed that into place. I wanted the sleeves to end about halfway down my hand. For now, I left the bottom edge of the sleeve drape alone.
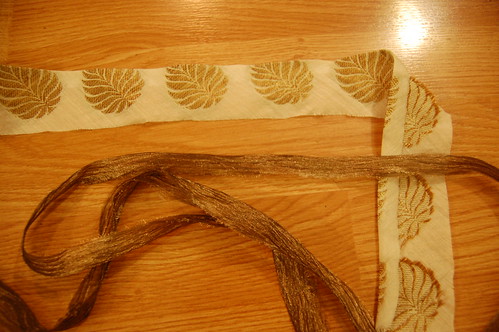
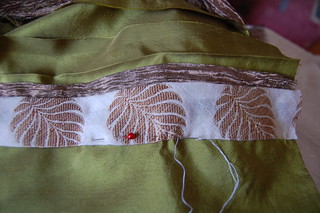
My trims are a bias strip of my side panel fabric (this could easily be straight of grain too, I just preferred the look on the bias), and a straight of grain strip of the metallic silk. I ironed under one edge of the side panel fabric and ironed the metallic silk in half, as shown.
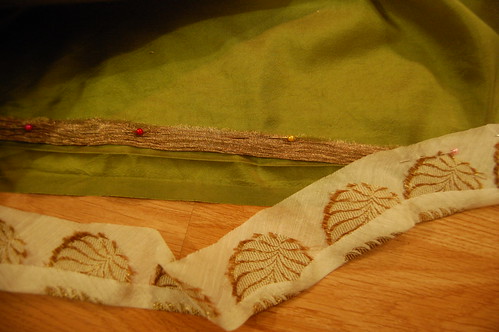
I then pinned the metallic silk, folded edge down, just above the fold marking the hem on the sleeve. I then pinned the un-ironed edge of the side panel fabric on top of that, right side facing down and the ironed edge facing down, on top of that, being sure to let a little of the metallic silk peek out.

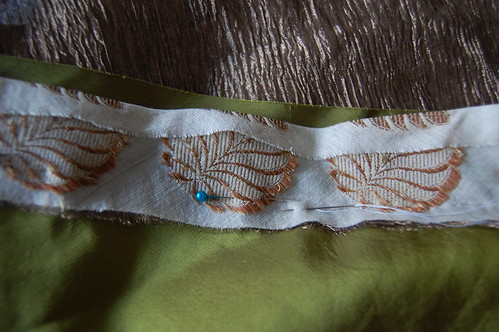
Setting up the trim this way allows you to sew both trims down with just one pass. Here's what it looks like when you fold the side panel fabric up. The metallic silk just peeks out a bit.
Now, sew through both layers of trim. Be sure not to catch the sleeve lining. You don't want stitches to show, and it's probably not perfectly positioned now anyway. At least, mine wasn't :)
And the historic costumer in me really recommends doing this in a hand running stitch. It's much softer than a machine stitch and makes the trim look more natural.
Next, I pressed the side panel trim up, and sewed it into place using a small stitch. After sewing this trim down, I continued the beads and beetle wings. I wanted to do these before hemming since I didn't want all of those stitches to go through the lining.
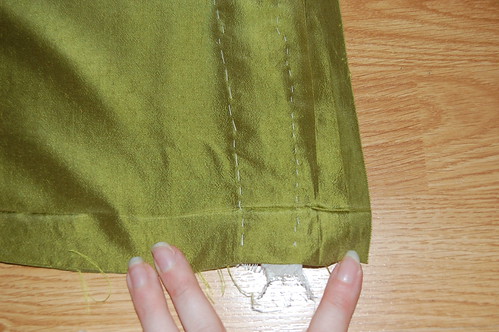
To hem the sleeves, I started by ironing the bottom hem fold into place. I made it about the same size as the hem at the wrist opening.
I wanted a mitered corner, so the next step was to fold the corner up. The folds from ironing should line up, as shown.
Next, the bottom edge is folded up and pinned into place. The fold goes over the folded triangle, and you can see how the corner edge will be a folded edge, not a raw edge. Don't worry about folding the raw edge under--this will be covered by the lining.
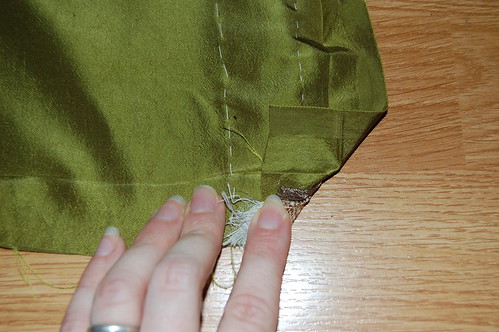
The wrist edge is then folded in, in the same way the bottom edge was.
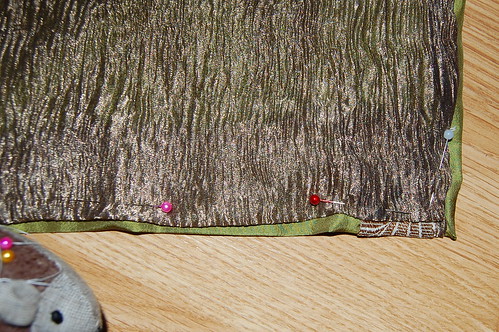
I then pinned the lining into place. I started by smoothing the fabric from the shoulder to the wrist, pinned it in place, folded the lining seam allowance under, and pinned it to the sleeve hem. This is where the pins down the seam allowance come in helpful!
Here's what the sleeve hem looks like at this point--both hems turned towards each other.
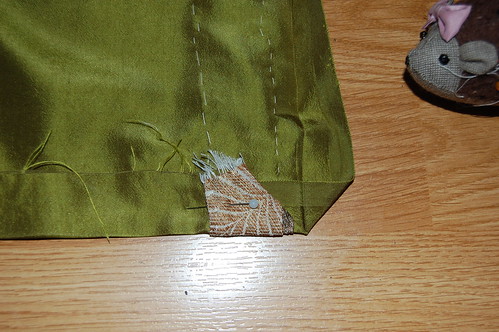
I mitered the metallic silk at the corner, just like the green silk.
At this point, the sleeve is ready to be hemmed! I just used a slip stitch to hem the two layers together, making sure to only catch the folds so no stitches would be visible, especially on the green silk. They pretty much hide in the metallic silk.
The only step for my dress after this was to sew the Italian gold mesh wire along the neckline and side panels. And wear it, of course :)
Ok, so besides your embroidery and the beetle wings, your sleeves were my favorite part of this dress. They were so looooong and flowing and awesome sauce!!! I would have loved to have spent more time drooling over your dress, but that was a busy day! You rocked the Landing Dress!
ReplyDeleteBlessings!
Gina
Such a busy day! Thank you!
Delete