
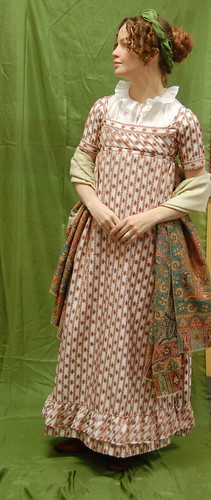
One of the first style dresses to catch my interest as a costumer was a drop front (or bib front or apron front) Regency dress. My first, was one of my earliest costumes, the next was the much more elaborate copy of a dress from the V&A. My third was a copy of a dress in the Danish costume museum.
My fourth, which I'm explaining here, is one of my earliest planned dresses--I bought the fabric in the LA garment district at my first Costume College in 2003. It's quite straightforward in style. The pattern, like my other three, is based on the pattern in Patterns of Fashion

The dress is made of a linen lining and a cotton "silk" blend stripe. At least that's what I was told in 2003. I decided to believe it then, but was suspicious--those suspicions were confirmed when I melted a bit of the fabric. Oops. However, a little synthetic is no reason to not use such a perfect fabric!
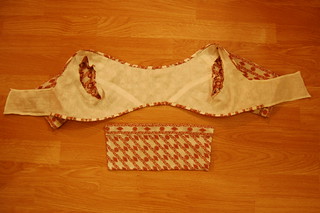
The linen lining is made separately, and then the striped fabric is mounted on top.
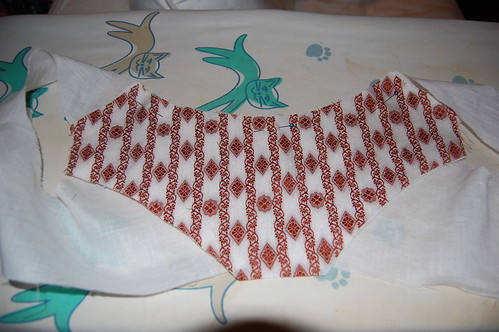
After pressing the seams, I laid the striped center piece, wrong side to wrong side, on the linen lining.

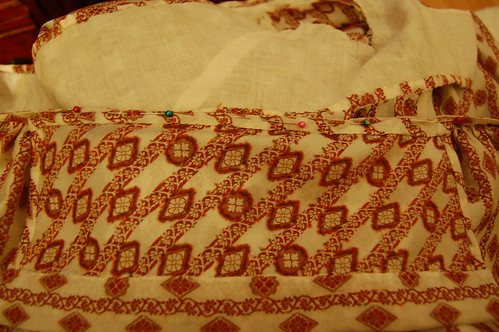
Next, I pinned the front piece on top. I found it easiest to start at the neckline curve, then smooth it from there. The neckline, waistline, and armscye edges are matched, and the side back seam allowance is turned under and pinned. This will then be topstitched down. I used a spaced backstitch. If you notice, the striped fabric doesn't extend all the way to the front edge, and I actually trimmed it a little more after this picture. This actually helps the bodice lay nicely--the one layer of linen molds better to your body than the linen with the outer fabric, as I discovered on my very first drop front.
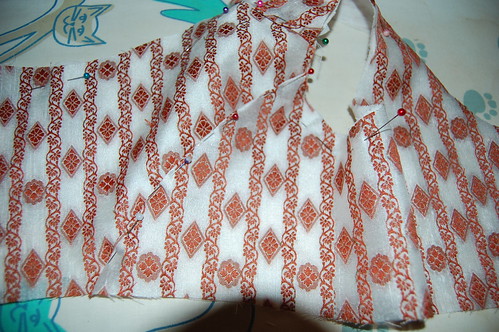
Here's a closer view of the side back seam.
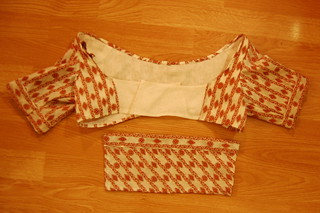
Next, topstitch the side back seam and the edge of the striped fabric on the flap. Then, finish the neck and waist edges. On this dress, I hemmed the edges based on this dress on Pinterest. On my previous dresses, based on Janet Arnold, I turned the edges in to each other to finish them. The sleeves are inserted normally.
The bib can be anything from a plain hemmed rectangle of fabric, to a gathered piece of fabric, to a tucked piece of fabric, to fitted with drawstrings, and I think I've even seen one fitted with darts. Mine is a bias cut rectangle with a straight band on top. The bib needs to be finished before it's attached.
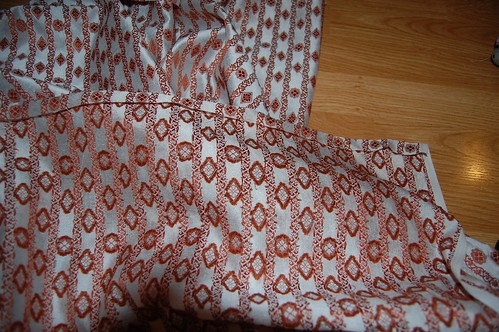
Now, onto the skirt! The skirt is quite straightforward. It's just a tube of fabric, sewn selvage to selvage with the top 12 inches on each seam left open. My skirt is about 90 inches around, which is slightly narrower than the Patterns of Fashion skirt. The top center front of the skirt is cut with a very slight scoop where the bib goes to help it sit flat at the waist. It's no deeper than an inch at center front.
Once the skirt is sewn, press the top edge down, as in cartridge pleating.
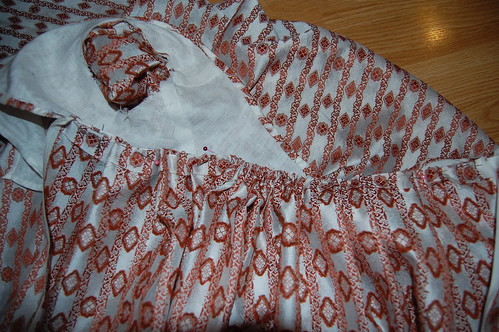
Then pin the back of the skirt to the back of the bodice. The edges of the skirt should be around the underarm. I chose to use a mix of knife pleats with cartridge pleats at the center back. Sew these pleats into place.
The back of the bodice has loops to hold the ties in place. On this dress, I used large thread eyes, but you can also use loops made of the dress fabric. I placed these loops on the bottom edge of the bodice directly on each side back seam.
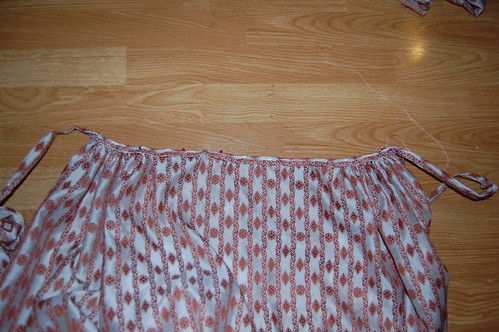
There's more than one method to do the front. I chose to do a waistband that doubled as ties and cartridge pleat the fabric on either side of the bib to it. Another option is to hem the top front of the skirt and run a drawstring through the area that I pleated on this skirt.
First, I sewed the waistband to the skirt.
Next, attach the bib. Put it right sides together with the waistband (or hemmed top of the skirt) and whipstitch it together.

Here's the pinned bib from the right side.
And that's it! Well, except for hemming and any trim you might want. It's really quite a straightforward dress!
More pictures of the dress--including how you put it on--can be seen here!
I love seeing the details. Lovely dress!
ReplyDeleteCaroline
Wow-gorgeous job. Nice seeing how it fits together.
ReplyDeleteCan you make it without lining
ReplyDeleteAlthough it was typical for these dresses to be lined, I have seen one example where it had ties instead of flaps. I have it pinned, but I'm having trouble finding the close up. Here's a full length though! https://www.pinterest.com/pin/256001560041015816/
DeletePlease can you notify me about previous comment
ReplyDeleteAlthough it was typical for these dresses to be lined, I have seen one example where it had ties instead of flaps. I have it pinned, but I'm having trouble finding the close up. Here's a full length though! https://www.pinterest.com/pin/256001560041015816/
DeleteNice blog and absolutely outstanding. You can do something much better but i still say this perfect.Keep trying for the best.
ReplyDeletePakistani Bridal Dresses
Thanks for providing recent updates regarding the concern, I look forward to read more.
ReplyDeletePakistani Bridal Dresses