
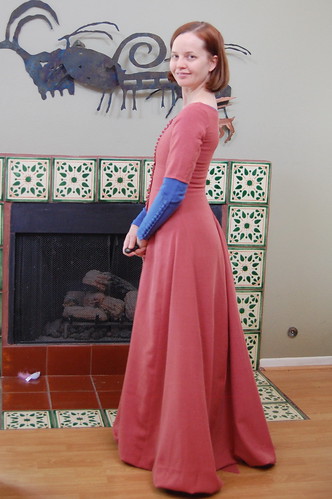
In this tutorial, I'll demonstrate marking the hem on my pink cotehardie, and demonstrat hemming both a lined skirt, the blue cotehardie, and unlined skirt, the pink cotehardie.
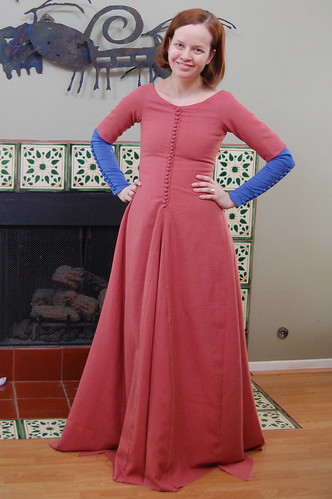
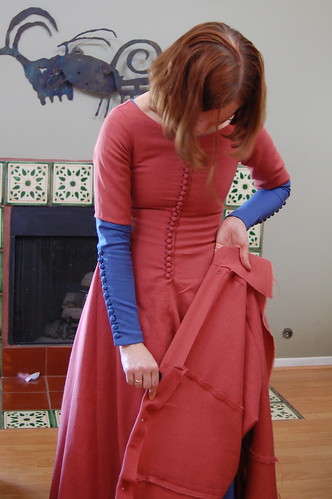
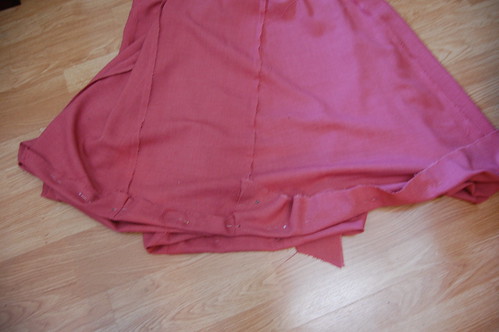
When making skirts that will be leveled at the hem, I always make them a little bit too long. You can see that here. The gores in particular are quite long on this one. When I cut them, I didn't take the longer diagonal edge into consideration, knowing that it would be fixed when the dress was hemmed.
If you're sewing by hand, leave the last inch or so unsewn so you don't have to worry about picking out and refinishing seams later.
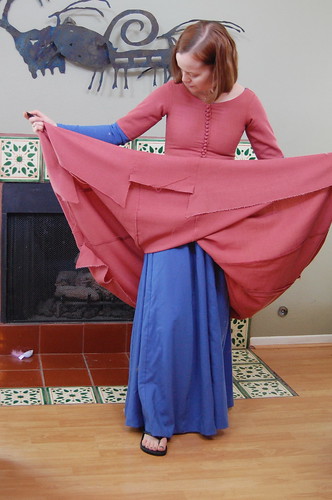
Start at the center front. Estimate how much you need to fold, and hem. Drop the skirt and check the length. Be sure to stand up straight!
Continue folding your hem until the next seam, or another good stopping point if you have very wide panels. Check for length.
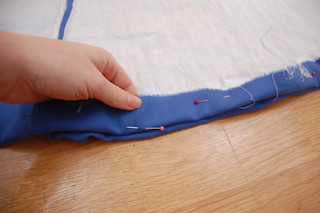
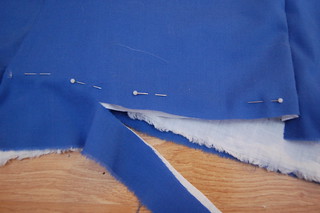
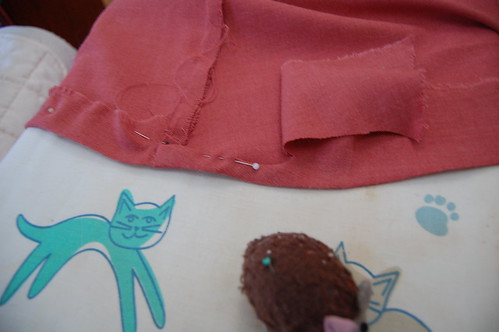
When you have a lot of excess fabric, you'll need to pin near the edge of the fabric or it will flop down and you can't see what's happening.
Unless you're extraordinarily lucky, you won't get it right the first time, but chances are it will be close. The way I adjust it after it's pinned is to leave it pinned, gently roll it shorter or longer between my thumb and index finger, and then repin it, and try again. This makes it easy to make small adjustments.
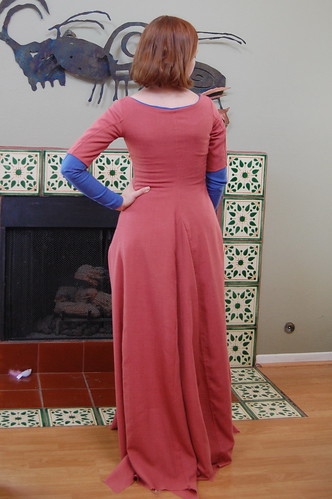
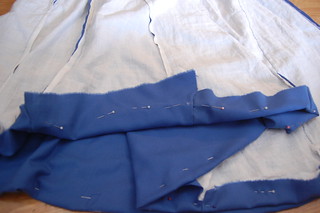
Keep going on one side until you reach the center back of the skirt. You can see one side pinned here, the other left alone.
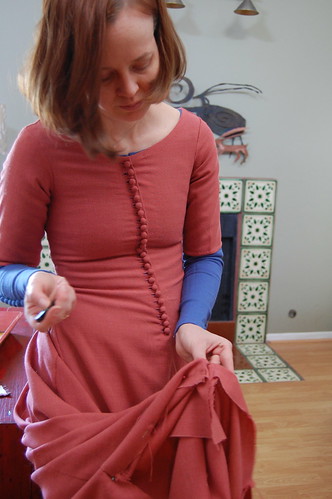
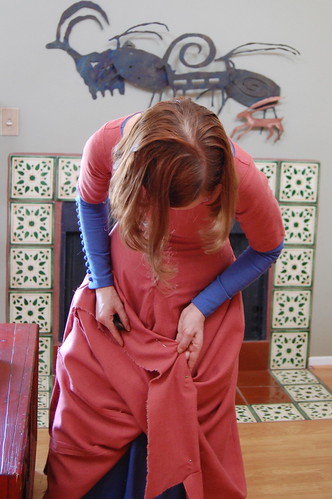
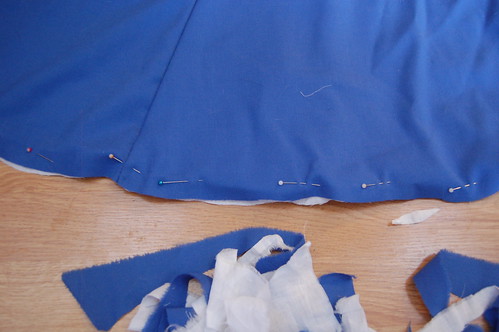
When you do one side, the second side is easier. The part I'm holding is all that's left to do and you can use the existing side as a guide. In the picture on the right, I'm using the hemmed back seam to figure out a starting point for it's matching seam on the other side.

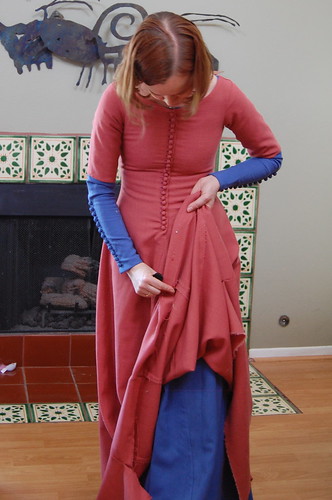
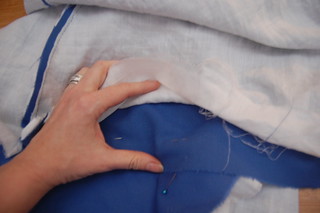
There will be trouble spots! Some parts of the hem will dip or rise even if the area around them is fine. Very carefully, grab the fabric as directly over the spot as you can. Keep walking the fabric up until you get to that spot, and adjust by rolling it a bit, as described above.
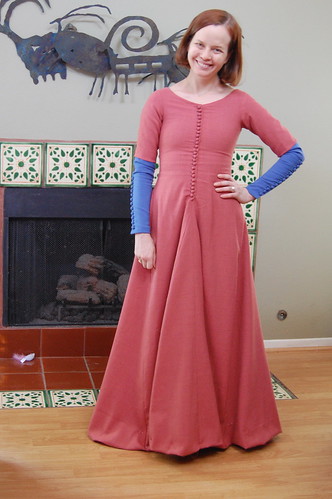

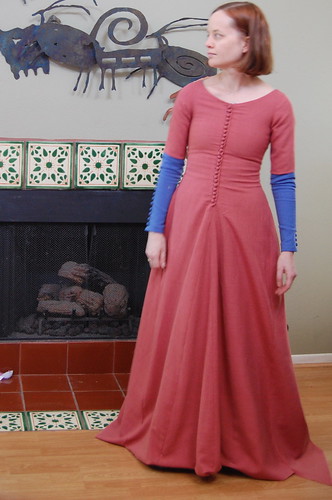
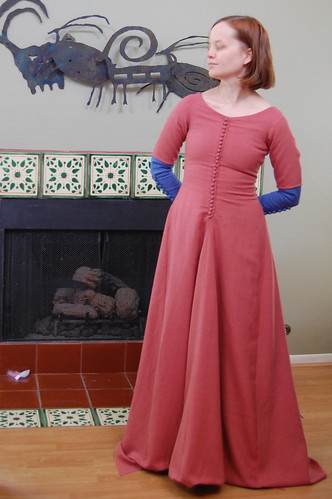
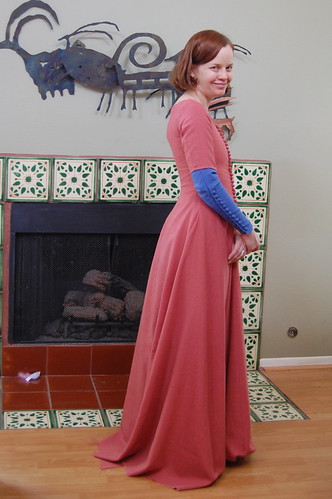
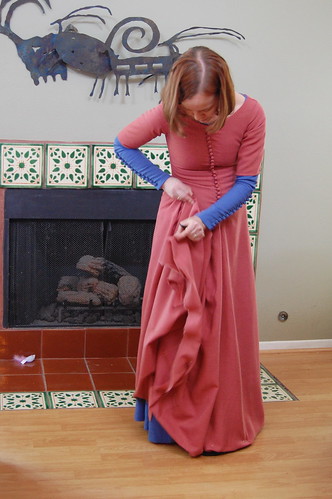
And the finished hem! The front does look a little high in this picture, but it's hanging a bit oddly--it is where I want it in real life!
Here's what it looks like on the inside. Not quite ready to be hemmed! I still need to flat fell all those seams as well :)
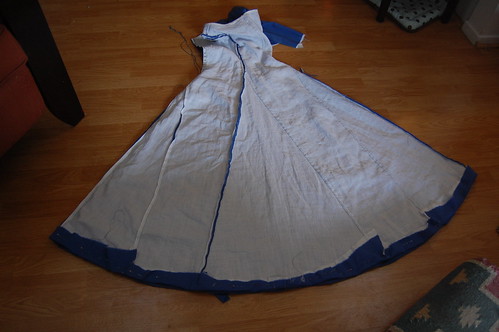
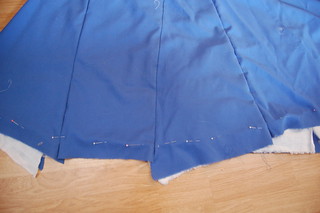
Now, a few pictures with the blue dress. This step is the same for both a lined and unlined dress. After you're done marking the hem, fold the dress in half, line up the seams and check your work. There will be small differences. Most people are asymmetrical, so this makes sense. As long as the sides are close, your work is accurate. I like to make it a little more even though, which I do by splitting the difference.
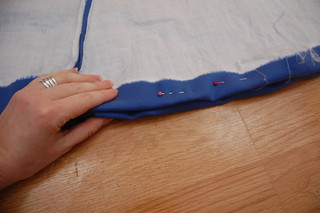
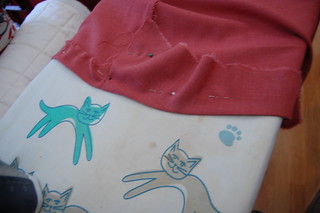
The next few steps are for a lined dress. An unlined dress will continue below. After any adjustments you make to the hem, move the pins from their places to the fold. For now, just pin the outer layer.
The pinning along the fold in progress.
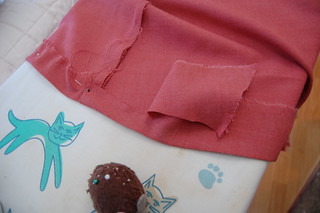
Once this is done, smooth the lining into place and pin both the lining and the outer layer together. Trim the excess fabric. I finished this skirt with a straight strip of China silk, so just left a half inch below the pins.
Here's the finished trimmed skirt edge! I sadly stopped taking pictures after this step, but it's quite simple. I sewed the strip of China silk around the hem along the line of pins, right side to right side, pressed it up, turned it and the hem, turned the edge of the silk under, and whipstitched it to the skirt.
And now, back to the unlined skirt. First, check for accuracy by folding it like above. Then, press the bottom edge into place. Trim away the excess.
Fold the cut edge under, and hem!
I always have to do hems myself too, but I've never tried doing it like that. It's brilliant! Thank-you!
ReplyDeleteThank you! It was just one of those things that hit me when I was looking at a giant skirt and had no clue how to manage it :)
Deletehi love your dress. Can I ask how much fabric it took? And how short do you make your cotehardie hem?
ReplyDeleteI'm thinking of making one later in the year.
Thank you!
DeleteI ordered five yards, but it only took about three. The straight panels were cut from one width with enough leftover for the sleeves, and then the gores were cut from another.
I wanted the hem just off the floor in front and just past it in back for the pink one, and just off the floor all around for the blue one. Both center fronts are slightly shorter because the way the gore works, they dip in a bit, and it makes walking easier :)
I've been lucky so far with a mom and sister to mark my hems for me but I've always worried about the day when I'm without them and helpless! Thanks to you not so helpless now - this is fabulous. Thanks Katherine! :>
ReplyDeleteIt was your post about getting help with the francaise hem that inspired this one. I was momentarily very jealous! I'm so glad you find it helpful :)
DeleteI got distracted by the cats on your ironing board.... :P
ReplyDeleteIsn't it the best? I admit, I position things on the ironing board to show off the cats :)
DeleteSince you are a history buff on fashion, how far back does the french seam go or is this a modern thing?
ReplyDeleteNever looked up the answer.
Thanks
From what I understand, they're fairly new. I think they really came in in the early 20th century with the lingerie dresses? I'm not positive though, please don't quote me! I have heard that they were used on Regency dresses (I asked early on and someone had seen them on an original), but underwear was done with flat felled seams. Some 18th century pockets had French seams. They're one of those things that do seem to pop up occasionally, but really aren't as period as we think they should be! It's not something I've looked at in depth, but I have picked up a few things about them along the way :)
DeleteThis method is almost the same as I use about every day. I work as a professorial womens tailor at a bridle tailoring atelie. We just place the needle in the fold after finding the correct length on the dress and then put the seams on top of the corresponding seam, even out the difference - unless you are loop-sided, then do the hem as marked. Then we make sure that we have a nice flowing line, correct it if not, then cut the hem width we would like for the dress and hem it. Quick and easy =)
ReplyDeleteIt's a really good tutorial on self hemming. =) Love it.