
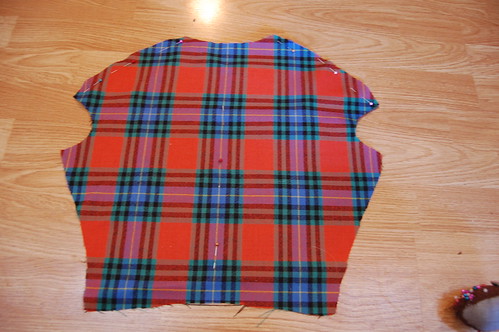
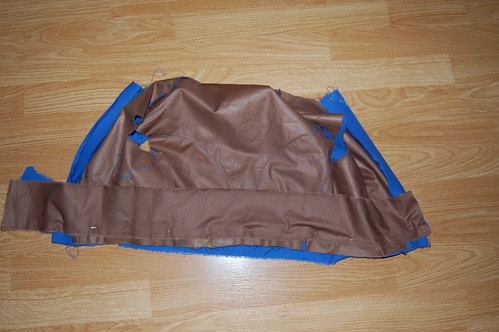
In the 1860s, bodices were commonly made of three pieces--two fronts, and a back with false seams. To create the false seams, cut your fashion fabric slightly larger than your lining. It's easy to adapt a three piece back into a one piece back, just lay your pattern pieces together as if they were one. I did that for years before finally cutting a new one piece back pattern.
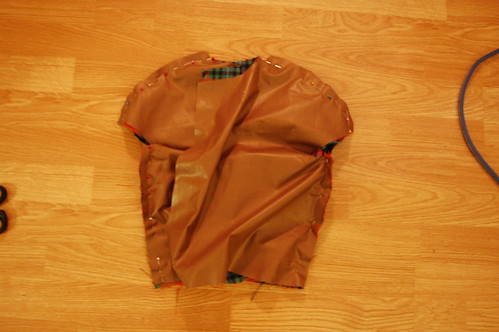
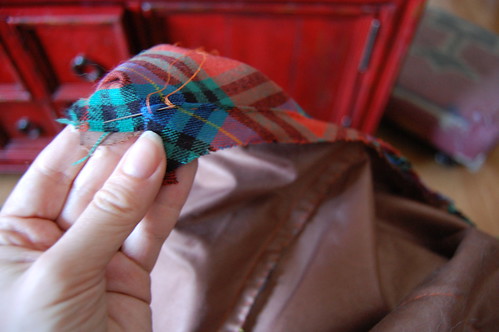
Pin the fashion fabric to the lining at the shoulders and down the center back.
And since this is going to be quite long, even as an incomplete tutorial, please click to continue reading!
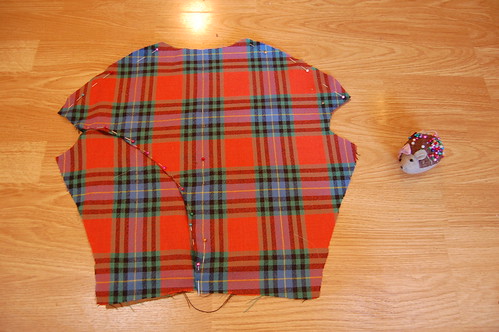
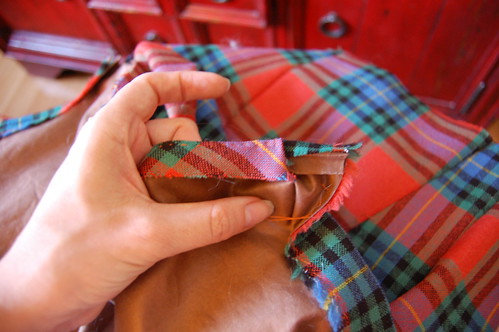
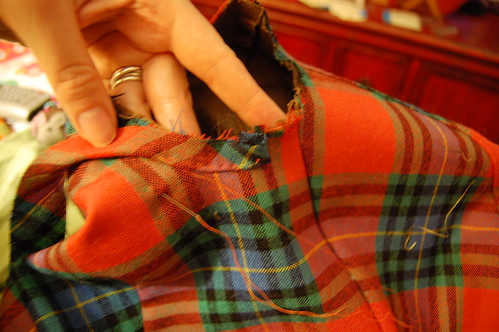
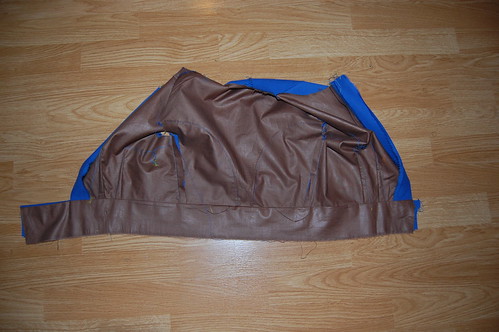
Put a tuck in the fashion fabric. Look at originals for an idea of how this should look. The space at the center back waist tended to be very narrow.
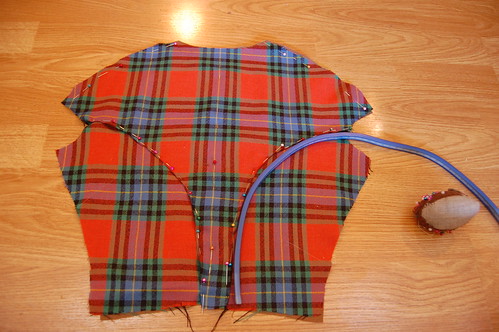
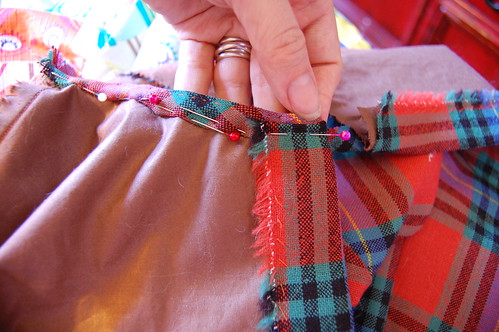
Repeat the tuck on the other side. A bendable ruler really helps to get them to match. As does plaid or stripes! An advantage to using a one piece back with a tuck is a matched pattern. As long as your back is centered, your design will match on either side.
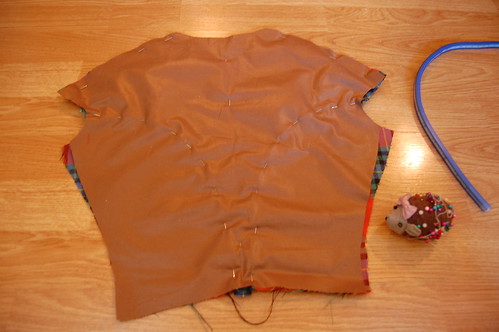
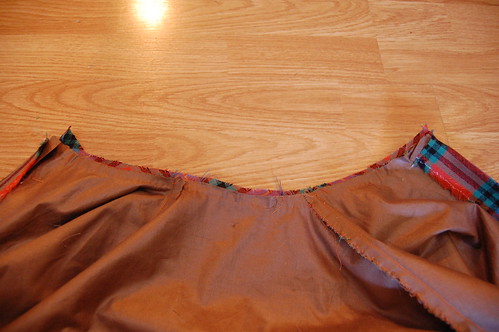
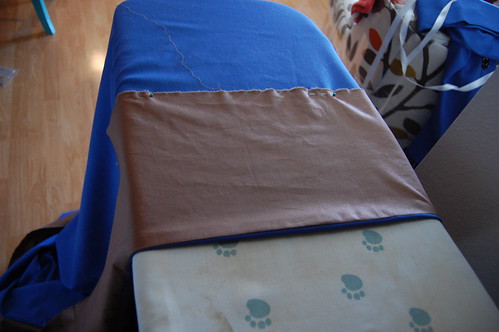
Here's what the back looks like at this point. The tucks are then sewn down. A backstitch works nicely.
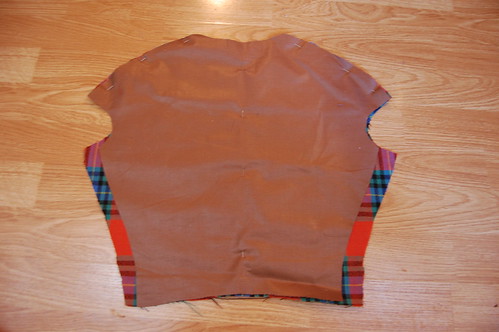
And the completed back piece. As you can see, you don't need to worry about the fashion fabric matching the lining exactly after the tuck. It's easy to trim, if needed!
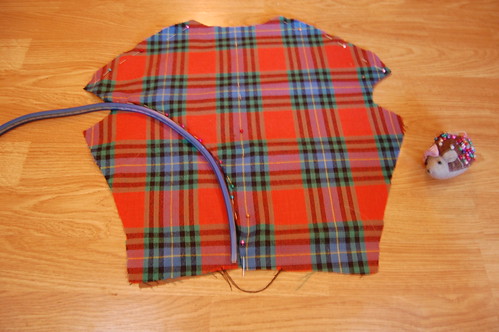
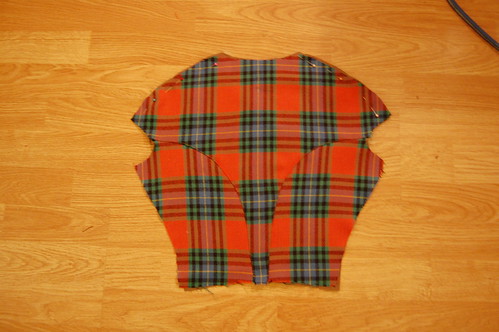
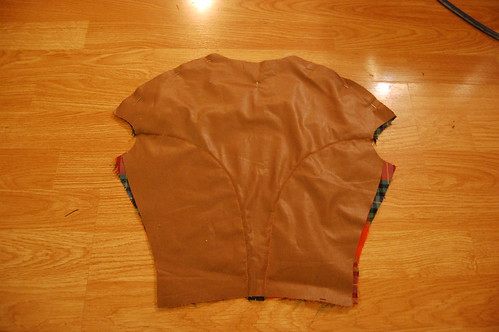
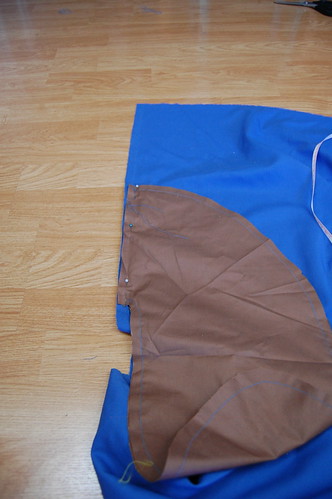
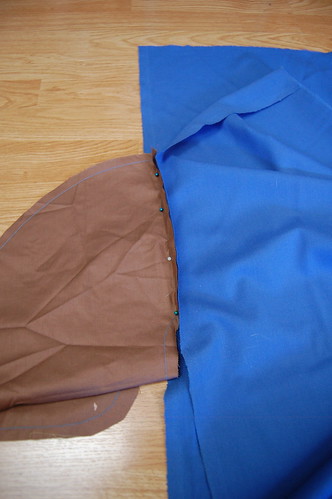
In many ways, 1860s sewing is similar to modern sewing. Sew the fronts to the back, right sides together.
The fronts are flatlined, lining and fashion fabric. Cut each and treat them as one. You can baste them together if you wish, but I find that's quite a bit of extra work that's not really necessary. Basting the layers together isn't something I've seen done on original clothing (though as usual, I haven't seen everything!), and it's easy to pin and smooth as you go. Not basting also allows you to adjust for differences with fabrics and stretch and turn of cloth (basically how an inner curve and outer curve are slightly different in size) as you sew.
Now is one of the most important parts for a good fit--fitting the darts. Sadly, this is one of the parts I skipped pictures of! Try the bodice on, inside out, over your corset. Pin it closed at center front with the excess fabric sticking out like a seam allowance (I really wish I had taken pictures...)
Make sure you know where your waist sits with your hoop and petticoat. The bodice should end slightly above this line.
Starting with whatever side is easier--I'm right handed so it's easier to do the left first--pinch darts into place. Pull your fabric so that the back of the bodice sits tightly yet comfortably on your back, and pinch about half of that excess into a dart, using vertical pins to mark it, then pinch the rest into a dart next to it. Don't make the darts vertical. They can angle away from each other, or both angle towards the back, but straight up and down darts don't add to the illusion of your waist being smaller than it is. They shouldn't be completely parallel. They should be closer together at the waist than at the bust. Repeat on the other side, or, as I often do, take the bodice off and pinch matching darts into the other side. Try the bodice on right side out, and adjust as needed.
Sew the darts along the pinned line, starting at the waist and trailing off the fabric at the bust points.
Darts can be made in your muslin or pattern of course, but please, only use those as a starting point. Every fabric is different, and the darts need to be slightly different sizes. The darts on my dresses used in this tutorial, though they were made within weeks of each other, are different sizes due to the weights of the fabrics.
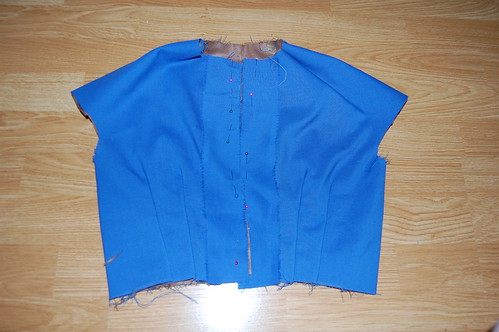
And here's the blue dress--I neglected to take pictures of this step on the plaid!
Finish the center front. If you have enough overlap, just fold the fronts back iron. It's easy to do it this way since in the 1860s dress fronts were cut on the straight of grain. This is how the plaid dress was done. If not, sew straight strips down the center front and press to the inside. You can either whip stitch the center fronts down now, or after you finish the neckline.
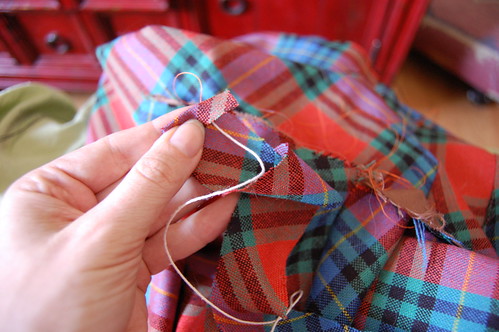

Necklines in the 1860s were piped. I find this so much easier to do by hand, and I have a sneaking suspicion that piping died out because machine sewing became more common.
Piping was generally done with very narrow cords. I have a huge roll of tiny crochet cotton that I use for this. To start, cut your bias strips. Fold an end under, and tuck the cord under that end. It should be about 3/4 the way to the edge. Then fold the edge over, with the cord in the fold. The edges should be offset. This is because the piping acts as binding.
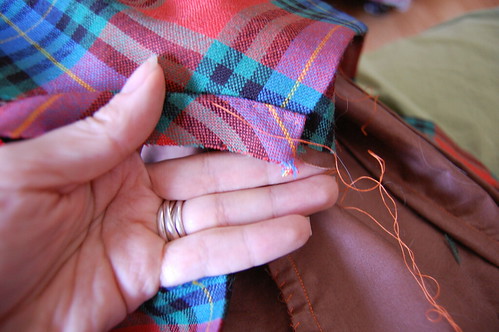
Line up the piping so that the short folded edge is at the edge of your neckline, and the long folded edge sticks out past it. It should start at the center front edge of the bodice. (Note that the creased line is the center front edge--I hadn't basted it down yet.)
Sew to the other center front edge and tuck the end under. A running stitch works fine. Don't bother pinning it. You can position it as you sew, stretching it to make it go smoothly around the curves. Part of the beauty of hand sewing is not needing to pin.
As you sew, use your needle to push the cord as deep into the fold as you can, and sew along the little ridge the cord creates.
Here's the piping from the right and wrong sides of the bodice. You can see how just one layer extends past the neckline edge.
Press the neckline seam allowance and piping down.
Tuck the piping seam allowance under. Fold the center front opening over the piping. You don't need to turn the piping seam allowance under underneath the center front, which reduces bulk at the neckline.
Armscyes were also piped. It's very similar to neckline piping, but your bias strip should be double your seam allowance and folded down the center. Start the piping in a good place, not too visible and not meeting another seam. Start sewing about 1/s2 inch from the fold. When you've sewn all around, tuck the end of the piping into the starting fold that you've left loose, and sew that part. Use this sewing line as a mark for setting your sleeve.
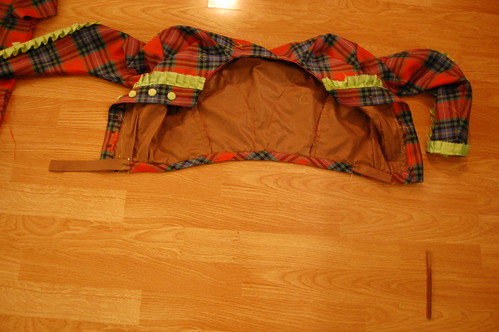
To finish the waist, you can use piping the same way you piped the neckline. The extensions seen here are so you can set a skirt with a side front opening to a center front opening bodice.
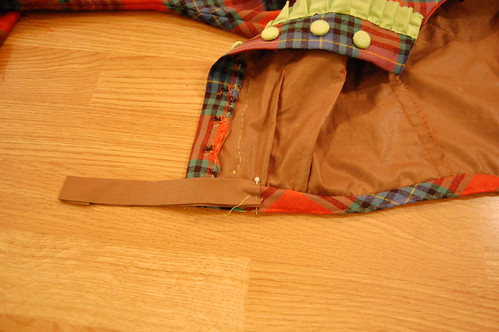
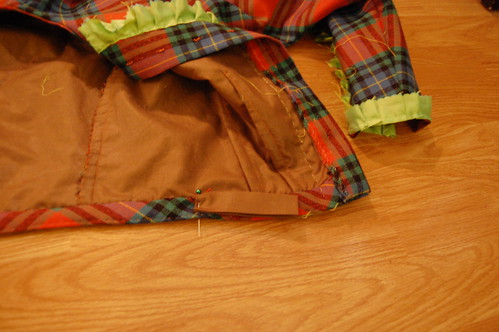
And a close up of the extensions. They're just folded pieces of lining fabric that are whip stitched to the inside waist. When putting the dress on, close the skirt first and then the bodice over the skirt.
As mentioned, unfortunately I didn't take pictures of attaching the skirt. Skirts in the 1860s were made with a folded top edge and then pleated or cartridge pleated and whip stitched to the bodice. With this method, it's easy to make the transition from the bodice edge to the waistband extension.
You can also finish the waist with a waistband. This technique is copied from an original white sheer bodice that I own.
Cut a straight of grain waistband in both your fashion fabric and lining. Sandwich the bottom of the bodice between these two waistbands and sew.

Then press the waistbands down. It's not pictured here, but the next step is to fold the seam allowance of the waistbands in towards each other for a finished edge on each side. You don't need to sew this shut. Whipping the skirt to the bottom edge of the waistband takes care of that.
The waistband extends past the bodice for a side front closure on the skirt.
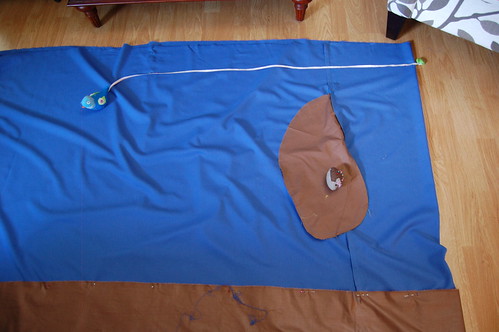
The skirt for the blue dress is made of straight panels. The skirt for the plaid dress is made of slightly gored panels, but the construction is the same.
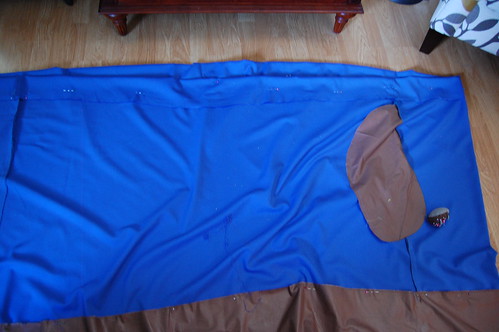
First, the pocket. Sew the pocket, leaving the first and last half inch or sewn unsewn for the seam allowance. Making sure to keep the other side out of the way, sew one edge of the pocket opening to the skirt. You want the pocket seam allowance on the outside of the pocket. Then sew the second side to the other side of the skirt.
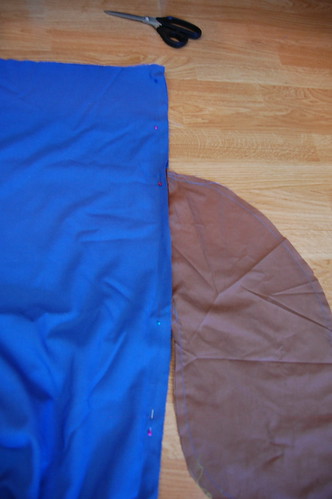
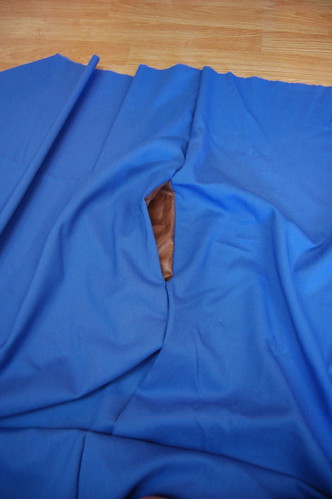
Sew the skirt seams after you sew the pocket. Use a slightly larger seam allowance than you did on the pocket and sew slightly past the seamline of the pocket. When you turn the skirt right side out, the pocket will sit neatly in the seam.
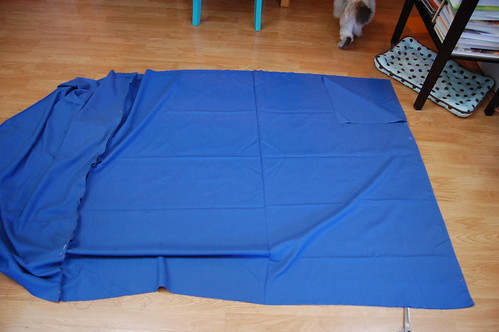
Sew the remaining skirt seams, leaving one open for a placket.
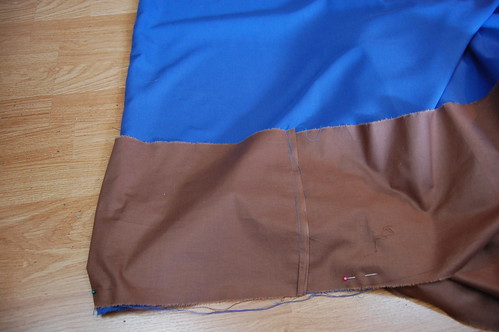
Next, sew the hem facing. The hem facing is a tube of fabric that's the same circumference as the hem of your skirt. Sew it right sides together with the skirt.
Press it up, and sew it into place. The top edge is fine left raw. I sewed it with a hand running stitch--it barely shows on the right side.
Measure the skirt. Use the center front, center back, and side waist to hem measurements. Mark these places.
Now, fold the top edge of the skirt down. Pleat or cartridge pleat and sew to your bodice. The skirt hinges of the waistband, which in addition to making a no bulk waistband, adds a nice spring to help with the fashionable look.
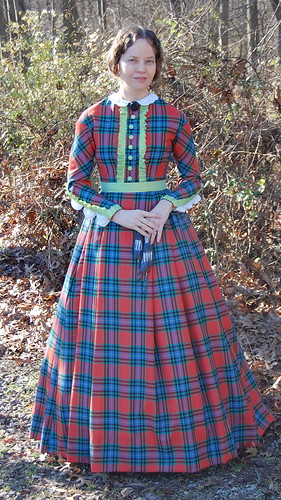
And that's where I stopped taking pictures. I'll be sure to cover the steps I missed when I make my next 1860s dress! But for now, here are the completed dresses.
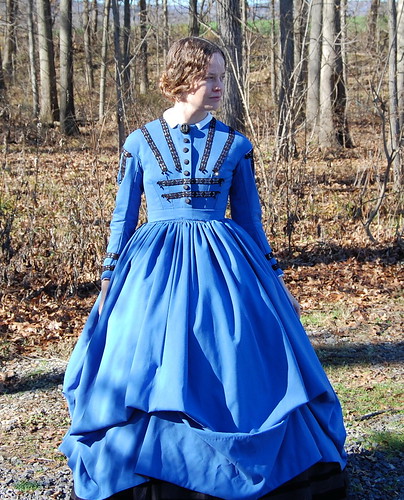
The blue dress in this post can be seen here.
The plaid dress is here.