Though linen would probably be a more typical base, I used some wonderfully soft pink wool leftover from my pink and green wool Regency dress. I came across it when looking for linen and decided to use it. I used polyester fiberfill to stuff the muff. Yes, wool would be the accurate choice, but I didn't want to use up the last of my wool batting, and for this purpose, the synthetic does work. And sometimes being able to go out and buy something is just nice!
OK, so, onto the muff!
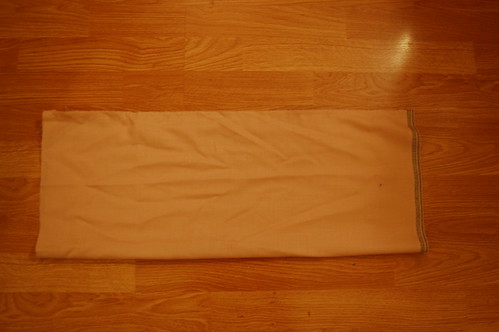
I started with a rectangle of fabric 21x26 inches. (Well, I started with two that size and then realized that the muff would be too big. Way too big. I liked the folded in half size!) I folded that in half to make a 21x13 inch rectangle and sewed the long seam shut using a small running stitch.
You can make the muff whatever size you want--look at fashion plates and originals for ideas. I say that a lot, don't I? But I only say it because it's true!
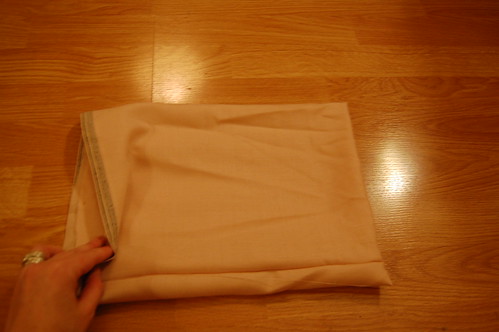
Next, I folded the muff in half, creating a tube. The bottom end of the muff is a fold, and you stuff the top end. You're basically starting to turn it right side out, and stopping half way.
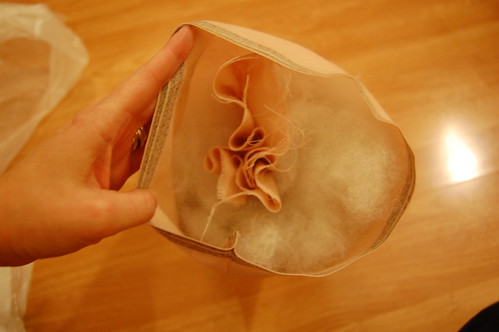
This picture shows the tube a little more clearly. Stuff the tube! Use lots of stuffing. You want the muff to be nice and firm.
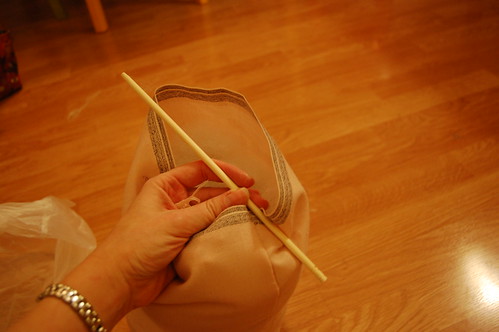
My stuffing came with a Stuffing Stix! Use it! It really helped. If you don't have one, it's really just a blunt chopstick :)

Once the muff is full, pin it shut. Continue adding stuffing around the top as you go.
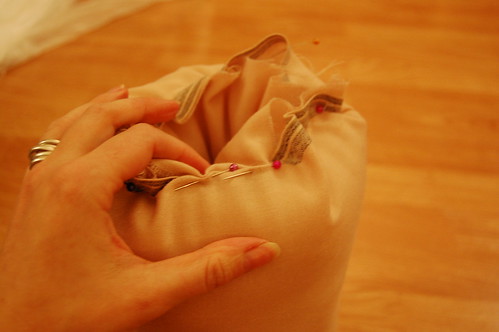
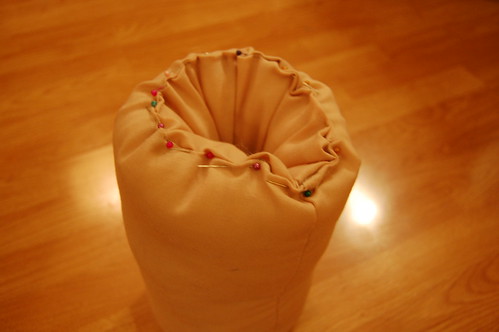
Once you have it pinned, turn the edges in to each other. Trust me--it's much easier to do this in two steps instead of turning the edges in right away!

Whipstitch the top edge shut. And that's it! You're ready to make lots and lots of pretty muff covers!
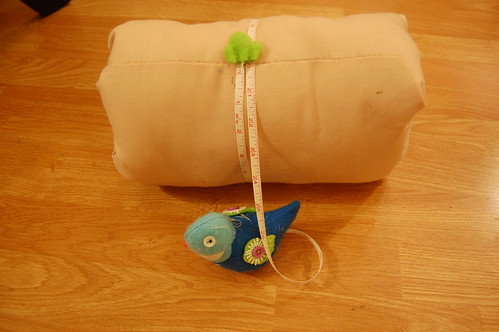
Part two shows how to make a muff cover!
You can see my friend Aubry's muff here
And a description at A Fashionable Frolick

This is so useful, thanks! It is certainly Muff season here on the east coast, I can't wait to try out your tutorial.
ReplyDeleteThanks!
Thank you for sharing this, if I ever get any of my dresses finished, I'll have to make a muff.
ReplyDeleteOh Thank you for posting this! I am looking at making a trip to CW in March too and was wanting to make a muff...this is EXACTLY what I am looking for! Thank you so much!!!!!
ReplyDeleteJessica
I've been wanting to make a Muff for my eldest daughter.... this is great. Do you kno if down would have been used as a filling as well as wool? I saw a mention of this in passing in one source.
ReplyDeleteSorry for the delay! I believe it would. I actually know another costumer who successfully uses down.
DeleteI have to admit that mine are stuffed with poly fiberfill. It's available locally, and I'm saving my wool batting for projects that really need wool :)
Oh, wow, this looks great! It would be practical to make different covers once one made the muff base. I never thought of stuffing it like a pillow. Other patterns suggested up to 5 layers of quilt batting. How much stuffing did you use?
ReplyDeleteThanks, Dee