
First, I completely made this up. It's easy and makes pretty flowers though!
These trim the neckline of my pink and gold 1920s dress, and I used the opposite side of my two sided satin, so the gold coordinated nicely with the pink. Also good, the pink nearly matched my skin tone, so the gold really made the neckline pop. I was worried making the dress that you could barely see I was wearing one!
On to the flowers!
First, cut your petals. You need ten total--you sew them right sides together to finish the edges. I didn't take measurements, but just cut what looks right for the size flower you want. They're vaguely Pacman ghost shaped, proportionally :)
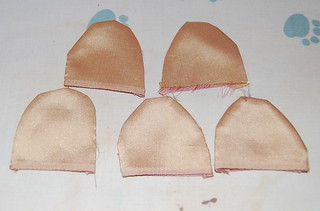
Sew them right sides together and turn them right side out. Press them flat.
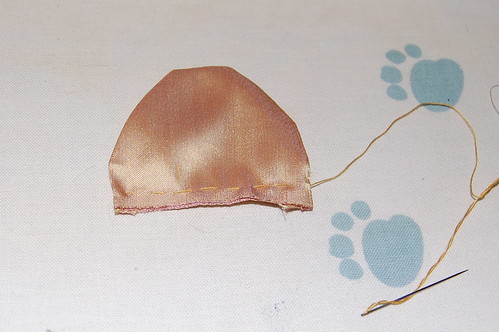
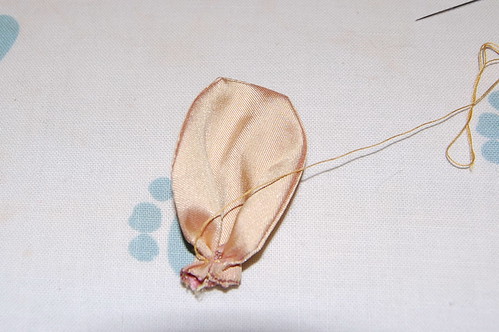
Run a gathering stitch at the bottom, and pull tight.
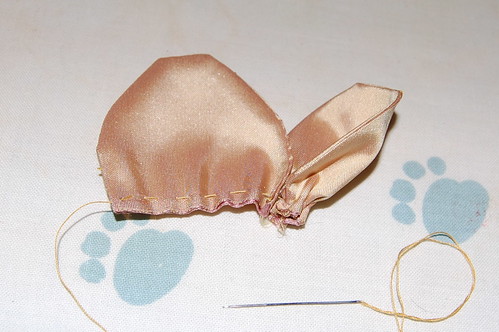
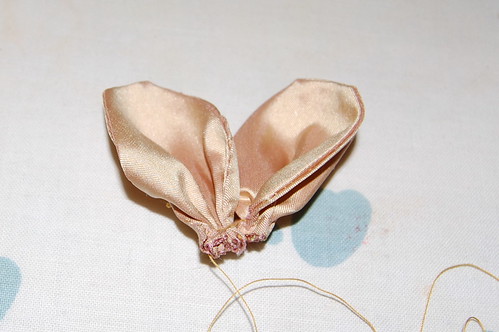
Don't disconnect the thread! Gather the next petal and pull tight.
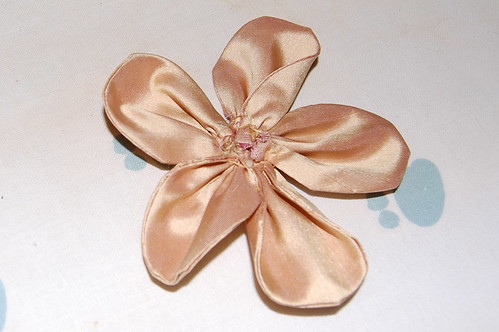
Repeat this until you have five petals. Then sew through all of them a few times until they feel secure.
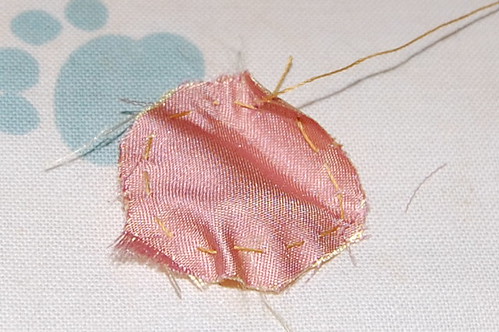
For the center, run a stitch around a small circle. Pull it tight, and tuck the edges under.
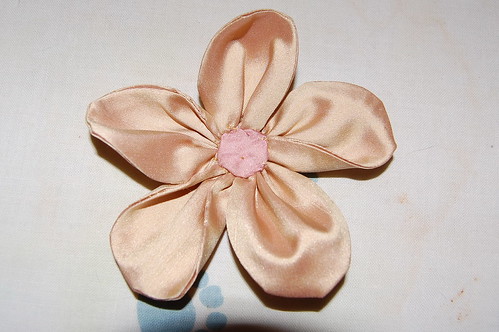
Sew this center to the flower.
See, I told you it was easy!
Fantastic! They look so simple to make and very pretty. I will have to try these for a future project.
ReplyDelete-Emily