There were two issues, as far as I can tell. One was somehow, the corner on the underlap side (thankfully not the top!!!) was an inch longer than the top, ok, easy to fix--just move the tie up, and place the second tie further back. The second issue was a little more problematic. The back was too loose, and no amount of tightening the front fixed that. Sigh. I compared my two piece back to the one piece back of the sundress, and they were the same size, only, I guess, not. And of course, I finished sewing the back lining in last night!
I thought this would be an interesting case of showing alterations in a nearly finished dress. I was also very thankful that I used 18th century sewing techniques, which made the alterations quite easy! Had I bag lined the dress, it would've been quite dreadful!
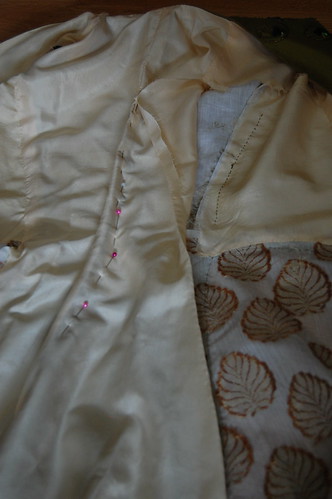
Here's where I started. To make sure the alteration would work, I pinned in the extra fabric at the center back, through all the layers--green silk, linen flatlining, and yellow silk lining. I then unpicked the side lining seam as shown. (This will be further detailed in the yet to be written construction post. I used the same technique as in this Pierrot jacket post. Since it was sewn by hand, I was careful to not break the thread so I could re-secure it.
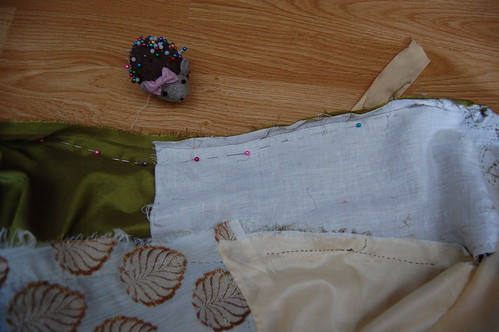
Obviously, I wasn't going to make a seam through all those layers (though, if I were wearing it tomorrow...), so I carefully moved the pins to just the silk and flatlining. I used a lot of pins so I could check the fit. Using a lot almost imitates a seam. I then tried the dress on, and was thankfully happy with it.
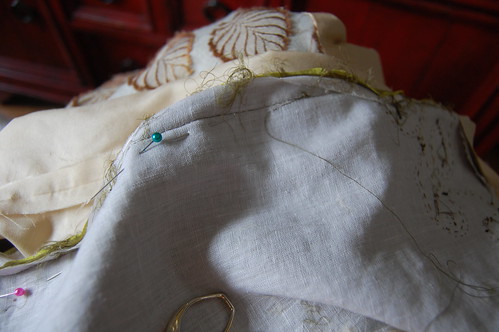
I then re-sewed the seam, being sure to ease out of the old seam gradually. You'll notice I didn't take the original stitching out. There are two reasons for this. One, safety. You want to be sure everything is good before you do too much to the original. Two, it's much easier to trim the seam if it's still sewn together.
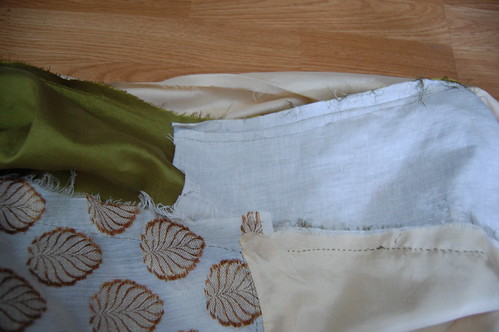
And here's the newly sewn seam! The original seam was backstitched in the bodice portion and running stitched in the skirt portion. I did the same on the new seam. I then tried the dress on again to be sure I was happy with the fit.
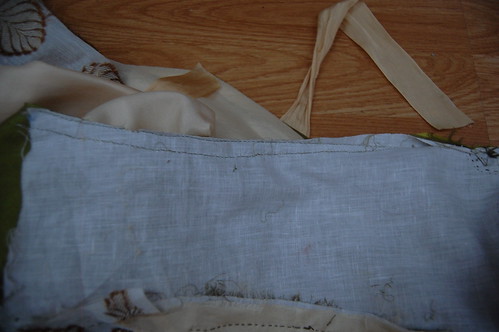
And now, the scary part--trimming. You technically can skip this part if you haven't taken too much in, but I like to keep my seam allowances even. It makes it feel like it hasn't been altered!
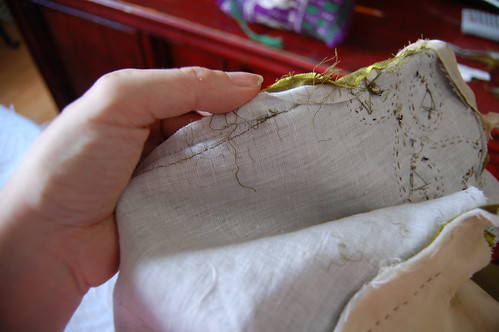
Now, remove the old stitches. The step shown here is for hand sewing. It's quite simple, as before, be careful with taking the stitches out so you can re-secure your thread.
With machine sewing, overlapping the seams for an inch or so is enough, though technically not the best way to do it. It is how I do it though (yes, I make a lot of alterations!), and sometimes, as in this case with the embroidery, it's not even possible to take out the whole seam.
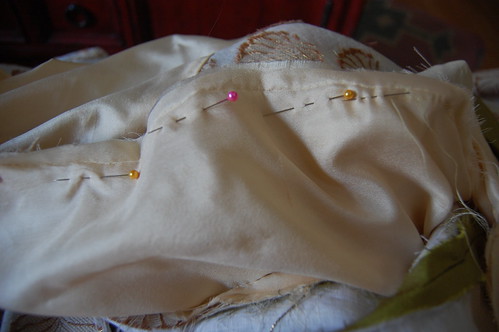
Now, of course, your lining is too big! Sigh. So, repeat the above steps for the lining. Press the lining and dress seams.
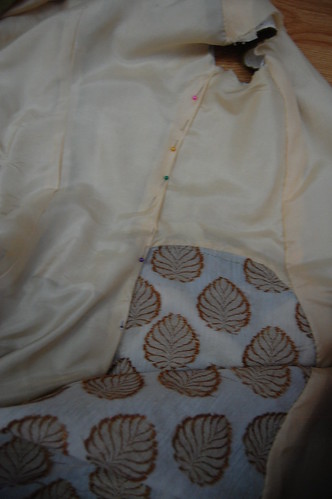
Once the lining is fixed and seams pressed, pin it back into place.
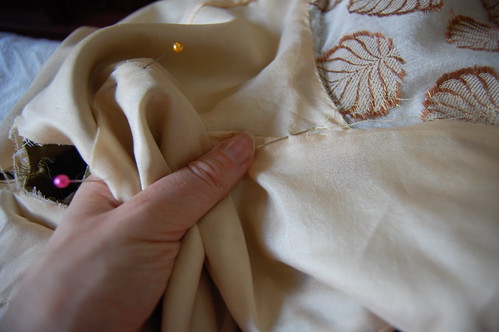
Sew it, just like you did before!
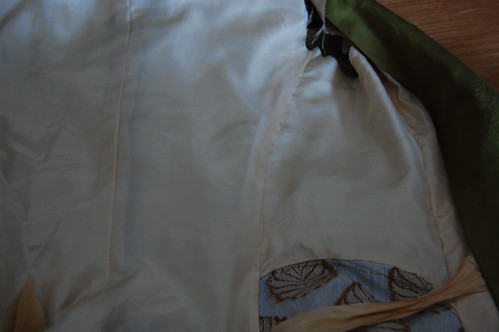
And ta da! It looks just like it used to! Only now it fits better :)

No comments:
Post a Comment