Showing posts with label chocolate francaise. Show all posts

Friday, May 6, 2011

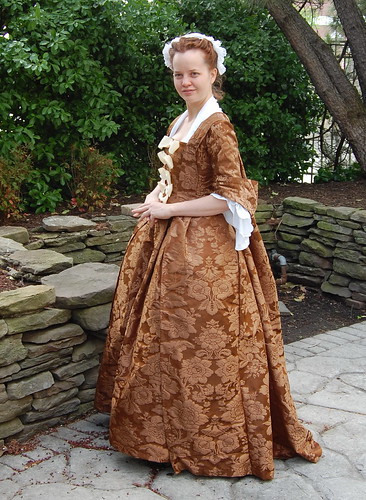
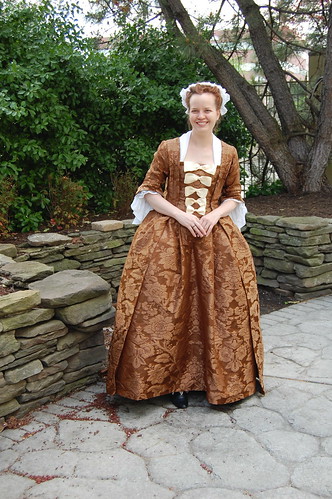
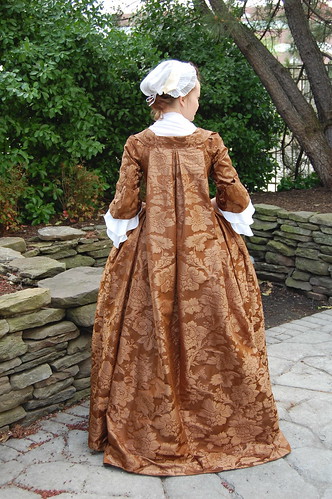
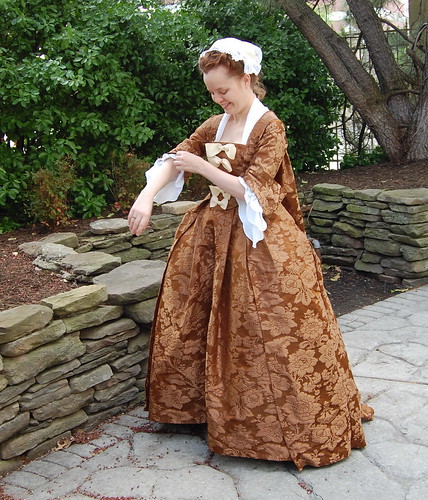
The Chocolate Francaise!

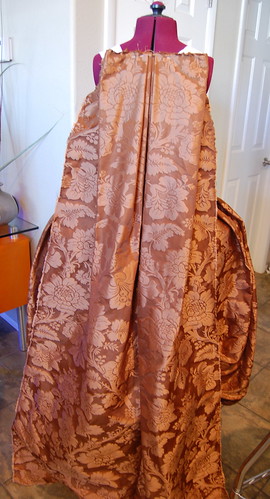
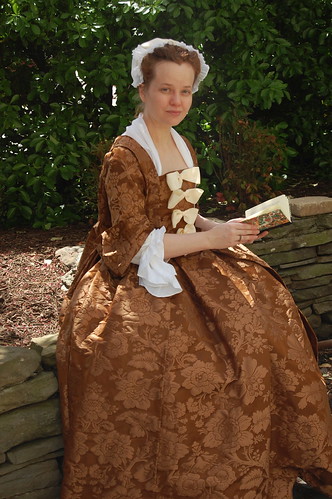
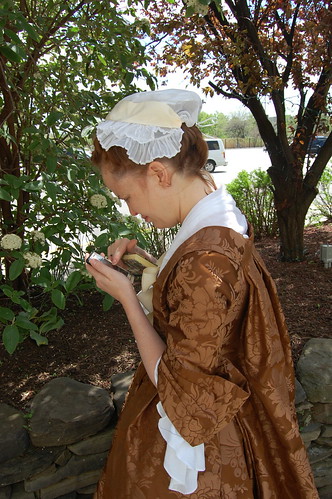
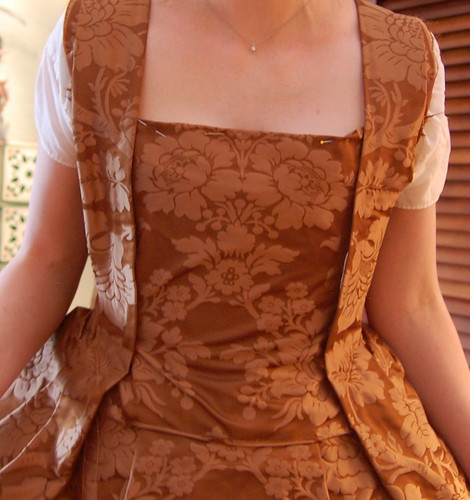
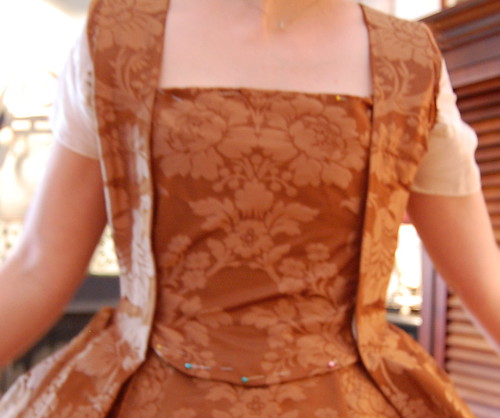
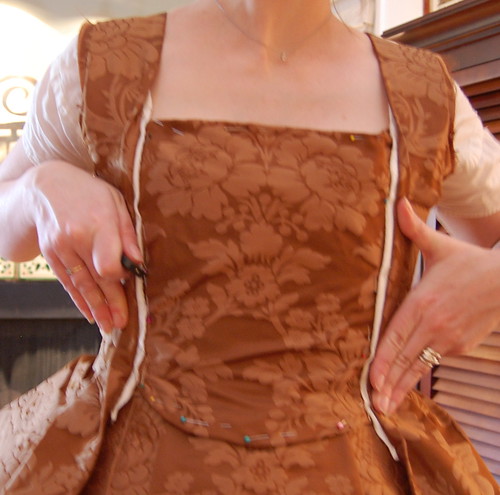
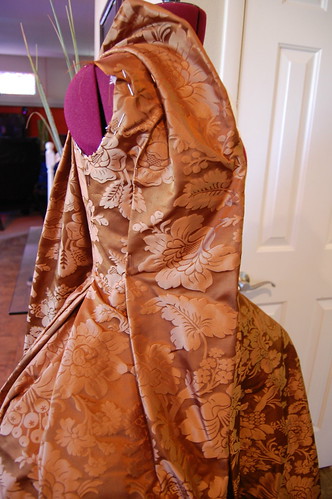
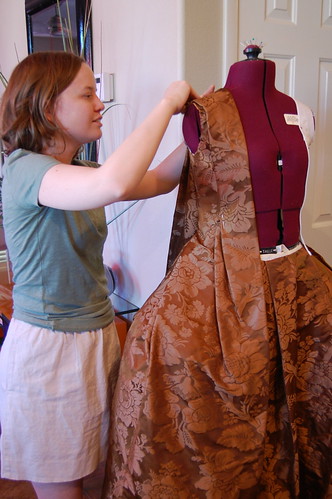
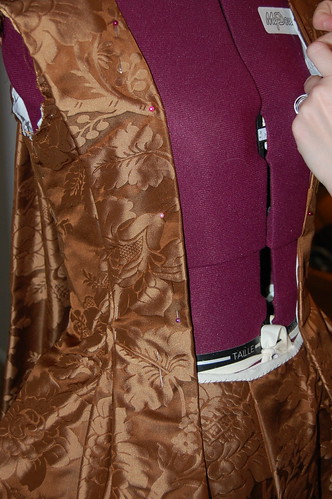
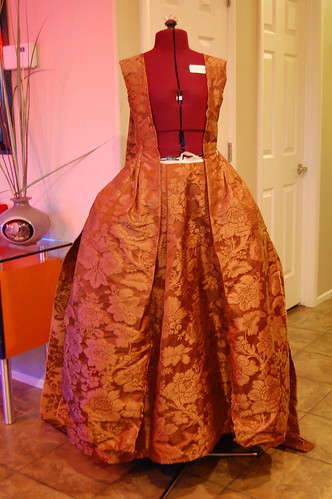
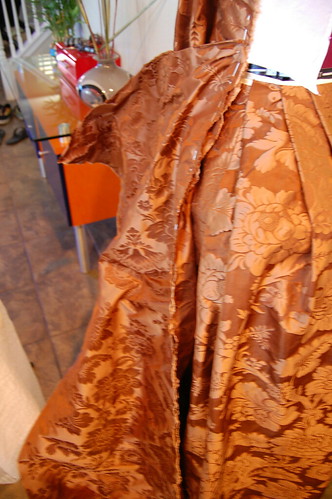
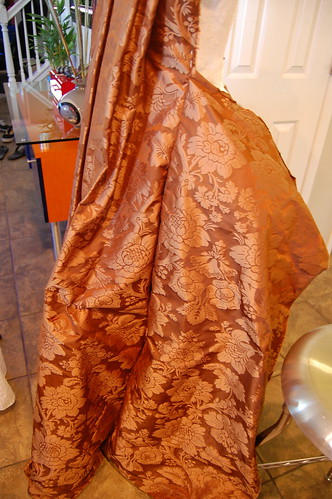
After all the tutorials, I should probably share the finished dress, no? :)

Costume Con Costume Con

Costume Con Costume Con

Costume Con Costume Con

Draping--Sort Of--A Sacque, Part Eight. The Back Binding.

Draping a robe a la francaise, or sacque. An eight part series! Click the tag or go to the tutorial page for links to all parts.

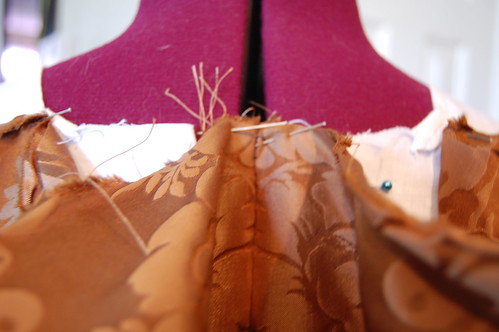
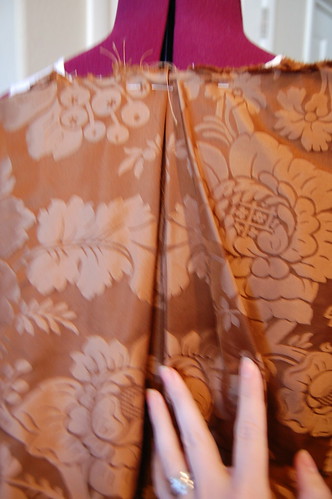
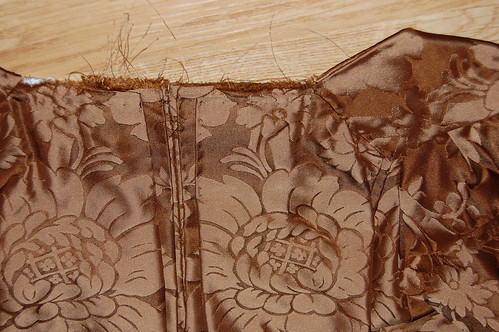
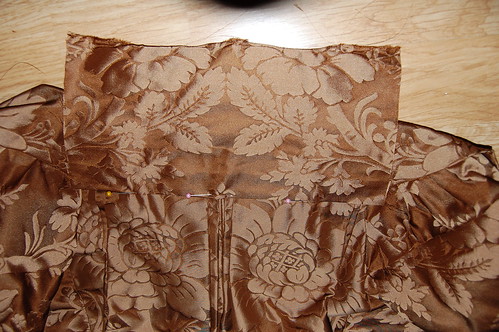
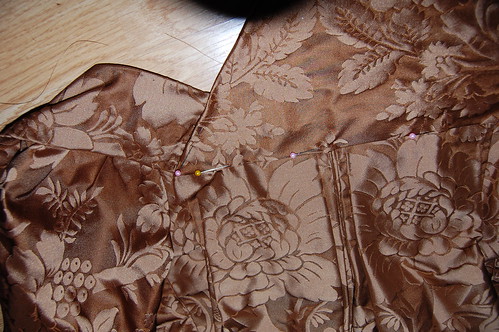
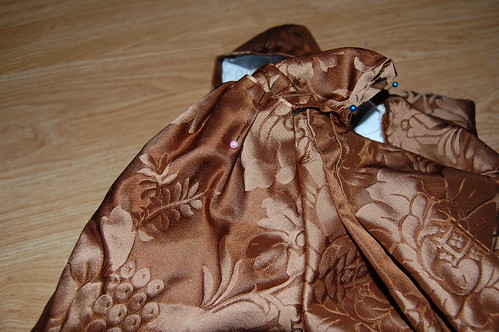
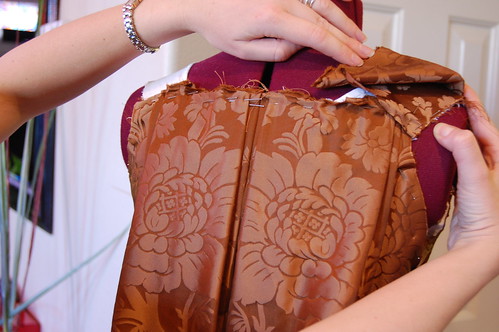
The pleats at back need to be covered. It's a little fiddly, but not really too hard!

Chocolate Binding

Cut a rectangle of fabric slightly longer than your back and slightly more than double the length from the top to the bottom edge of the shoulder straps.

Chocolate Binding

Fold the bottom edge under and pin to the back.

Chocolate Binding

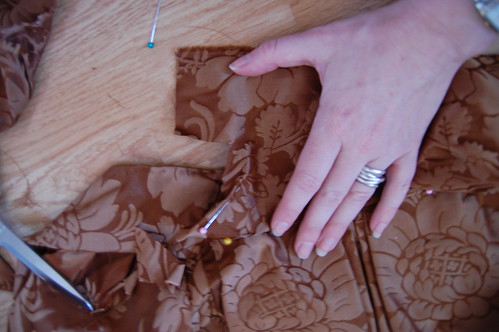
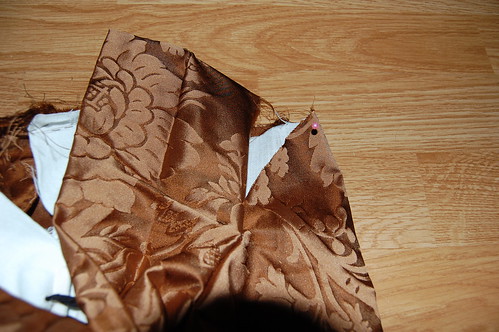
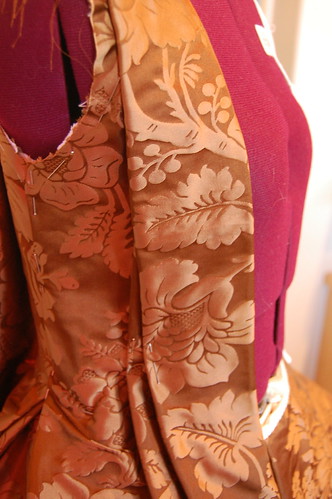
Fold the edge of the rectangle so it lines up with the shoulder strap.

Chocolate Binding

Chocolate Binding

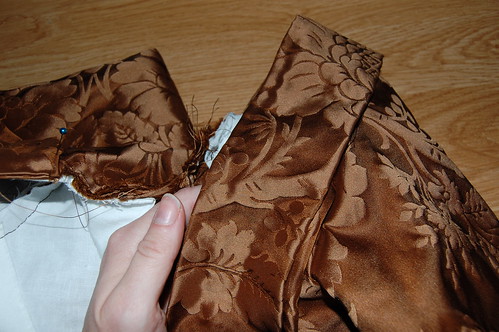
Mark the top edge with a pin, then very carefully cut a slit from the edge of the rectangle to the edge of the strap.

Chocolate Binding

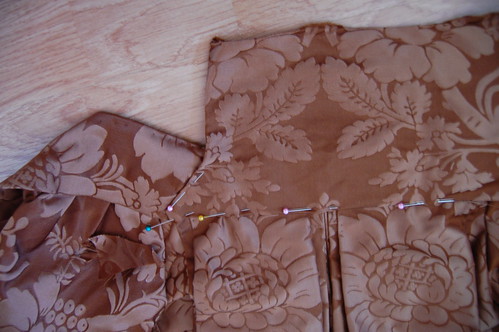
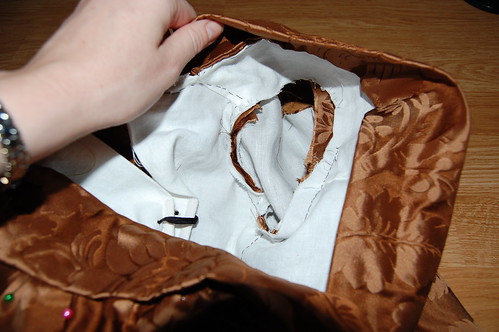
Fold the excess under on the back half of the binding.

Chocolate Binding

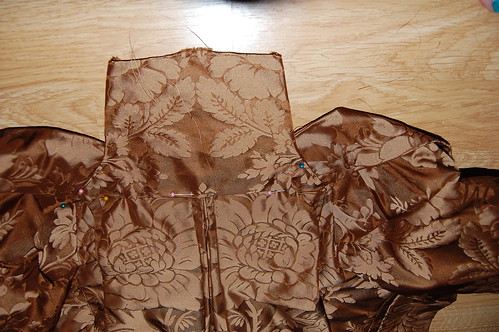
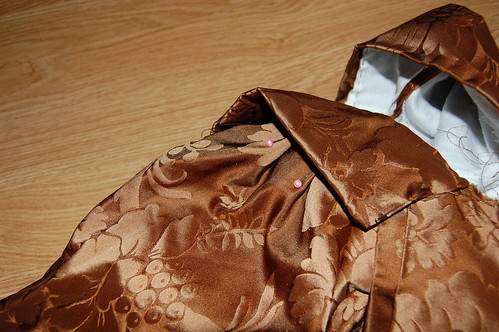
Repeat on the other side.

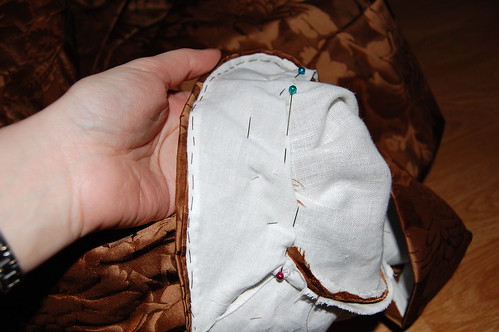
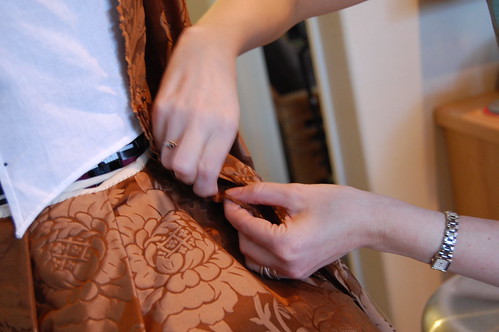
Then fold this around to the other side. Sew into place. Use a spaced backstitch on the right side, and just whip it down on the wrong side.

Draping--Sort Of--A Sacque, Part Seven. The Sleeves.

Draping a robe a la francaise, or sacque. An eight part series! Click the tag or go to the tutorial page for links to all parts.

Chocolate Sleeves

To make the sleeves, I used a method I first saw Isis Wardrobe use on Live Journal probably a few years ago. I unfortunately don't have a link.

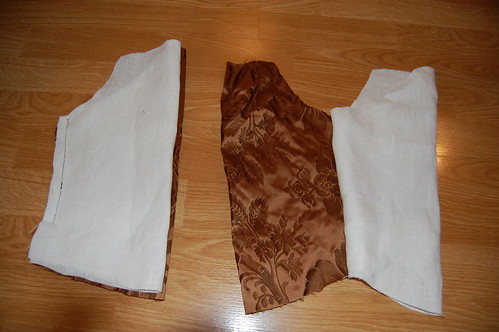
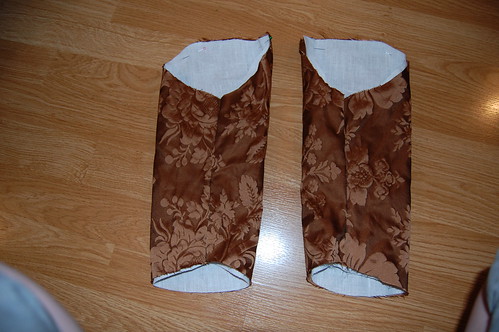
To do it, you put the right sides together on the silk, and right sides together on the linen and sew through all the layers. For the bottom inch or so, sew just the silk so that you can turn the edges under.

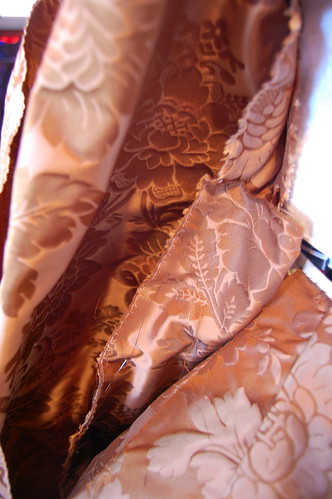
When you turn the sleeve right side out, it's lined! Truly like magic :)

Chocolate Sleeves

The sleeves with the side seams sewn.

Chocolate Sleeves

Chocolate Sleeves

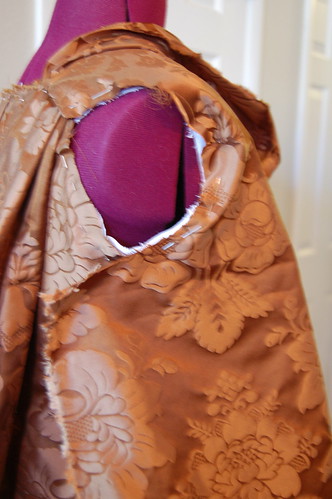
Fold back the robing and set the bottom of the sleeve as you normally would. Line up the back corner of the sleeve with the seam allowance of the back strap and sew around to about the corresponding part in front.

Chocolate Sleeves

Chocolate Sleeves

Ease the top of the sleeve over the shoulder. Pleat the back to fit.

Chocolate Sleeves

Chocolate Sleeves

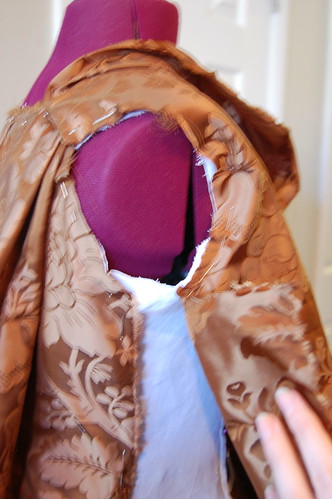
Fold the robing over to make sure it covers the sleeve cap. Try it on at this point.

Chocolate Sleeves

Fold the seam allowance of the lining under and pin. You'll whipstitch this to the sleeve.

After this, sew the top of the sleeve down. I used a spaced backstitch. You'll further secure it when you sew the robing over it.

Draping--Sort Of--A Sacque, Part Six. The Stomacher

Draping a robe a la francaise, or sacque. An eight part series! Click the tag or go to the tutorial page for links to all parts.

Stomachers are extremely easy to do. I had initially planned on doing this in muslin, but decided on using my dress fabric once I realized to get to the muslin, I'd have to go past the litter box. Since I was already taking out everything with my yet to be hemmed dress, I thought that might not be the best thing to do!

Chocolate Stomacher

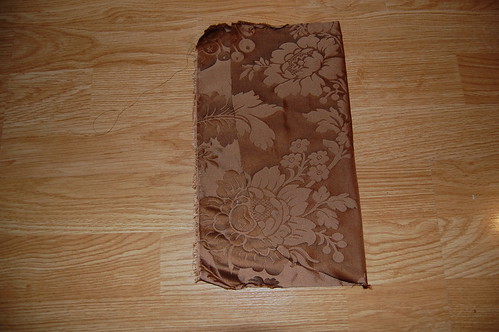
I started with a rectangle of fabric just a little longer than I wanted and wider than I needed

Chocolate Stomacher

I then pinned the top edge down and pinned it into my dress.

Chocolate Stomacher

Pin the bottom edge up into a pleasing shape.

Chocolate Stomacher

A little hard to see, but place pins at the edges of the dress. These mark the edges of the stomacher before seam allowances and room for overlap.

Chocolate Stomacher

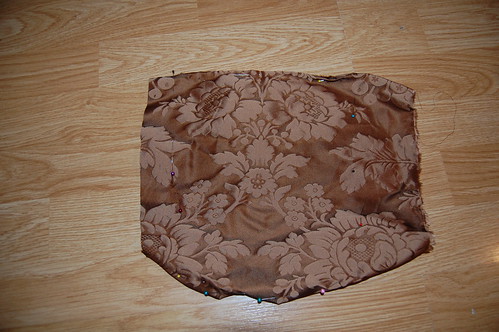
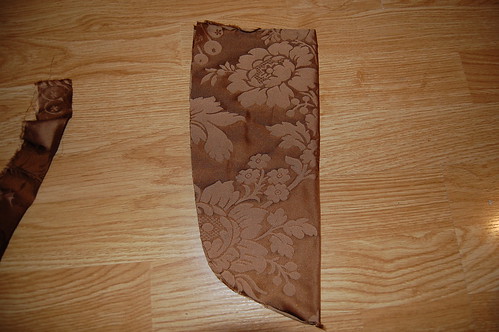
Here's the stomacher once it's unpinned from the dress.

To cut the stomacher out, add a seam allowance of about an inch or so on the sides, and half inch on the top and bottom. The actual shape of the stomacher that shows is marked by pins.

Chocolate Stomacher

Chocolate Stomacher

I folded it in half to make sure it was even.

Chocolate Stomacher

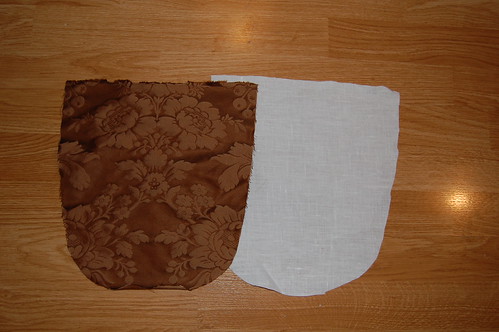
Cut a corresponding piece of linen.

Chocolate Stomacher

Chocolate Stomacher

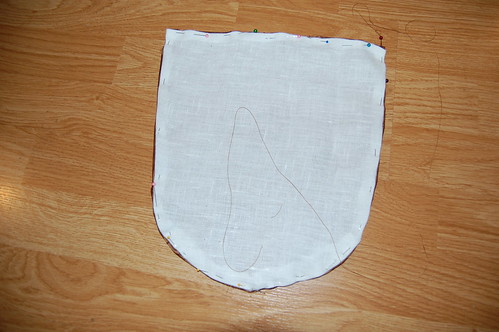
Fold the seam allowances under and edge stitch together. Then decorate. That's it! You can do a boned lining too--it just depends on the style you're after.

Draping--Sort Of--A Sacque, Part Five

Draping a robe a la francaise, or sacque. An eight part series! Click the tag or go to the tutorial page for links to all parts.

And now with the craziness that is Costume Con behind me, here's the next part of the sacque tutorial! Namely, the front.

Now, there are many ways to do the front. This is the style dress that's one piece of fabric from shoulder to hem.

A word of advice--if you do this style, make it longer than you think it needs to be. I cut it too short so ended up cutting it again, and well, too short again. I ended up piecing the front hem. I love my fabric though--it hides it so well!

For the front armscye, I just cut it to my pattern. However, I'd recommend adding a little to the edge of it if your lining dart is more than the cosmetic dart I have. It's easy enough to trim later!

I'm using the 1740-1750 sacque (diagram XV) in The Cut of Women's Clothes as my guide. Doing this is really pretty much playing around with the fabric until it works.

Francaise Draping 39

First, I put in a dart from about bust to waist level. This releases into the skirt and helps it sit smoothly over the hoop. My striped pet-en-l'air didn't have this and I needed to take a waist dart. My pink pet-en-l'air has a similar dart and didn't need a waist dart.

Francaise Draping 40

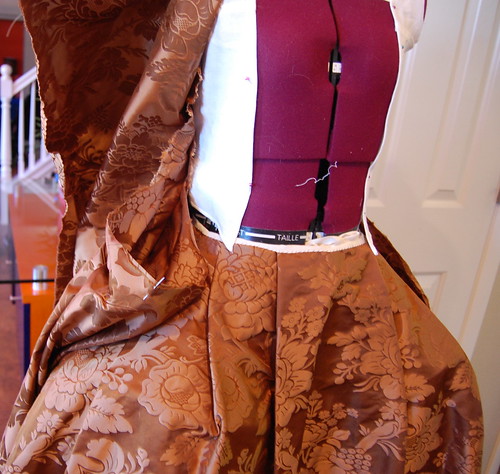
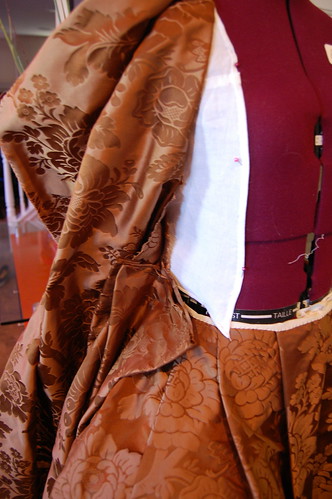
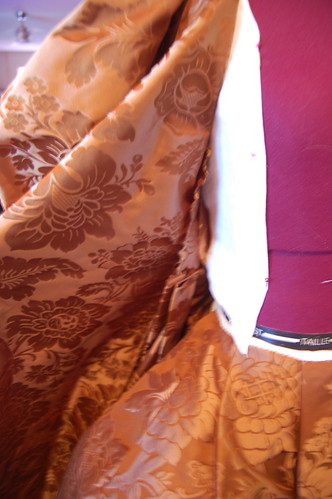
And next, a rather big jump! Fold the fabric that becomes the robing over. You're essentially making a box pleat.

Francaise Draping 42

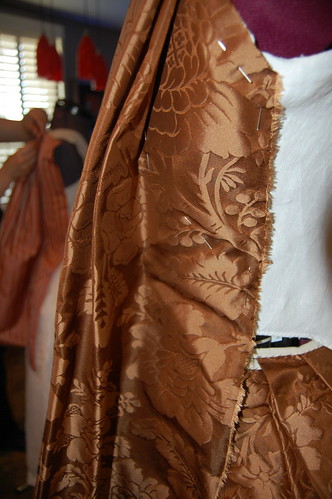
Here's what the back looks like. Trim the lowest level of the robing to decrease bulk. You're going to turn the top layer under to cover any raw edges.

Francaise Draping 44

The turned under edge pinned in place.

Francaise Draping 45

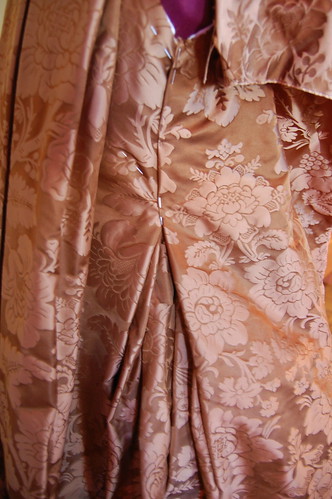
A close up of the front. The raw edge is turned under. If you're lucky enough to have fabric with a clean selvage, you can leave it as is. If not, the skirt portion will get a narrow hem. You don't need to hem the bodice portion though, as when you tack the robing down, you can catch the raw edge to the lining.

Francaise Draping 48

Another shot of the robing--the bottom pin is placed approximately where the stitching will go.

Francaise Draping 51

Repeat, and you have most of a sacque!

Wednesday, March 30, 2011

Draping--Sort Of--A Sacque, Part Four

Draping a robe a la francaise, or sacque. An eight part series! Click the tag or go to the tutorial page for links to all parts.

Next up, the side seams and skirt pleats!

Francaise Draping 26 Francaise Draping 27

First, pin the skirt pieces to the back piece. The skirt should start about an inch above the waist--this makes it easy to hide the pleats in the side seam. The pictures show this from both the right and wrong sides.

Francaise Draping 28

Sew the seams for a few inches--just enough so you can pleat the sides. These are easy to finish later, but pleating pinned seams could get frustrating :)

Francaise Draping 29 Francaise Draping 30

Now it's time for the front piece. Pin it to the armscye to anchor it.

Francaise Draping 34

Sew the front of the side skirt piece to the front piece in the same way the back piece was sewn.

Francaise Draping 35

Mark the center of the side skirt piece.

Francaise Draping 36

Make a stacked box pleat. The center of this is the spot marked with a pin above.

Francaise Draping 37

Slip that pleat over the lining.

Francaise Draping 38

Fold the seam allowance of the front piece over to create a lapped seam, and pin into place. The side seam and pleats are done!

Monday, March 28, 2011

Draping--Sort Of--A Sacque, Part Three

Draping a robe a la francaise, or sacque. An eight part series! Click the tag or go to the tutorial page for links to all parts.

Now the fun part--taking five rectangles of fabric (back, two sides of the skirt and two fronts) and folding them to make one of the most gorgeous dress styles ever.

Please remember, this is just one way to do it. These were all custom draped--there's no one exact way to do this. If you end up with something pretty, you've probably done it right :)

And now the back draping!
Francaise Draping 1

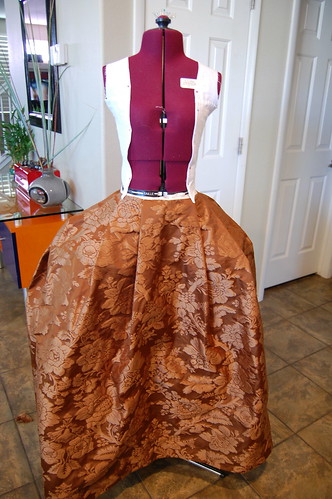
Start out by dressing your dress form. This is to give the general silhouette of the finished dress. The petticoat does sit lower than my waist does, but that doesn't really affect the final dress.
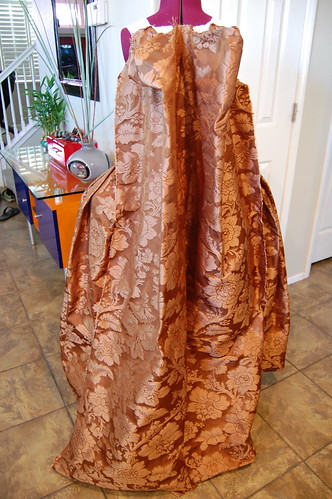
Francaise Draping 2 Francaise Draping 3

Francaise Draping 4

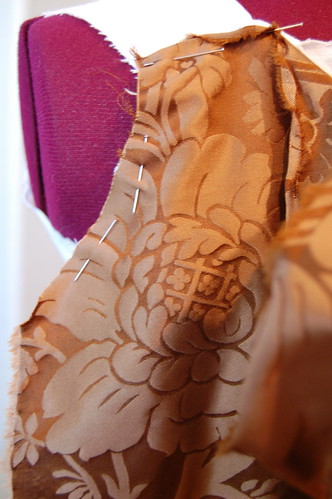
Secure your fabric to the dressform. The top edge should be even with the seam allowance of the shoulder pieces.
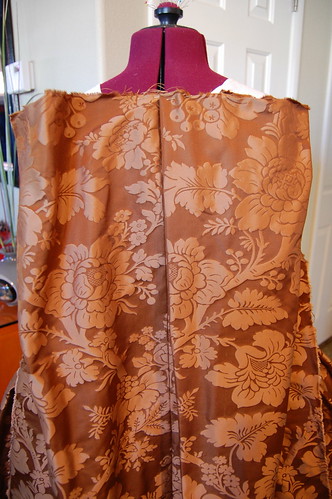
Francaise Draping 6 Francaise Draping 8

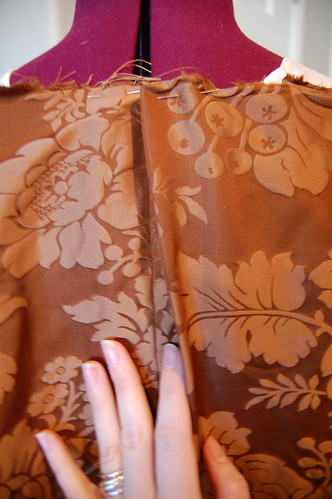
Next, make a pleat facing the center back. How deep you make it depends on your fabric and how wide you want your back pleats to be. It doesn't have to be very deep.

The goal is to have two stacked box pleats falling from the shoulders. Look at pattern drafts to get an understanding of how measurements and the number of pleats that go into the stacked box pleats vary.
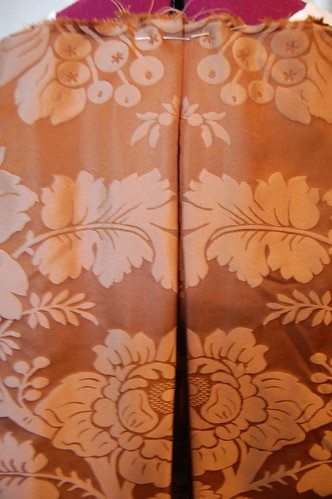

Francaise Draping 10 Francaise Draping 11

Repeat that pleat on the other side.
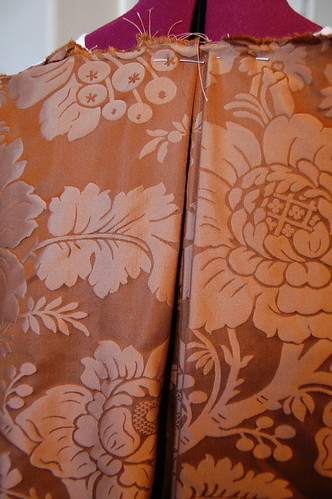
Francaise Draping 12 Francaise Draping 13

Make another pleat on top of your first pleat. A little of the first pleat should still show.
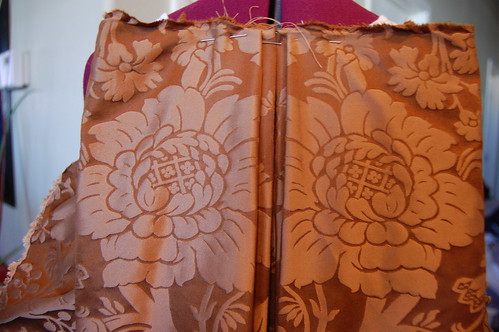
Francaise Draping 16 Francaise Draping 17

Repeat that pleat.

Francaise Draping 15

The dress is already starting to take form!

The pleats are still a little too wide at the shoulders--the same pleating technique will be used on the outside edges next.
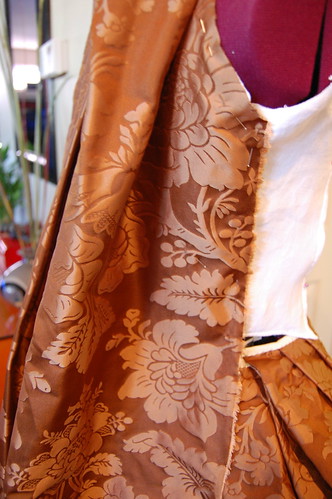
Francaise Draping 18

Before making the outer pleats, smooth and pin the sides of the dress.
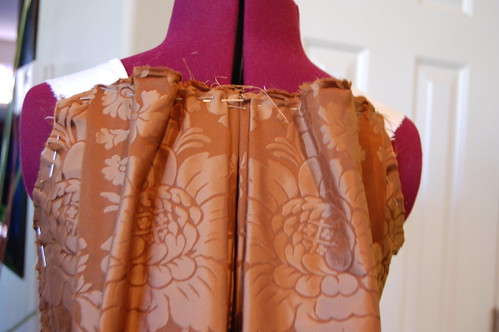
Francaise Draping 19

Pleat the extra fabric at the shoulders. Decide how wide you want the back pleats and form the first pleat there. Then make a second pleat on top of that. Like before, let a little of the first pleat show. This part just takes a little fiddling--it's really quite easy though!
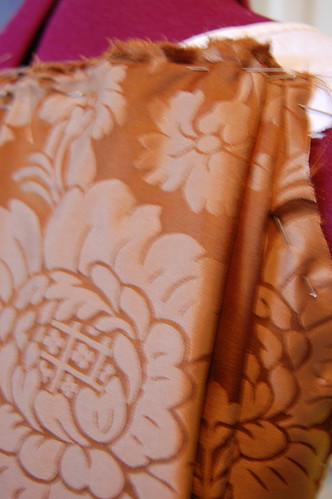
Francaise Draping 21

Pin the finished pleats into place.

Francaise Draping 22

To keep the back pleats neat and the back of the bodice smooth, pin underneath the bottom of the pleats. This should run vertically. Without stitching here, the entire back, not just the pleats, will flow away from the lining and it won't look very attractive. Be careful to not pin too deep, or it will pull the second pleat under the first. Just smooth it and adjust until you're happy with it. Again, refer to pattern drafts to see how this was done on originals.
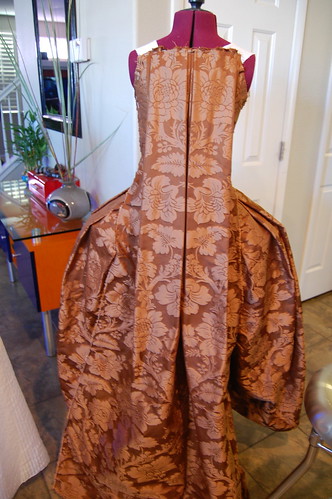
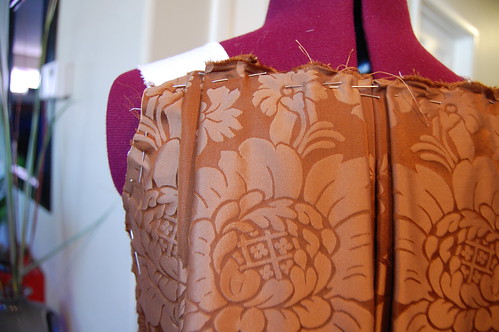
Francaise Draping 23

Francaise Draping 24

And the back is done!
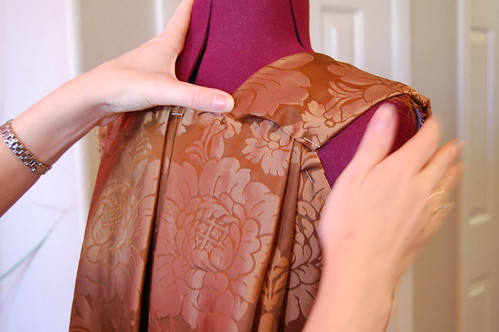
Next up, the side seams :)

And if you're wondering where the fireplace that seems to be in so many of my pictures is, no, I haven't moved--I was at a friend's house. This also explains the lack of cats!