Friday, November 21, 2014

A 1920s Beaded Dress

beaded 6

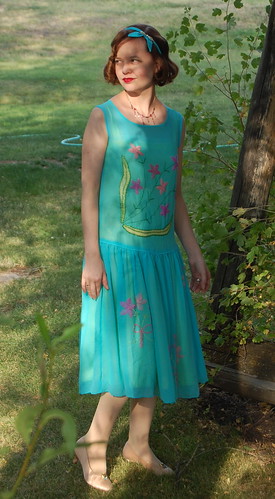
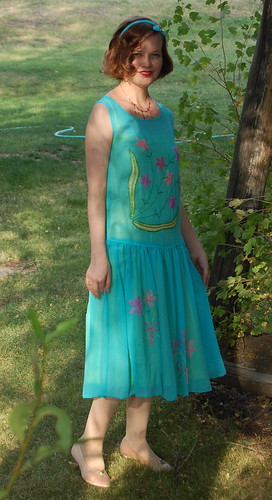
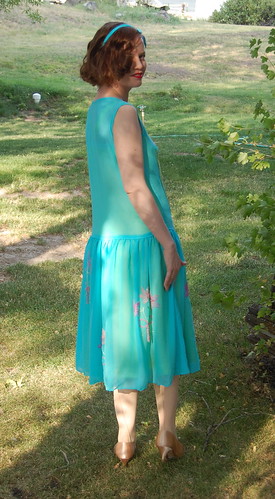
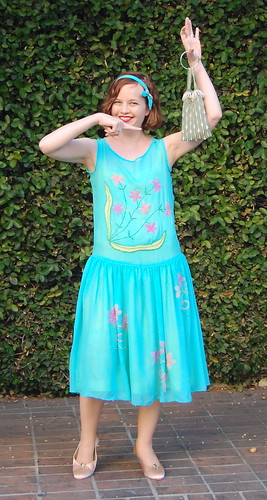
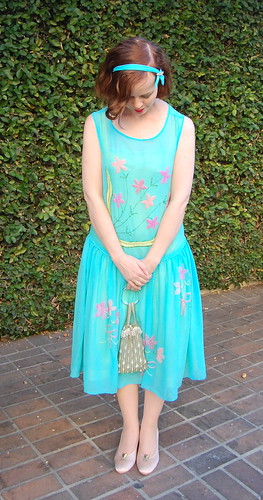
A 1920s dress made of silk chiffon from Dharma Trading and worn over a slip made of yellow China silk from Golden Silks. The dress is tambour beaded with zillions of tiny seed beads from Fire Mountain Gems, and I bought the clip in my headband on Etsy.

beaded 5 beaded 7

I am not in love with this dress. I didn't give it the attention it deserved, and it has quite a few issues that I really should've dealt with before wearing it. I should have shortened the waist which was stretched a little during the embroidery process and weighed down by the beading on the skirt. When I wasn't happy with the fit, I took in the underarams a bit, but I really should've taken in the whole side seams. That would've meant taking the skirt off, but, well, see number one. I also wanted more decoration, beading around the neckline, armscyes, a fuller design, etc. By the end of the beading, I was probably beading about half as densely as when I started. However, due to having whooping cough the summer I made this, I very much Did Not Care, and the dress just got done. I cared much more about the knit beaded bag I made to go with it--beautiful mindlessness!

I still wore the dress twice--to Costume College and to visit a friend in Montana and go out for a 20s themed dinner (where three of my dresses were worn!) and enjoyed wearing it, so that is something, I suppose! While I do hate it when people put their costumes down, at the same time, I think it's good to share that not everyone loves everything they do!

beaded 2 beaded 1

I remain enthusiastic about my beaded bag, and I very much want to make more. The bag is from The Hiawatha Book of Beaded Bags and Chains that I bought on Etsy. It has a Ravelry page here.

beaded 3

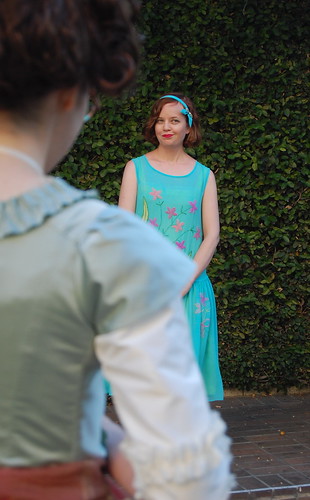
This picture perfectly sums up my attitude towards this dress. Plus, I just like the way Aubry of A Fractured Fairytale frames the shot.

610604_original

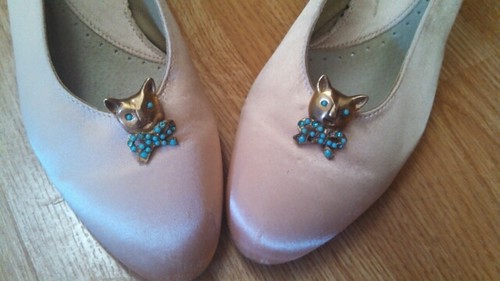
My shoe clips (bought on Etsy) though? Possibly the best things ever :)

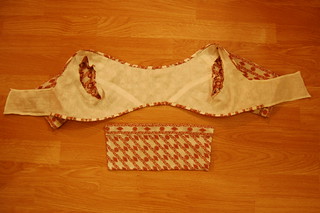
A few construction pictures are below.

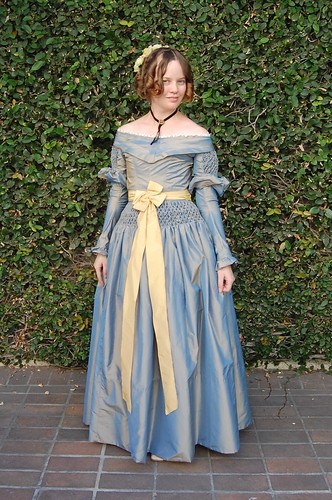
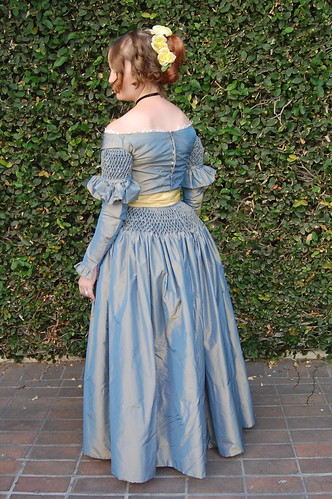
An 1840 Smocked Day Dress

Costume College Sunday

When I made my smocked 1840s ball gown, I knew I wanted to do a day version as well. All of that smocking deserved a little more wear! It was an incredibly easy update--just add long sleeves. The long sleeves are just the lower half of my sleeve block and are basted into the short sleeve. During the 1840s, day dresses could have low necklines, so I left that unaltered.

Costume College Sunday Costume College Sunday

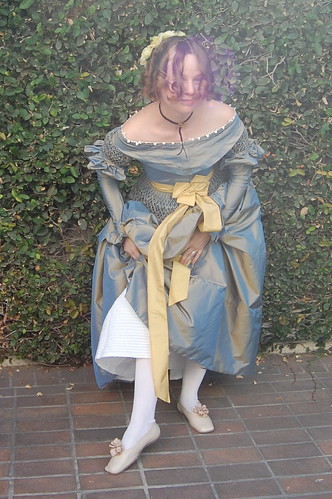
Another alteration that I should've made was to shorten the waist a bit--the cause of the wrinkling here. (The front wrinkling is a bias wrinkle. Evil bias.) I knew from wearing this before that it was slightly long waisted, so I moved the buttons on my petticoat to give me a little more room. That helped, but not quite enough! Still though, I love the dress. Wearing it again, I probably would shorten it properly, but reattaching the skirt just isn't appealing! The wrinkling is less noticeable in person--silk taffeta has a tendency to make wrinkles stand out in photographs.

I'm wearing a Regency chemise from the Kannik's Korner pattern, my hand sewn corded petticoat, Past Patterns 1840 corset (also seen in the petticoat link), and a plain petticoat underneath the dress. All of these were made very long ago, but still work quite well! The shoes are Robert Land dancing slippers.

Costume College Sunday

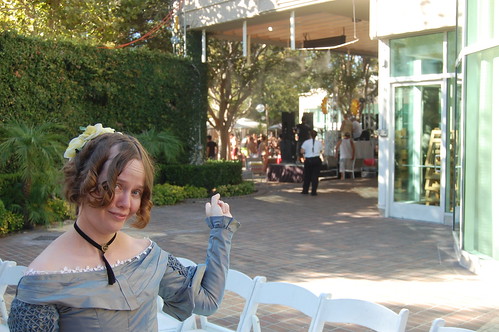
And a good picture of my sleeve and the little ruffle, and my attitude towards the very loud Sunday pool party at the Costume College hotel.

A Late 1860s Dress Inspired by Princess Alexandra of Wales

Princess Alexandra Inspired Dress

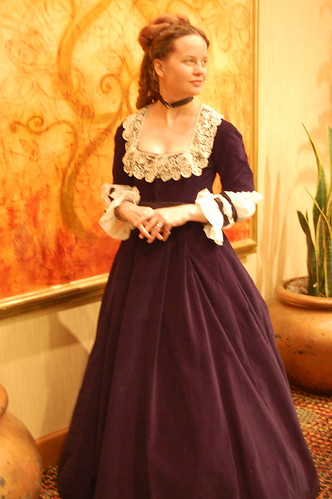
After making the spotty dress inspired by one of Princess Alexandra of Wales' dresses, I decided I needed another. She was an amazingly well-dressed woman, after all! I searched through photographs of her with two goals in mind--one, a wonderful dress, and two, one that I could get appropriate materials for. This meant the gorgeous bustle dress with rows of lace in the skirt was out, but a velvet dress with a low neckline, lace collar, and lace lower sleeves fit both my requirements.

Costume College 2011 Costume College 2011

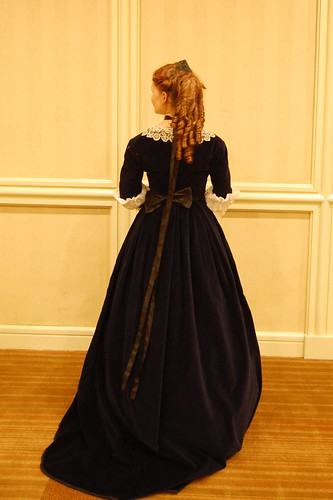
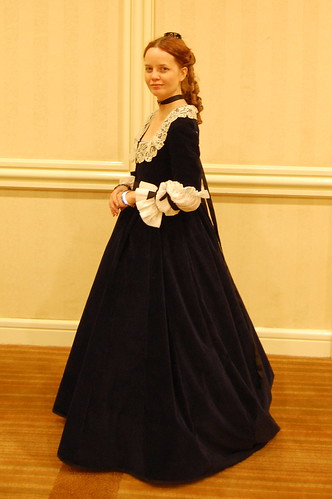
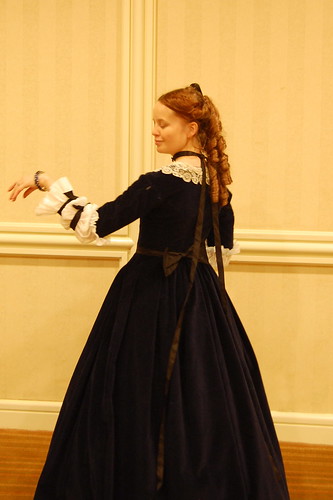
Despite wearing the dress three times--the ice cream social at Costume College, the Friday night social at Costume Con, and Halloween at work, I don't have the best pictures of the dress. It doesn't help that two of the events were at night and the dress is made of dark blue velvet! I'm wearing the dress over a chemise, corset, Laughing Moon elliptical hoop, and a petticoat.

Costume College 2011

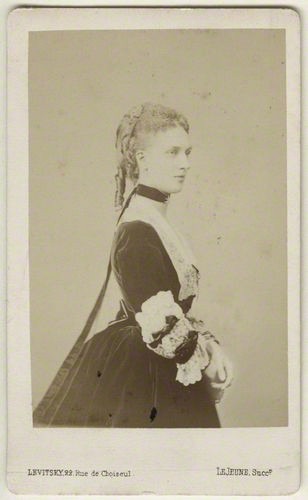
One of my favorite elements of this dress is the long ribbon around her neck. This doesn't seem to have been a common style. The only other example of this I've seen was in a photograph of Alexandra's sister, the future Empress Maria Feodorovna of Russia. I suspect it may have been a fad and am always hoping for more examples. My ribbon is made of a flattened tube of silk taffeta which I pinned shut in back. The center is decorated with a vintage pin I bought on Etsy.

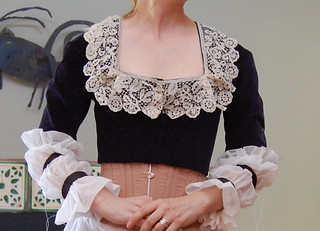
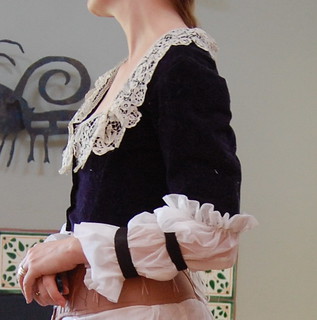
velvet_bodice1 velvet_bodice2

As it was a rather straightforward dress, I didn't photograph it as I was making it. These are the closest to construction pictures I have. The bodice is my standard 1860s bodice pattern cut with a square neckline. The skirt is one of the late 1860s skirts from Period Costume for Stage and Screen. The dress is blue cotton velvet from Sy Fabrics. It's lined with brown polished cotton. The lace around the neck is antique, and basted very carefully to the neckline. The piece of lace fits the collar nearly exactly--there's only a small amount leftover. Instead of cutting the lace, I made a little pocket inside the neckline of the dress to tuck the excess into. The velvet sleeves are elbow length with puffs of cotton net trimmed with bands of black silk taffeta. In the original, the sleeve puffs were also lace, but that much antique lace is difficult to find and anyway, that would be a high stress area to use a delicate textile.
NPG Ax17915; Alexandra of Denmark

And the dress that inspired mine! This is one of my favorite dresses to wear. The fabrics, the train, the little bit of sparkle at the neckline all feel wonderful. I wish I had better pictures to share, but I suppose that means I'll just need to find another opportunity to wear it!

Friday, October 31, 2014

A Regency Drop Front Dress

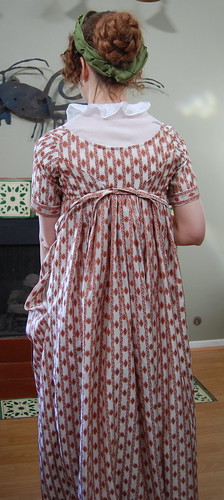
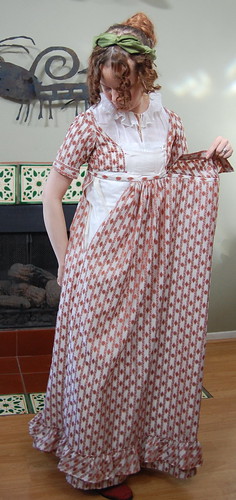
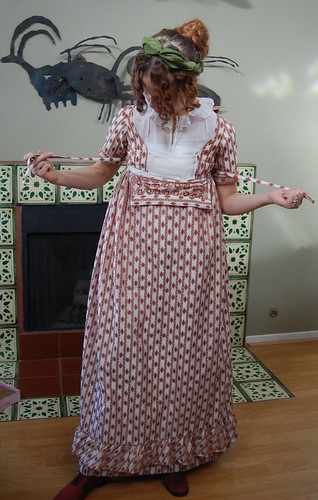
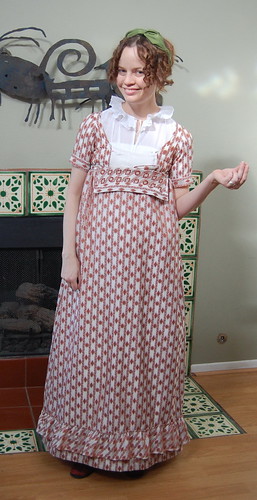
Copper Stripe Drop Front 4 Copper Stripe Drop Front 2

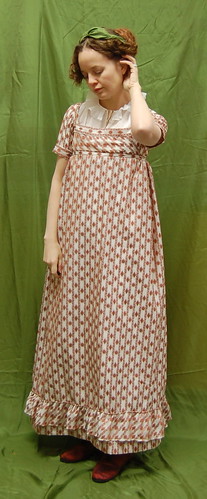
The Sunday night before Halloween, I decided I needed a new dress to wear at work on our Halloween, which was Thursday. Nothing in my admittedly extensive wardrobe felt quite right, plus, I was up for a challenge (hand sewn dress in four days!) and had some rather fabulous new red silk Robert Land boots that needed to be worn. The result--a Regency drop front dress from one of my first LA garment district purchases at my first Costume College in 2003.

Construction details can be seen in this post.

Copper Stripe Drop Front 3 Copper Stripe Drop Front 1

It is a rather straightforward dress, the interest coming from the stripe and the bias touches--I love bias stripes! The ruffle around the hem--of which there will be two--is gathered over a cord. My turban is just two pieces of my backdrop silk twisted together and tacked into place. Of course, I decided to use some of that silk that I bought just for backgrounds before I even used it as a background :)

Regency Boots

The silk boots that are largely responsible for this dress being finally made!

Drop Front--Getting Dressed 6 Drop Front--Getting Dressed 7

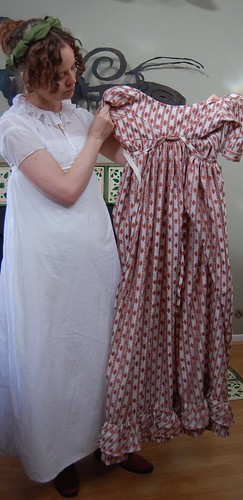
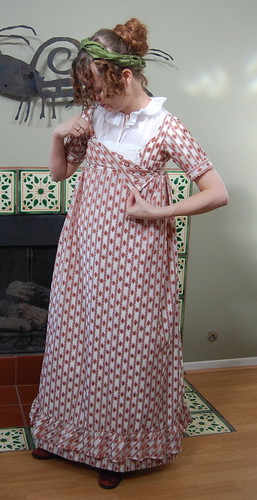
Here's the dress, ready to be put on. The waistband/ties are threaded through the loops in back, and the front hangs loose.

Drop Front--Getting Dressed 8 Drop Front--Getting Dressed 9

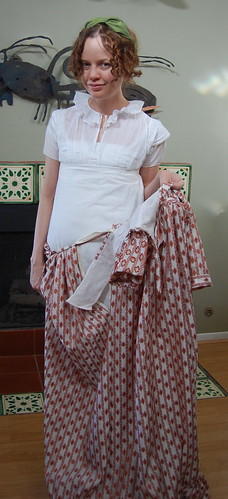
The first step is to pin the flaps. I find it very helpful to pin the flaps to my stays. If I don't do this, then the flap rides up. I haven't come up with a fitting solution for this, and I've tried everything I can think of. I just don't have the figure to keep the flaps in place.

You'll notice ties on the inside of the bodice--I decided against using these when I put it on, although they are seen in original dresses.

Drop Front--Getting Dressed 10 Drop Front--Getting Dressed 11

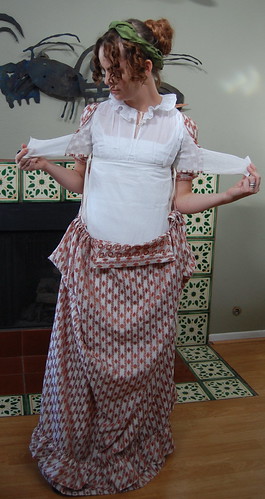
Once the flaps are pinned, this is what it looks like from behind. The ties are through the loops at back, and the front is hanging down.

Drop Front--Getting Dressed 12 Drop Front--Getting Dressed 13

Now, here's the front. The ties are pulled so that everything is tight. The loops guide them into place--it's quite simple to do!

Drop Front--Getting Dressed 14 Drop Front--Getting Dressed 15

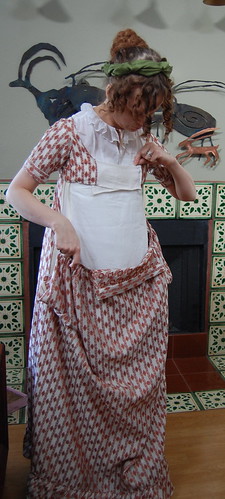
The loops are then tied. I chose to tie them under the bib. Then pin the bib into place. As complicated as this style looks, it's really quite easy to put on by yourself, which is rather nice in this era with many dresses closing in back.

Drop Front--Getting Dressed 2 Drop Front--Getting Dressed 1

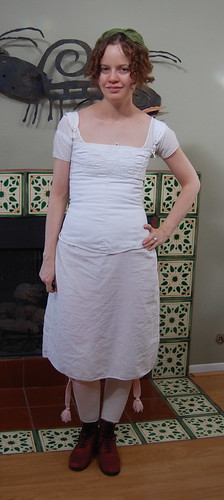
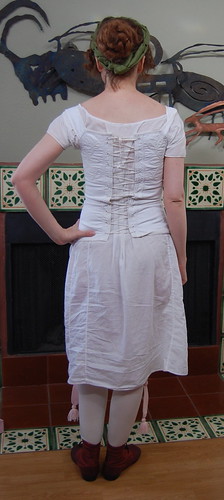
Underneath my dress, I'm wearing a shift made from Dharma Trading's batiste (I think, it's over ten years old!) and stays based on an 1820s pair at the Met. Initially, I had planned to wait to make this dress when I had new 1810s stays, but it should fit over those easily when I get around to making them.

Drop Front--Getting Dressed 4 Drop Front--Getting Dressed 3

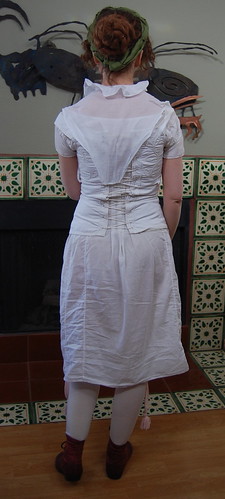
My chemisette is made from Swiss Finella muslin from Farmhouse Fabrics. It's based on the pattern in Patterns of Fashion. It ties at the neck with a cord twisted out of crochet cotton, and ties at the waist with 1/4 inch cotton tape.

Drop Front--Getting Dressed 5

My petticoat is just two panels of fabric, open at one side seam, and held up with straps. The straps also did a brilliant job of holding the chemisette in place.

And that's the dress! Though I do try to limit myself to larger projects now, I do find working on dresses in such a limited time frame to be a rather satisfying challenge :)

A Regency Drop Front Dress--Construction!

Copper Stripe Drop Front 5

One of the first style dresses to catch my interest as a costumer was a drop front (or bib front or apron front) Regency dress. My first, was one of my earliest costumes, the next was the much more elaborate copy of a dress from the V&A. My third was a copy of a dress in the Danish costume museum.

My fourth, which I'm explaining here, is one of my earliest planned dresses--I bought the fabric in the LA garment district at my first Costume College in 2003. It's quite straightforward in style. The pattern, like my other three, is based on the pattern in Patterns of Fashion

Drop Front Construction 1

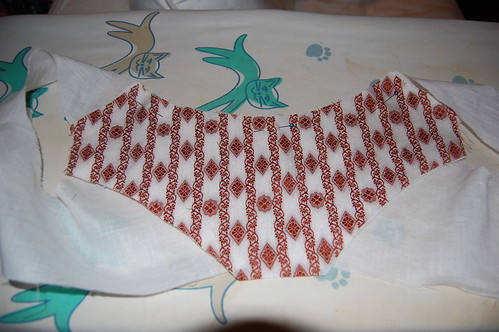
The dress is made of a linen lining and a cotton "silk" blend stripe. At least that's what I was told in 2003. I decided to believe it then, but was suspicious--those suspicions were confirmed when I melted a bit of the fabric. Oops. However, a little synthetic is no reason to not use such a perfect fabric!

The linen lining is made separately, and then the striped fabric is mounted on top.
Drop Front Construction 2

After pressing the seams, I laid the striped center piece, wrong side to wrong side, on the linen lining.
Drop Front Construction 3

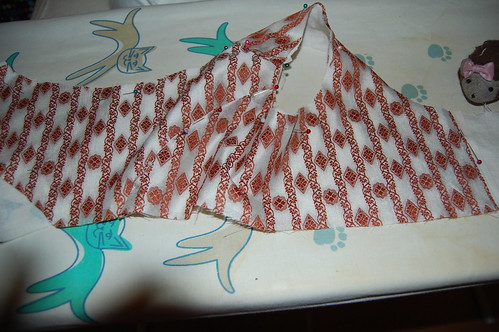
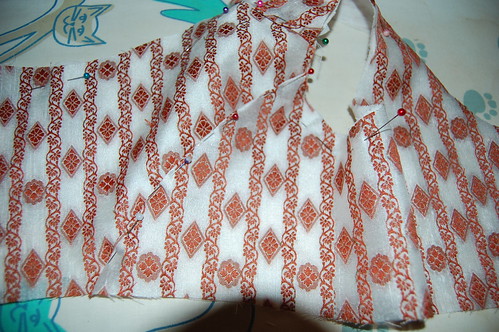
Next, I pinned the front piece on top. I found it easiest to start at the neckline curve, then smooth it from there. The neckline, waistline, and armscye edges are matched, and the side back seam allowance is turned under and pinned. This will then be topstitched down. I used a spaced backstitch. If you notice, the striped fabric doesn't extend all the way to the front edge, and I actually trimmed it a little more after this picture. This actually helps the bodice lay nicely--the one layer of linen molds better to your body than the linen with the outer fabric, as I discovered on my very first drop front.
Drop Front Construction 4

Here's a closer view of the side back seam.
Drop Front Construction 5 Drop Front Construction 6

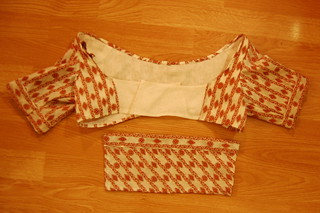
Next, topstitch the side back seam and the edge of the striped fabric on the flap. Then, finish the neck and waist edges. On this dress, I hemmed the edges based on this dress on Pinterest. On my previous dresses, based on Janet Arnold, I turned the edges in to each other to finish them. The sleeves are inserted normally.

The bib can be anything from a plain hemmed rectangle of fabric, to a gathered piece of fabric, to a tucked piece of fabric, to fitted with drawstrings, and I think I've even seen one fitted with darts. Mine is a bias cut rectangle with a straight band on top. The bib needs to be finished before it's attached.

Drop Front Construction 7

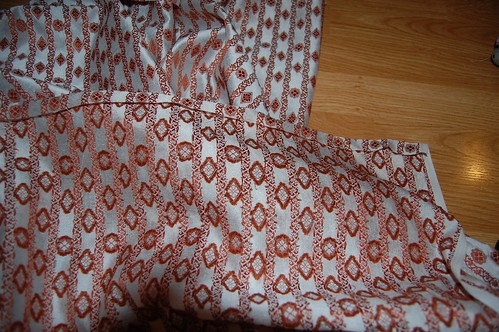
Now, onto the skirt! The skirt is quite straightforward. It's just a tube of fabric, sewn selvage to selvage with the top 12 inches on each seam left open. My skirt is about 90 inches around, which is slightly narrower than the Patterns of Fashion skirt. The top center front of the skirt is cut with a very slight scoop where the bib goes to help it sit flat at the waist. It's no deeper than an inch at center front.

Once the skirt is sewn, press the top edge down, as in cartridge pleating.
Drop Front Construction 8

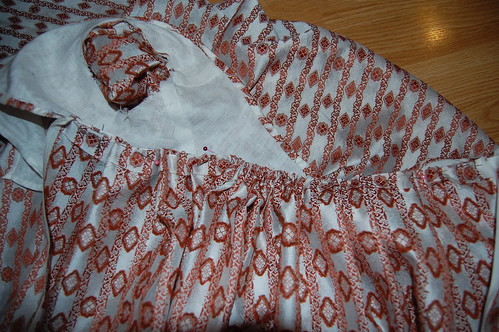
Then pin the back of the skirt to the back of the bodice. The edges of the skirt should be around the underarm. I chose to use a mix of knife pleats with cartridge pleats at the center back. Sew these pleats into place.

The back of the bodice has loops to hold the ties in place. On this dress, I used large thread eyes, but you can also use loops made of the dress fabric. I placed these loops on the bottom edge of the bodice directly on each side back seam.
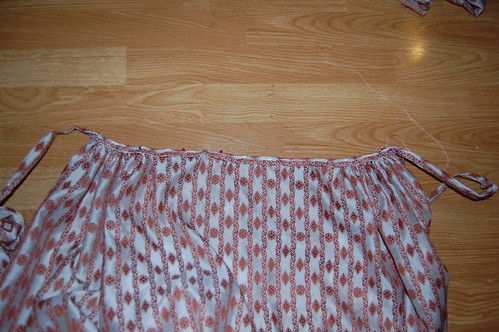
Drop Front Construction 9

There's more than one method to do the front. I chose to do a waistband that doubled as ties and cartridge pleat the fabric on either side of the bib to it. Another option is to hem the top front of the skirt and run a drawstring through the area that I pleated on this skirt.

First, I sewed the waistband to the skirt.
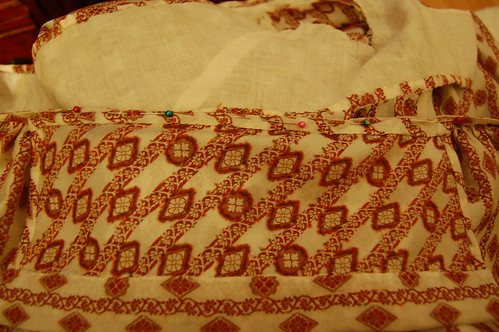
Drop Front Construction 10

Next, attach the bib. Put it right sides together with the waistband (or hemmed top of the skirt) and whipstitch it together.
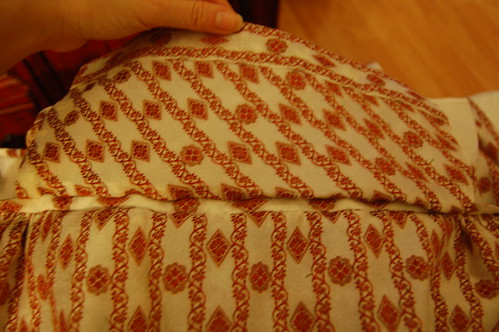
Drop Front Construction 11

Here's the pinned bib from the right side.

And that's it! Well, except for hemming and any trim you might want. It's really quite a straightforward dress!
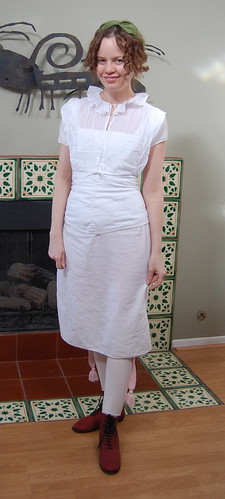
More pictures of the dress--including how you put it on--can be seen here!