Sunday, June 29, 2014

Transferring Embroidery to a Somewhat Finished Dress

I decided to do the embroidery on my Game of Thrones dress after doing most of the construction. I wanted the embroidery to go over seams, and while that's possible do do with careful marking, I almost always have to adjust the shoulder seams from my muslin to the finished dress. It's just the way different fabrics behave! So, a different plan was in order.

Embroidery Transfer--Finished Dress

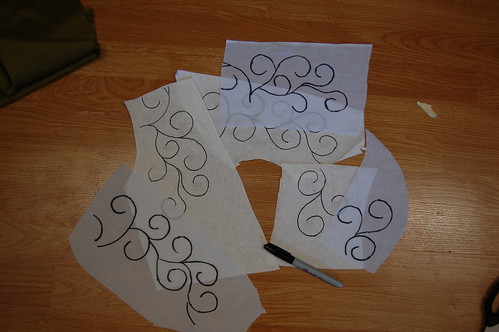
First, of course, I drew my design onto paper. I traced the bodice pattern shapes and then drew in the design. My swirly pattern is based on the leaf design that I drew all over every notebook from junior high through college (miles were drawn during my one-on-one Russian history class alone), and then rather heavily influenced by Cersei's pink dress. In other words, my vines and the round shape of her swirls. Each little swirl is going to end in a two petaled beetle wing flower.

I then traced the design onto muslin with a Sharpie.
Embroidery Transfer--Finished Dress

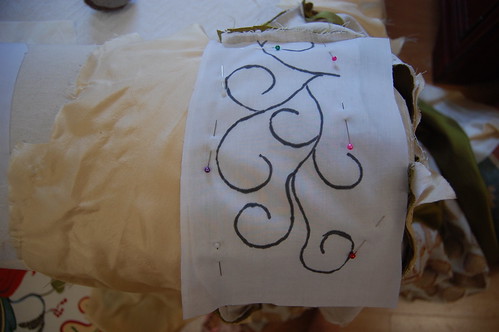
The next step was to pin the patterns into place. Try to avoid your design area as much as possible. I ended up having to move the red pin on the lower right.
Embroidery Transfer--Finished Dress

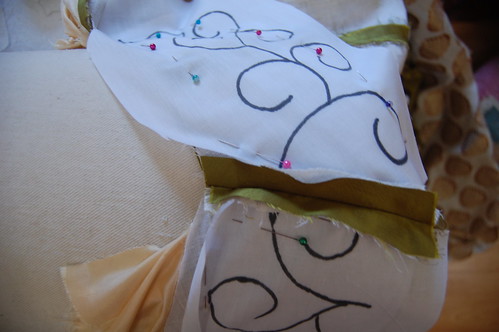
Continue around the dress, matching lines as you go. I found the arm of the couch very helpful in doing this. The curve of it made it easy to lay the dress flat.
Embroidery Transfer--Finished Dress

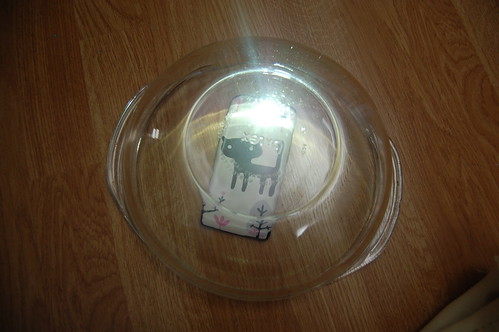
While I've previously used a window as a light box, that obviously wasn't going to work here. Just like pinning it, tracing it required curves. So, I took a round Pyrex dish and my cellphone--instant light box!
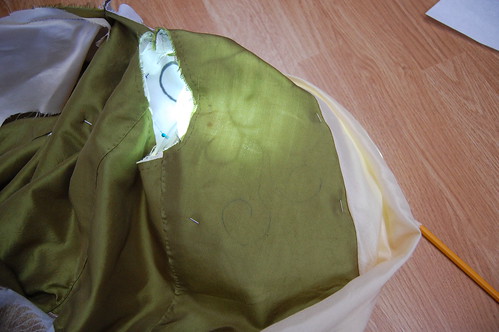
Embroidery Transfer--Finished Dress

Everything shines through very nicely!
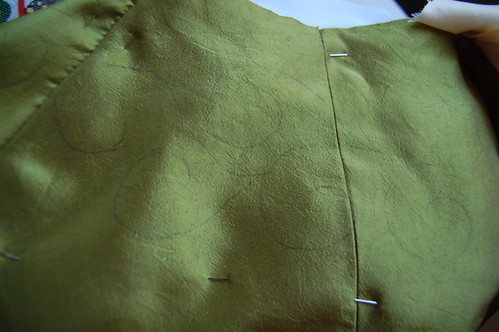
Embroidery Transfer--Finished Dress

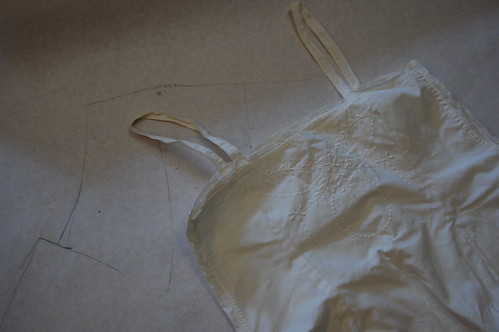
And the traced design! I used a regular pencil. My usual mechanical pencil was too sharp for the washed taffeta. Now, to bead the lines, sew running stitches near them, swirls behind them, beetle wings to the ends of the swirls, beads for stamens between the beetle wings...

Friday, June 27, 2014

Game of Thrones King's Landing Dress--Construction, Part One

GoT Construction 21GoT Construction 22

The completed dress can now be seen here!

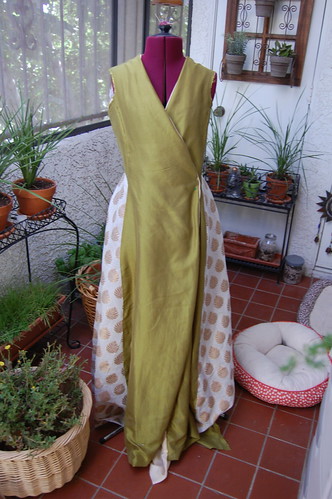
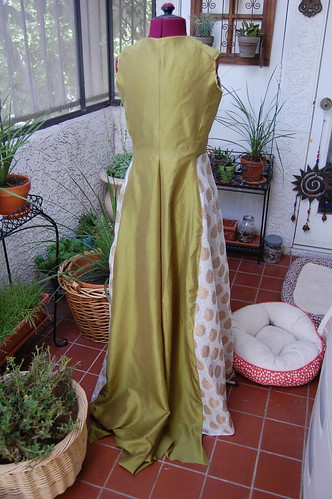
The Game of Thrones, King's Landing inspired dress has been started! If it looks a little familiar, this is because it's the full version of my Game of Thrones sundress. It's made of green washed silk taffeta, plain weave gold silk, and cotton/silk brocade from Pure Silks. The bodice is lined in the 3.5 oz linen from Dharma Trading. I'm sewing it by hand--they don't have sewing machines in Westeros, do they? :) --using mainly 18th century techniques. When I've finished the dress, I'll write a post detailing my decisions, such as why I decided to hand sew, washing the silk taffeta, etc., but for now, I'm concentrating on construction.

The dress is made of four shoulder to floor panels of silk taffeta, two underarm pieces, and two insets/gores of cotton silk brocade. The bodice is flatlined with linen, which ends around hip level. The dress will be nearly fully lined--everything except the side gores--in the plain weave yellow silk. This lining is why I'm using 18th century techniques. I want all the seams covered, but I want the lining to be attached at all seams instead of hanging free like a bag lining. I'm going to share my pattern as well. Although it is sized to fit me, I hope that the shapes will be helpful.

Part Two--lining and hem--is here.


Thursday, June 19, 2014

Lingerie Guards--A Tiny Tutorial!

Lingerie Guards 7

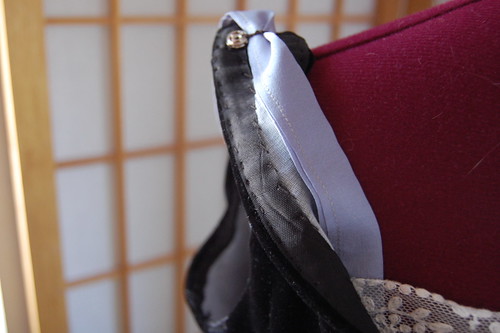
During the 1920s, dresses often had skinny straps and were worn with slips with even skinnier straps. This can lead to much frustration! One solution for this was a lingerie pin. These were pins, sometimes decorative and sometimes simple, that could be pinned into the shoulder of a dress to hold the straps. Unless I wanted to fight my straps all night, which I don't, I needed such a thing for my gala dress. I decided to put a permanent solution into my dress. Now, when I first heard about these pins years ago, I have a vague recollection of seeing a dress with them in the shoulders. However, don't take this as documentation! I'd love to see where I saw that, or another example, but I decided that I would just go ahead and make them in my dress. Mine are based on a modern dress that I own that I found right after reading about these for the first time. I was quite excited to see them in a modern dress!

Sunday, June 15, 2014

A 1920s Envelope Chemise--A Tutorial!

Envelope Chemise 19 Envelope Chemise 21

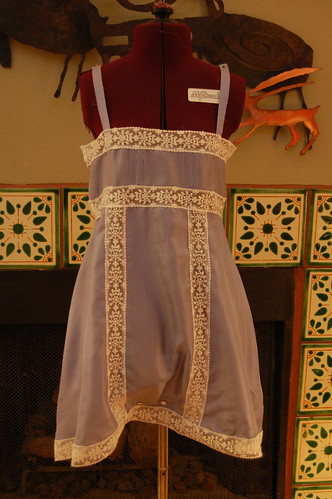
As I was working on my gala dress, a robe de style with a fitted bodice (I'll link once it's done!), I realized I hadn't really given underthings much thought. Bad me! While it's constructed to not really need underthings, I still wanted something underneath it, of course! To get an idea of what to do, I tried my new cotton teddy on underneath it. It was almost right, just a little high around the neckline, so something similar would work. I thought about doing the same, just in silk, but couldn't find any evidence of the slashed and gathered dart before 1924. My search was admittedly quick--I read through some National Cloak and Suit catalogs I have from 1921-1922 and 1924, and the 1924 had several slashed and gathered, the 1921 and 22 had none. Since my dress is dated 1922, I decided against them.

Envelope Chemise 20 Envelope Chemise 22

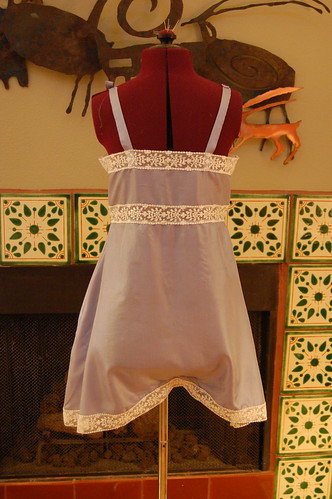
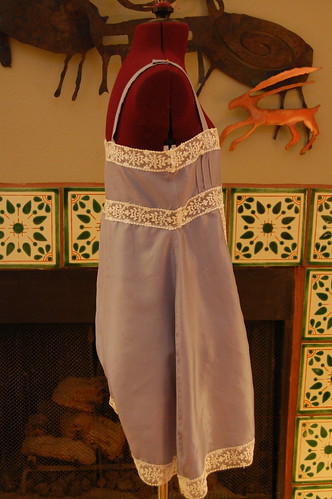
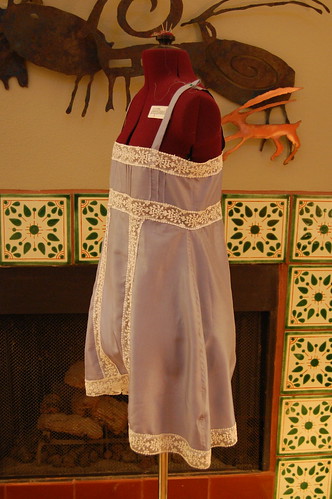
I based my envelope chemise on my cotton teddy pattern and the 1920s yoked envelope chemise in Women's Wear of the 1920s. I used my pattern for sizing. I made the yoke the width of the top, and then used the angle of the bottom half for the skirt. I made it about an inch longer. It's made of plain silver blue silk from Pure Silks and vintage lace (marked 1972, which I don't really like to call vintage!) that I bought on eBay ages ago. I browsed chemises/teddys/step-ins/etc. on Etsy for ideas about how it should look.


Saturday, June 7, 2014

1920s Step-Ins, Teddy, or Combinations--A Tutorial!


DSC_7940

Yes, I have three names for one thing in the post title. You can't step in to them, so step-ins isn't quite right, but I wanted to include it because it's so similar. Combinations was a word that had been in use for some time, and teddy was a new word. I'm just covering different options!

I received an adorable 1920s teddy as a gift. It's absolutely perfect to wear under my upcoming tennis dress, so I thought now would be the perfect time to pattern it. It's quite simple, made of a front, back, straps, and crotch piece. There's extra fullness at the hips from a slashed and gathered dart. It's made of a heavy, crisp cotton. I'm making my reproduction in Southern Belle cotton that I bought at Nancy's Notions. It's not the same weight, but it has a nice crispness and weight to it.

The teddy is mostly machine sewn, with hand sewn buttonholes, lace hand sewn on, hand embroidery, and an alteration done by hand.

I'm reproducing this fairly closely. I'm not doing the alterations, where the sides were split and lightweight fabric was added, and I'm not doing the embroidery (at least for now!). I'm doing my best to follow the techniques of the original. I'm including a pattern from the original as well. I did realize after making it that I switched the order of sewing the dart and side seam. On the original, the side seam was sewn, then the dart. I sewed the dart, then the side seam. Eventually I'm going to do a detailed write up of the original on my other blog.

On to construction!

Tuesday, May 27, 2014

Summer is Coming

Game of Thrones Sundress 10

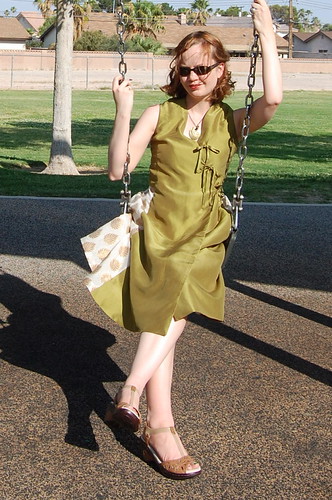
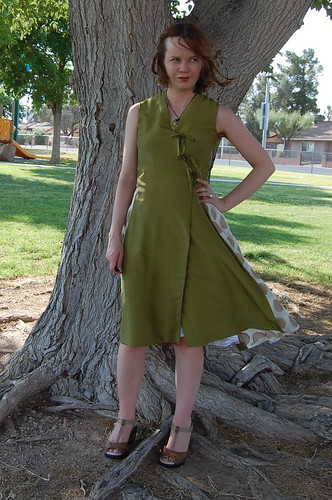
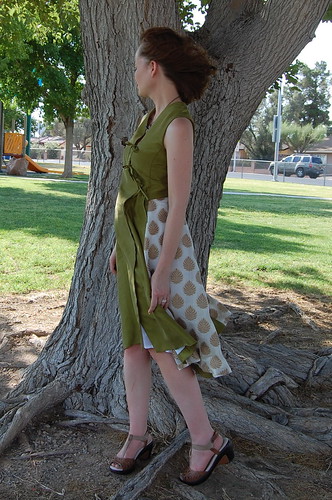
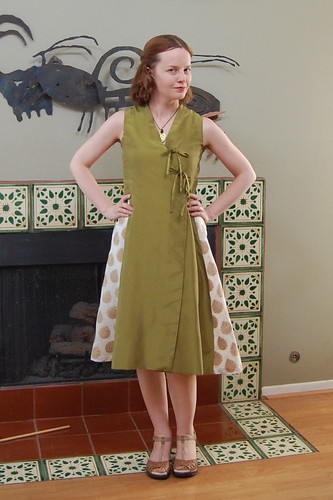
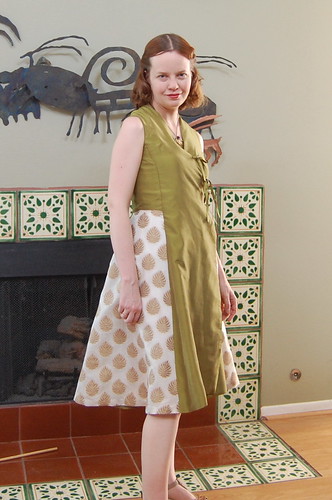
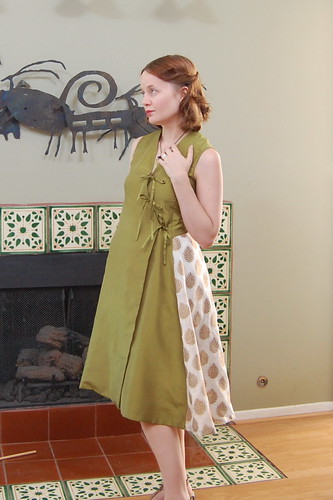
As I was trying on the mockup for my Game of Thrones King's Landing dress, I realized something--it would make a really cute sundress. Due to a change on my upcoming dress--I noticed the underskirts on the show didn't match so I wanted a purple underskirt instead of the matching green--I had plenty of extra fabric. I decided to make my dress a match to my planned dress--just sleeveless, without trim, squared at the top side panels, and shorter. My dress obviously isn't going to be a recreation, but is based on dresses of this style, and would hopefully fit in in King's Landing!

The locket I'm wearing is the sigil for House Caron of Nightsong--a nightingale. Given that that's my last name, it seemed appropriate!


Game of Thrones Sundress 09 Game of Thrones Sundress 07

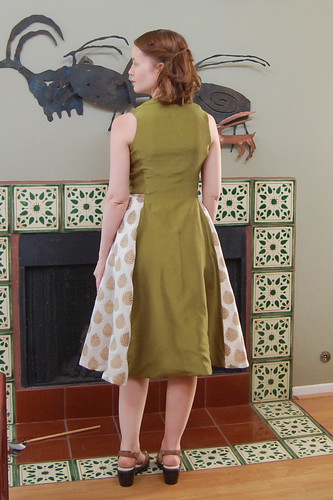
I used my 18th century linen riding habit as a starting point for the pattern. This may seem a little strange, but it had the back neckline, side back seam, and shoulder line I wanted. I drafted out the center back seam, added a princess seam and changed the front shape to crossover.

I'm glad that I got a picture of me looking somewhat murderous. It seems appropriate!

Game of Thrones Sundress 15 Game of Thrones Sundress 08

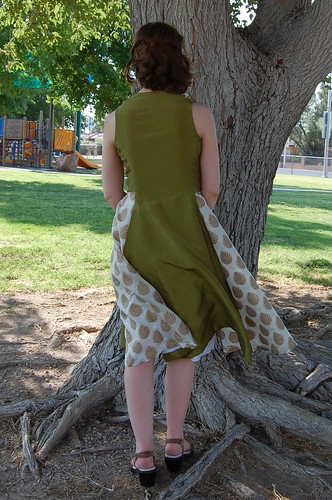
The dress is made of green silk taffeta, silk cotton brocade, and yellow plain silk from Pure Silks. It's lined with leftover linen from my cotehardie from William Booth Draper, and grey linen from Burnley and Trowbridge. The inner silk tie is leftover from my gold 1920s dress and is from Silky Way on eBay.

Game of Thrones Sundress 03 Game of Thrones Sundress 02

And now some pictures without wind! And 102 degree heat (summer is here--don't mind the calendar). To make the taffeta drape more softly, I washed it with a little baby shampoo. I think the dresses on the show are custom dyed silk taffeta. They have that slightly less lustrous look of washed silk taffeta.

Game of Thrones Sundress 14 Game of Thrones Sundress 04

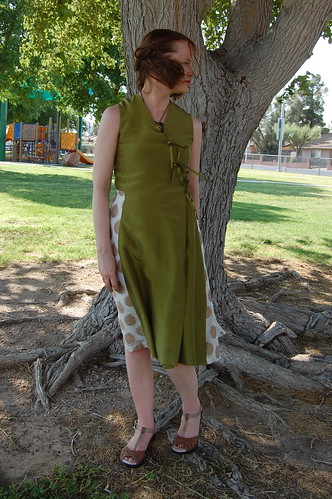
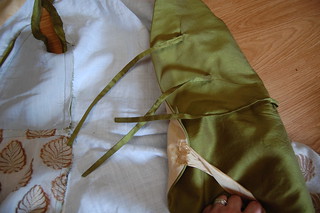
The dress ties at the inside waist and outside. These are the only closures. The green ties are tubes of fabric that I slip stitched shut by hand. Easier than dealing with very narrow tubes!

Game of Thrones Sundress 11

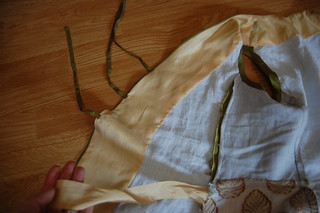
The inside of the dress. I want to finish a few more seams, but that'll just be the very Victorian hand whipping. The side panels are lined in grey linen, not white. I cut the side panels too small, using the last of the white linen. I'm quite happy that I had grey linen in a similar weight! The side panels are unlined. Since they're slightly sheer, this means I need to wear the dress over a slip. This is also useful since the front does open a bit in the wind!

Game of Thrones Sundress 12 Game of Thrones Sundress 13

The ties are all sewn on by hand so they'll be invisible on the outside.

I plan on doing a very detailed post once I make the full version. I want to do a few things differently, and though it'll be quite a bit more elaborate, though the basic dress will remain the same.

I'm quite excited to have a version of the dress that I can wear in the real world!

Saturday, May 17, 2014

More Hemstitching!

One of my costumes for Costume College this year is a 1920s tennis dress. This would be my third tennis dress. You'd think I played instead of being one of the least athletic people on the planet!

The dress is going to be fairly straightforward. A sleeveless bodice with a squared neck, drop waist, pleated skirt and belt. It's going to be trimmed with hand hemstitching. My dress is mostly inspired by this dress at the V&A, with a little of this dress on Etsy thrown in.

Hemstitching--Size Testing

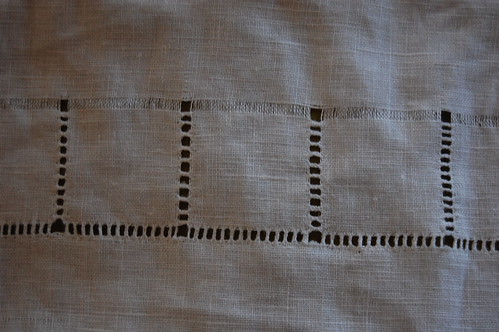
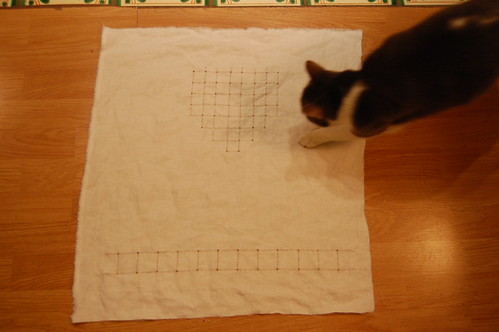
I've started the hemstitching on the dress, at the waist level. I pulled five threads since my trial run (of about two inches) in four threads was slightly narrow. I then sewed the pulled threads in sections of five. What I discovered though, as seen on the leftmost vertical bar, is that five vertical threads did not equal five horizontal threads. On the next bar, I pulled a sixth thread and kept up the square theme by sewing six threads at at time. Though the width was closer to the horizontal hemstitching, the bars were faced too far apart. I tried sewing five threads, and still a little too far. I tried again with four threads--the rightmost vertical bar--and they matched. I'm very happy that for once, I started in the least visible place. I don't mind several slightly different sized bars at the side waist, but it wouldn't have worked at the neckline!

DSC_7758


I once again learned from my 1927 Butterick's Art of Dressmaking. Hand hemstitching really is quite simple, if not as fast as machine hemstitching! To do it, you pull threads in the shape of your design, which does limit you to straight lines. Here you can see Petal investigating my work.

Then you secure your thread at the bottom left of a row of pulled thread, and working left to right, wrap your needle around however many threads, pull them into a little bunch, and sew a stitch at the bottom right, and continue. Then go back and do it in the other direction. Or leave the other side alone, or do half a bunch at time on the other side for serpentine hemstitching, which I haven't tried yet.

You do the hemstitching on the wrong side of the work. That way the wrapping thread doesn't show as much.

And because the book can probably explain it better than I can, below the cut you can see a badly Photoshoped picture of all the information I used. I'm doing the double hemstitching which is really just sewing the bunches of threads on each side. The directions are for hemming, but you can of course pull threads anywhere for your design.