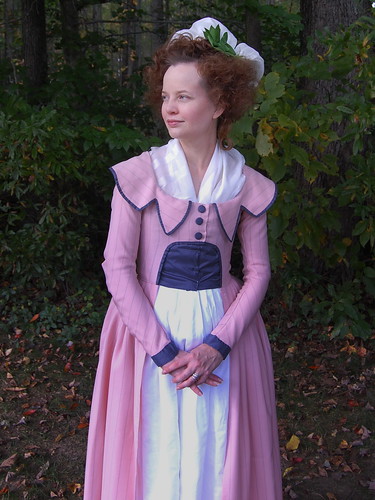
When I had the amazing opportunity to attend my friend Jenny-Rose's 18th century birthday house party, I knew it was finally time to make the redingote that didn't get made for 2013's Williamsburg trip. I turned to Pinterest and decided on this style of redingote. I very happily found an extant redingote in this style, which clearly showed a waist seam and a separate collar. The separate collar was perfect--no figuring out lapels? Excellent!
The redingote is made of wool from William Booth, Draper,, lined with linen from Burnley and Trowbridge, trimmed with silk taffeta from Pure Silks and worn with a petticoat of striped cotton voile, also from Pure Silks. It's worn over a shift, stays, split bumroll based on Aubry of A Fractured Fairytale's bumroll. Kendra of Demode has also done a redingote tutorial and approached it differently than I did mine, of course ending up with fabulous results!
But, onto construction!
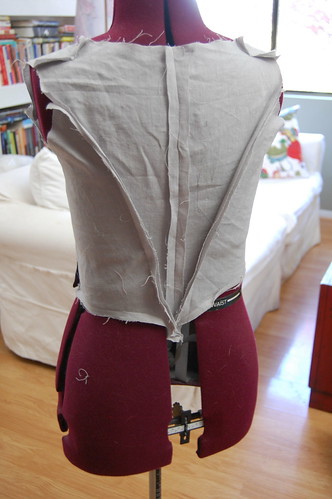
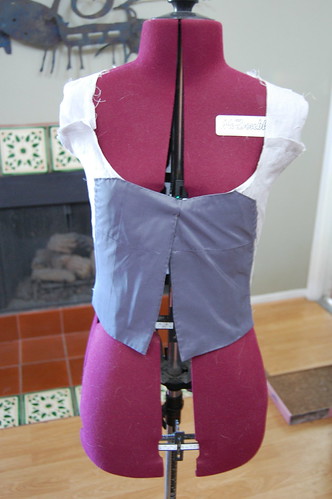
As with my other 18th century dresses, I started with a fitted lining and a mostly me sized dressform. I raised the back neckline of my basic 18c bodice to match the style of collar on this dress. I topstitched the silk for the stomacher to the lining. I folded up the bottom edge of the lining to make waist finishing easier.
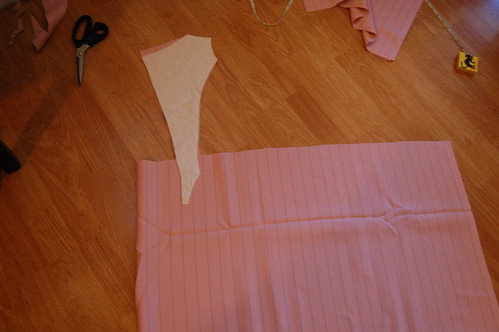
The backs of redingotes were somewhat en fourreau--they had two back panels that extended into the skirt with a box pleat in between them and a pleat on either side. It can be seen in this dress from the Fashioning Fashion exhibition. It's rather similar to the back pleats on an 1880s bustle bodice.
To cut these pleats, I took my pattern piece and placed it in a little way from the center back fold. I then cut the rest of the skirt.
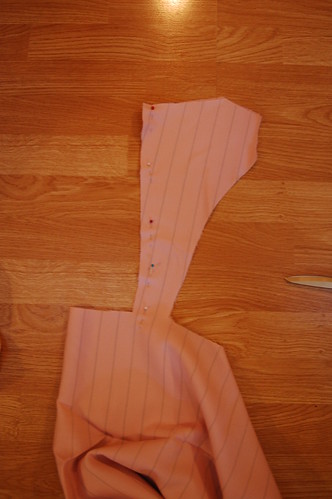
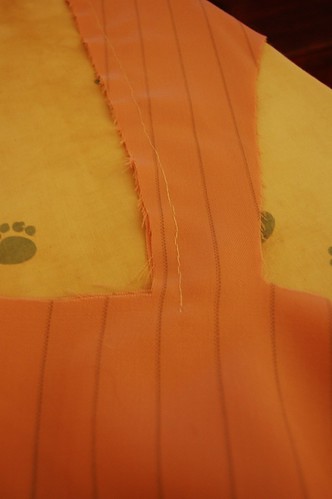
I then sewed the center back seam. It extends into the skirt. I actually didn't sew it far enough into the skirt. Once it was mostly constructed, I had to sew it down about another two inches, which was a lesson in awkwardness!
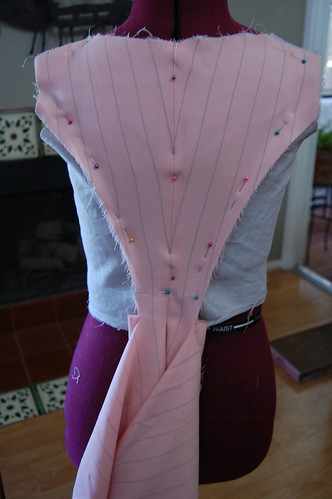
Next, I pinned the wool to the lining. I matched center back seams, side seams, and shoulder seams.
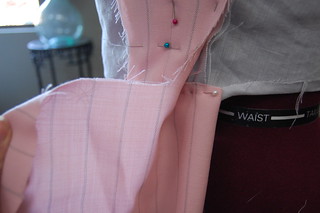
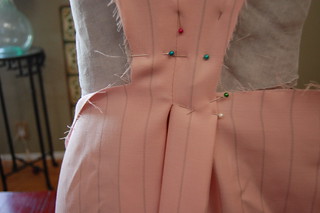
The center back seam was easy to shape into an inverted box pleat. I pinned it to the lining, then pleated the other half of the back into a box pleat.
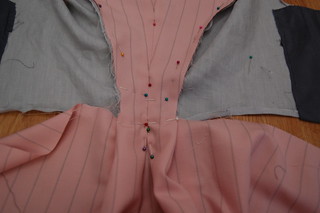
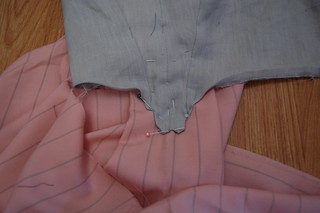
The next few steps are easily done off the dressform. I turned it to the wrong side and pinned the skirt to the lining.
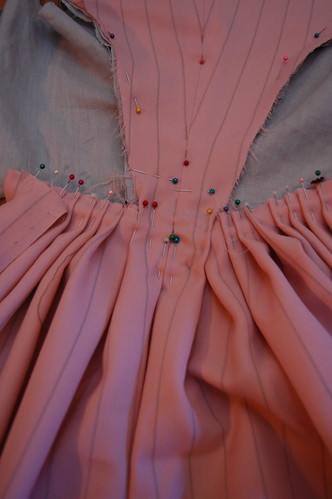
I then pleated the rest of the skirt. The pleats end at the front stomacher.
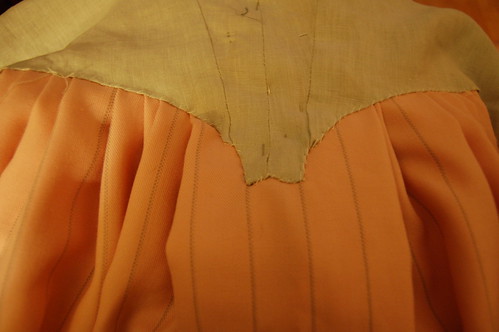
From the wrong side, I whipstiched all of the pleats into place.
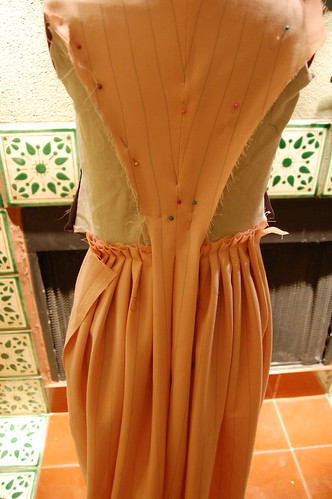
Here's what it looks like back on the dress form. I find the next steps easier this way.
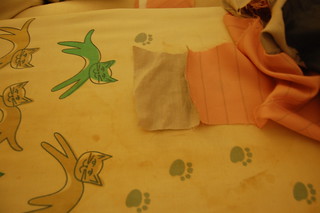
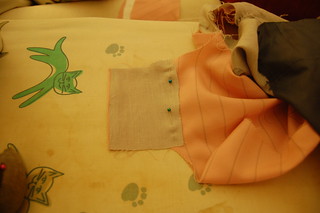
To prepare the center front, I cut out a curved shape based on the fashion plates and extant dress. I then faced the front edge with linen.
To attach the bodice fronts, I used the same technique as my en fourreau gown. You fold the seam allowances under, position them, and sew them using a spaced backstitch. It's important to not sew the top inch or so to the lining so that you can insert the collar.
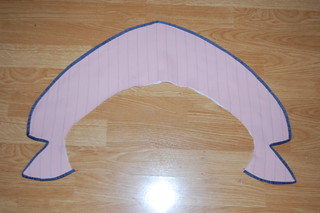
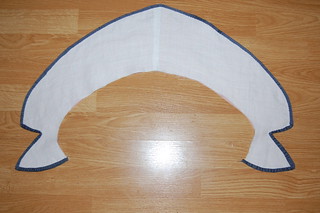
The collar is straightforward. I traced the shape of the neckline, drew a partial circle shape around it, and played with it until I liked the shape. I lined it in lightweight linen and bound it with a straight strip of silk taffeta.
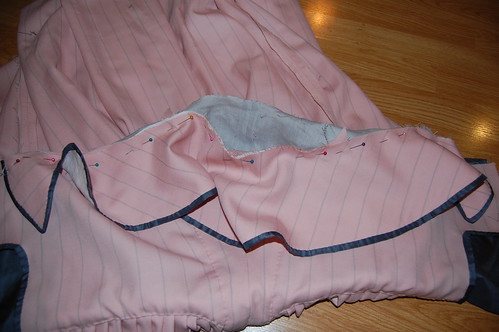
I then pinned the collar to the wool neckline of the dress, the right side of dress to the wrong side of the collar.
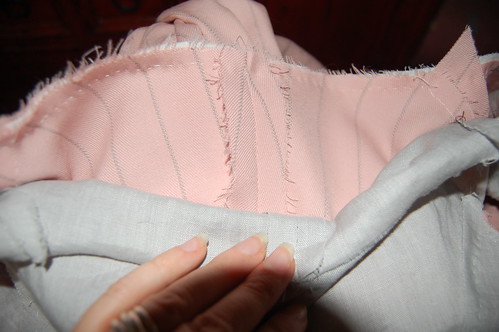
The collar is sewn with a running stitch. Here you can see that the lining is loose.
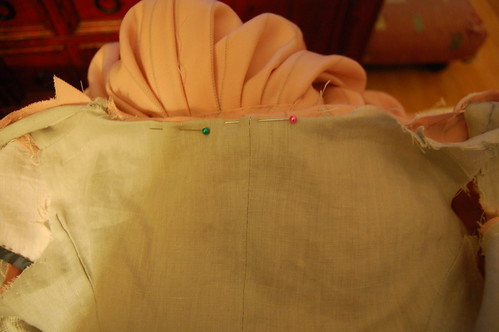
The bodice neckline seam allowance is folded in, and the seam allowance of the lining is then folded in and pinned to the neckline. This is based on the construction of my original 1790s bodice.
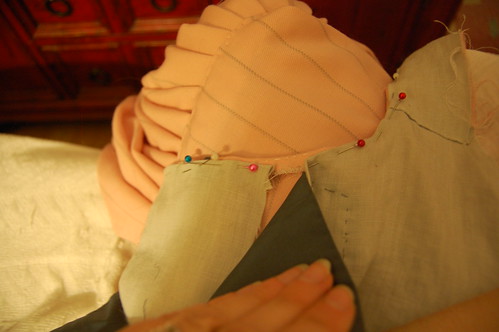
The entire neckline of the dress is treated this way. I left out the silk stomacher, but that could just as easily be hemmed as part of the neckline.
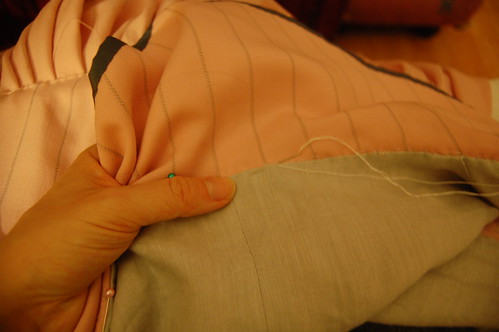
Once it was pinned, I just whipstitched the lining to the collar.
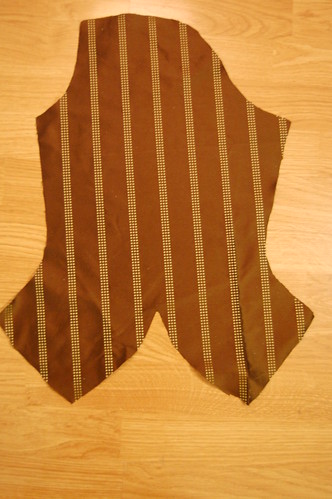
And that's basically it! I have left off sleeves, but they're set quite normally, just like a modern sleeve. The shape is basically the same as the sleeve for my brown jacket, which is pictured below. It's just longer and has a smoother cap, without the corner.
The redingote pins shut at center front, first the silk stomacher, and then the wool. It has three silk covered false buttons on the wool portion of the dress. Buttonholes are accurate as well, but I rarely make those if there's any other option!

Super cute!
ReplyDeleteThank you!
DeleteOh my gosh, thank you for providing that EXCELLENT picture of the back of the gown - I'm trying to recreate this gown and that's the only picture I've seen where the construction details are clear enough!
ReplyDelete