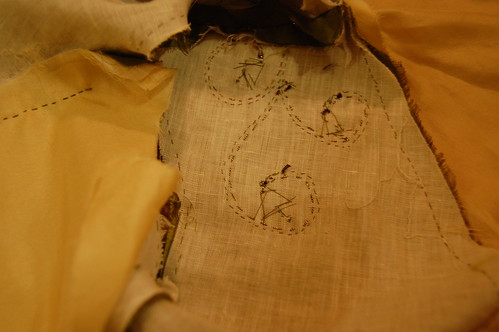
Here's where we left off, with the addition of the beetle wing embroidery and beading. The main seams are sewn, and the lining is attached to the front edge and side panel. One thing--see that running stitch attaching the front lining? It really needs to be a back stitch. Or machine stitch, for that matter. That front stretched a little too much!
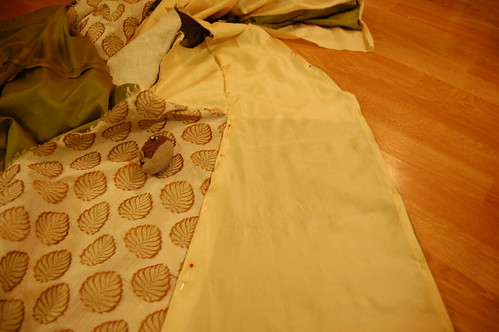
Fold the front lining to the inside. Pin it down the center front edge to give it a little stability, smooth it to the side seam, fold the seam allowance under, and pin it down the length of the side seam.
This is an excellent lining technique for full skirts. It gives you the benefits of both flat lining and bag lining with the disadvantages of neither--the seams aren't exposed as in flat lining, and the lining doesn't hang too freely as in bag lining.
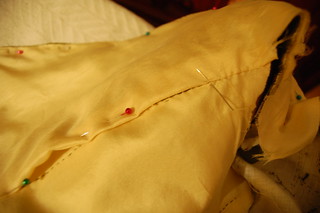
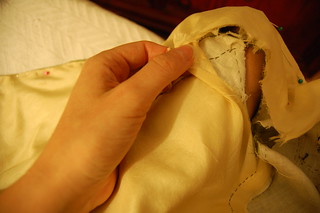
Whipstitch the pinned edge to the lining. For the top inch or so, where the lining isn't sewn to the main dress, be sure to just sew the lining to itself. Eventually, you'll sew the sleeve to just the main dress and cover the seam with this lining.
Leave the shoulders alone for now.
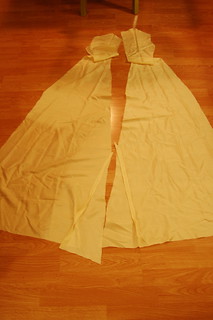
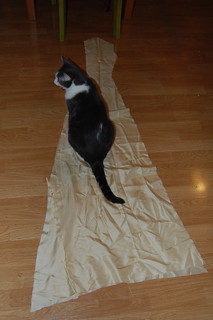
I had to piece the back because my lining silk wasn't as wide as my green silk. You can see this in the picture on the left. Once I pieced the silk, I used a running stitch to sew the center back seam. I just treated the pieced pieces as one, ignoring the seam there.
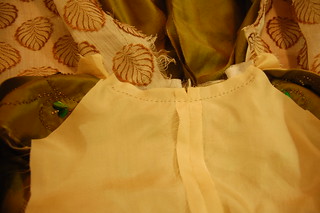
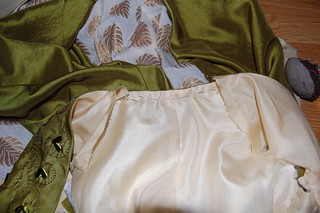
After pressing that seam open, I pinned the lining to the neckline of the dress, right side to right side, and sewed it from shoulder seam to shoulder seam. I then turned the lining to the inside, and pinned the neckline edge.
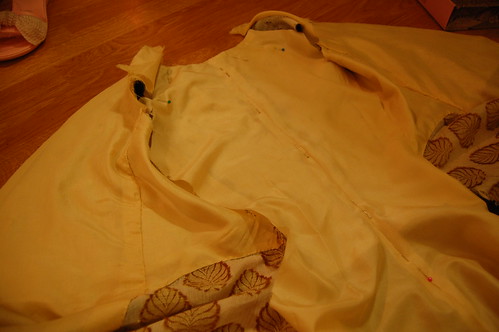
I then smoothed the lining down, and pinned it at the shoulders and down the center back seam, matching the seams of the lining and dress.
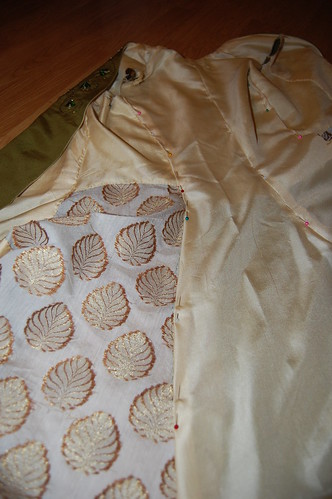
This step is the same as the front lining--smooth the lining to the side seams, turn the seam allowances under, and pin into place. Whipstitch this down.
I unfortunately didn't take a picture of the shoulders, but the procedure is the same. Fold the seam allowance at the front of the shoulders under, pin to the back shoulders, and whipstitch. For this seam, I only sewed the lining to the lining, to make the sleeve easier to set.
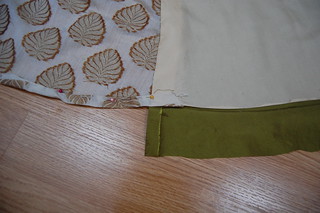
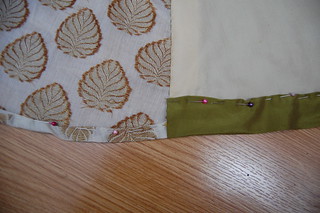
With the lining in, it was time to hem. I used the same hemming technique I used in the cotehardie hemming tutorial. To deal with the change from the side panels to the main dress, I first hemmed the side panels, and then hemmed the main dress over it. The seam allowances were already pointed away from the side panels.
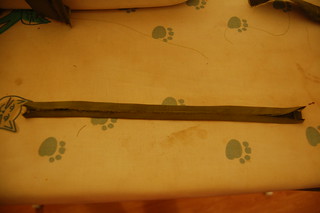
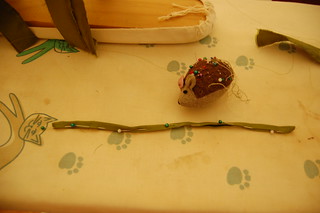
To avoid turning tubes to make the ties that close the dress, I cut strips four times the width I needed, ironed the edges in to the center, ironed down the center, pinned, and slipstitched shut. The dress closes with three functional ties on the outside, and one internal tie on the inside.
And now, the dress is ready for sleeves!

Ooh! Ooh! Ooh! How exciting!!! This is going to look so AWESOME! I so very much love the colors....
ReplyDeleteBlessings!
Gina