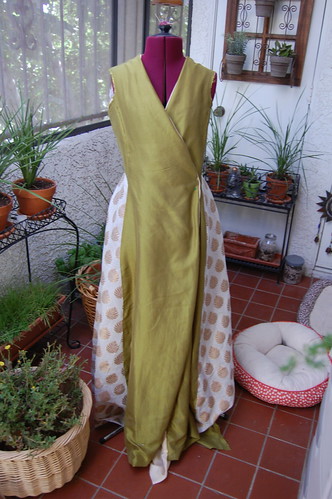
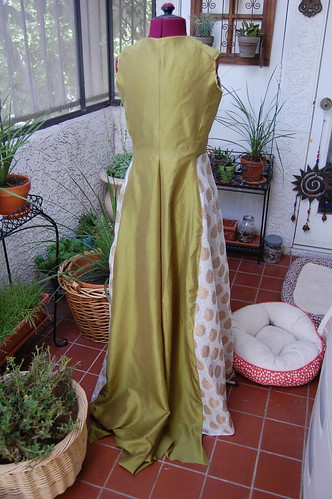
The completed dress can now be seen here!
The Game of Thrones, King's Landing inspired dress has been started! If it looks a little familiar, this is because it's the full version of my Game of Thrones sundress. It's made of green washed silk taffeta, plain weave gold silk, and cotton/silk brocade from Pure Silks. The bodice is lined in the 3.5 oz linen from Dharma Trading. I'm sewing it by hand--they don't have sewing machines in Westeros, do they? :) --using mainly 18th century techniques. When I've finished the dress, I'll write a post detailing my decisions, such as why I decided to hand sew, washing the silk taffeta, etc., but for now, I'm concentrating on construction.
The dress is made of four shoulder to floor panels of silk taffeta, two underarm pieces, and two insets/gores of cotton silk brocade. The bodice is flatlined with linen, which ends around hip level. The dress will be nearly fully lined--everything except the side gores--in the plain weave yellow silk. This lining is why I'm using 18th century techniques. I want all the seams covered, but I want the lining to be attached at all seams instead of hanging free like a bag lining. I'm going to share my pattern as well. Although it is sized to fit me, I hope that the shapes will be helpful.
Part Two--lining and hem--is here.
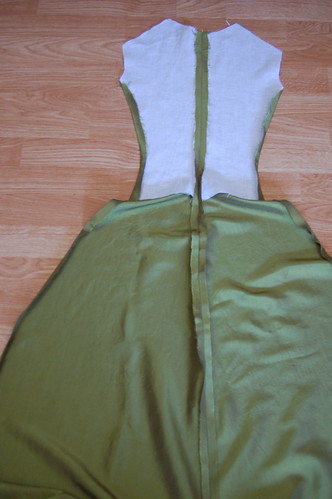
My first step was to sew the center back seam. I used a backstitch on the bodice, and a small running stitch on the skirt. This, obviously, could just as easily be done by machine!
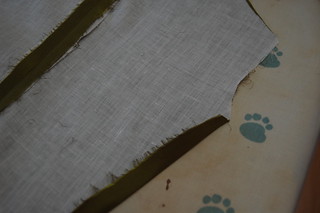
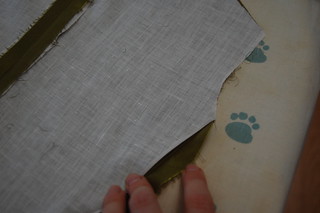
I then trimmed the seam allowance of the linen to prepare for the lapped seam on the side panel so the finished seam would be less bulky, and pressed the silk seam allowances down the entire length of the panel.
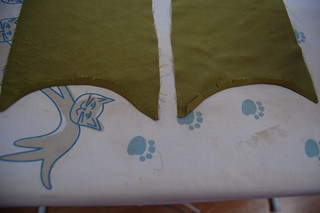
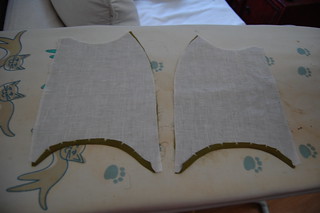
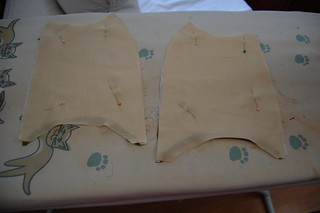
Next, I clipped the bottom of the silk for the underarm pieces and pressed the seam allowance up. I then trimmed the linen lining, put the two layers together, and pinned the silk lining on top of that.
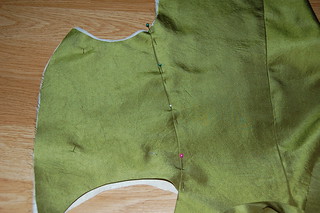
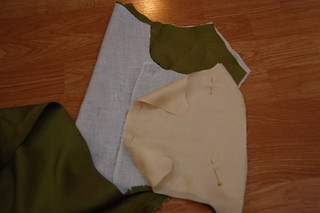
I then pinned the side piece to the back piece. I left the top and bottom of the yellow silk loose, so that those edges can later cover the raw edge of the armscye and the top of the brocade gore. This is an 18th century seam finishing technique. This seam is based on Cersei's aqua bird dress and pink dress, both of which have topstitched seams. (If I had done this by machine, I would've left the silk out entirely, and added it when I finish the dress lining.)
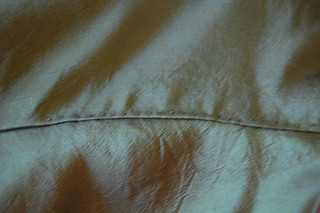
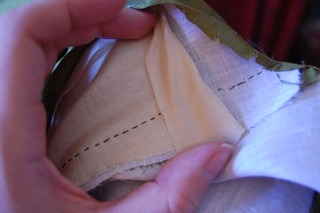
I then sewed the seam with a spaced backstitch. It's very easy to leave out part of the lining when you do this by hand. This allows you to turn this edge under to cover raw edges.
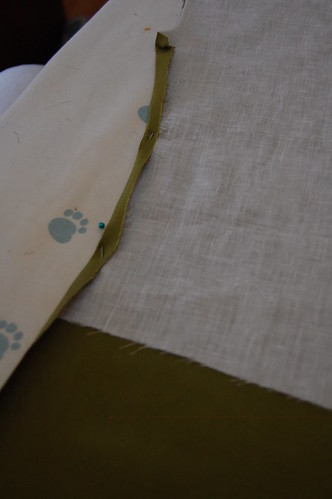
I then repeated the trimming and pressing of the seam allowance on the front piece. In this picture, you can see how I continued pressing the seam allowance past the bodice lining. Then pin the front piece to the side piece, and sew, leaving out the top and bottom inch of the silk lining as before.
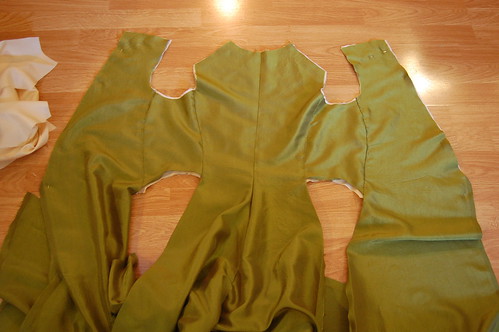
And here's what the dress looks like now!
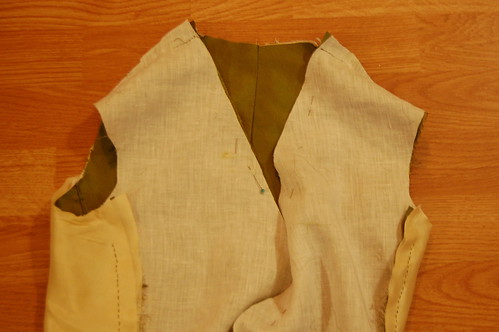
Sew the shoulder seams.
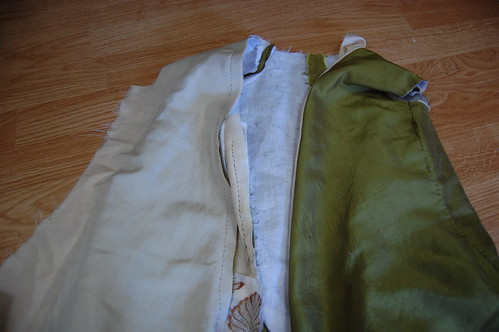
Although I'm going to be embroidering the dress before finishing the lining--through just the taffeta and linen--I wanted to stabilize the front so the bias wouldn't stretch. I could've stay stitched it instead, and in fact just ran a running stitch around the armscyes, but this felt more secure for the front. I sewed the front lining/facing in, from the shoulder seam to the hem, using a running stitch. (Ignore the skirt gores. I took pictures out of order.) This is just the yellow silk cut to the same size and shape as the green silk piece. I recommend using a backstitch on the bias part of the neckline. I didn't, and my neckline stretched a little. The running stitch wasn't quite enough to stand up to all the trimming I did. Machine sewing should be fine as well :)
On the left side of the picture, you can see the lining sewn in. On the right, it's flipped under.
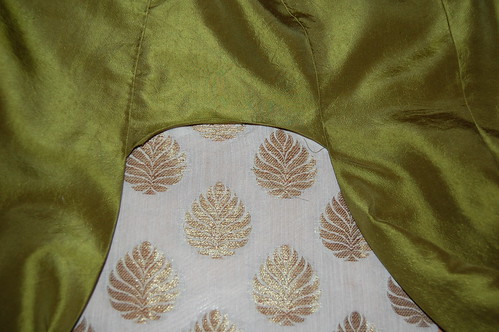
Now, the side panel! I topstitched this in, using a running stitch on the skirt sides, and a spaced backstich on the waist. This join will eventually be covered with Italian wire mesh ribbon.
Place the side panel into the empty area left for the gore. Pin the seam allowance to the panel. This can also be done by machine, right sides together, like I did for my sundress. I found it much easier to control this way though!
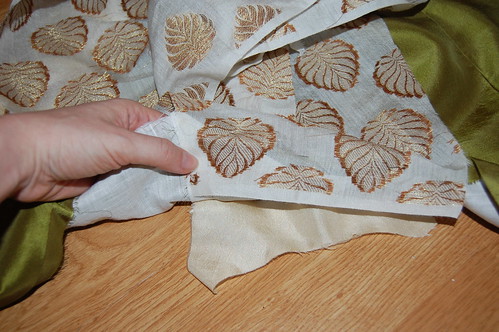
Be sure to keep the silk lining separate. Later, you'll turn the seam allowance under and sew it to cover the raw edge of the gore.
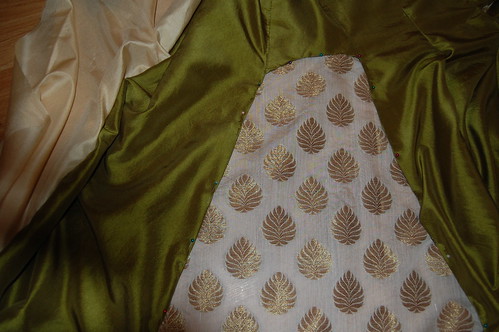
And here's the piece pinned in.
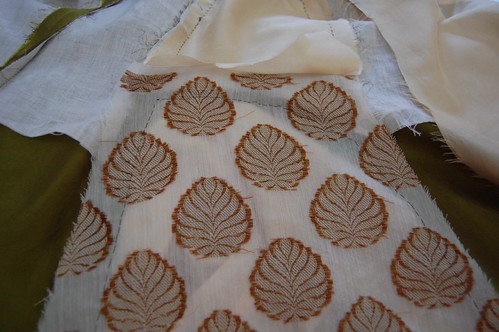
And here it is from the wrong side. You can clearly see that the silk lining isn't sewn in. It also lies very nicely this way--it's very flat without pressing, and will give a very nice edge to sew the mesh ribbon to.
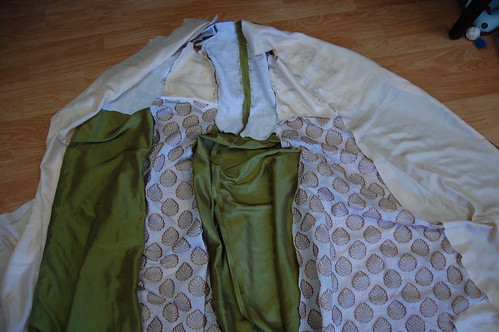
And here it is from the inside! It is definitely a lot of dress!
And that's it for this part of the tutorial. This probably isn't the most logical place to stop, but it's where I am right now, and probably where I'll be for a while, so best to get this written. Next up, embroidery! And sleeves! The sleeves are already drafted, but I'm going to wait until I'm done with the bodice embroidery to put them in. I will, however, make the sleeves before that's done. Always such a load off, getting sleeves done!
Until next time!

Ooooooooooo....this is gorgeous! I love your fabric choices! And hand stitiching....again I am awed and inspired!!! Can't wait to see it completed!
ReplyDeleteBlessings!
Gina
This is my new favourite thing ever - thank you so much for posting this! Finally worked up the nerve to try historical costume (I've been terrified of looking like a wonky Lydia Bennet for years!) and to see a pro at work is an absolute godsend!
ReplyDelete