If you've ever wondered how 18th century stays had such a narrow binding, this is how. Instead of cutting all layers to the edge and binding, a seam allowance was left on the top layer of the stays, which was then wrapped to the wrong side and hemmed, essentially binding the stays before adding the binding.
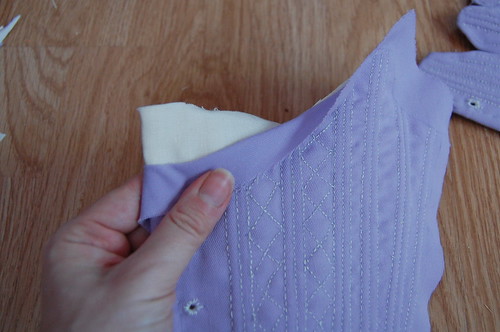
Here's the seam allowance on the top of the stays. Right now, it's all layers of the fabric. Inserting the boning is much easier this way.
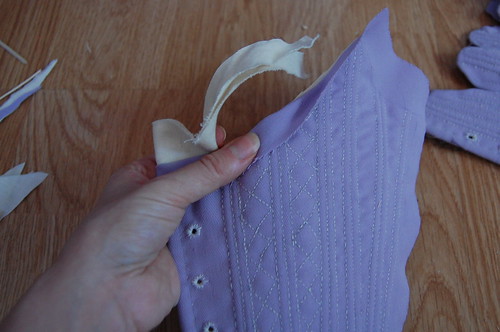
Only the inner layers of the stays are cut. The top layer seam allowance is left in place.
Sew the panels of the stays together. No need to do it by hand like I did, unless you're like me and actually think it's fun to hand sew stays!
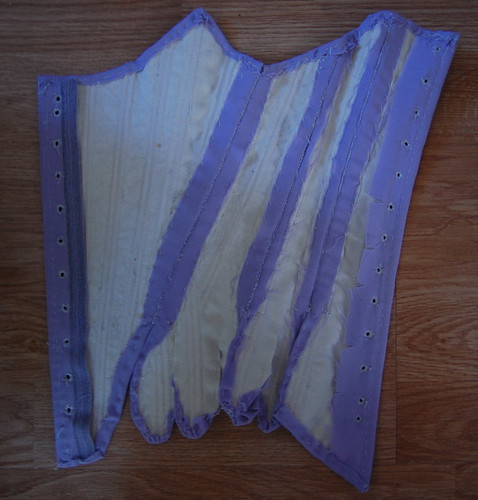
Once the panels are sewn together, fold the excess seam allowance to the wrong side and hem it to the lining.
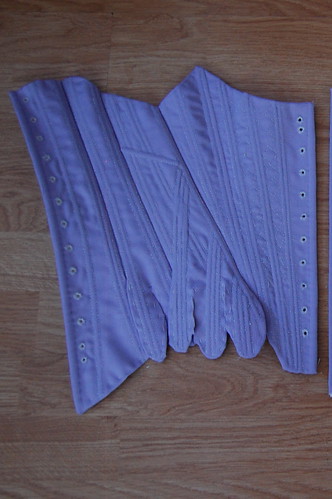
Here it is from the right side. Now, when you bind the stays, you're not doing it to finish the edge because it's already finished, but rather binding to finish the edge more nicely and provide a little extra strength at the seams.
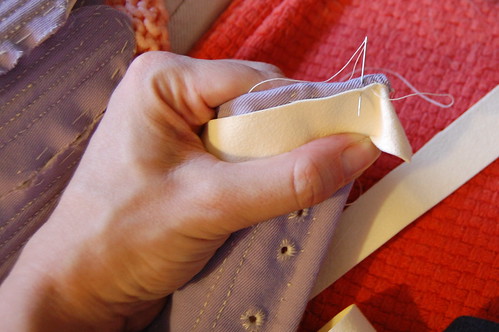
Bind the stays however you like. I used ultrasuede (also on Nicole's recommendation!). I'm afraid to get the truly narrow binding though, it does have to be done by hand. You want to catch the top of the hem more than anything else.
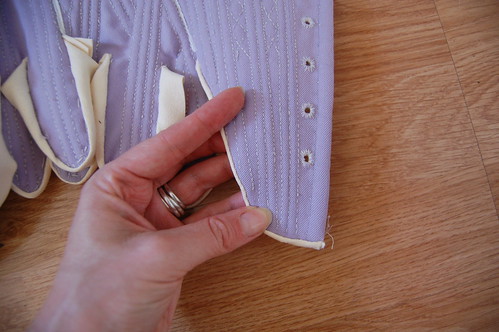
And nice, tiny binding, just like real 18th century stays!

This is brilliant! I was ready to throw my stays across the room after trying to attach 1/4" double fold bias tape to all those layers. I'm definitely using your method instead. Thank you!!
ReplyDeleteThis comment has been removed by a blog administrator.
ReplyDeleteThis comment has been removed by a blog administrator.
ReplyDeleteThis comment has been removed by a blog administrator.
ReplyDelete