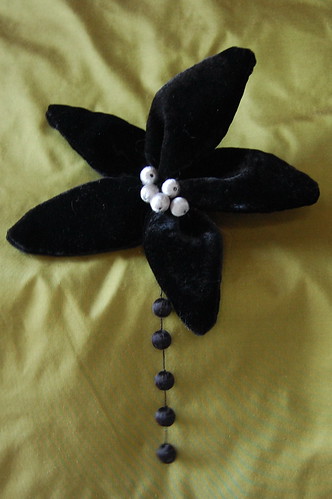
A mostly completed flower--it's going to have another string of black beads.
My gala dress for Costume College this year is a 1922 evening dress pictured in Harper's Bazar. The skirt is "strung with a dramatic garland of black velvet flowers and silver berries." Who can resist that description? I've made a small change to the design. On the original, the beads were between the flowers. In my memory, the beads were part of the flower. I decided to do it this way, both because I liked the look, and it's admittedly easier to sew the beads to the flowers! I think I'm going to need about 12 flowers, so 60 silver beads and 120 black beads. You also don't need as many beads sewing them to the flowers, which is quite a nice benefit!
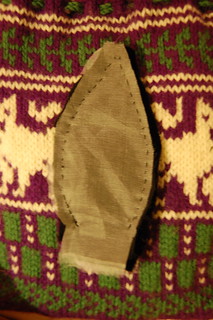
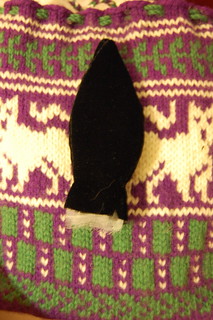
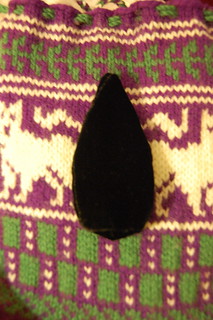
The flowers are quite simple. They're quite large and need to be stiff, so I used two pieces of velvet, and then two of organza. I sewed around the edge by hand, leaving the squared off part at the bottom unsewn for easy turning.. Machine would work quite well too, except for the velvet part. Then flip it right side out, tuck the ends in, and press, using a fluffy towel below. The top side did get a bit crushed when I ironed, but I'm just making sure that's the back. It didn't get flat enough when I ironed it between a towel, so figured that was a good compromise.
And the backdrop for my work is my Medievalish Kitty Bag. I use it as a small sewing bag.
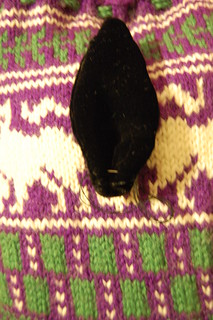
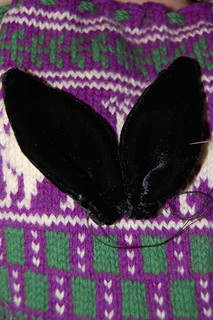
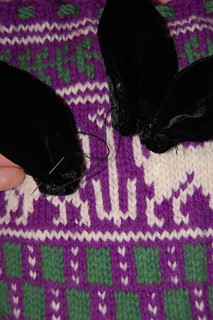
Make five petals. Take one big stitch at the base of the petal, as shown in the first blurry picture. Secure the thread in back on the right, come to the front, take a stitch through the left side. Repeat with the next petal, and the next.
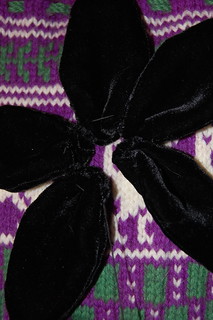
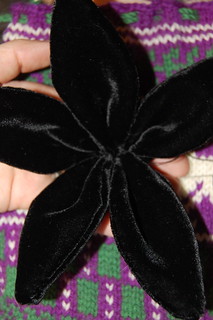
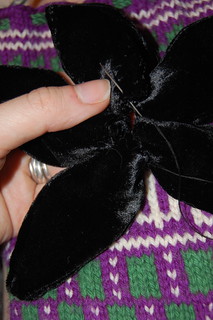
Continue until you've done all five petals, then sew through the first petal again. Turn the flower over, and take a few stitches across the backs of the flowers to secure everything, and you're done with the flower!
The beads are made of these acrylic beads from Etsy, and flat embroidery silk from the Japanese Embroidery Center. I initially tried these with wood beads, but the filament silk snagged horribly on them.
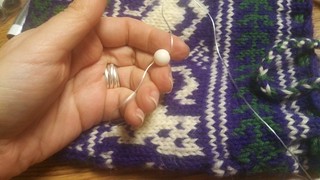
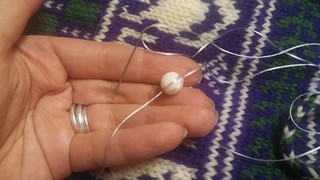
To start, cut a very long piece of thread--I'm using about as long as my outstretched right hand to my left hand--and thread it thought the finest needle you can. Thread it through the bead and leave a tail about 5 or six inches long. Then keep wrapping and wrapping and wrapping until it's done. Some of them I've wrapped right next to the last wrap, some I've moved around. As long as everything is covered, it works.
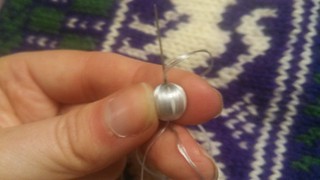
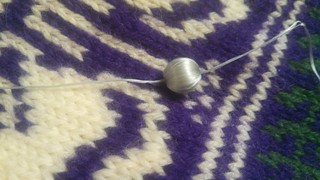
Little spots like this are easy to fill in with the flat embroidery floss. It's untwisted, so the fibers spread and lay flat. When it's done, you'll have two threads--one from each side of the bead.
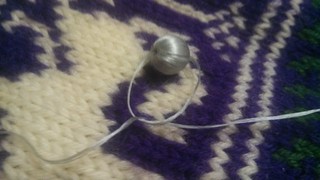

Tie these threads, and scoot the knot so it's centered over one of the holes. Tie again to finish the knot.
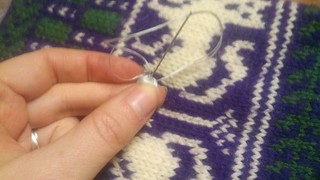
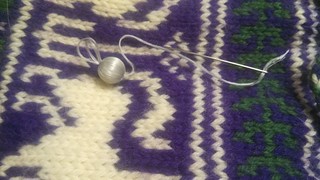
Thread both threads and thread them through the same needle. I used a larger needle here. Pass the threads through the hole, and pull tight.
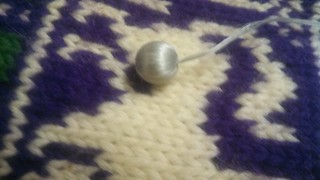
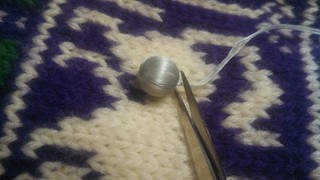
Both threads through one side of the bead! You have a choice here. I wanted the beads to dangle a bit on silk beading cord, so I trimmed it. You could also leave the extra length and sew it with it.
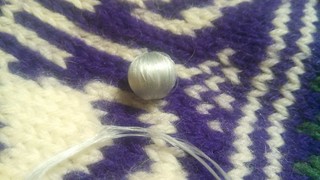
The finished bead, ready to be strung!
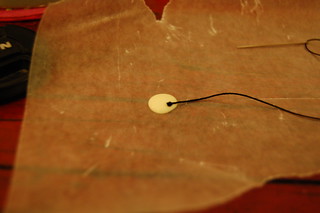
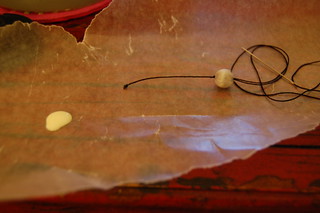
To thread them on the beading cord, I put a knot in the thread and glue on the knot. Then pulled the thread through the bead as hard as I could so the knot would settle into the threads of the bead.
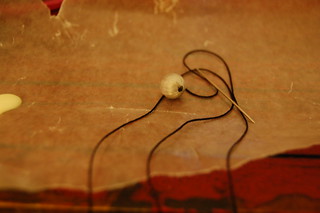
The strung bead! To make the string of beads in the picture above, I tied another knot above the bead, like stringing pearls, tied another knot about an inch above that, a knot above that, and so on.
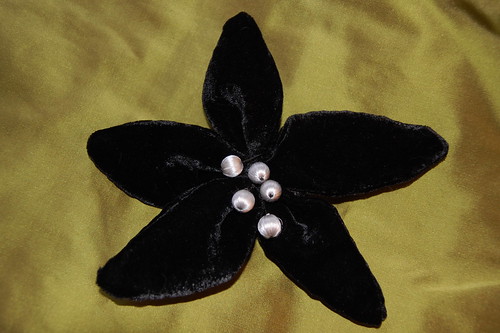
To sew the beads to the flower, I just sewed it through the front, figured out how much I wanted it to hang, and took a few stitches in back.
Now, to sew 9 more flowers, and 168 more beads!

What a fun and inspiring tutorial!
ReplyDeleteI'm sure the end result will be quite stunning! I look forward to seeing it.
ReplyDeleteBest,
Quinn