
As I was working on my gala dress, a robe de style with a fitted bodice (I'll link once it's done!), I realized I hadn't really given underthings much thought. Bad me! While it's constructed to not really need underthings, I still wanted something underneath it, of course! To get an idea of what to do, I tried my new cotton teddy on underneath it. It was almost right, just a little high around the neckline, so something similar would work. I thought about doing the same, just in silk, but couldn't find any evidence of the slashed and gathered dart before 1924. My search was admittedly quick--I read through some National Cloak and Suit catalogs I have from 1921-1922 and 1924, and the 1924 had several slashed and gathered, the 1921 and 22 had none. Since my dress is dated 1922, I decided against them.
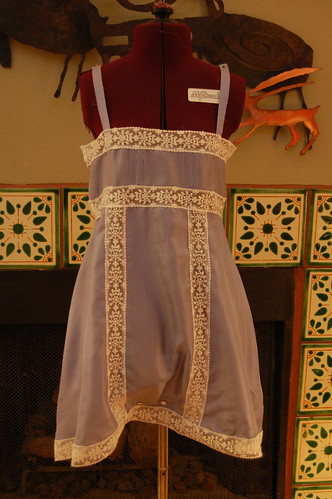
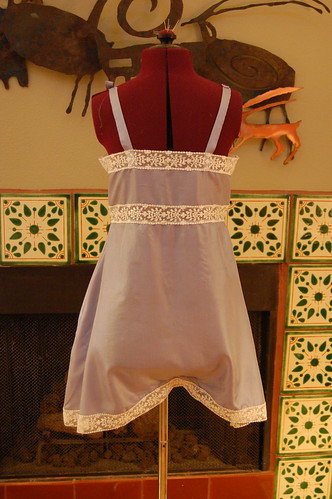
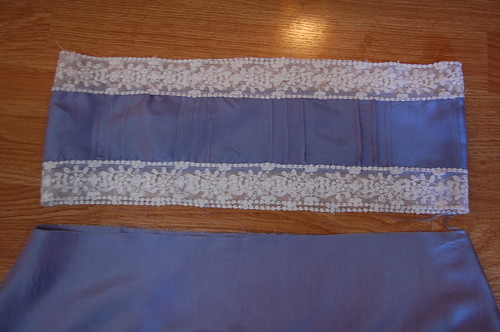
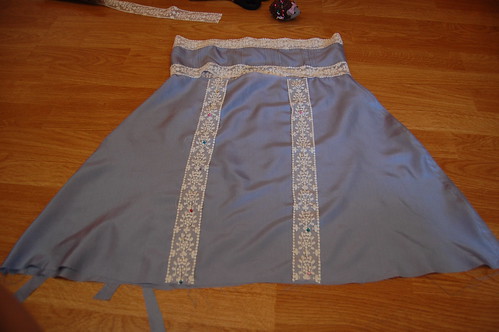
I based my envelope chemise on my cotton teddy pattern and the 1920s yoked envelope chemise in Women's Wear of the 1920s. I used my pattern for sizing. I made the yoke the width of the top, and then used the angle of the bottom half for the skirt. I made it about an inch longer. It's made of plain silver blue silk from Pure Silks and vintage lace (marked 1972, which I don't really like to call vintage!) that I bought on eBay ages ago. I browsed chemises/teddys/step-ins/etc. on Etsy for ideas about how it should look.

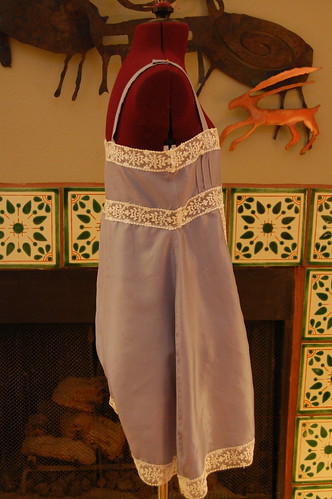
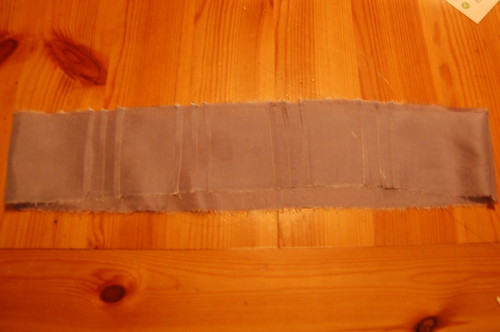
The yoke is just two straight strips of fabric. I wanted tucks on the front, so I cut that strip extra long, sewed the tucks in, and then cut it to size.
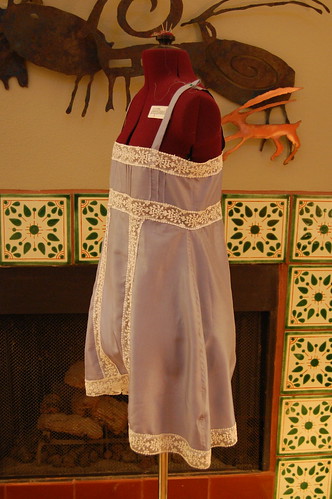
Then I sewed the sides with flat felled seams.
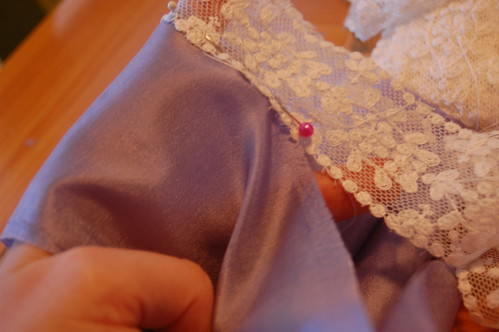
The method for sewing the lace on is based on an original late 1920s bandeau that I own. The lace on that is sewn onto the raw edge of chiffon with a zig zag stitch. You could get a zig zag attachment for sewing machines in the 1920s. It works a little differently than a modern zig zag--the fabric, not the needle moves--but the effect is the same. I pinned the lace to the top and zig zagged. I like the effect of this--it added no bulk and kept it light and airy.
Sewing the lace on. I initially folded the edge under and sewed it, but wasn't completely happy with it. I'm not the best machine sewer, and the fold unfolded in some places. And since I accidentally cut it a little big, I ended up redoing it.
When I sewed the lace on the hem, I skipped pinning it and actually found it a little easier!
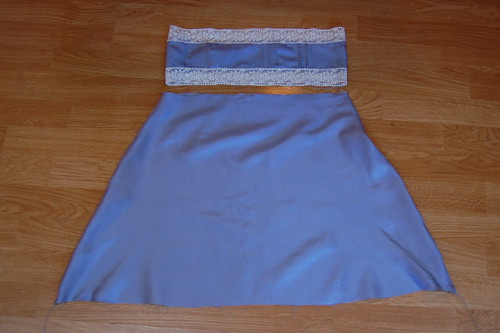
The completed yoke with the skirt. The skirt is just sewn with flat felled seams. I cut the skirt after sewing the yoke. That way I was able to cut it to just the right size.
A closer view of the same. You can see that the top of the skirt matches the bottom of the yoke.
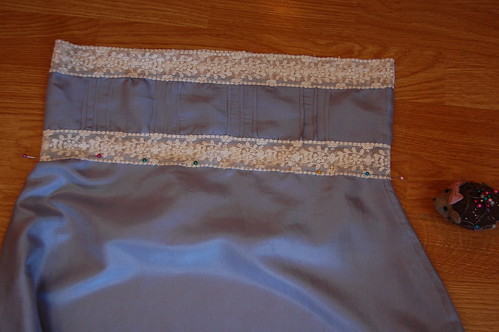
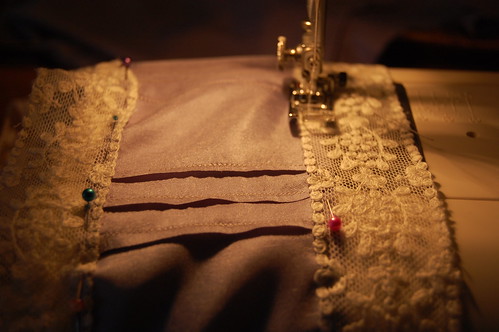
I pinned the yoke to the skirt. It's attached the same way, with a zig zag stitch on the raw edge.
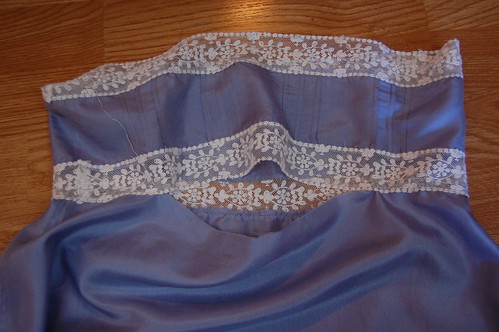
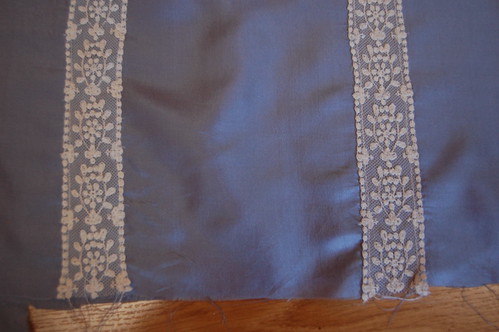
Since I wanted to put lace on the front of the skirt, I only partially sewed the skirt to the yoke. This way I could be sure I got the lace in the right spot!
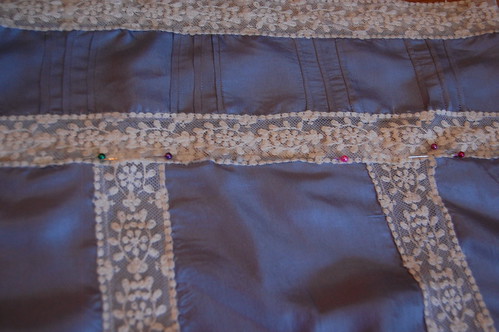
I pinned the lace from the hem to the top of the skirt.
The pinned lace. It's lined up between each set of tucks on the yoke.
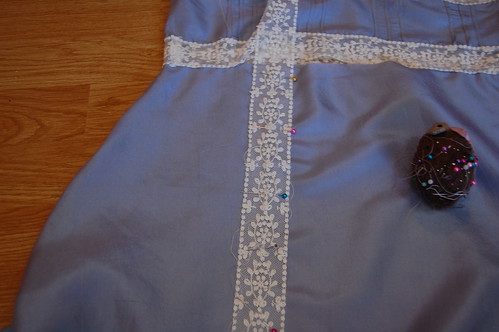
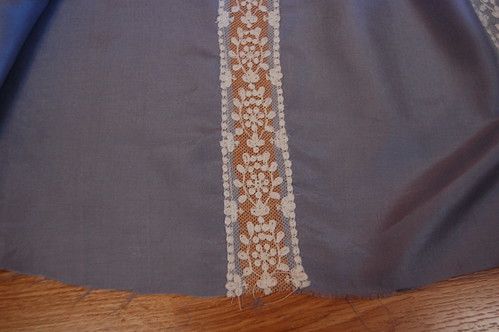
I zig zagged the lace to the skirt. I sewed a little further in than the others--when I started, the needle hit one of the spirals on the lace the wrong way and pierced the fabric, creating a little hole and pushed the spiral through to the other side. I felt a little better sewing a little farther in after that!

The lace from the wrong side. You can see the impression of the lace from ironing--I sprayed it and pressed it, which didn't seem to get along too well with the lace :)
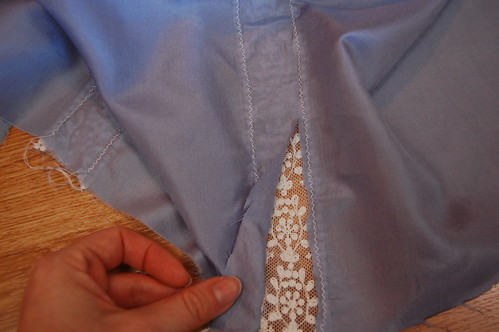
Now, the scary part--cut the fabric from behind the lace! When I've done this before, I've cut the fabric down the middle and hemmed, but the zig zagging finishes the edge.
And the fabric cut!
I then pinned the rest of the skirt to the yoke and sewed it shut.
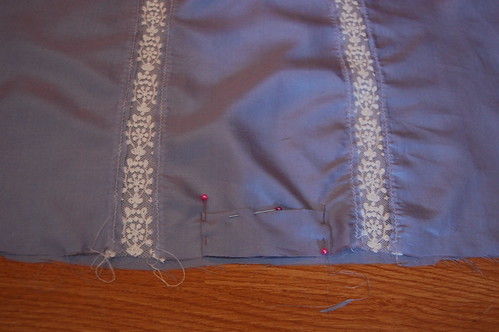
I then took a small rectangle of fabric, pressed the edges under, and pinned it to the center front of the bodice to make a facing for the buttonholes. After sewing this, I trimmed the bottom with lace.

I sewed that down, and hemmed a rectangle of fabric to make the crotch flap. The finished size of this flap was about 3 inches by 3 inches.
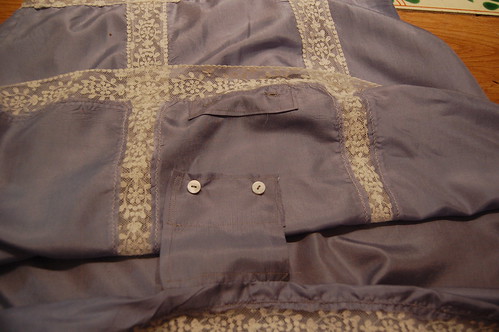
I sewed the flap down by hand with a whipstitch, and sewed buttons and buttonholes on. The large seam allowance on the flap is because I cut it extra long to see what size fit best, and then didn't feel like trimming it.
And that's it!